Monday, April 27, 2020

More Windows....


Giving It a Try....

I am Sure that Most of you, Dear Readers, will Not remember that I had boldly added a window to the bathroom of the Willowcrest all those years ago when I was about to glue the walls in place. I could not be happy with a room that had no window at all, and so at the last  minute I added one by cutting a hole in the wall. I chose an arched shape similar to the arched windows in the attic, but really it was a home made design. I also added an outer window frame once the walls were attached and the trim was being added....

And I had even constructed the window itself..... 
 (but couldn't find a picture of that in the unfinished state)
Because it languished unfinished and unattached for years and years!
Why? you might ask...
Well, because I wanted it to be "stained glass" 
like the upper portion of all the other windows in this house.....

But all those windows had been "finished" years ago...
And I would have to do the "leaded glass" paint....
So it languished.
But then last week when I was cleaning out the attic
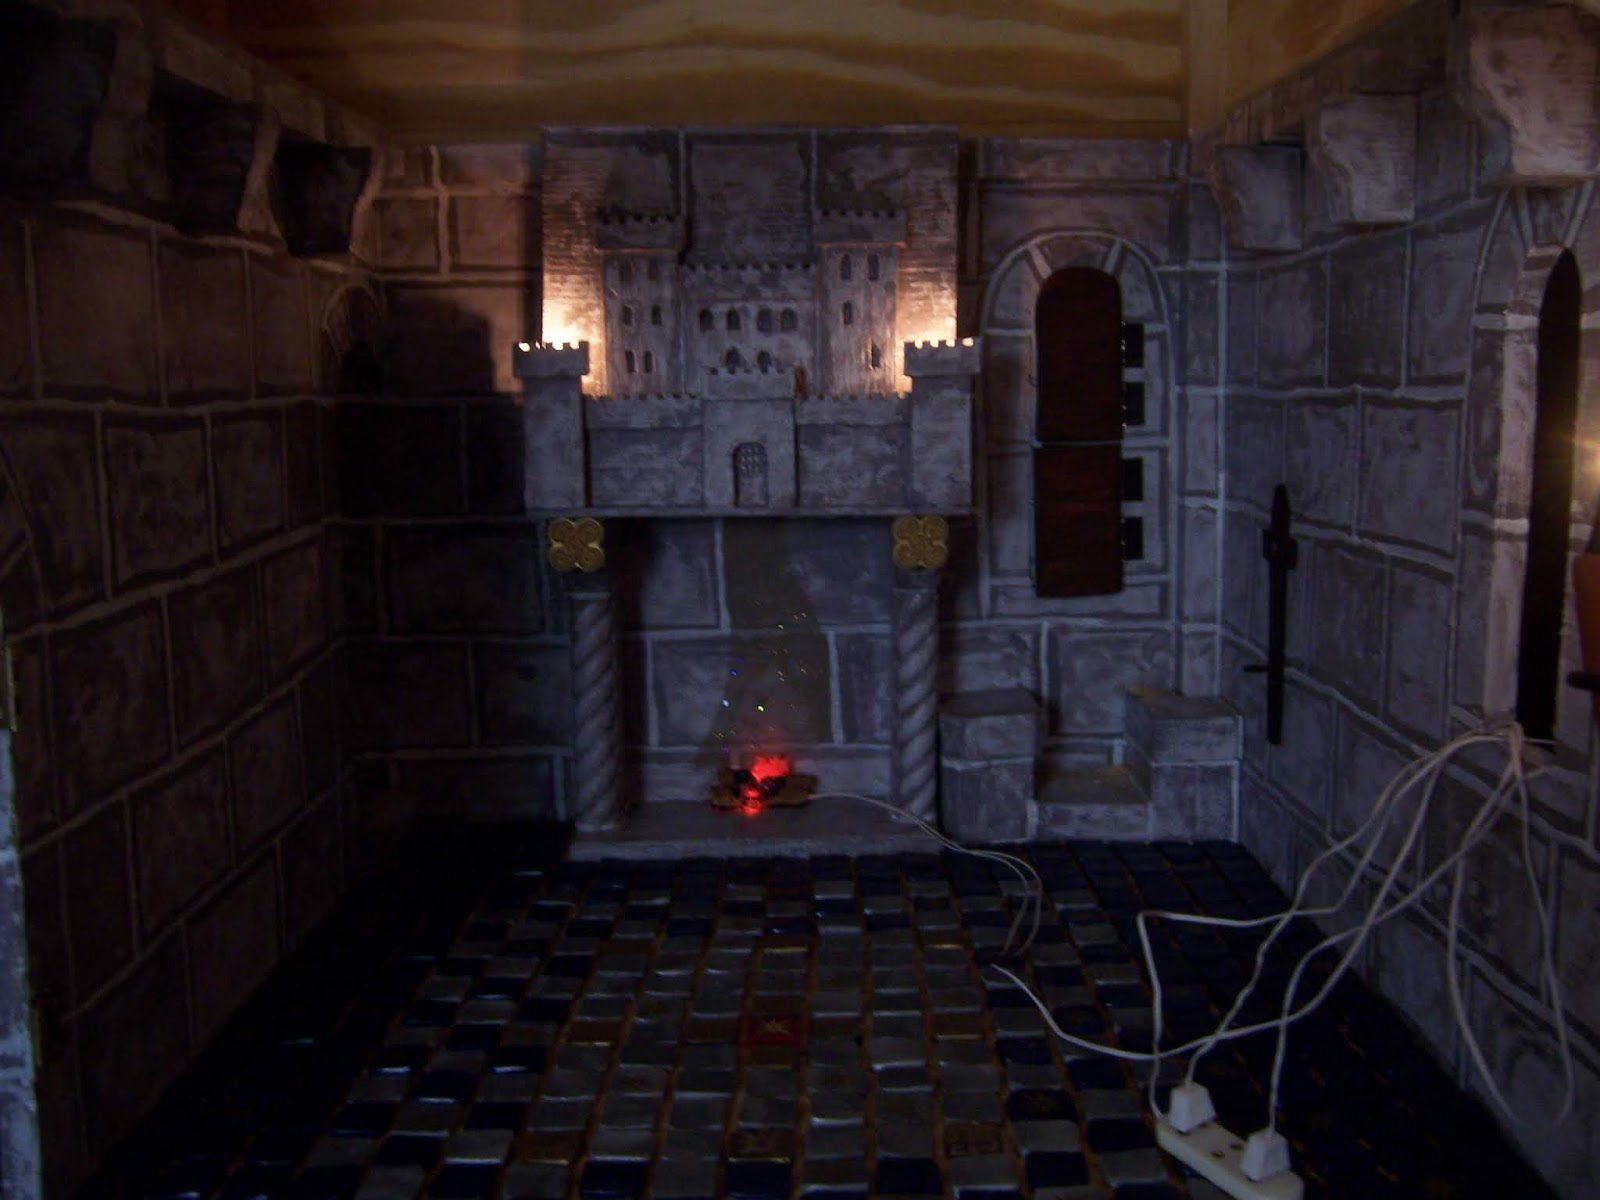
 and dithering with the fireplace.... 
my eye fell on that window frame.... still waiting....
 and hadn't I just used the lead paint a few days ago...?
Wouldn't it be easy to add the lead to this window now?

It really didn't take me very long!
(Of course, this is plastic and not real glass)
Once the leaded lines had dried.... several days later, 
I needed to add the lead tape to the exterior side.

All the windows on Hardwick Hall have this lead tape
applied to the design on the exterior side of the windows.

It takes a little longer, but the effort is really worth it.
Next I painted the "Stained glass" colors...

Using nail polish... first a rosy red....

Then a lovely lilac....
 this goes only on the side with the painted lead lines.

And then glue it in the window opening...!

And from the exterior...!
Finally! All the windows in this house are done!
 
And I have to confess Dear Readers, 
all of that was really me dithering some more...
Because I couldn't decide how to construct 
the next window for the Lord's Council Chamber!
Didn't you Just make one? I hear you ask?
Yes... But, I wanted to try to make one that opened....
Just the lower portion, you understand.... 
because you wouldn't want to have no fresh air...!
And this would require hinges..! (A good thing..!)
And complicated framing... (not quite such a good thing...)
And me trying something I wasn't sure would work....
And then I realized that I would never know unless I tried! (Duh!)
So I got started!

I drew the pattern of the opening...
(Have I mentioned that this Self-built dollhouse
 has really uneven window openings?)
(See previous posts for disclaimers about the "builders"!)
This frame would need to be built in two sections.
I started with the lower part where I wanted the window to open.
 
It is built on the same theory as the rest of these windows
 (basically a glass sandwich)
But the frame needed inner panels that would 
keep the glass positioned when the frame swung open.
These are not necessary for the fixed windows, 
because the glass is held in place by the walls.
And the frame needed to be large enough and sturdy enough 
to take the weight of the glass, and the hinges
 needed to be able to be screwed on without hitting the glass.
I made the sides just a little wider than the previous window, 
3/8ths inch instead of 1/4 inch.
Imagine my Joy when I went to my glass scrap box 
and found two pieces already cut exactly the right size!
 
Here I am testing the frame "sandwich" in the window opening....

And seen from the exterior (where the light is better!)
Still a long way to go... but I'm encouraged!

Here the upper frames are cut and fitted too... 
and testing that they all fit together...
There will be lots of trimming still!

And with the cross bar sections added to the frames...

And drawing the leading on the glass... 
alas, my lines are still really blobby!

But I know I can trim them up later.

Painting the upper frame to resemble stone.... 
like the other windows in the Castle.
But then I realized the lower portion that hinges would never be stone... 
but I didn't want to paint it dark wood colored..... 
(still might change my mind...)
 
I stained it a blue-gray that I used on the Conservatory... 
I'm going to call it "weathered wood"
I will probably try to make it look more like weathered wood...
 but here I am still testing for fit!

And as the leading was getting dry
 I had to try to see how well it fit the frame....
But it was late and I was running out of time.

I couldn't wait to see how they would look in daylight....
Today was my day to go in to the Office... 
but I tried to grab a couple of shots...

Blobby paint and all!


I didn't even get as far as the hinges.... 
so I have no idea how they will work!
But I had to give it a Try, Dear Readers....!
'Cause how else would I ever find out?
(And now I have adding the hinges to look forward to....!)
And More Windows too!


Monday, April 20, 2020

Waiting For Supplies....


Lacking Focus....

I Thought I would be starting on grouting the Castle floor, Dear Readers, but when I looked at my grout supplies, I began to worry that one package of the material would not quite be enough for the entire floor! And what if I got most of the way done and ran out? I didn't even want to think of that, so I decided to order more and while I was ordering some grout, I could get a few other little things too! So I made up a little list and called in my order to Hobby Builders Supply. But imagine my dismay when I discovered that of all the things on my list, the Grout was on back-order...! Time of arrival unknown! It was to come from China as so many things do. So I have to wait. And while casting around for what to focus on instead, I realized that I also needed a small project that I could work on during my regular "commuting hours"... my drive is normally about 45 minutes each way which adds up to a lot every day. I was finding myself turning on the computer and "getting to work" too early and wasting time. So I pulled out the many kits I have for petit-point... and chose another one by Janet Granger, and started the design. At this point in the project it doesn't look like much! And then I remembered that I never showed you the completed Santa Stocking I was stitching in the Winter....

I don't recall exactly what I showed you last, 
but I was working on the background.
The kit design would have you stitch the
 entire background with the blue....
But I thought Santa needed to be 
a little more "Grounded" than that!

I wanted him walking through the cold snow... 
not drifting in the sky!
So I made the bottom of the stocking white
 with pale blue shadows...

And here it is with the stitching done.
Of course, I have not stitched it
 to the back of the stocking yet!
 
 
Just for reference, here is the stocking next to the design chart.
But that was already months ago!
 
And I am sure some of you are wondering
 what has happened with The Dollmaker's Studio Project 
while I have been busy in the Castle Council Chamber....
 Well, not much! 
 
I spent a good bit of time testing out different pieces of furniture...
 to get a feel for what would Fit in this small space... 
you will recognize some of the "visiting" pieces... 
just being borrowed to test the ideas.
The idea is that this little building is a converted carriage house... 
or a "sleigh house" if we are to think of it as a "Northern Themed" project.
(See how I got around using the "C"word?!)
The ground floor was made into living space
 with sleeping space upstairs.
 The stairs will be in the tower.
And now that it is a "Workshop" or "Studio"... 
the living space has to have a worktable
 as well as the minimal cooking facilities...

This is not the stove that will be here... 
but just here for size and position....
There has to be seating by the big door 
so needlework can be done in good lighting.

The upstairs will also have worktables and sewing supplies...
The original purpose of this project was an expansion
 on the "Atelier de Poupee" kit from
 Sandra Morris of Tower House Dolls.
The beginnings of her kit are tucked into 
the alcove at the back of the upstairs room.
And the attic... not shown here 
will have a sleeping nook for weary creative types.

A Smaller table fits better... but doesn't allow much surface space...

A Larger table dominates the space....

And some carpeting samples.... 
old ragged pieces.... nothing fancy....
But setting the tone...
So where is the problem? I hear you ask..?
The problem is that I never expected to
 keep the paneling that sienna color!
I was intending to paint it a rich dark green... 
in keeping with an over-all red and green color scheme....

Like this.....!
But I am having a terrible time giving up the paneling as it is!

Even the door frame is supposed to be painted!
I just can't decide....

So I wandered off to the Attic of Hardwick Hall... 
because you will remember I had "borrowed" the fire
from the unfinished fireplace to use it in 
testing the fire in the Castle Council Chamber...


The fireplace needs to be fit very snugly beside the Spiral Stairs...
And there is a "Tree" growing up the stairs... 
it's branches supporting the stairs...
 I was just getting going on this when 
the Lilac Mania took over... two years ago!

I had to clear everything out of the attic....
There is so much that is unfinished in this House...
  and most of it is waiting for the electrical work in the attic to be finished....

And a closer view of one of my favorite reading nooks....
(Sorry... the lighting is poor...)

I spent some time wrestling with the tree and the stairs
 and carving off pieces of the chimney...
Because until we get the fire wired in place... 
all the rooms below must remain unfinished...


And the stairs have to end up landing at the cupola....

Which also is not part of the original kit structure... 
and has to be constructed from scratch...!

 So, There you have it, Dear Readers, 
I am not sure I accomplished anything at all....
While waiting for supplies....
and Lacking Focus!

I hope you all are keeping well and staying safe!
And making minis too!


Tuesday, April 14, 2020

A Few More Details....


Where There's Fire....

You might not Think, Dear Readers, that this is the same room as that dark and gloomy one I was showing you last week, but such is the power of a Sunny Morning that it chases away all confusing shadows! And by the bright light of morning, I am reminded that I need to paint those bright brass hinges on those shutters before I attach them for good! Oh, and make the hinge straps too. This is another of those methods I devised long ago and therefore must continue to use whether it is a good method or not! The brass hinges are sturdy but too shiny so I simply paint them black to imitate forged iron work. And then I make the "strap" part of the hinges out of sculpey and glue them on.

I made a bunch because who knows how soon
 I will be making more shutters for the rest
 of all those windows on the Castle facade.

From a distance it is not too obvious that
 the hinges are not made entirely of metal!

And once the hinges were attached....
 all those little bright brass screw heads needed painting too!

There.... is that better?
Are we done with the Window?
Can I glue the fireplace in now?
Ummm..... No....
 I have remembered another detail...
Because you might or might not have noticed over the years,
 that I tend to like to add "smoke" to my mini fires.....!
And I have a particular effect that I like....
that requires a piece of the "smoky gauze cloth"
 to hang above the fire.
Which reminded me that I better add the pot hanging hook
 in case I ever wanted to suspend something over the fire......

So I added a strip of wood inside the flue.... 
with a hook in the middle....
Just in case!

And then had to test my "smoky gauze cloth effect"....

To see if the gauze was hung right...
(Eventually I will add more "flames and wood" to this fire!)

Here I am gluing the gauze to the wall...
 
And threading the wires out through the back wall...!
(Yes, once again it is late and dark...)

And gluing the fireplace in!
And the lights still work!
Hooray!!!

And the sparks from the fire are flying up the flue...!
Can you see them?

Come a little closer... can you see them now?
Well, never mind, Dear Readers,
 it is my little fantasy...
Because where there is Fire...
Shouldn't there be smoke too?