
Shedding A Little Light...
It has Shocked me, Dear Readers, to realize that I started to build The Castle Dollhouse ten years ago in February. If you study the earliest posts on this blog, which I began Ten Years ago this week, you will find that I was eagerly and diligently focused on this project. Well, this and the Lovely Old Dollhouse too, and The Folly... but I was making very steady progress on the Castle. I never would have thought it would still be so far from finished after Ten Years! But so it is. I will not waste time lamenting a process that has been so much fun over so many years, but will get on with showing you the process I developed for the windows, oh so many years ago. You must understand that I knew very little about building dollhouses back then, and had barely discovered blogs and the internet... so there were many shortcuts and techniques that I knew nothing about. To begin with this is a completely self-built Dollhouse. I drew up the plans, cut up the plywood and drilled and glued the pieces together. I owe a great deal to the Inspiration of a former blogger whose blog "the Tudor Medieval Jacobean Queen Anne's Dollhouse" started me on many of the methods I chose, in particular the tiles for the Great Hall Floor were a direct inspiration from Nina's work. But when it came to the windows I wanted real glass. And there are no ready built kits for real glass Medieval windows. So I was on my own! The method I came up with is time consuming, but it allows for the unforgiving nature of glass and the results are relatively convincing. The theory is that I build a "glass sandwich" with the pane of glass between two layers of thin basswood or plywood cut to fit the window opening. Remember that because I cut all these openings myself... they are highly irregular!
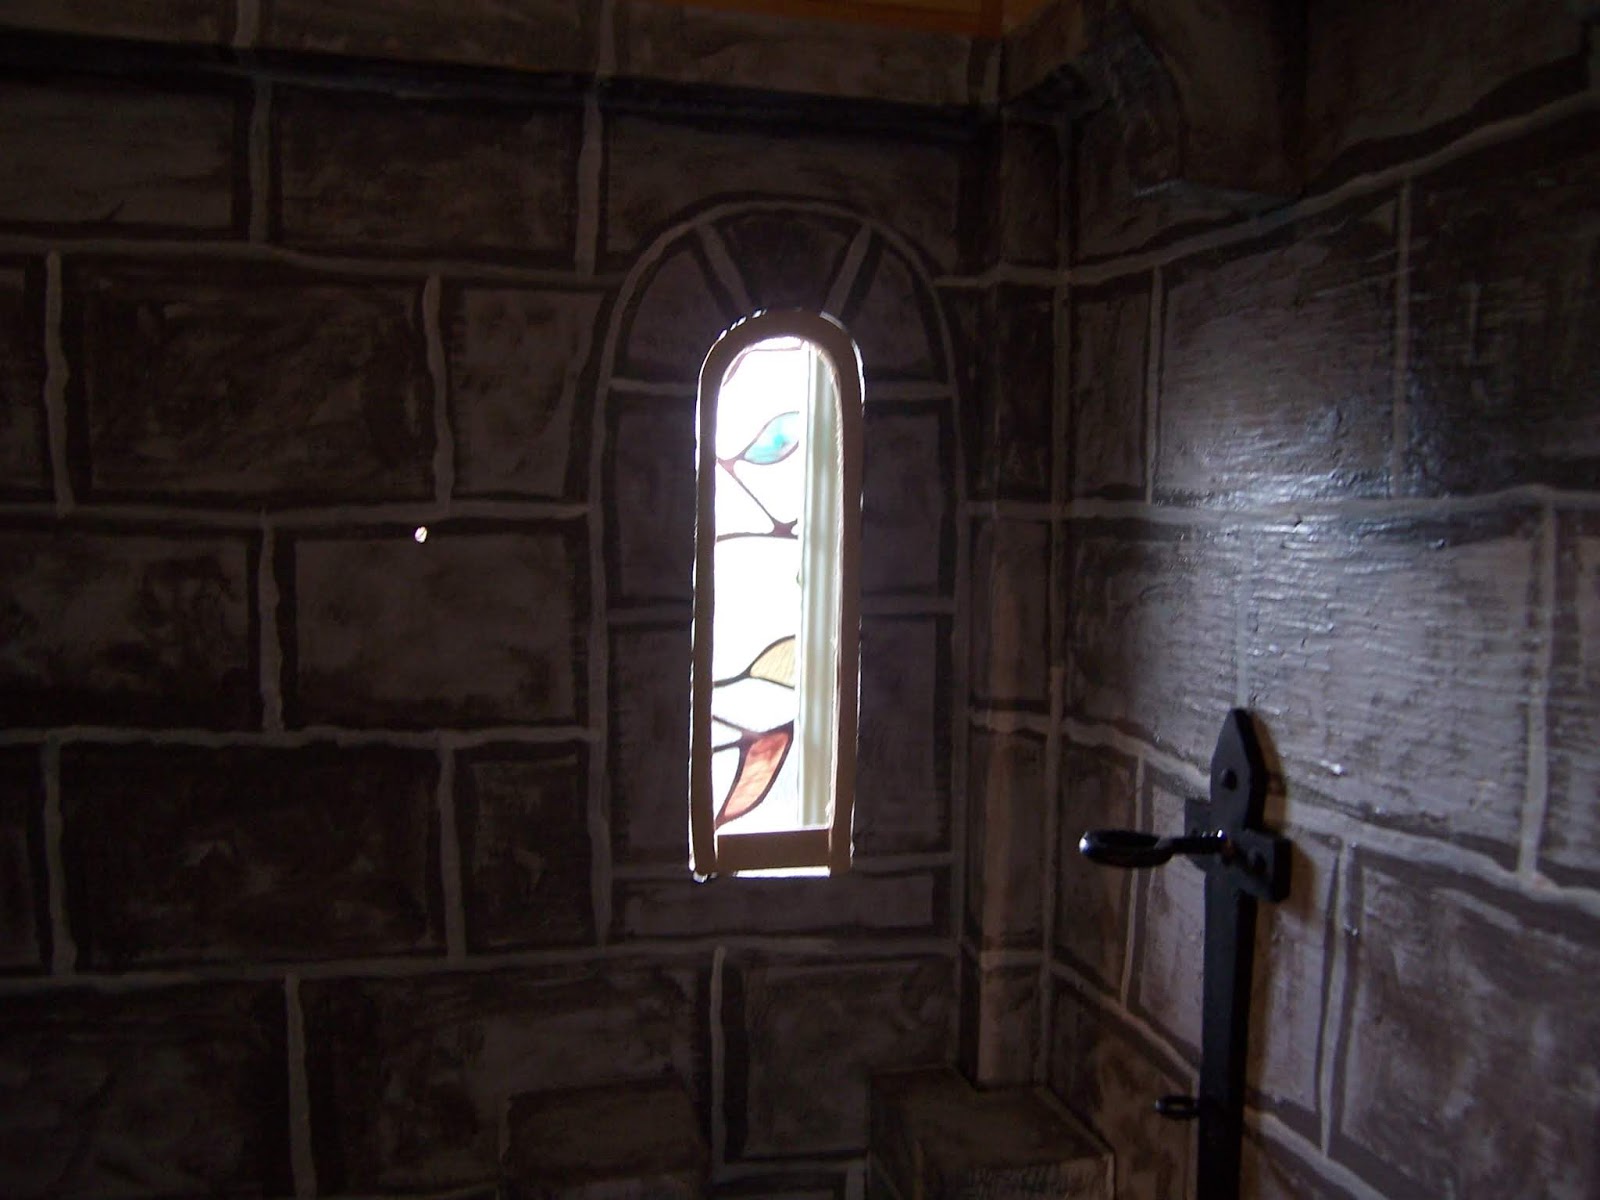
In the above picture you can see the Council Chamber window with the back layer of the 1/8 inch thick plywood cut to fit snugly inside the window opening.

I cut two of these and sanded them to fit as closely as I could....
the light shining through the gaps magnifies them!
And you can see how irregular the shape really is.
(My theory is that the builders of this Castle
had to make do with some inexperienced stone cutters!)
Once I had the two panels fitted,
I needed to cut away the center to leave
a thin framework of plywood.
This was easier in theory than in practice...
the plywood I had was splintering terribly
and the layers were not holding together.....
I was really not sure it would work!
But with careful planning the splintered side of the wood
could be toward the glass and therefore not visible...
Above you can see the test fit for the back side of the frame.

Meanwhile, because we are Staying Home
and NOT going out unnecessarily to shop....
I needed to use some of my old scrap off-cuts of glass
that had not broken cleanly on earlier glass projects...
specifically The Glass House at the Folly.
There were a few little pieces that
just might work if trimmed a little more...
And then I had to dig out the Old Bottle
of Faux Lead Line for Glass painting...
and by some miracle it was still unopened
and was still perfectly good!
But my ability to make good clean lines
with it was sadly out of shape....
I left it to dry and went out to work in the RL Garden...
Therapy for the Soul at this time of year!
I was not sure I would get anywhere with this window!
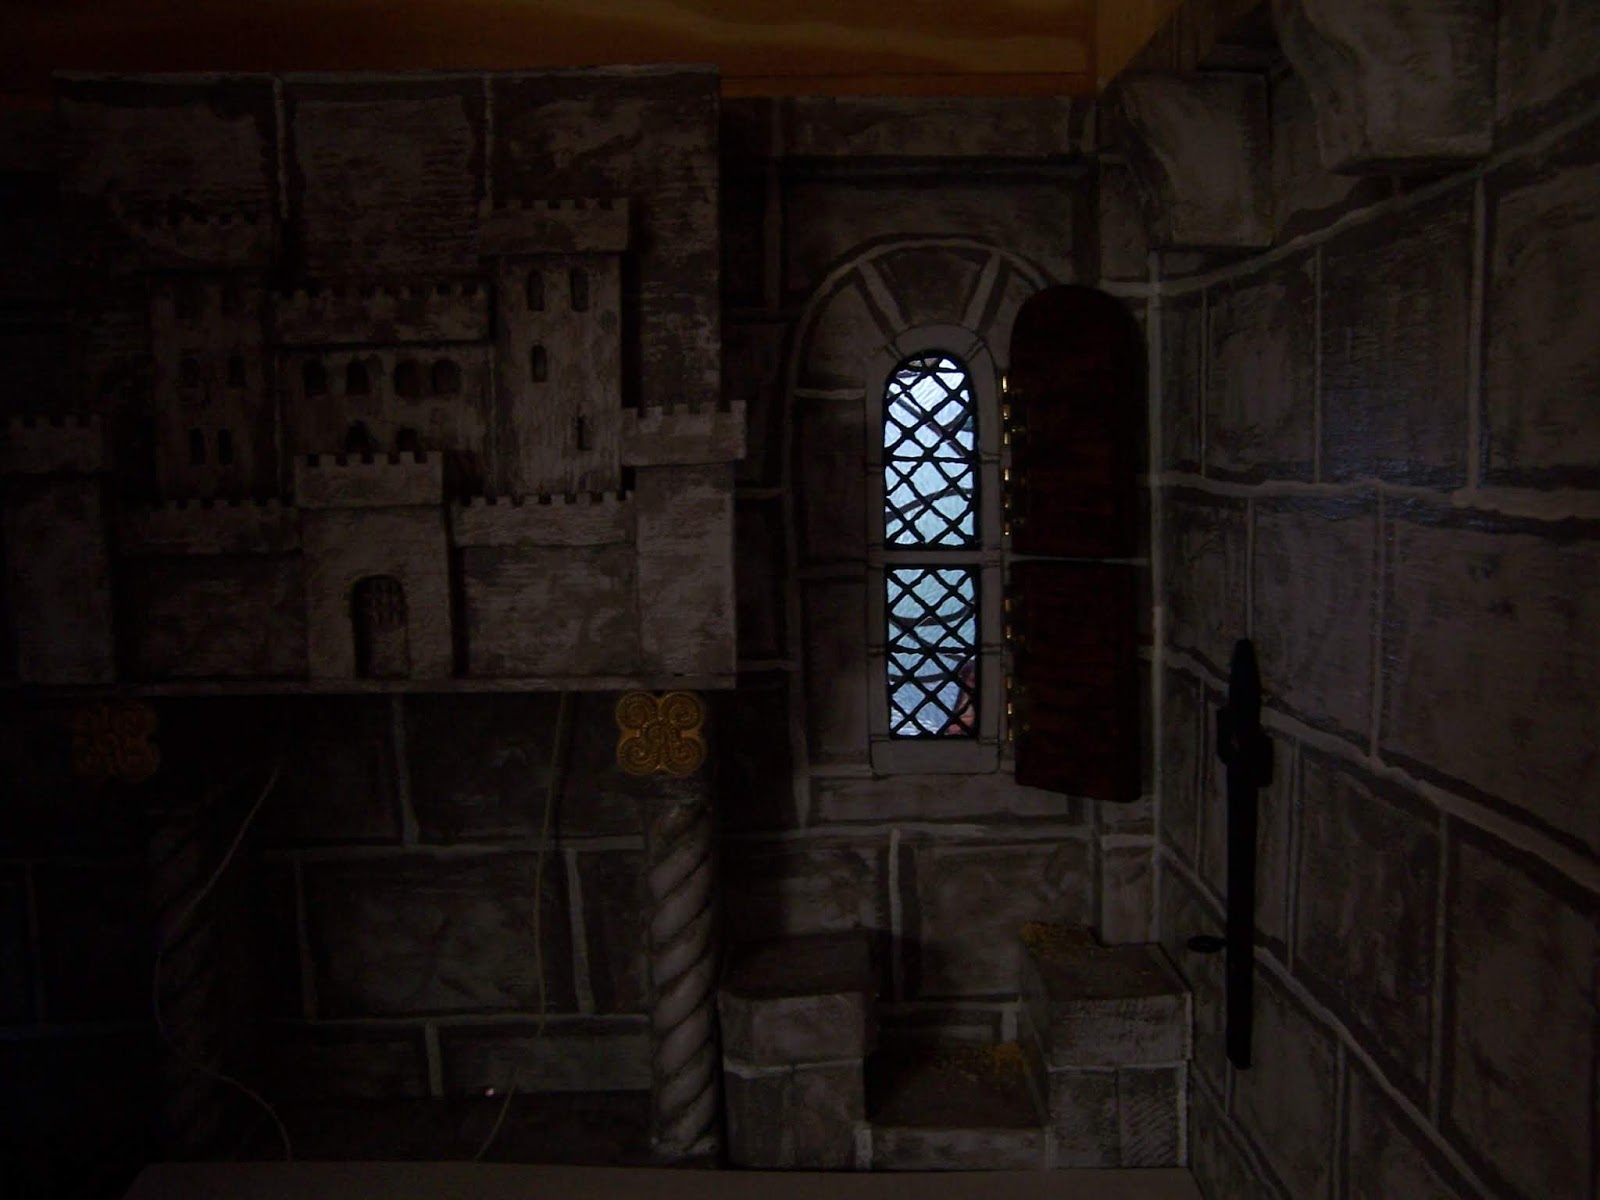
But here you can see the test fit for the painted back section of the frame.
Yes, it has gotten very late... and dark...

And I was also fitting a thick wooden shutter to cover the entire window...

Made from the cut-out piece of one of the other windows.

And in the open position..... just look at all those Hinges!
(You do know how much I Love hinges!)
The following morning once the "lead" paint was dry enough
I had to test it to see how it would fit in the window...

For the first test fit it doesn't look too bad!
(I am feeling encouraged!)
But we still have a long way to go.

The lead lines are Way too blobby...
and the outline is not close enough to the edge of the frame.

But I learned that with care and an exacto knife
I could trim up the edges of those messy lines.
The more I trimmed the more I saw that needed trimming...

And it needed to be tested to see how it looked....
not quite there yet....

And here I'm testing to see if the frame should be a darker color....
But it is getting late again and hard to tell.

In the bright light of the following day
I painted black around the outside edges
of the "lead" framing... to fill in the gaps.
And tested it again....

The light coming in the window behind is too bright...!

So I blocked the light, the better to see
the frame and the leading...
I think the darker frame is not right...
but want to test it with the Fireplace in place...

Definitely too dark. But the lead lines look okay,
and not too many gaps are showing!

So I repainted the frame...
to resemble a stone framework....

And testing with the Not-yet-finished shutters...

Split so only half can open at a time.....
Just the lower.....

Or just the Upper....

Or Both!
(See why I Love hinges?!)
But we really need to see it with the Light coming through.....
I think it's getting there!
(Although the pattern is confused by the
fake stained glass of my RL window behind it!)
So there you can see, Dear Readers,
how I build the Real glass windows for my Castle,
Just shedding a Little Light!
It's beautiful! I love glazed windows. And the shutter is wonderful!
ReplyDeleteYou certainly are never going to run out of projects! That window is lovely - wouldn't it be fun if I was there & we could do real stained glass windows! But the copper seams would be too big - you've done a lovely job. Keep on!
ReplyDeleteMuch love,
Mom
You are just amazing in both imagination and skill! I know just how fast ten years can speed by and just how much fun it is to open and close hinged things in dollhouses. Therefore, your shock and delight are shared! The real glass leaded window is a marvel and the thrill of the light shining through makes all the tedious work pay off! I just wish gardening still held pleasure for me as I used to love it so! Glad you are accomplishing so many wonderful delights in this time of seclusion!
ReplyDeleteThis magnificent glazed window is a reward for all the hardships you had to go through in making it. It is just stunning.
ReplyDeleteHugs, Drora
Real Glass, leading and hinges for the windows; YOU'RE AMAZING BETSY!
ReplyDeleteBeing brave enough to cut the glass in the first place puts you in a class by yourself, but you Always go the extra mile when it comes to the pursuit of Authenticity and so when you added the leading and then the split shutters hung with hinges; it takes your castle window to the Tippy Top next level!
Bravo Betsy! :D
Wow, Betsy, your real glass window looks absolutely fabulous, what a technique to make these!! The divisible shutters make them complete, and even with including your beloved hinges ;O)! Your skills and knowledge of techniques is great, thank you for sharing them with us.
ReplyDeleteSo you can also work in your real life garden, as we can here in The Netherlands? It's a relief to be able to go outdoors, even if it's just for a while, isn't it?
Take care.
Warm hugs, Ilona
I love how the window has turned out. it looks great and i did not imagine that one window would need so many steps. But the result speaks for itself!
ReplyDeleteYippiiiiieeeeee!!! Betsy is in the hinges again!!! *does-the-happy-dance* And it's always stunning what you and your beloved hinges are able to create - although now I wonder... 10 years of fabulous blogging and so many fantastic, awesome, inspiring, breathtaking and drop-dead-beautiful projects... hmmmm... how much does that make in hinges? ;O)
ReplyDeleteAnd despite of admiring the new hinges and the possibilities they're offering in opening the window in variations I was absolutely amazed by your window. Wow, real glass... and the "lead" lines so neat and tidy, even in the beginning. Respect, you must know there is a good reason why for example the cobweb windows of Gertie's are made with sticker lines... *tweet* A stunning result and it looks fantastic together with the fireplace.
Happy Easter days to you, hopefully with lots of time for miniatures or RL gardening. Take good care of yourself!
Hugs
Birgit
The windows are perfect.
ReplyDelete