Monday, September 24, 2012

Details!


Glorious Details!

By Now, Dear Readers, you must know how much I Adore the tiniest Details! They seem to make such a Huge difference and yet they are sometimes so small as to go unnoticed unless they are pointed out.... and I am Very willing to point them out! This week I have added a few small but significant ones, as well as a much larger and very Obvious Table to the Tree House Library. This is Not the desk I have promised you.... and I know some of you will think I am Insane to be planning a desk Too.....! Where will it go? Rest assured... I have a plan! But first I made the Table because it was easier! I neglected to take pictures of its construction because most of it was very ordinary. I found some very fine stair spindles for 1/12 scale stairs and cut them down to use the tiny turned portion for legs. Here below you can see the table prior to staining.


The only really tricky part was the "X" shaped stretchers I wanted for the base.... 
I carved them from a single piece of basswood....... 
here below you can see my rather crude results.....


Thank heavens that once it is stained the carving looks a lot neater!

Here you can see it being tested for fit in the Library.....
Yeah, it is Big..... 
but it needs to hold a lot of Interesting Things yet to be made.....
So I think it will do!

Meanwhile I added some of those infinitesimal details to the Fire....
You thought it was good enough as it was...?
Well, I added some logs... 
carved and painted to look partly burnt....

I know they are hard to see....
And if you look REALLY closely you will see I added a couple, 
well maybe five, pieces of red glitter to the burning coals at the front of the logs.....

Can you see them?
And I glued the Dragon andirons in place.....
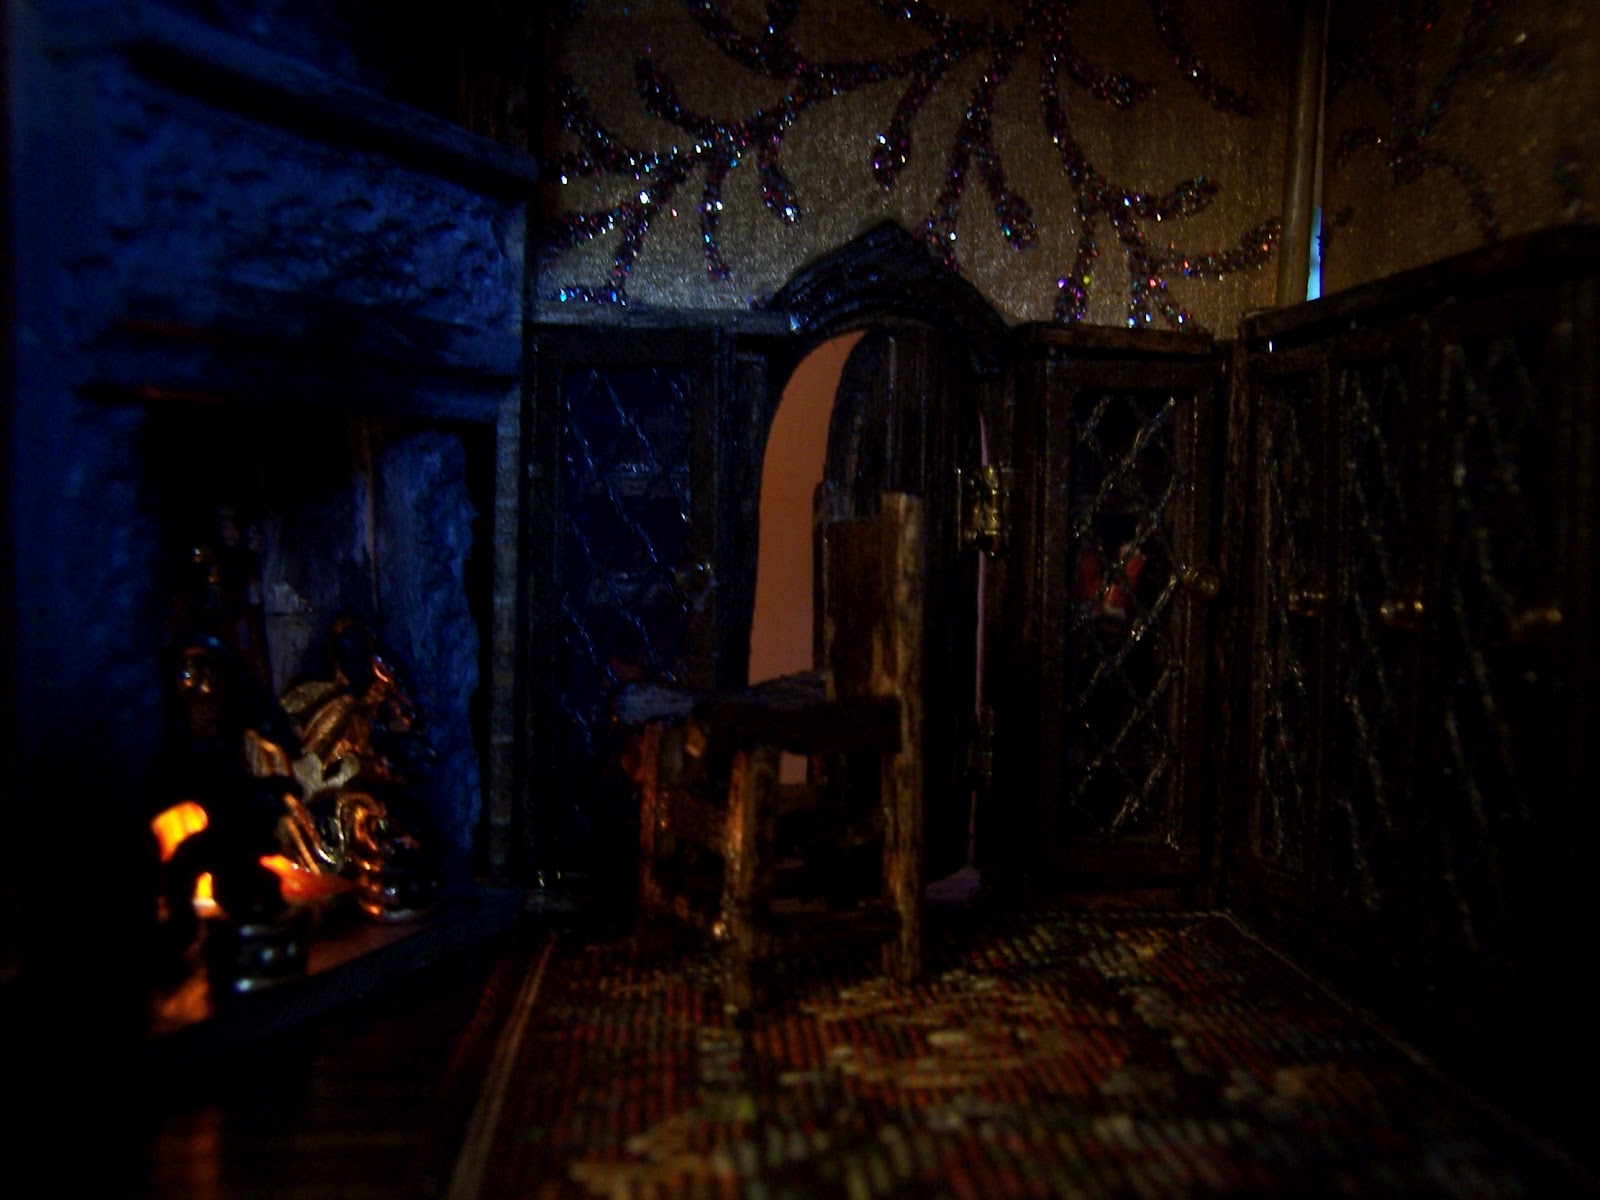
And when it is in the Library with the fire lit......

Can you see those glowing coals?

I Wish they weren't so difficult to Photograph!

But that is not all I managed to do this week.....
I added the wallpaper and trim to the remaining window by the chimney....

Of course, it is really hard to see unless I lift off the ceiling.....

Here you can see the view looking down from above....
I made the window and shutters last week... 
and the shutters are Hinged to open and close...!
(I LOVE Hinges!)

And there is yet Another tiny detail I have added this week.....
The Rose chair was lacking the cloth on the outside.....
And I confess it was Much trickier to make than the first parts! 
It needed to be all one piece of fabric and it needed to fit very exactly.....
So I made a paper pattern....


And then I traced the shape onto the inside of the cloth.....
and smeared quick dry glue on the inside 
covering the edges of where the fabric would be cut...
And let it dry thoroughly...


This made a sort of rubbery edge where the pattern would be cut....

Which allowed me to make very precise cuts and fit it carefully with No fraying of the edges!


This shows the right side of the fabric cut to fit the chair........

But before gluing the fabric on I added another one of those Glorious details.... 
I wanted Piping on the chair seams.....
So I am gluing a strand of Pearled Cotton Twist (Antique DMC) 
to the side of the arm... you can see it in the picture above...

And then I Carefully glued one side at a time.... 
allowing the glue that squeezed out at the edge of the fabric 
(which I intended and very carefully squeezed...) 
be the glue that stuck the cording on.....
You can see it in process above......

And this is the other side.....

And the view from the front.....
I still need to do this for the Front of the arms......
But for now you can see it in place in the Library......

Some of the books have found their way onto the table.....
And you can also see the "fender" in front of the fire.... 
made from a piece of ornamental metal trim...
Here, come a little closer......

See those coals glowing...?

I don't know about you......
But I just LOVE all those Tiny Glorious Details!!!!

Monday, September 17, 2012

Make Yourself Comfortable!


Chairs.... Take Two.....

The search for the Elusive Perfect fabric for the chair was resolved, Dear Readers, in part by me lowering my standards and in part by me wrestling with the original fabric choice until it behaved a little bit the way I had envisioned. I had wanted a "tapestry-like" effect.... but this is a VERY TINY scale.... and I at last acknowledged that short of finding and hiring tiny elves to Weave me some fabric.... I was not likely to find something in a small enough scale... even if I were to try to stitch the needlepoint myself.... the seat is about three eights of an inch wide! So I worked harder at making my first choice look sort of like what I wanted... finding a piece of the pattern that had enough variance in color and texture.... and then gluing it on without any padding or hemming because the fabric is fairly thick! You can see below the results......

You will have to think of it as a very worn out killim rug used as upholstery....

I could not prevent frayed corners and edges.....
But at least now the chair is a bit more comfortable!

And here below you can see it in solitary splendor in the Library.....

But you must understand that this chair was never meant to be the "cozy" chair! This is to sit at the still unfinished desk..... there was always going to be a soft over-stuffed easy chair by the fire!
So I started to make one.....


Here is the basic framework made out of a scrap of wood and cardboard.... 
the legs are added next.... and are cut from matchsticks....
And here you can also see the beginnings of gluing on the fabric 
over a layer of cotton batting .....

The fabric is a lovely rose colored cotton velveteen.... cut from used trousers....
It is very soft and pliable and does not fray too easily!
The shape is cut to fit and glued into the valleys of the frame with no hemming.

Here you can see the batting for the inside of the arm and headrest... 
it is loosely shaped and glued to the framework.....

And the fabric is glued at the same time..... 
just pressing the edge of the fabric into the glue in the valley 
using the tip of my awl....
And you can see that the fabric is left over large until the glue is dry.

Here you can see both side pieces are gluing.....

Here I have rolled and glued the armrest portion of the side... 
wrapping it around to the outside of the frame.
It was important to wrap and glue tiny sections at a time..... 
allowing them to dry thoroughly before gluing the next piece. 
This made it easier to prevent excess glue from getting onto the good side of the fabric 
as well as allowing for careful and precise fitting of the curve of the fabric.

Here you can see one side is partly glued......

One side nearly done.....

The other side too..... you can see the bare outside surface....


And here is the seat cushion being added.... 
I borrowed an idea I saw on Someone's blog 
(forgive me that I cannot remember whose!) 
to cut the center out of the padding so the seat will have a "worn" dip 
to look like it has been sat in for ages...!
Again, the fabric edges are pressed into the valley with my awl... 
making contact with the glue only along the edges.
 
 
Here the front of the seat fabric has been glued around to underneath the base....
cut away around the legs and wrapped to the sides.
The front end of the armrests have not been finished yet, 
and the outside all around still needs to be covered..... 
and the legs will be painted....

But for now.... here you can see it with the Jacobean chair.....


And here you can see them in the Library.....


Hmmmmm.... there's not a lot of room in there! 
It is amazing how much floor space was used up with the shelving units......!
I may have to adjust my ideas of what goes where.....
And the Rose color seems so Bold! 
I may have to "age" it a bit.....
But for now....
Why don't we light the fire.....

Pull up an (easy ) chair....
And Make yourself Comfortable!

Monday, September 10, 2012

Pull Up A Chair


More Beginnings....

The Weather is getting cooler, Dear Readers, and the Nights are getting longer.... it feels like Time to pull a chair up close to the fire and lose oneself in a good book.... in other words... the Season of the Library has arrived! But Alas, my Library is Far from ready.... hardly any books on the shelves... no lights to make reading possible... and the only Chair is a not-yet-finished heavy wooden frame with no upholstery to cushion the seat.
I wanted to make a Jacobean-style chair.... the sort with a dark wooden rectangular frame and tapestry sort of cushion for the seat and the tall back. You can see below the humble beginnings of this chair.....


I have used some of the trimmed sides from the "woodsies" I used for the books as stock for the legs and glued them into a notched seat cut from a scrap of the basswood that is being used for the walls. The back is a piece of 1/4 inch stock trim. For the arms I decided to get a little bit fancy and carved the curved profile and rounded end out of slightly wider pieces of "woodsies".

Of course, it is so small that it is a little bit hard to see the swoop in the arms.... 
so I thought I had better point it out...!
I also took a tiny file and "carved" some grooves into the front legs....
these will bracket the front cross rail.....
but again.... they are so fine that they are almost invisible...!

But then I decided to get Really Daring 
and tried my hand at "carving" the front rail to resemble barleytwist turned wood.....


Using just my mini file and a tiny round wooden dowel.... 
about 5/64ths of an inch (says the pkg)

Here, you can see it closer....
I have never done this before....
and my spacings are not even....
and the grooves should be rounder....
But it is so tiny that maybe it isn't too noticeable when it is cut and fit....


And maybe it looks better standing up.....


Well, sort of... it is amazing how Brutal the camera close-ups are...!
I added the remaining cross rails and stained it a lovely Walnut......

And the dark color seems to Swallow so much of the details.... 
especially when placed in the dark Library.....

You would hardly know it is there! 
This will improve, I hope, when I find the right upholstery material! 
And so far, this has eluded me! 
Most of the ones I try are too thick a fabric 
to work on such a small scale... 
And I am searching for something with a small pattern as well.... 
I am trying all sorts of tiny pieces from my "archives"!
So it is not done yet.....

Meanwhile I have also made a start on the decoration of the walls. 
 I was not certain whether I wanted to keep with the Very Dark Tudor style 
and just make paneling for the upper portions of the walls... 
or whether I wanted to try to bring in some color and light with a painted finish. 
Or even be as non-traditional as to use Wallpaper if I could find a small enough design. 
And then I remembered some paper I had bought many years ago in a Museum gift shop.... 
a Gold paper with a delicate fern-like pattern in Glitter... meant to be used for gift wrapping... 
but I had always thought it would make Wonderful wallpaper for a Fairy house.... 
or a fancy Victorian Dollhouse..... 
or.....

 
Perhaps it would be just Perfect for the Library of a Tiny Tree House?
So I carefully cut tiny sections and tried them out....
Oh, I do like the way it looks!
So then I had to make tiny window trim moldings out of cardboard stained to match the cabinets...

And more molding trims for around the doors... to the stairs going up....

As well as the ones going down at the back of the room.
And you can see that the cabinet doors are all done and have their knobs as well... 
but the books are still in the works....
Just Look at the sparkly walls!!
(I am Such a Sucker for Glitter...!!!)

But I have not finished because on the fourth wall I have added a little window...
High up... next to the chimney...


Or rather, I have added the Opening for the window...... and all the rest....
The shutters, the diamond panes.... the niche and framing .... 
all still need to be built... before I can paper that wall....
I have a long way to go!
I have even made a Start on the framing for the overhead arches on the ceiling....


You can see pieces taped in place for fitting....
still so crude.....
And all the walls shift and fall down at every chance they get because nothing is finished.... 
so nothing is glued down...... but it is a start!

I have even started to paint some "gilded" frames for artwork on the walls....
 

But they are not yet finished... 
so I cannot show you the art in place.....
But I hope you will be patient with me while I get the details worked out!

But for now.....

I hope you will join me....

As dusk falls and the room grows dim......


Pull up a Chair.....!