A Little Distraction....
All that framework fixing, Dear Readers, was in preparation for attaching the light fixtures for the lower room of the Dollmaker's Studio. It was finally time to commit to attaching the lamps and running the wires through the walls to the exterior. I drilled the holes where the wires needed to go through. You can see the hole in the mantelpiece in the above picture. The lights on the other end of the room are positioned on either side of that big arched doorway... and where the wires go through the wall, I had already started to glue the "stones" a long time ago. I had stopped because I realized I was getting ahead of myself and needed to run the wires first! But a couple of the "stones" were already in the way.
There was nothing to do but make "adjustments" to the stones...
This consisted of peeling back one stone
so I could carve the channel underneath it...
and making small cuts which will need patching in the other stone.
Actually gluing the lamps in place requires patience!
I needed gravity to assist while the glue was drying for each lamp,
which meant turning the building on its side...
a different side for each lamp!
Above you can see the first one gluing.
And after a couple have dried....
testing the electrical connection...
so far so good!
And testing the look with the ceiling panel in place...
not glued yet!
And testing the lights on the end wall...
still working!
But there was a LOT of waiting for glue to dry!
And while I was digging out my extra wire
for extending the wires so they could reach the switch connectors...
I came across a little Bell Jar that I was hoping to use someday.
I couldn't decide what sort of object to put inside...
But then I got an idea.....
Could I make a mini mini version....?
I thought I would give it a try while the glue was drying...
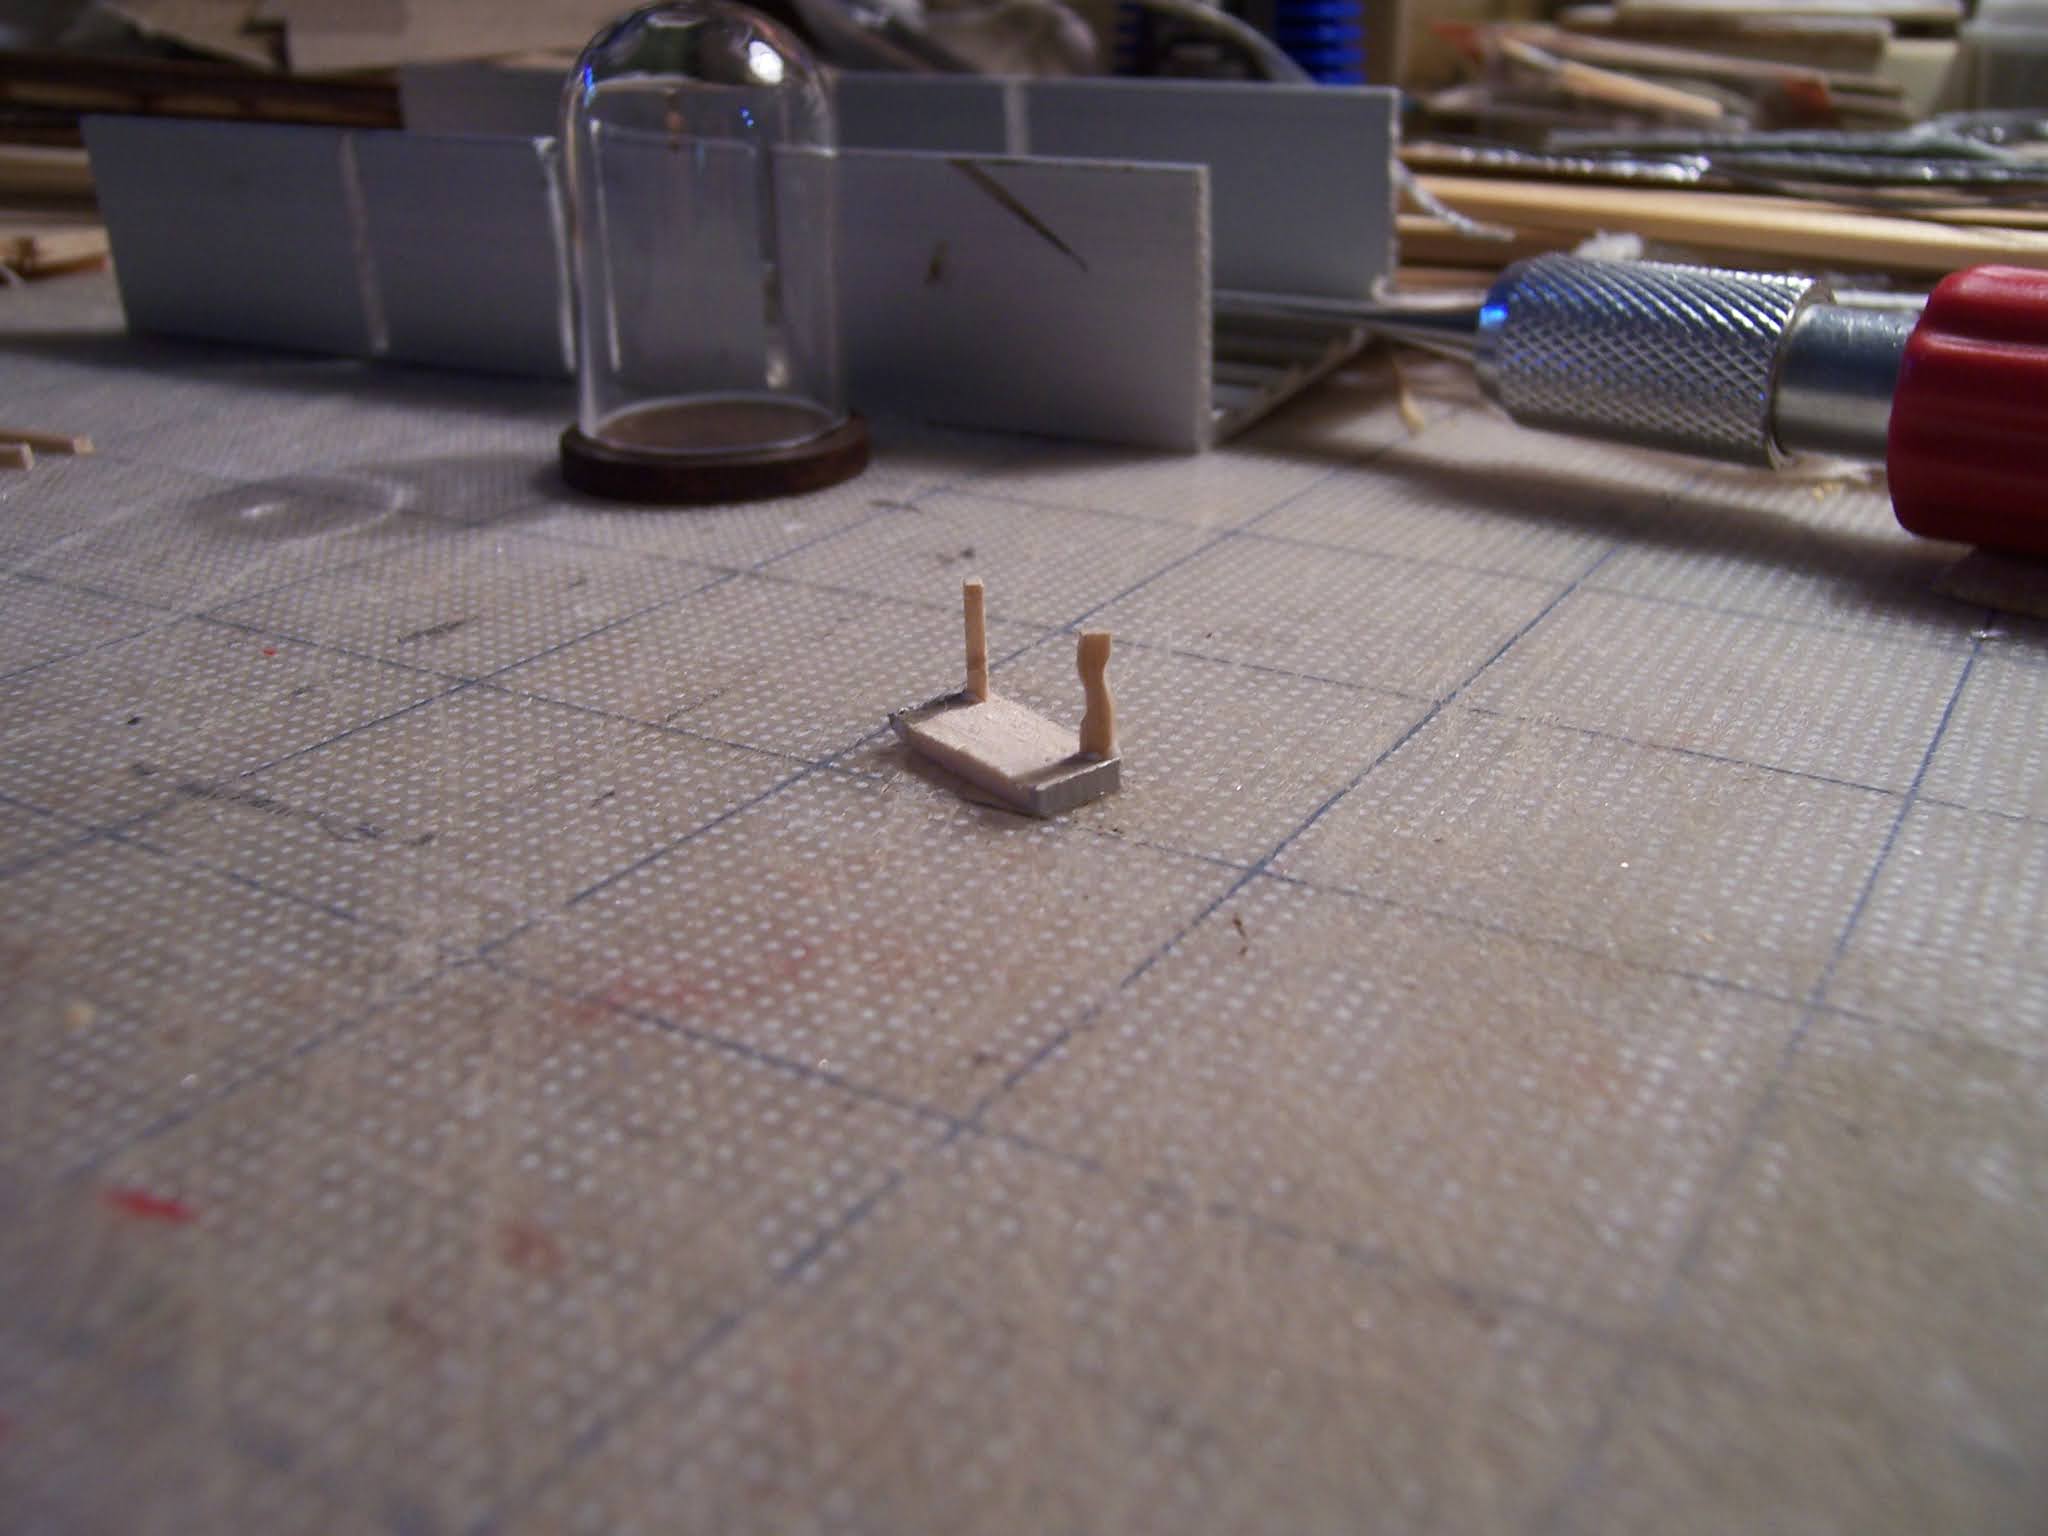
Just see if I could make a Tiny table....
There was a Perfect piece of wood waiting in my scrap pile...
(an off-cut from a castle ceiling trim "stone" from last summer's work....)
Can you tell what I am thinking...?
Have you seen this table before?
Is this a big enough clue?
But of course, I am really trying to get
those wires buried in the walls
of the Dollmaker's Studio Project!
This is boring work...
you won't want to see endless pictures
of glue and wires in a carved channel...
I will try not to bore you!
But the truth is, I got very VERY distracted
by this Teeny Teeny building project!
Could I even make it happen....?
Well, Dear Readers, I had to give it a try!
I started with a tiny sketch of the wall shapes I would need...
And I needed to see if I could paint that small with any degree of success...
(Can you tell now I am duplicating the Secret Christmas House...?)
All of this is using plain card stock
cut with my exacto knife and a ruler.
Above is the inner core of the framework.
I cut the pieces out as I needed them...
(I wouldn't want to lose a section!)
Here is the framework on the table....
Oooh... this might actually work!
And just to remind you what I am copying.....
See?!!
But this is just the beginning....
It is the interior that takes the time....
When I am not working on the Dollmaker's Studio that is....
Here the ceiling has been glued to the wood panel.
I debated making different "tiles"
but decided it was pressed tin panels instead!
And the board is quite warped....
It took a lot of "convincing" to flatten out.
But I had plenty to do while the glue was drying!
I needed to paint the interior floors with the carpets...
So I could start to assemble the interior pull-out sections.
Which had to be tested for fit every step of the way!
This is the other interior pull-out section before gluing...
And here it is being tested for fit.
Of course, I had to paint the ceilings on the undersides of the floors...
(I did this in the Secret Christmas House too!)
If you look very carefully you can see a sky with clouds....
See how cute this is?
Here you can get a good sense of the structure...
Two house sections pull out from the sides of the main framework.
Testing the front roof panel....
(not yet glued...)
And I wanted to see if I could make a Christmas Tree for the parlor...
(using the glue trick and florist wire)
Here it is in the parlor... I know it is really tall
I always make the tree as tall as possible!
Here the outside wall is attached...
and testing to see if it "works"
It does!!!
They both fit and slide in beautifully!
And the side roofs are attached....
Here it is with the sides closed.
And on the table...
And for comparison....
(please ignore the crudity of the tiny one...)
It only needs a few more details!
And inside the jar...
I think it worked, Dear Readers!
I only got a Little distracted
While I was waiting for the Glue to Dry!