Showing posts with label Castle Guard Room. Show all posts

Monday, August 14, 2023

So Many Details....


 Glue, Glue, Gluing....

One of the complicated parts of this Castle Entrance, Dear Readers, is figuring out which little detail needs to be taken care of Before another one is accomplished, because attempting to manage it later would be too difficult. And since it is really the door And the Electrical systems I am building, it requires that I jump all over the place! So it is that Before I can attach the outer wall to the stairs and electrical box, I need to finish the doors themselves (as well as the electrical wiring, but more about that later!). Above, you can see I have "painted" the boards for the doors and the hinges too. This is following the same method I started years ago, and while there are surely more sophisticated methods of making doors, this is the one I have used for the Castle. I am, after all, just building a Castle Dollhouse from plywood! And after painting the brass hinges, I baked the sculpey "hinge straps" along the same model as for all the doors. And glued them in place. I use basic wood glue for this.

They are big, bold and bulky, and meant to be
 wrought iron and therefore strong as a defense.
You must recall that this castle is a fortress,
 and these are the only ground floor doors,
 so they need to be really sturdy!
And as I was thinking about how they would have 
"barred the doors" from the inside in a real castle,
 I wanted to try to make a way for it to work here!
After a whole lot of fiddling and no picture taking
 I came up with this...
 

This is the inside view. 
The long bar is screwed from the outside
 (so I can access it if need be!)
and so I can turn the screw to make the bar go up and down.


When down, it slots into both the door "holds" 
and prevents the doors from swinging out, or open.


And when it is "up", the bar stands vertically at the side, 
allowing the doors to open.
(It also fits under the stairs which step right up above it)


Here is the view from the outside with the bar in the "up" position.
You can imagine how giddy I was that it actually worked!
The bar and the holds will get a coat of paint, 
but they can be seen better in photos this way.


I began to paint primer on the lowest part of the walls... 
and cut the remaining side wall for the bottom section of the stairs.
I will need to paint the "rocks" on the interior
 of the entry area before gluing this wall in!


I added the one door "handle" that would be needed
 on the outside of the stable doors.
The black sheetrock screw head you can see
 just to the left of the door is the control for the "bar".
It will remain uncovered and accessible.
 All other screw heads will eventually be spackled over and painted.


I also added the door handle to the inner stables door.
The wooden "bar holds" on the doors are
 only glued together, using wood glue.
I have debated adding screws for strength.... 
but for now I am relying on just the glue!


Here you can see where the bar goes down...
(it is tightly attached with the screw so it doesn't just "fall" down.)


And from inside the stables, you can see it when it is closed.
If it is ever necessary, I can reach in
 and manually lift it to the "up" position.

But we are still a long way from being ready
 to glue this wall in place, Dear Readers, 
as the electrical wires have not been finished.


And as they are still all dangling off the back wall of the Tower,
 I have been trying to complete a few other little details
 while the glue for the wires is drying and the back wall is available!
Specifically, the exterior windows "rock" trim has yet to be added!
I started with the "sills" for the windows.


And much to my chagrin,
 I realized that I'd done a terrible job of it
 when I built the little window way in the corner of The Lord's Bedchamber!
You can see the way the "inner frame" sticks out from the wall...
 when it is supposed to be flush!
This means all the new Outer "rock" trim
 will have to be notched to fit over the uneven surface.


A tedious and finicky process!


Here they have been glued on.
 I have not even begun to cut the arched window "caps"...
 and still need to design them!
The exterior window frames are exposed to the elements... 
and also are part of the "look" of the castle as a whole!
(I am working on it....)


Meanwhile.... there are a whole lot of wires needing glue... 
and before I can glue them, 
I need to be sure they are positioned correctly and function right...!
I am glad to say progress is being made!
The Lord's Bed Chamber lights all work beautifully
 and are exactly what is required for this room!


In case you needed a reminder,
 this is the Bedchamber (using flash)
There are two candles and the fireplace flame... 
for a total of three 12 v. bulbs.
(The outlet strip is designed to hold twelve plugs, 
so I need to be counting!)
 

Knowing that all those lights were "perfect"
 meant I could confidently glue those wires
 into their newly carved channel!
 I am using Aileen's Quick Dry Glue for this step, 
in part because it dries quickly 
but also because it doesn't get too brittle.
It also dries semi-clear and will not "yellow".
For now I am leaving all these buried wires uncovered.

The next chamber down is the Lord's Council Chamber....


Which you can see here (in case you haven't seen it before!)
It has a fireplace and two candles in the mantelpiece,
 and holders for two torches along the wall.
Alas, those torches have not yet been made!
I had made all the lights for the lower rooms of the castle
 waaaay back in the beginning... 2011 to be exact...
 and had not made any more torches since! 
(I will need to research my methods.... !)
So I cannot glue the torch wires in place for this room....
 But I did glue the hearth wires.....!


I know.... it is dark and gloomy!
It does need the torches on the side wall.... 
and it is a Medieval Castle!


Meanwhile, the Guard Room Torches,
 the first ones I had made all those years ago, needed repairs.
I designed them so that the light bulb, which is changeable,
 can be removed by lifting it up 
pulling the wire through the "torchere" at the top.
 But it is intended to only have to lift up a short way,
 because most of the wire will be glued into the walls
(I leave a small amount slack at the base of the torch).
What you see on the floor above, 
will not be possible once the wires are glued in!


What you can't see here (because I had already fixed it!)
is that the "torchere" part of the torch
 had been knocked apart and was crooked, only held on by the wire.
It needed to be reglued.... but I needed to be sure no glue
 got on the wire which needed to be able to be pulled freely through
 the "torchere" to change a bulb if necessary!
I had originally made these with superglue.
The solution was to very carefully wrap the wire
 in a tiny collar of cardstock where the two parts would be reglued. 
Then add the superglue and push the two pieces together
 over the cardstock collar!
It worked! (Whew!!)
And while I was making repairs
 I thought I would finally try an idea 
that I had been thinking of for years.... 
upgrading the look of the torch "flame"!


So that it actually looks a little more like "Flame"!


And for comparison with the original "flame"...
Really no comparison!
Now I just need to make more of these "flames"....


And just for reference... the whole Guard Room
 with the flash turned on...


And with just the torches lit!
I think the new flames will be an improvement.


The new flames are just plastic packaging painted with acrylic paint,
 wrapped in a cone shape and placed around the bulb in the "torchere".


Here I am making another with a slightly yellower flame....


As always, I like the first one best.... 
and will work on "upgrading" all the torches in the castle!

So you can see, Dear Readers, 
I have been dealing with So Many Details....
And jumping all over the place
 with Glue, Glue and More Gluing!


Tuesday, July 13, 2021

Completing Corners.....


Carpet and Castle...

Last Week, Dear Readers, I was on vacation (a "stay-cation", we call it because I go nowhere) and I was able to wallow in my many mini projects to my hearts content! I leapt from project to project (while waiting for paint and glue to dry, of course) and managed to solve a whole bunch of technically complicated corners of my incomplete projects. I cannot tell you how satisfying it is to ignore the clock and simply fiddle with the many many possible options until the pieces fit and the problems are solved! At the time it sometimes feels like I am not getting anywhere.... because my attention is on so many small bits and pieces, but when I stand back, a lot of progress has been made! To begin with, I had showed you the carpet with the corner designs completed, but the background not yet done. In the above picture you can see the background dark red color is being added. It didn't take long to finish the background.

All I need to do now is take it out of the frame and bind the edges.
But I think it looks as good as I hoped it would!
And if the dark red color that came with the kit
 is not enough to bind all the edges, 
I have some of that same color
 from a previous kit so I am not worried at all!
 
And because I had the many days of my vacation stretching before me, 
I returned to the Castle, (my biggest unfinished project),
 with the goal of tackling some of those big unfinished corners!
Of course, this requires that I send away all the little people
 who are living there and empty the rooms of the furniture
 that has collected since last summer's marathon of 
"strengthening" all the unfinished corners and edges.
I thought I had finished all the edges
 of the already "completed" rooms...
But I was wrong!
You might recall that I had "strengthened the corner posts
 in the stables and the Guard Room....
but really I had only done the visible back corner of those rooms!


Here you can see the Guard Room's massive back post...
and the one to the front by the door is puny in comparison!
This has bugged me all winter!
 

Part of the problem was I would need to reposition
 the torch lamp and holder bracket
 in order to strengthen the front corner post.
 But the torch light was damaged last year in the building process,
 so it needed fixing anyway. 
I removed it and pried the bracket from the wall.


Here you can see the post is strengthened.
The capital at the top has not been added yet... 
it requires complicated shaping...
 

Here it is being painted.....


(I apologize for the dark photos....)
This is the spot the capital must fit into...
and surround the previous "capital" 
which was never adequate
 to support those arched stones!
 (This bothered me a lot!)


Here you can see it in place!
And now at least it matches the other corner post!


Here, I will shine a little spotlight on the back corner....!
Or better yet... turn on those Castle Lights!


That is more like it!


Much Much Better!!
But it is still not done, Dear Readers...
The front opening doors need the trim added around the opening.
And in particular the "doorstop" piece....


And in this case it needed to be sturdy... at least the central "stop" piece!
I used a small piece of plywood and attached it with glue and a screw!
Then I could add the rest of the regular pieces just using the regular wood and glue.


But you can see how just that one piece 
stops the doors from pushing in beyond the wall.
Which is what you can see happens with the doors to the Lord's Chamber....

Which will eventually need to have the trim and doorstop added.
But first we need to finish the trim and corners of the Stables.
Because, believe it or not, I discovered that there was a crack
 all along the front of the stables ceiling that needed to be covered,
 just like the other sides I did last year.


You can't see this from the front... 
but this door needed the "doorstop" and trim anyway.


And this corner post was mostly "strengthened" last year.... 
complicated by the stall which is attached here.
I added a tiny corner chunk and started the door trim.


Here it is almost completed.
(And no, I didn't send all the little people away...!)
The work in this corner was not too disruptive!


See how neat it looks?


And the trim in the Guard Room mostly done...
I still need to add the part in the closet...

And you can see how nicely the doors line up when they are closed!

Well, Dear Readers, that is not all the "corners" 
I completed on my Vacation... 
but the rest will have to be another post! 
I have been wanting to get this done for years...
And now I have Completed these Corners!

Wednesday, September 9, 2020

Filling The Gaps.....


 Details..... Details.....

I did a lot of Repairing things last weekend, Dear Readers, fixing gaps in the Castle stonework and adding missing stitches to the Medieval Ladies Tapestry. It was one of those satisfying stretches of actually making things come out right after all! Imagine That! I have a tendency when stitching the Petit-point to want to get all of one color in place before adding another one.... this only works on small designs, I am discovering. The trick I am learning is that you can leave one color thread "dangling".... just unthread the needle and let it drape to the side while you "work" for a while with another color. This is much more like painting and easier to fix the missing stitches before you have gone too far. I am learning! As I was fixing the missing brown stitch in the Lady's cuff, I found a missing pink stitch, and one that was supposed to be pink but I had stitched brown.... I know you don't need to hear all of this... but I had to unstitch quite a bit and re-do it. 

Fortunately, I had not gone too far and was able to get the stitches right.
 
And over in the Castle Stables, 
you recall I only had one more "Arch support" to complete... 
but it turned out to have an even wider gap than the back wall!
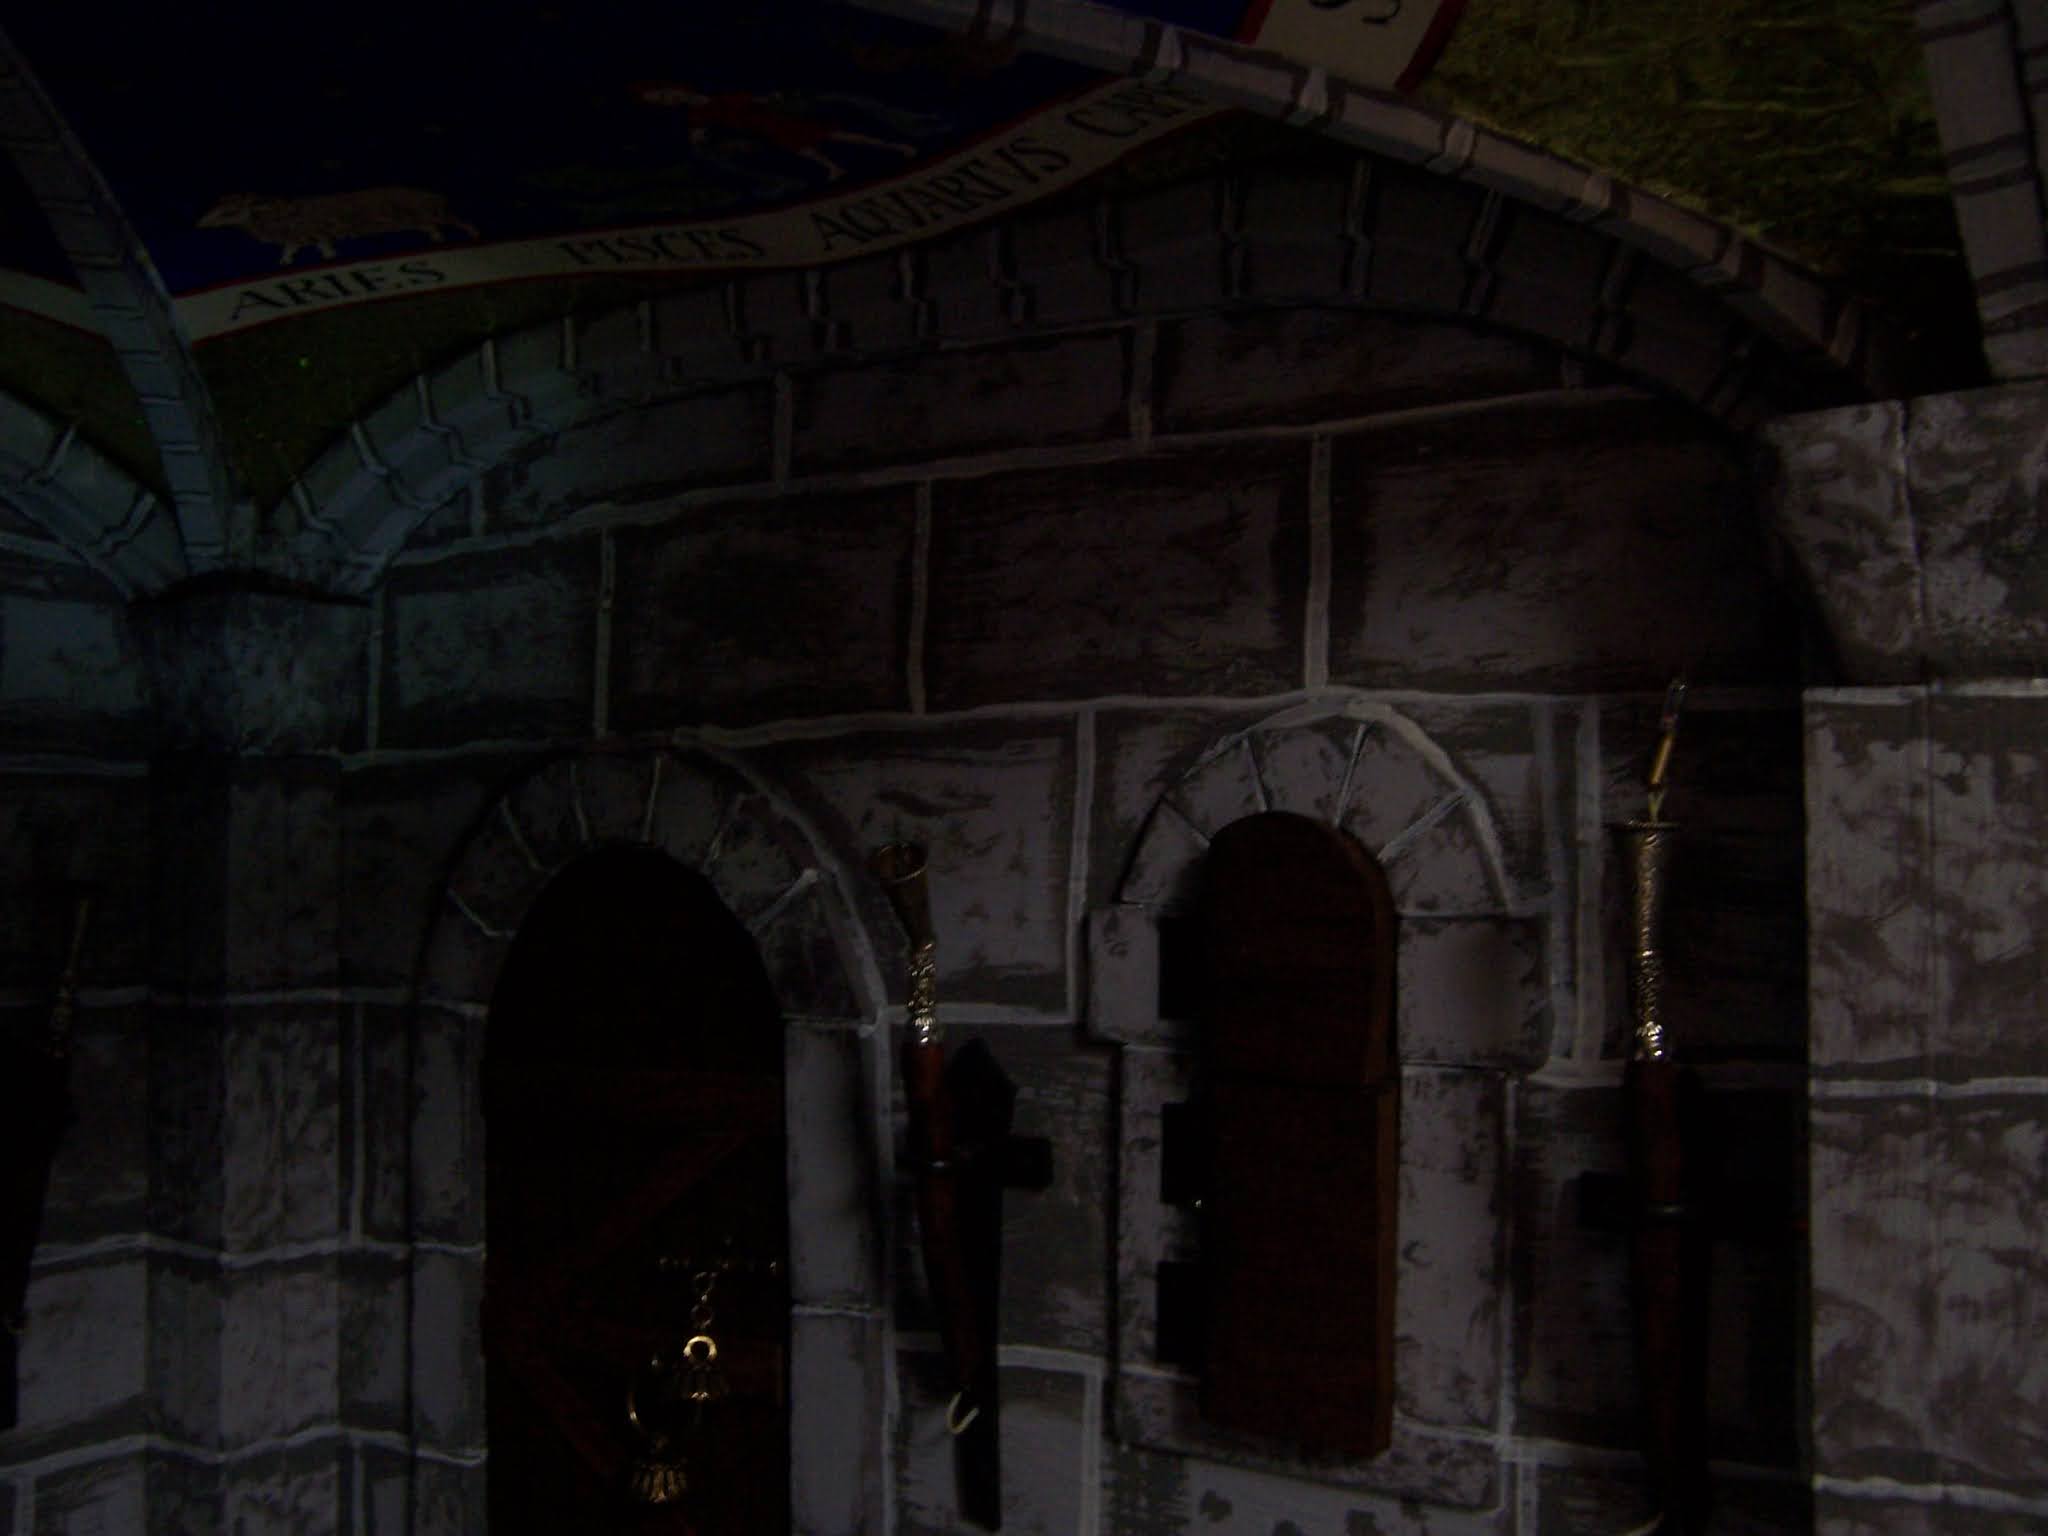
I don't know how I didn't notice it for all those years!
It needed filling the same way as the previous one...


A long strip of "ceiling" glued in the gap 
and then covered (mostly!) with the "stone" pieces.


You can see the rough edges where the strip didn't glue exactly right.
But this is the "camera's" view... 
I can't get my head this close to actually see it.
 And I also added the missing "stones" 
to the Stable Door surround...


They had to be fitted one at a time.
It is so hard to see back there
and I couldn't measure the gap 
and hold a stone in place at the same time.

And you might have thought, Dear Readers, 
that the Guard Room was already completed...
But once I had "strengthened" the corner post in the Stables....


The corner of the Guard Room looked weak.


So I started to "strengthen" it too...


Here you can see the stronger corner.... 
just needing the grout lines painted.
I thought it looked Great....
Except that the "capital" now was out of balance.... 
and I had never been satisfied with it in the first place.


Here you can see the close-up "before" shot....
(What a mess of miss-matched pieces!)


Here it is "after" the capital has been remedied.
This was a really complicated piece to shape!
I am really pleased with how it turned out!

And on the other wall..... Over the Door to the Great Hall...


There was an arch that hadn't been added yet...
(I didn't get a good "before" picture)
Here the stones are added, 
waiting for the grout lines to be painted.

And the final "stones" over the stable doors....


And even the small side door was finished....


And then I had to paint all the Grout lines....


The Guard Room ceiling arch....


The "strengthened" Corner Post....
(So Satisfying to see...!)


The Dungeons ceiling arch.....
 

Stables left hand side.....
 

Right hand side....
(I even added the door handles!)
 

The back wall.....
I can't tell you how satisfying it is to have this done! 

And as for the Ladies Tapestry, Dear Readers,
I am making changes to the original design.
I wanted the Ladies to look more Medieval....


I know it is hard to see.... but I am adding a 
"coif" to the headdress on the left.
This requires adding a new pale gray thread color,
 because the off white flesh tone needed to stand out against it.
It won't be until I am doing the background color
 that we will be able to tell how it really will look.


But I think it will work!
She already looks much more Medieval to me!
I know I have not shown you the kit design picture....
I'll do that next week....
For now, Dear Readers, 
I am Happy with all these little details.... 
Filling all those Gaps!