Showing posts with label Lilac In Bloom. Show all posts

Wednesday, May 6, 2026

Flowers.... Flowers......


And Still More Flowers.... 

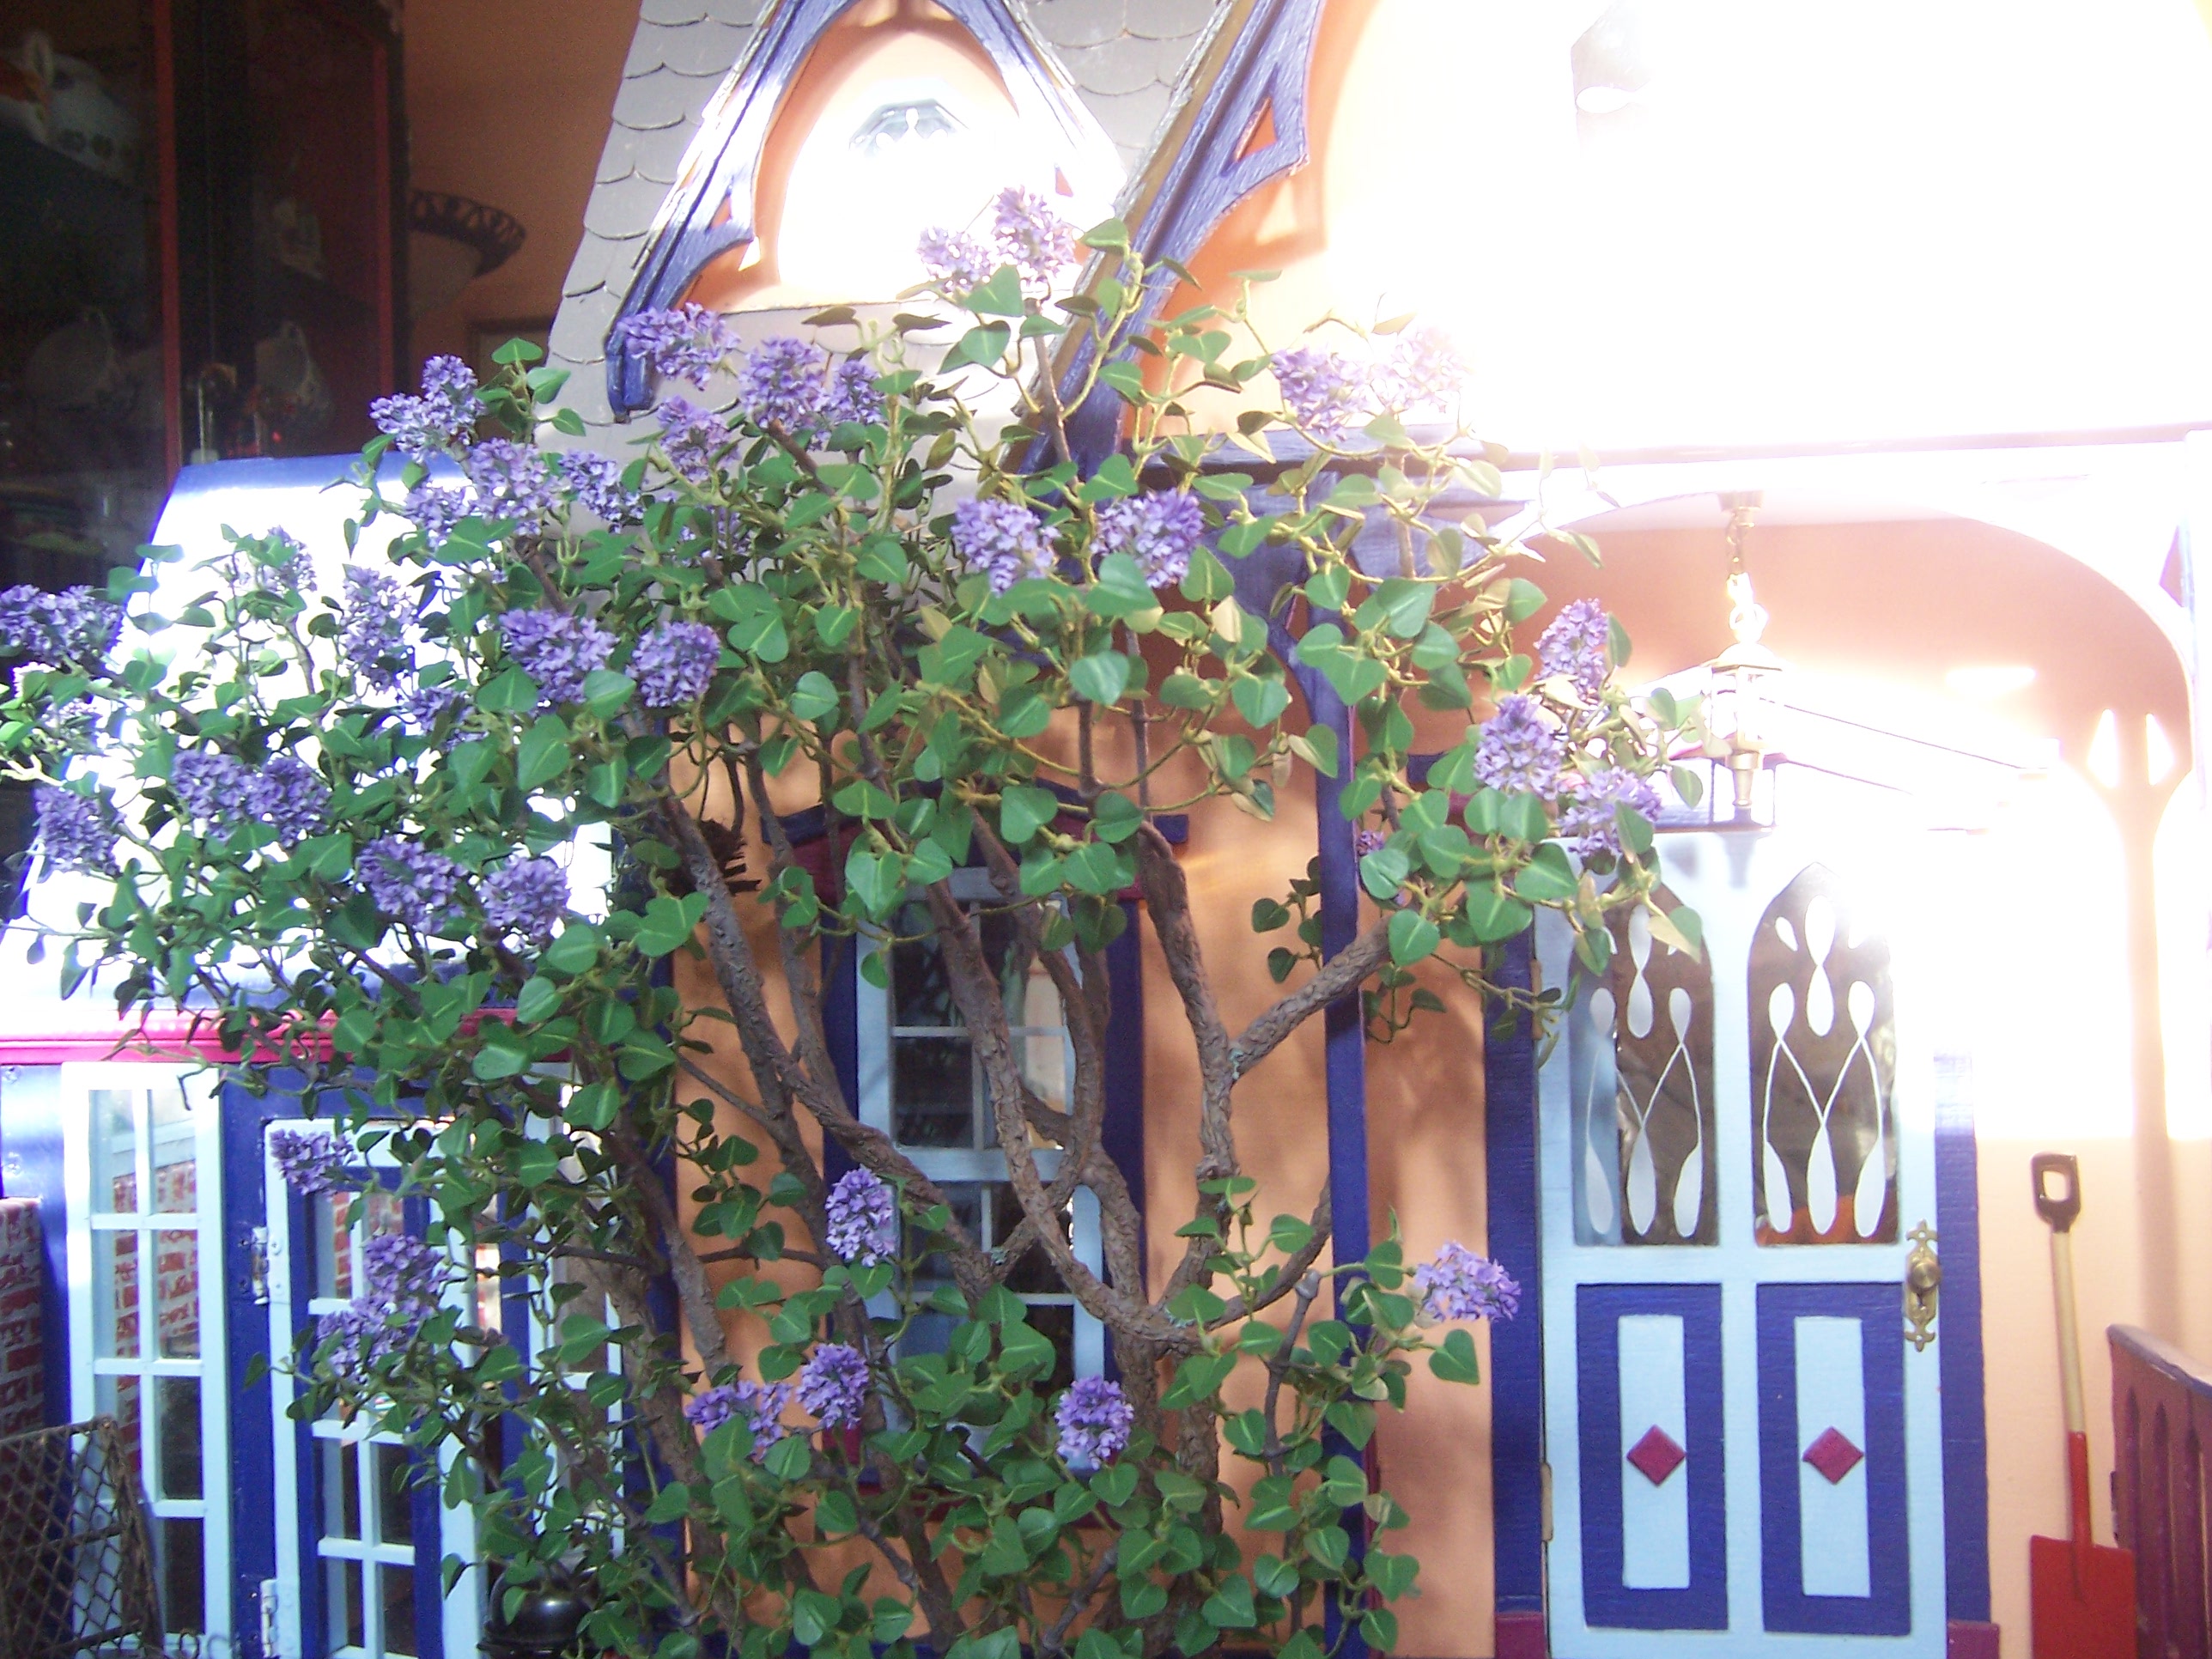
Well, Dear Readers, It is that time of year when we are swept into Flower Season in a great heady rush of blossoms! The Trees, the Shrubs, the Gardens, the very lawns at our feet are bursting abloom and transforming the world from a bleak landscape to a colorful wonderland seemingly overnight! Ahhhh, I do Love springtime! And, of course, here in Blogland it is the season to bring forth the Lilac Shrub in all its Spring flowering glory! It is such a brief season, lasting barely a week or ten days in RL, but I allow it a slightly longer run here in Etherland. There she stands! The ancient lilac beside The Folly porch, scenting the air with that wonderful aroma.... (well, in my imagination, at least!) and filling the hearts of all passersby with Joy! If you wonder why it takes me so long to finish my Dream Landscapes... this is the reason! It is so beautiful, but agonizingly slow to materialize! And now, every year I get to revel once more in the awe of this miniature shrub!

 
We have been experiencing a lot of cloudy days recently,
 but I was able to get pictures of the Lilac in sunlight 
yesterday morning before the clouds moved back in.

 
If you Really need to know about the making of these blossoms.... 
you can read about it in the archived posts for 2018
  (beginning in March) and (ending in October 7) 2019. 
It took a year and a half to make the shrub in four seasonal variations! 
Yes, sometimes it just takes a huge amount of time!


But, oh, it is so satisfying when it is done!
 
But that is not all the flowers I have to share with you this morning. 
I also have been stitching up a "milles fleures" 
 background for the Medieval Lord Tapestry!

 
Some of you might recall the previous Tapestries
 I have stitched in this series, showing the background
 liberally strewn with blossoming greenery. 

 
Here is the original kit picture for reference. 
Because I moved and changed so much of this design, 
I found almost no spot that I could stitch as the kit had specified,
 except for the part to the left of the Lord's head. 
I also had widened the area being stitched from 3 and 3/4 inches 
to 4 and 3/4 inches, so there was really no comparison.
 But I decided that it would be best to use the "flower forms"
 as designed, and just fit them in wherever
 I could in the new design! 
I also tried to keep a similar overall balance 
of pale and darker blossoms and to "sprinkle" 
them in a natural seeming arrangement.

 
Here you can see the "finished" addition
 of the kit designed flowers. 
But some of you might also recall that I had
 added a few more flowers to the 
other pieces of this Medieval series.... 
Lots more in fact!

 
In case you needed a reminder.... 
Here you can see all three of the Tapestry "fragments" 
lined up next to each other for reference.
 The one on the left is the first I stitched
 and I only changed a few details of the headdress
 of the lady to the left and added more flowers, of course. 
The middle one I designed the Lady to the right
 as well as all the background to her right, 
plus the added flowers. 
So you can see why I have to continue
 with this altered background for the Lord's Tapestry!
 
You might have noticed there are no blue's in the Lord's Tapestry 
(other than the midnight blue background) 
and I had added tiny blue flowers to the others. 
I dug around in my archived kits and 
found the threads for the Lady's Tapestry...

 
I keep the remaining threads, needle and charts 
in clear plastic pockets in a binder for just this reason!
 The blue threads and some of the green threads
 I used were all right there!

 
It was just a matter of fitting more flowers
 into the background wherever I could... 
keeping an eye to the color balance too. 
There are also tiny "white" blossoms being added... 
but they are nearly impossible to see until the background is stitched.

 
 Here all the flowers have been added... 
before the background midnight blue is added.

 
Which is quick to follow... 
because we need to see how it will look...!

 
And Oh, how I love what it does to the colors!
 
But not to distract you, Dear Readers, 
I have also been stitching a few "flowers" 
on the Chinese Dragon Carpet too!

 
Now that the daylight is lengthening and the light is stronger, 
I have been working on the Dragon Carpet again. 
It needed the corner motif's redesigned
 from what the original kit specified. 
But first I had needed to add all the little "golden blossoms"
 to the chart in the appropriate places. 
Because I had changed this design too,
 I had to alter the position of these blossoms.

 
And I had redesigned the corner motif entirely! 
I wanted to carry the central motif of the sun
 out to the corners, and balanced it with 
additional golden flowers just inside the corner.

 
Here you can see I have added the golden flowers
 to all the corners and the "sunburst" to the outer borders as well. 
Now all I need to do is design the remainder of the borders.... 
and stitch the white background... 
that will take a while!
 
Well, Dear Readers, I have been
 Wallowing in fields of blossoms lately,
 stitching Flowers, flowers and still More flowers.... 
and Loving every minute of it!


Tuesday, May 13, 2025

Morning Sunshine....


May... Oh My!...

In my Real Life garden, Dear Readers, the Lilac has almost no blossoms this year. It was a harsher than usual winter after a terribly dry Late Summer and Fall, so I assume the shrub is stressed. Because there were so few blossoms outside, I almost neglected to bring out the Blooming Lilac Shrub for it's annual glory show in my mini world! But yesterday morning the sun was shining into my work room and there was the bare winter shrub still in place... I quickly switched it out for the blooming one! And Oh, my goodness, it lit up my day! So beautiful! So elegant! So exactly what I had imagined it could be when I started my four seasons lilac project all those years ago! And I will admit, it reminded me that I must not give up on the Leafy Green Rhododendron shrub which has been neglected in the past month while I drove my son back and forth to Boston for medical visits. (He is now recovering from his operation and so far things are going as well as could be hoped!) So inspiring was this lilac that I got right to work on the Rhododendron... but that will be the subject of another post. This is all about the Lilac!


 My workroom is on the Northeast corner of my house, and at this time of year the sun rises over the neighboring house to the east and shines briefly on the dollhouses... bringing that touch of realism I love when the sun comes to play. But it rises quickly, and early, so if you aren't quick, you miss the best sunshine. 

I just love the way it looks... no matter what the lighting!

 
And I keep trying to get the "best shot"....

 
But I can't ever decide which photo that is...

 
Whether in the dappled morning sun....


Or after the sun moves on....
 I think I love it in every way!
And so Dear Readers, 
I will keep on making the Rhodies too, 
Because someday they will also have their moments in the sun!

Saturday, May 11, 2024

Lilacs For Love...


And Sorrow....

It is That time of year, Dear Readers, when the Lilacs are blooming in the RL world, and so I must rearrange my properties and dig out the Blooming Lilac for The Folly garden and set it up so the morning light can bring it to life. The early morning light is still dim because it is a bit overcast today. But you can see the tall arching stems of this old and much loved shrub where it stands beside The Folly porch.

And as the daylight grows stronger
 you can perhaps see the blossoms better...
Each and every one lovingly made....
it took more than a year to do!
(Some of you will recall the blossom-a-week progress...)


And closer, by the door....
You will have to dream of the amazing scent...
for bringing that to life is beyond my small abilities.


The weather has been gloomy a lot lately, 
but every now and then we have moments of sunshine...
Catch them when you can... 
for they are fleeting....


Like Life itself....
Here and then gone...
 
 
Forgive me, Dear Readers if I wax lachrymose... 
My dear Father passed away recently.... 
and I am having trouble finding the sunlight...
 

He was 94 years and eight months old 
and lived a wonderful creative life.
I learned so much from him.
He was dearly loved.
And now he is gone.


And yet, the Lilacs still bloom...
Lilacs are for Love...
And sorrow...


Tuesday, May 9, 2023

Lilacs.....


Are Blooming....

Maybe you remember, Dear Readers, the months and months of work it took for me to make the lilac shrubs for The Folly garden! And because it was such a monumental process, with the challenge of making the shrub suitable for four seasons of viewing (four different removable versions of the shrub!) it is an absolute necessity that the Blooming Lilac shrub have it's show time every May! So I have moved the dollhouses around so The Folly can sit in solitary splendor at the end of my work table where the lilac is easily viewed in all it's glory. This is my favorite spot for this dollhouse.... and seeing it still half finished... there is the other half of the garden still to make and the Tree House to complete... maybe it is not even half finished yet! But I have resigned myself to the idea that this must take it's time in order to be done right. So for now, we will just admire the lilac in full springtime bloom!

Believe me, it is a challenge to get good photos of this shrub!
The sunlight hides behind the neighbor's house at this time of year,
 and then suddenly it is taking over with brilliant contrast
 as it tops their roof and glares in my windows!


There seems to be no in-between!


My camera doesn't know where to focus...
and too much reflection spoils the colors...


The blossoms are still too washed out....!


And on a different morning....
 before the sun is too far advanced...
Perhaps we get a better view?


And a moment later the sun is taking over...


And I must try again another day.


Perhaps before the sun arrives.... 
when it is still too dark to really see.
Well, no matter Dear Readers,
I am enjoying every minute
 of seeing The Folly lilacs in bloom,
 and maybe just a little bit of 
Dreaming about the rest of this Garden!


Tuesday, May 24, 2022

Lilacs... And Labors of Love....


 Castle Windows Again...

It is Hard to ignore The Folly Lilac, Dear Readers, when the morning sun is shining on it, as it was this past weekend. I, like Will and Gabrielle, had to stop to admire the loveliness and grab a few pictures in those brief moments. And yes, it is a reminder that the months and Months of focused labor to create this blossoming shrub, were so worth it in the end! And sometimes I need that reminding as I slog through some of my other Endless-seeming projects, unable to see the goal posts in the distance! I was home on vacation last week and was thus able to tackle one of those daunting tasks I have set myself with the Castle construction. I refer to the hinged leaded glass windows which I deemed necessary to my happiness when I started this project! Believe me, I dare not even count the number of windows there are still to be made! But I can say I have completed one more of them! It took me most of the week to accomplish!

You might be amused to know that I thought
 I might be able to get all three of the remaining windows
 in this room done while on my vacation!
The one I began with was the one on the side wall
 with the lovely window seat that you see in the above picture.
I have developed a complicated method
 since all the windows are different
 and are quite irregular in their shape.
(They are all "arched" but the arches are all
 cut by hand and uneven to say the least!)
The first step is to make a paper pattern that fits
 the shape of the window, inside and outside,
 because you will need two thin frames made from plywood.


Here is the interior one.


And here is the plywood piece for the inner one,
 shown with the flash so you can see how
 it fits inside the window opening.


Here is that viewed from the outside, 
so you can see the space for the outer frame to fit too, 
once it is cut out.
(It was at this point that I optimistically thought
 I might just start the other two windows as well!)


The next step is to cut out the "opening" for
 each window from the solid plywood.
Since the window is two sections, an upper and a lower,
 I begin by cutting across the middle and then around the sides.
The center crossbars will be added separately to make the frame.


Remember there are two of each section
 and you have to keep track of which side is the inner and which the outer
 or it will not fit the opening when finished!
Here they are being given a coat of primer.


Then I cut the glass panes to fit inside the window opening.
They need to be large enough that
 the frames will overlap their edges enough
 to hold them securely in the frame.
Here you can see the pattern I have drawn
 so my lead lines will maybe look straight and even!


The lead lines need to fit inside the opening
 of the frame so I am testing the fit of my pattern.


Then I apply the "lead" paint to the
 glass panes and leave it to cure overnight.
At this point it looks terrible... 
much too blobby and uneven and thick lines.
But I have learned that I can trim them later
 when they are partly dry.


I use a sharp exacto knife to trim all the lines.
The arched pane has been done. 
I hope you think it looks a little better!


Here you can see how the frame gets "inner supports"
 added along the edges to keep the glass in place.
All the wood is 1/8 inch stock,
 so the three layers make the window the same thickness
 as the Castle walls which are 3/8 inch plywood.


Here is the lower window frame with the glass in place.


And the top section of the window
 (which does not open)
 is glued in place.


Here is the view from inside 
with the flash on so you can see it...
 it is getting late again!


Because the lower section needs to swing open on Hinges...!
(Yes, this is necessary!)
It takes much longer to complete. 
Here it is being fitted to the opening again...
 and also tested for "swing" allowance.
I will need to trim along the side away from the hinges
 once the hinges are in place.


Please forgive the glare of those Large, Shiny Brass Hinges!
I love them because they are sturdy
 and do fit into the thickness of a 3/8 inch thick wall!
Carving out the rebates to fit them is another challenge. 
Exacto knives, saws, chisels, sore knuckles, swear words...
And then trying to drill the holes for the screws
 into the side of the window opening...
But I managed it well enough! 
(Not perfect, but functional!) 


And attaching the window frame to the hinges...


The open window from the inside!

All it needs now, Dear Readers, is the shutters...
and the window surround trim stones...
Which always takes longer than I think it will!


Cutting, painting, fitting.... adding Hinges!
Here you can see it with the flash, only partly done.


Top section in place....


Both sections attached... 
and the window surround "stones" also done...
with the flash so you can see them!


And both of them open, with the flash on...


And the window open with no flash...
yes, it is dark and atmospheric...
As a Castle should be!
And can we begin to glimpse why all this labor
 is going to be worth it in the end, Dear Readers?
Or do we need another Reminder...


Visiting for a moment the Lovely Lilac,
Even though the sun has gone.
Yes, I have faith that these Labors of Love
 are Worth it in the end!