Showing posts with label Lilac Branches. Show all posts

Monday, July 15, 2019

Little Progress.....


Remember The Leaves.....?

I Have to Admit, Dear Readers, that I slacked off last week from the Weekly Leaf Making Challenge. There were just so many exciting other things to play with over my Vacation, and then the first week back to work is a little exhausting! So at the end of the day when I should be starting on those ten leafy stems.... I let other things take my attention, which just meant that on the Week-end, when I might have had time to make progress on the Sugarplum kit, I had to play catch-up with the leaves instead. At least I have now reached the stage of this Summer Lilac where the leaves are attached to the stems Before the stems are attached to the bush! But I still have to make all those stems.... above you see ten stems with the leaf twigs attached.  I was about to start adding the leaves when I remembered that I need to take an extra step with these stems Before I add the leaves! They need to be painted gray-brown like the rest of the "older" stems on the bush. It only takes a few weeks after the stems grow for them to begin to turn the gray-brown color!

Here you can see I have started to paint the stems....
And that I need to be careful to leave the twigs green.... 
because they are the same color as the leaf!

Here you can see a close-up of the color of the finished "aged" stem...
 the stem is the gray-brown, and the leaf stem is green like the leaves.

Here you can see the stems painted.... ready to add the leaves!

Here the leaves have been attached to the stems....

And beginning the painting of the leaves.
 
Of course, there were times while the glue dried, 
or the paint was drying that allowed me
 to fiddle with the Sugarplum kit just a little bit.

I had to remove the doors from their Hinges
 in order to carve the Faux board paneling and add
 the cross pieces which accommodate those huge screws!

And then I stained them a dark walnut color...
(They are supposed to be old oak doors!)

Then I had to test them in the room to see how they looked.... 
the stain did not take evenly on the plywood grain....
 I am not sure I can do anything about it!

Then I decided that if I was going to Kit-bash the Sugarplum,
 I might as well get on with making the necessary cuts....
 starting with removing the floor.
The floor in this kit pretty much holds the house together.
But one of the changes I am making is to increase 
the height of the ceiling in this (upper floor) room.
The kit has this ceiling at only 6 and 1/2 inches high!
I was planning to add 1 and 1/2 inches for a total of 8 inches high,
 but I measured wrong, forgetting that there is
 the 1/2 inch foundation area below the floor level...
 so when I move the floor down I now have
 two extra inches of height making it 8 and 1/2 inches high.  
I think I can live with that!


In order to make the floor fit into the new lower level walls, 
I needed to cut all the tabs and the front porch floor off of the floor panel.
It only makes me aware of the warping of the plywood!

This gives the lower level a nine inch ceiling height.

And with the attic floor positioned.... 
you can see how low the ceiling would be
 without the additional wall height!
I will need to cut the front wall openings for the alcove,
 and I will need to extend the porch door lower too.
And there will need to be a door in the side wall
 for the Tower Stairs to access the second floor.

The alcove will stick out over the front... along with the porch... 
with supporting brackets underneath.

And there will need to be some elaborate structural joining 
where the kit walls meet the new plywood lower walls....
Still a whole lot of kit bashing to do!

But meanwhile, Dear Readers,
 I have finished painting the leaves 
on the Ten leafy Stems...

And I have taken a careful look at the
 Summer Lilac Shrub as it stands.....

As you can see, it has nowhere near enough leaves!
This is about fifty four branches attached to the stems.
There needs to be at least twice as many....
I estimate between 120 and 135 leafy branches in all.
That leaves me 70 or 80 still to make....
At ten leafy stems per week.....
I think I can finish it before we officially reach Autumn!
But only if there is no more Slacking off!

So I hope you can bear with me, Dear Readers,
If  there is little Other progress
 while I Work on those Summer Lilac leaves!
I just Have to remember those Leaves!


Monday, February 4, 2019

More Buds And Blossoms....


Not Very Exciting....

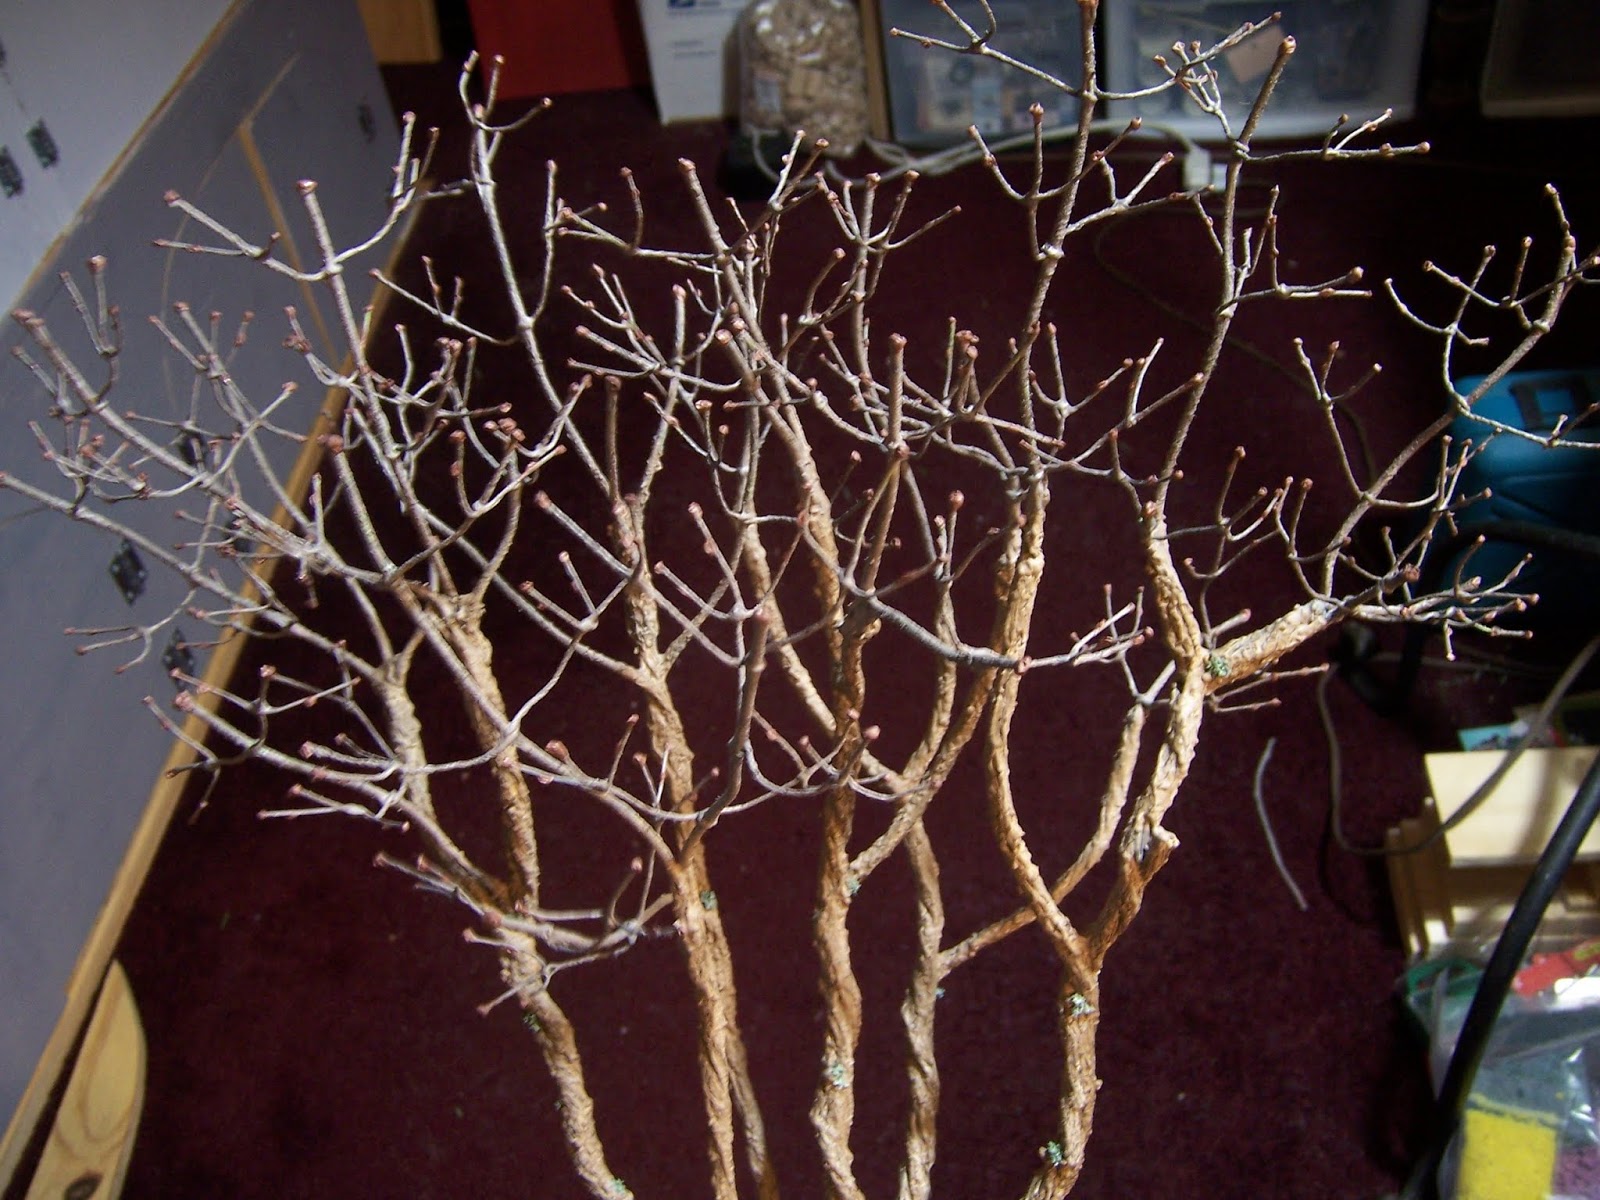
I am Sure you will be getting tired, Dear Readers, of seeing nothing here on this blog but endless lilac blossom updates and the occasional dot of glue, interspersed with a stray paper leaf.... but such has been the Nature of this project! I spent my weekend applying little dots of glue to one of the shrubs, striving to only put the glue where there would really be a bud on a lilac bush! (They are not as random as one would think!) Above you can see the shrub with about half of the branches sporting little white blobs! It actually went a lot faster than I thought it would! (Yes, I had been dreading this task.) Of course, it is difficult to get a good picture of these blobs....

Can you see them here?
 By the time I had finished applying them, 
it was late and dark....

Here you can see them a little better... 
except that the focus is not great....
No I did not count them!
And the following day when they had all dried thoroughly... 
I began to paint them....

I know it is a lousy picture, Dear Readers, 
but about one third of the stems to the right have been painted....
Once the glue has dried, the "buds" become much less visible....
If you poke the picture you might see them.

This step did take several hours...
but even it went faster than I thought it might!

Here they are all painted..... for the first shrub at least!
In case you have forgotten, 
the shrubs are going to be the different seasons....
One with blossoms, One with only leaves
 and two with bare branches...
because winter lasts a long time around here
 and offers a variety of "conditions"!
Only the two bare branches ones will need the buds.

Here it is in The Folly Garden....
And yes, there are still a few details missing....!

But meanwhile I was also completing 
the Blossom number Forty-two
 (I do believe we can only count the finished ones!)

And with the rest in the box......

They are becoming quite a collection!
But I really must get started on the leaves....!
I will need to add them to the shrub branches
 at the same time as the blossoms....
(It is a little hard to tell which to do first!)

So that was my weekend Dear Readers, 
More Buds than Blossoms...
And Not very Exciting...
But Slowly and surely the shrubs are getting Done!

Monday, January 28, 2019

The Buds....


One More Tiny Detail....

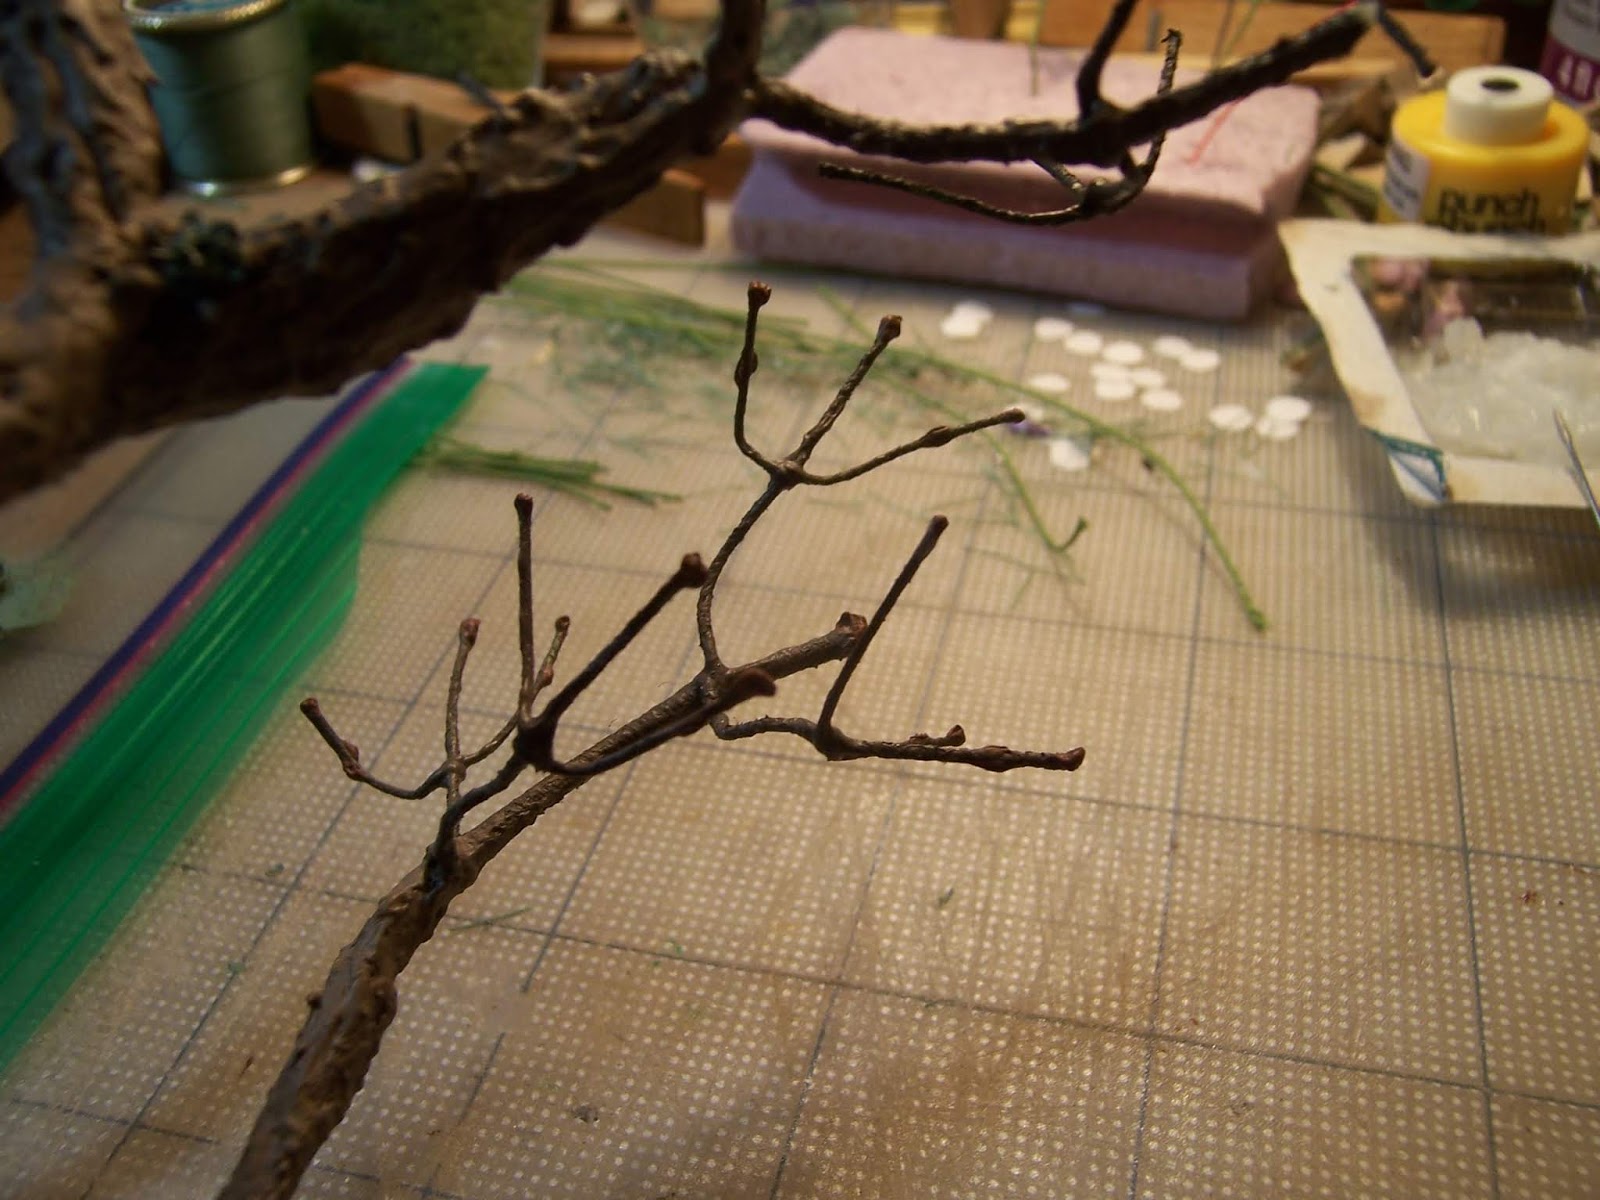
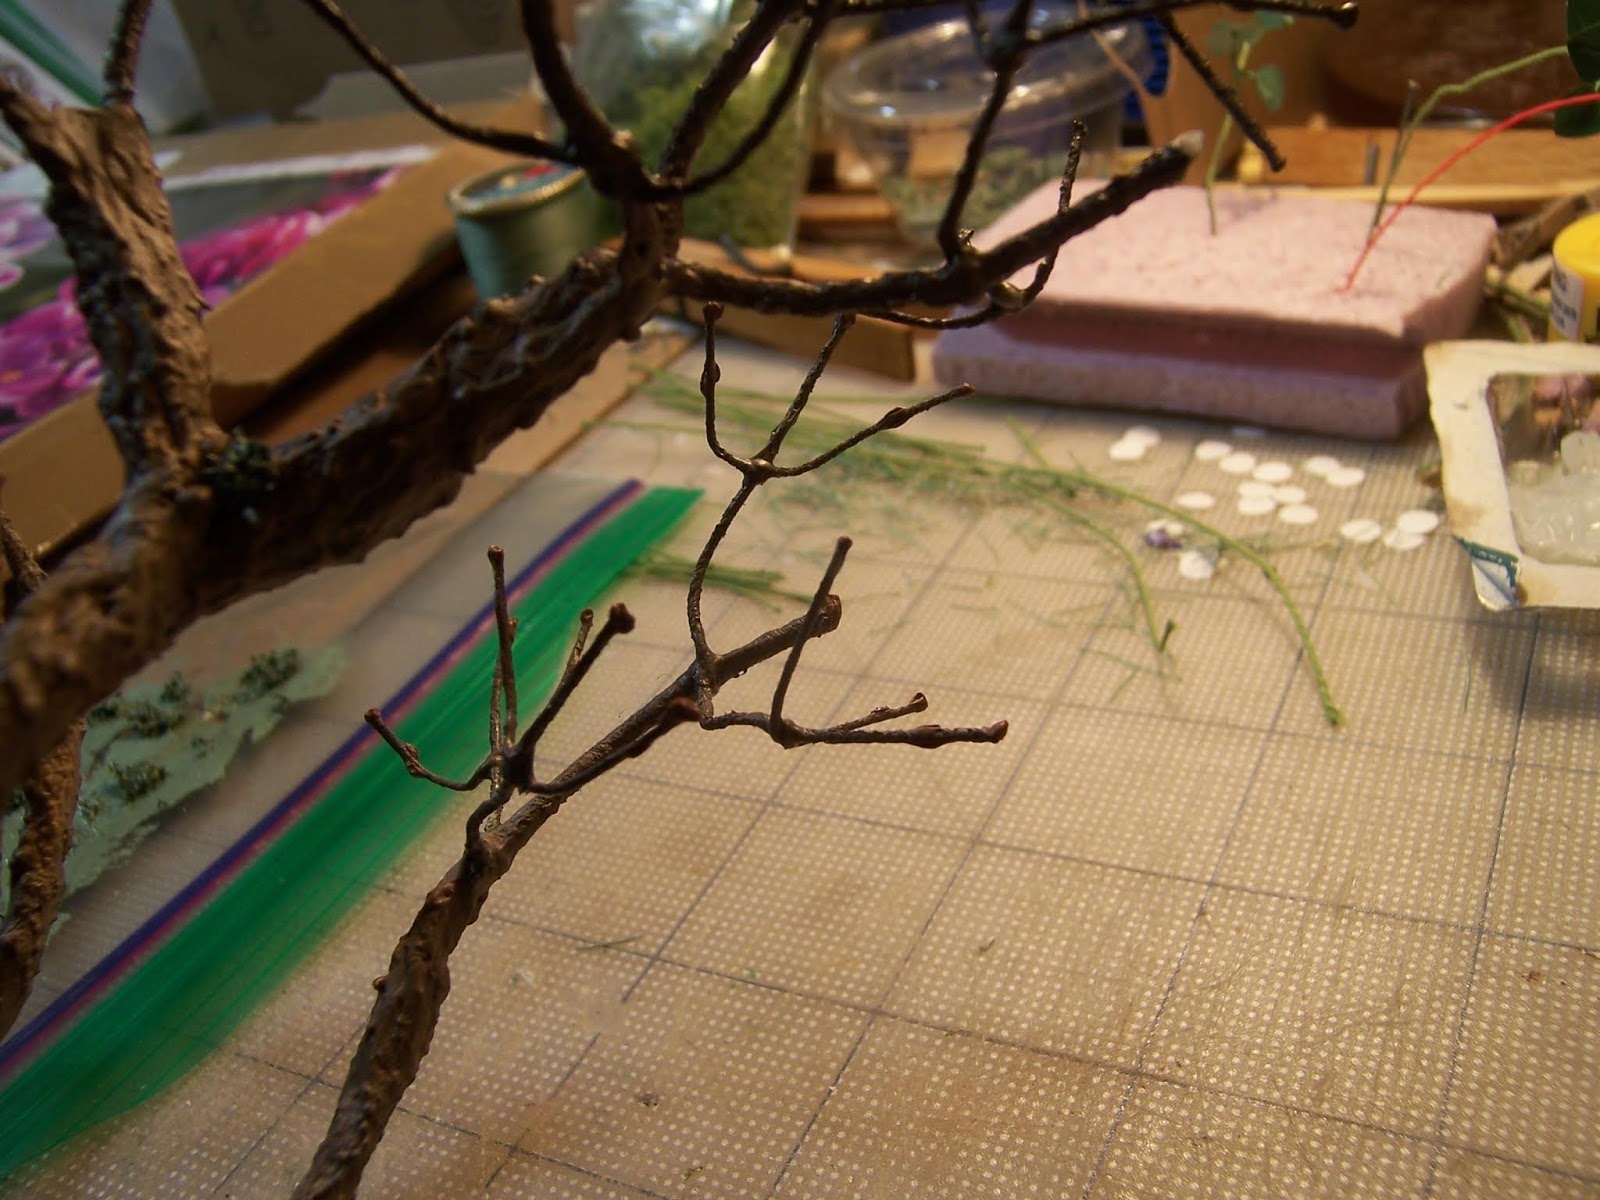
This is not a Last Minute idea, Dear Readers, to add the buds to all those little lilac stems, but has been a part of the plan all along! It is just one of those details that can't be added until almost all the other parts have been completed. So I have finally reached that step for my Winter lilac shrubs! I had hoped that my weekend could be spent accomplishing great strides forward with this detail... but it was not to be. There were too many distractions and the weekend disappeared almost before I could blink! At the last moment I decided that I should at least TRY the idea I had for making these buds... to see if it would work the way I hoped it would. So I added buds to only one of the lilac stems, way at the back of the shrub in case they did not go well! This involves the "Glue Trick" which is essentially making a blob of glue where you want a bump... and when it is dried thoroughly, painting it to look like a tiny bud. This is easier said than done! The branches wiggle... the twigs bend..... the entire shrub is unwieldy and it is hard to reach the glue only onto the piece of branch you intend and not all the other branches in the way. This is not going to be a quick little step! But I think it will work! Above you can see the single branch I added buds to.....

Here you can see it again, already painted....
 because the glue bumps alone are really hard to see once they are dried!
It is hard to photograph in a way that you can see the buds clearly....
those brown bumps on the twigs...

Here you can sort of see them with the bush in place by The Folly porch....

Here they are even closer...!

But that is just one of the smaller branches....
This could take a while!
Meanwhile, Dear Readers, 
I made a little more lichen....
 
Because it is surprising how much is needed for Four bushes!

And of course, I completed blossom number Forty-one... 
or is it number Forty-two?
 
 
Whichever one it is, here it is in the box along with the others!

So you see Dear Readers, 
The Buds are starting to be added...
A Not So Tiny little detail!


Monday, November 26, 2018

Lilacs Again....


More Layers....

Still not being satisfied with my Lilac stems, Dear Readers, I snagged a section of the shedding bark from one of the RL ancient shrubs at work and brought it home just before Thanksgiving. I had some time off over the Holiday and wanted to experiment with an idea that had been teasing me for a long time. Above you can see the bark piece, in daylight, on my kitchen table. I have always thought that the oldest parts of the stems appeared lighter in color than the younger parts. I wanted to compare my shrubs with the real thing! I think I see a lighter tan-gray color than I was getting on my last paint layers. But more than that, I see the flaking texture of the bark itself, and so far I had not achieved this with the texture on my Lilac Stems. But I had an idea that was just begging to be tried...

I kept looking at a scrap of sandpaper that was lying on my worktable,
 and thinking that maybe I could cut thin strips of it
 and attach them randomly to the Lilac shrub stems...?
The color by itself was close, 
but too monotone.... it would need painting.
(Do you see the narrow strip of cut sandpaper lying on the piece of bark?)

And here are my trusty lilac twigs too....
(Just for color comparison... 
because the twigs still need painting too.)

And the Real Life bark held close to the painted stems..... 
the color is close, but I am seeing more tan in the real bark.
Clearly I needed to make some more layers on the shrubs!

I painted the sandpaper in a mottled pattern... 
trying to approximate the colors of the RL bark, 
(but not worrying about precision because
 it would be cut into tiny strips.)

Then I tested adding strips of the sandpaper to one of the shrubs.
 I had decided that a cut edge was too artificial, 
so I needed to crease and tear the sandpaper
 into very thin strips in order to get a raggedy edge.

And because I was still just experimenting, I didn't take many pictures.
Meanwhile I was also painting the rest of the "twigs" on the unfinished shrubs....


And believe me, this takes a very long time!
 
 
And I was also completing blossom number thirty-three!
 
And here it is in the box with its buddies....!
 
But it was the bark that I really wanted to work on, Dear Readers,
 to see if I could make the stems look as 
old and raggedy as the ones I was trying to copy! 

Here you can see one of the strips torn from the sandpaper....

Here you can sort of see them attached to one of the shrubs...
The shedding pieces are all near the bottom of the oldest stems... 
the newer bark is not shedding.
And I needed to copy this on all the four shrubs!

I was liking the texture ..... 
here you can see one of the shrubs in place.....
( I know the lighting is a bit to harsh here....)

But the white paper edges needed to be painted.... 
and another lighter layer of color needed to be added to the stems overall,
 and to try to blend the shaggy bark seamlessly with the stems.

So I mixed more paint.... staying on the lighter side.... 
because it dries darker than you think it will! 
This mixed color when dried is the dark blob on the
 bottom left corner of the sample test-card.....!

Here is one of the shrubs with the sandpaper painted that lighter color....
 (hard to tell it is a lighter color!)....
 but I am really liking how this is looking!
 It adds just enough more of a three dimensional texture to the shrubs!

But there was one more layer of
 detail I wanted to add, Dear Readers, 
and that was very fine ink lines
 to simulate the cracks in the bark....!
Above you can see I have added them 
to the stems on the right, but not yet on the left...

And again, with a comparison with the Real Life Bark sample....
 Ohhh, I think I have nearly got it!
(You might have to poke the pictures to really see the details!)

And here it is again, in place in The Folly Garden...
All I have to do is draw those bark lines on all three other shrubs too!

Meanwhile, Rest assured I was not forgetting blossom number Thirty-four!

And here it is waiting in the box!
The shrubs are almost at a point 
where I can begin to safely add the
 completed blossoms to the stems!
(But I am way behind on my leaf-making....
 so it might be slower than I think...!)

I have to admit, I am very pleased with my shaggy bark!
And while I can't promise there will be no more
 layers of paint on these shrubs, Dear Readers,
 I can say I think my Lilacs will bloom
 splendidly in the Spring!