Kit Bashing Continued....
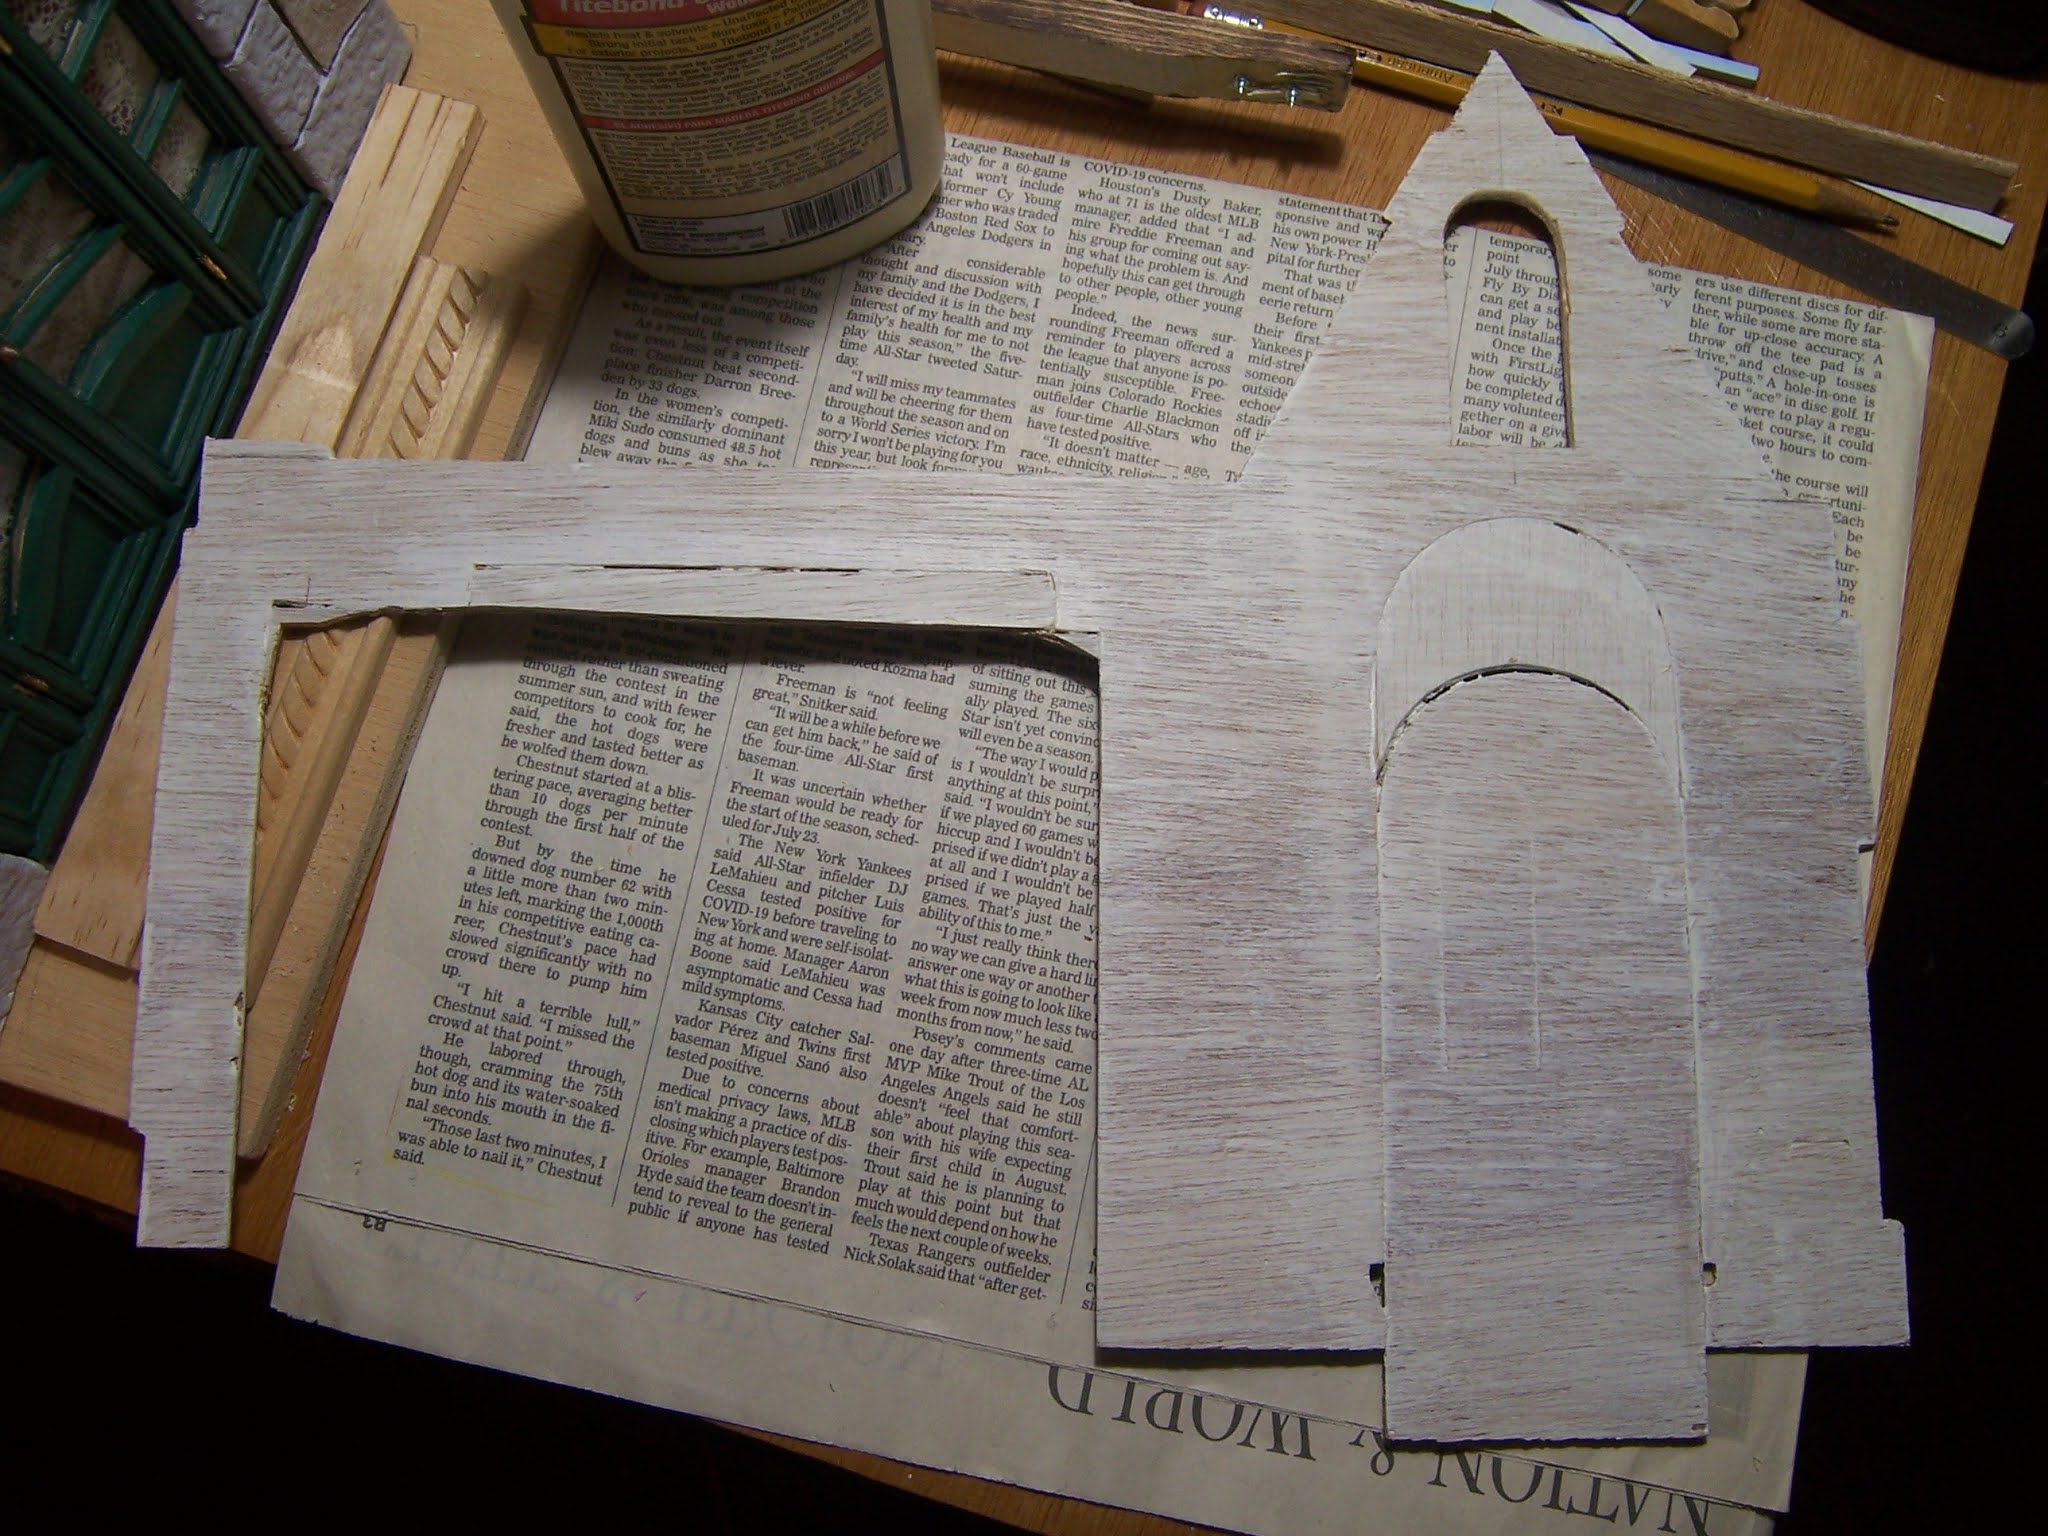
You Might recall, Dear Readers, that I was hesitating to add the stones to the exterior of the Dollmaker's Studio ground floor while I had not decided how to fix the warped floor. After much thought and second guessing my original plan, I decided that I did not want to raise the floor level by adding any thickness to it in the hopes that thickness would defeat the warp. I think that eventually I will be firmly attaching the building to a base and that will have to be the "warp reversing" moment. Until then I have too many other parts that still need to be wrangled, and I am choosing to ignore the floor. It is supposed to be an "Old" building, after all! With that non-decision made, I continued to add the "stones" around the opening for that lovely door. At least I was certain that I could do this without getting too far ahead of any of the other "corrections" I needed to make to the structure.
I added the keystones next so I could be sure
they were mostly centered above the door...
I needed to pad the opening at the left shoulder....
my cutting for the opening was a little off...
and the stones need to be snug against the door frame.
I was trying to keep the stones roughly even in size...
I think they ended up okay.
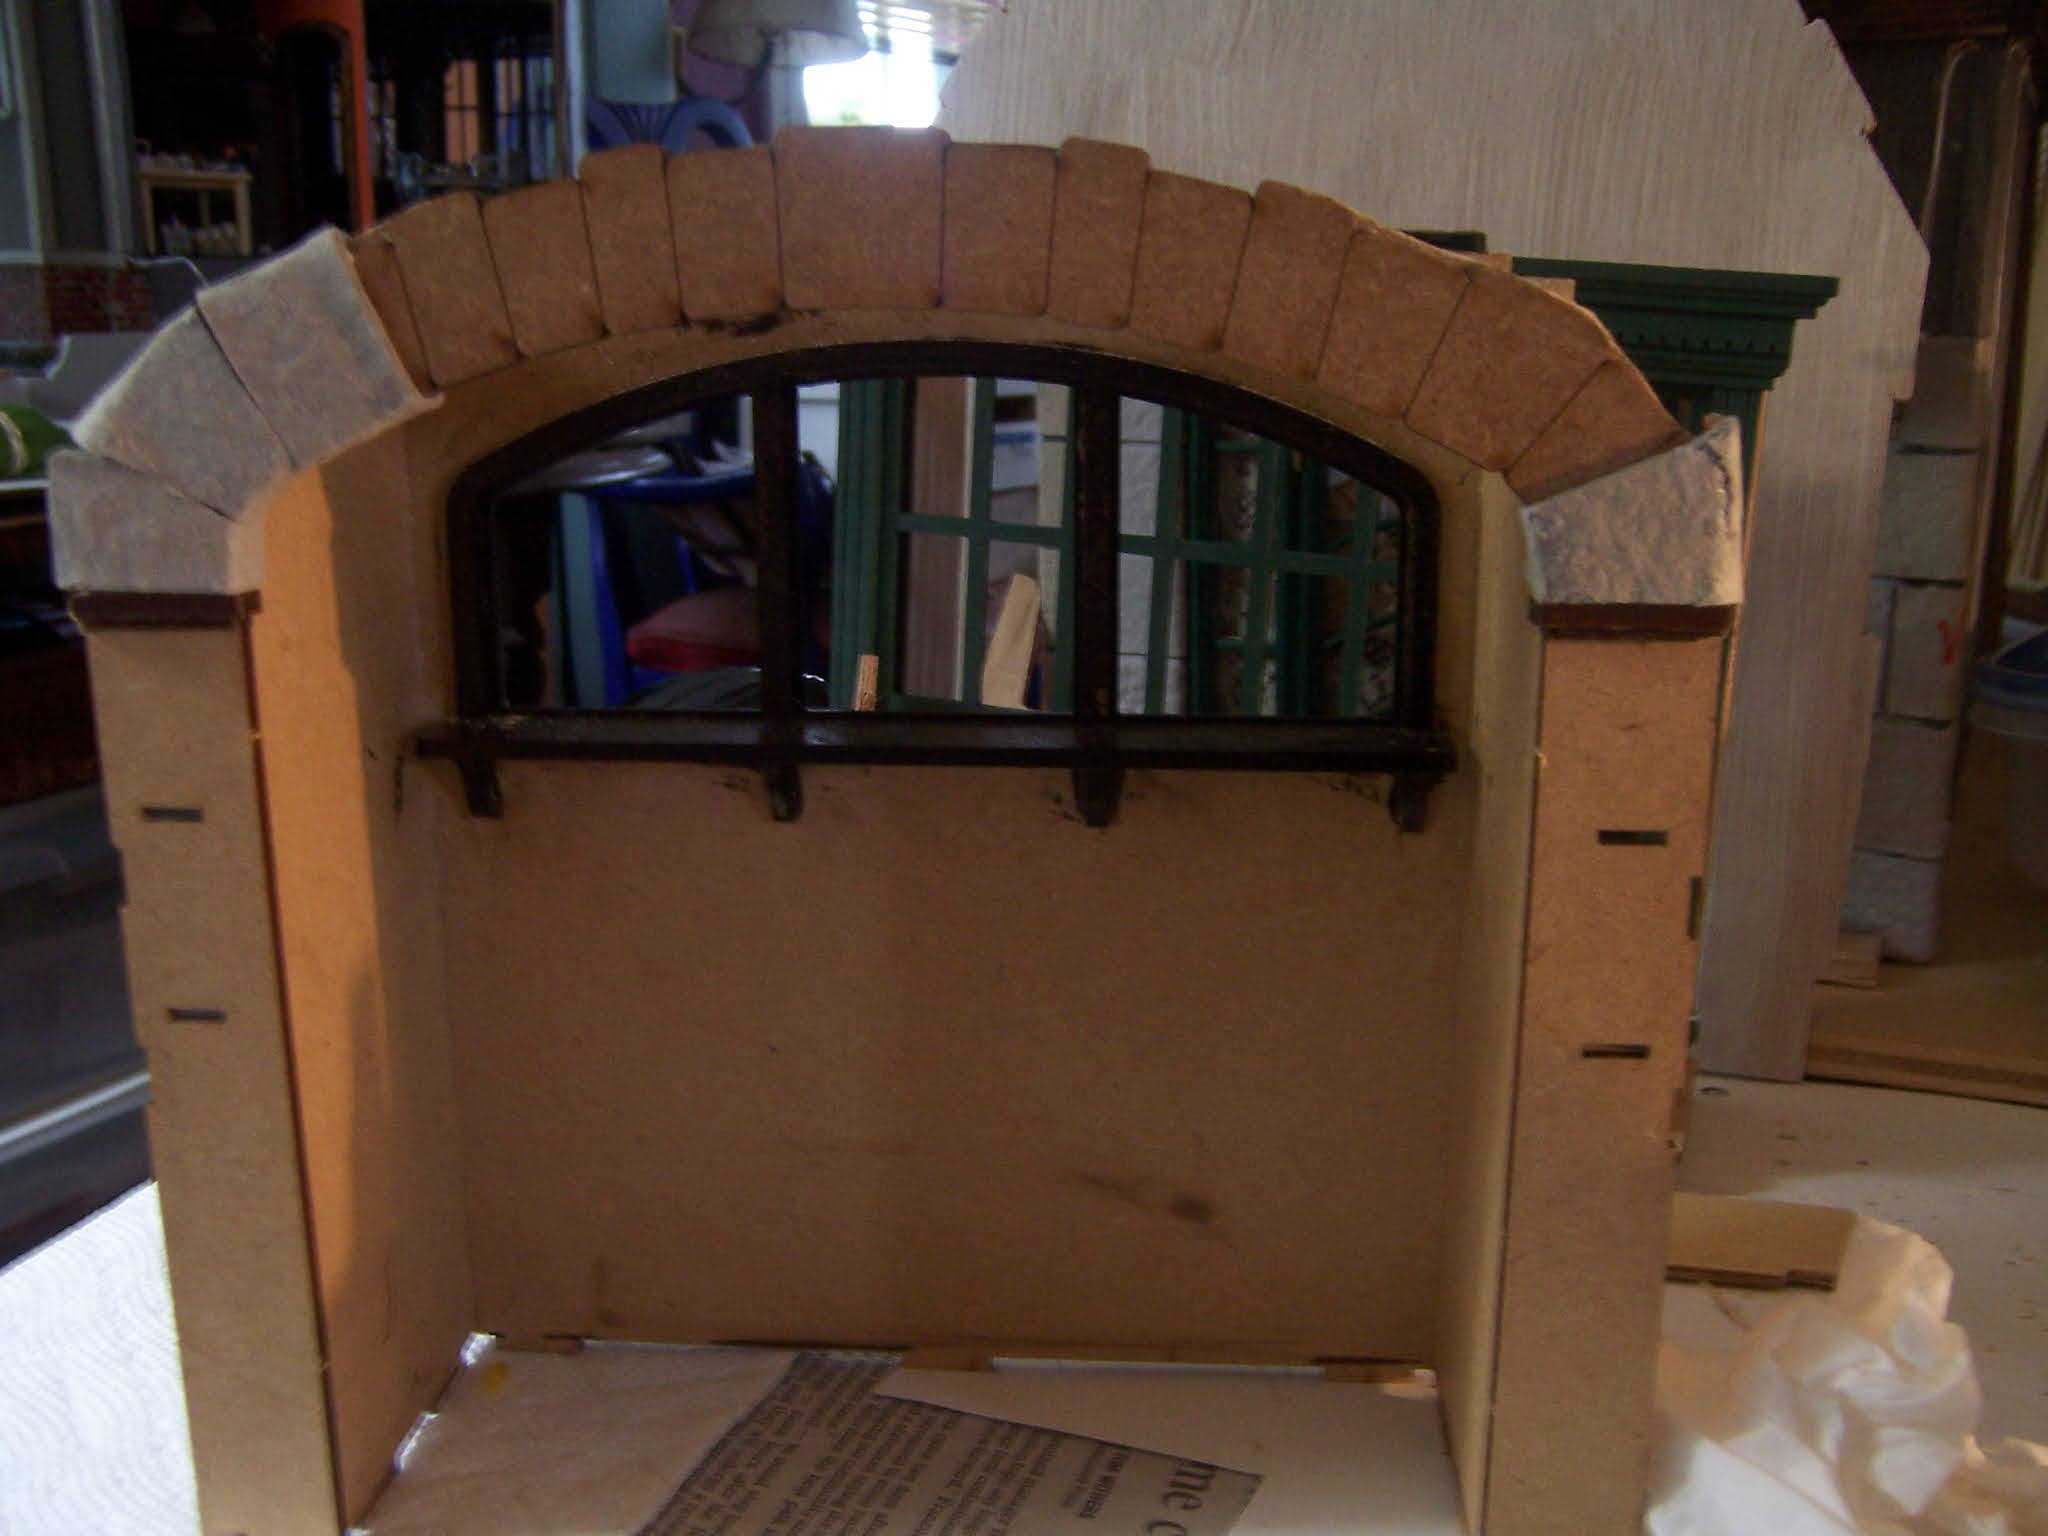
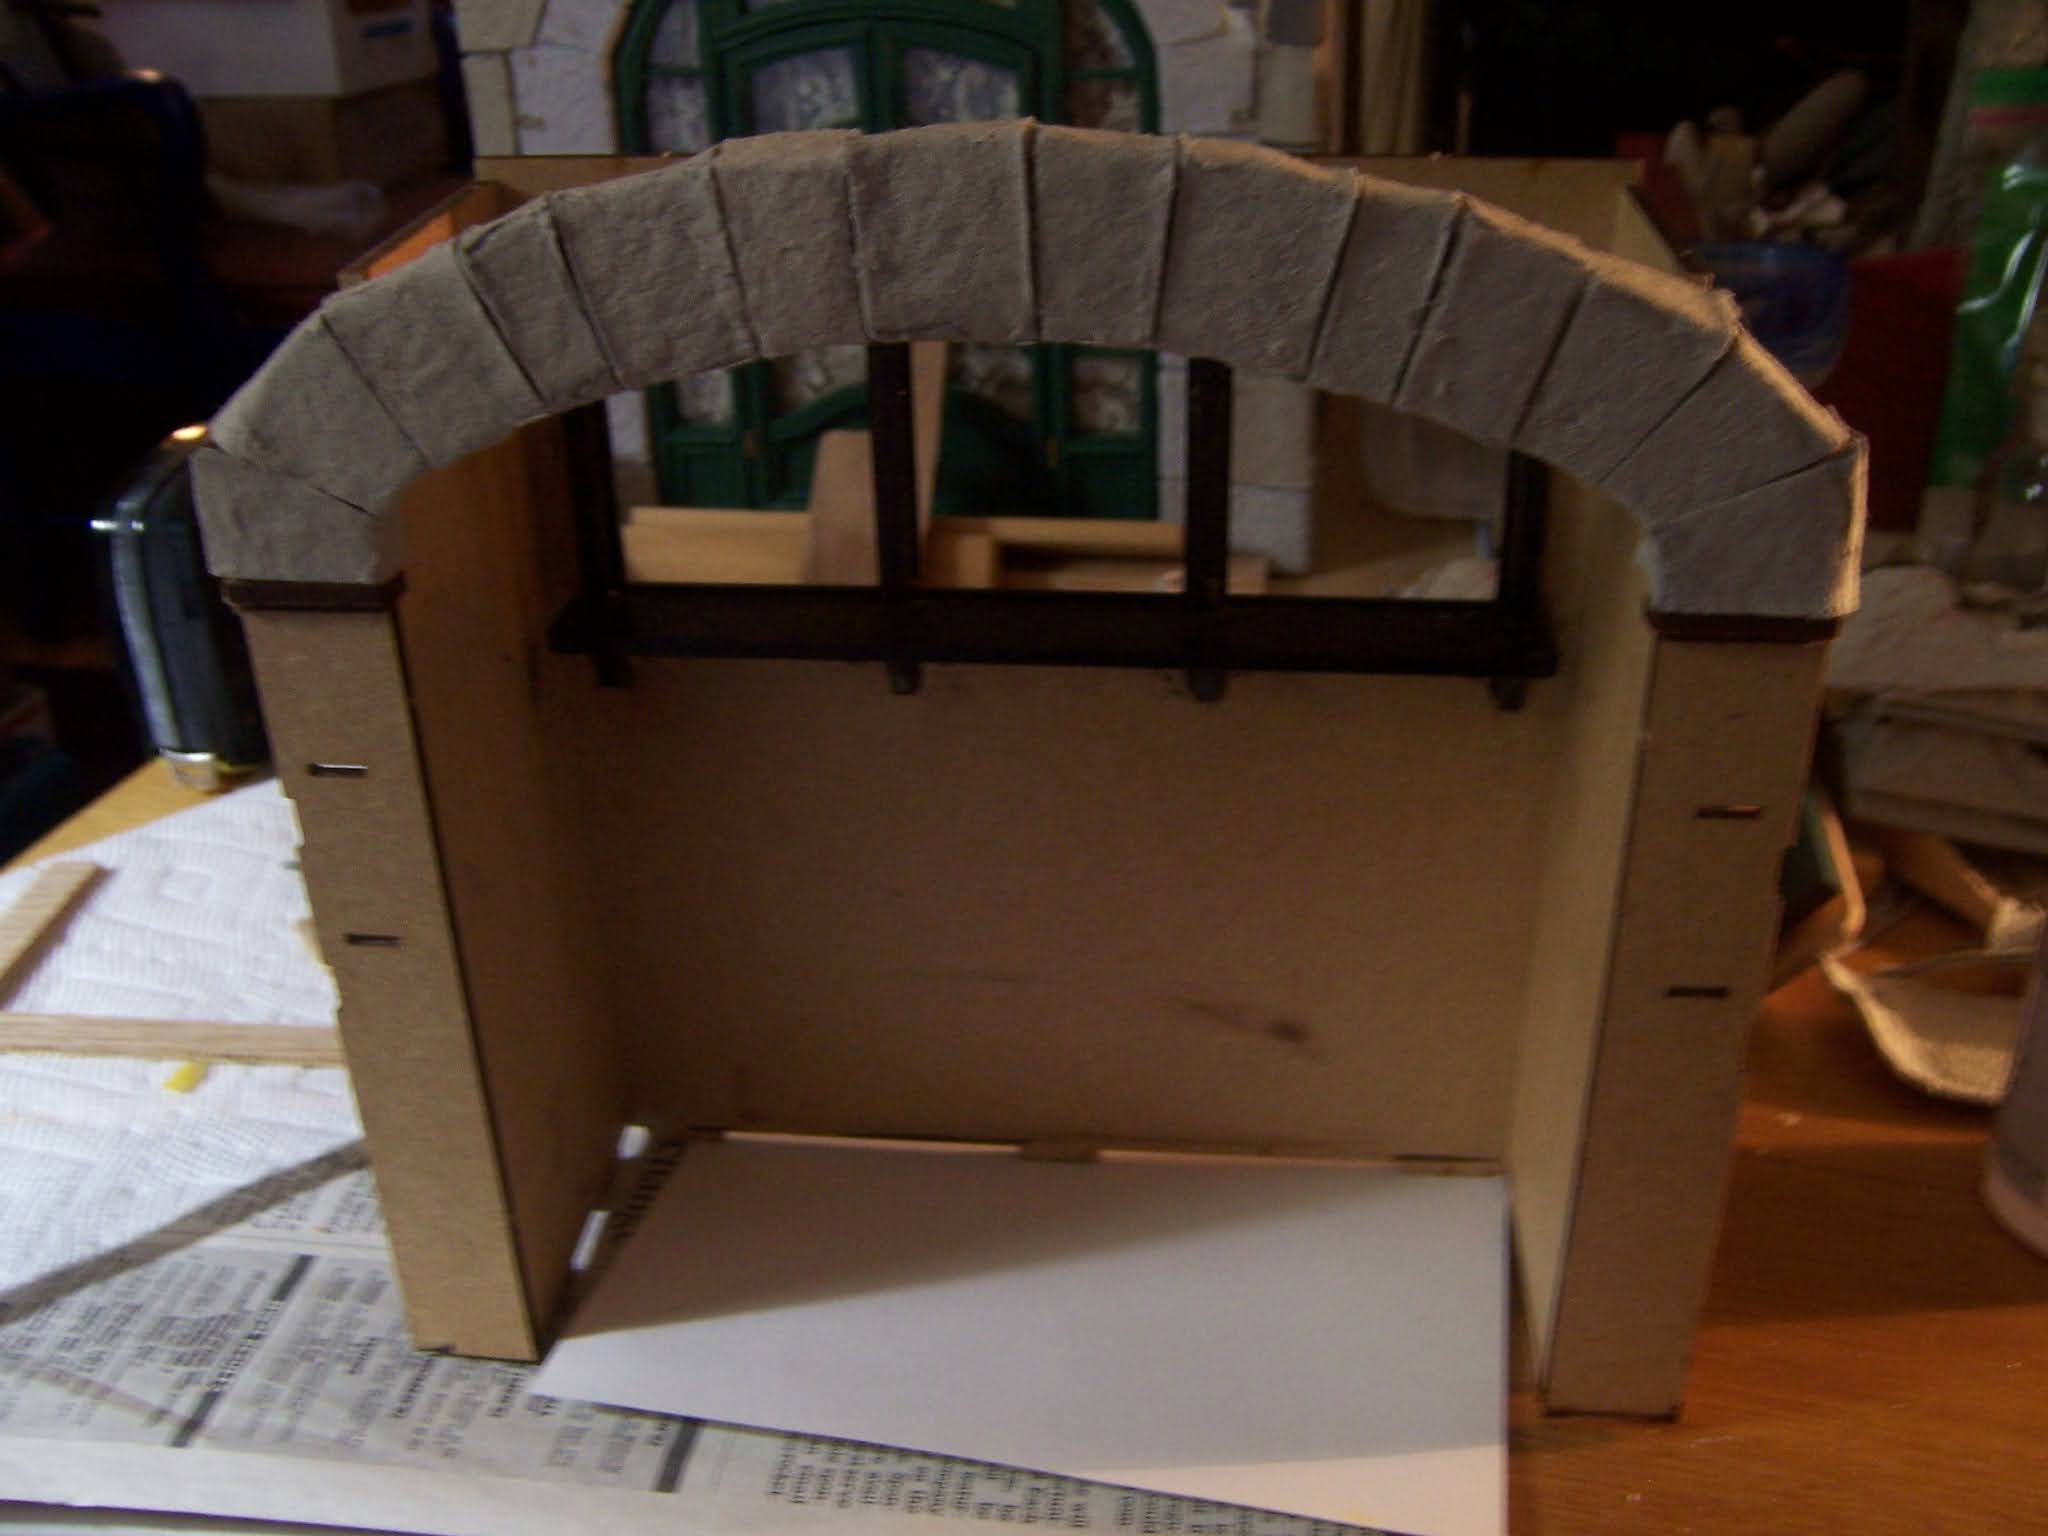
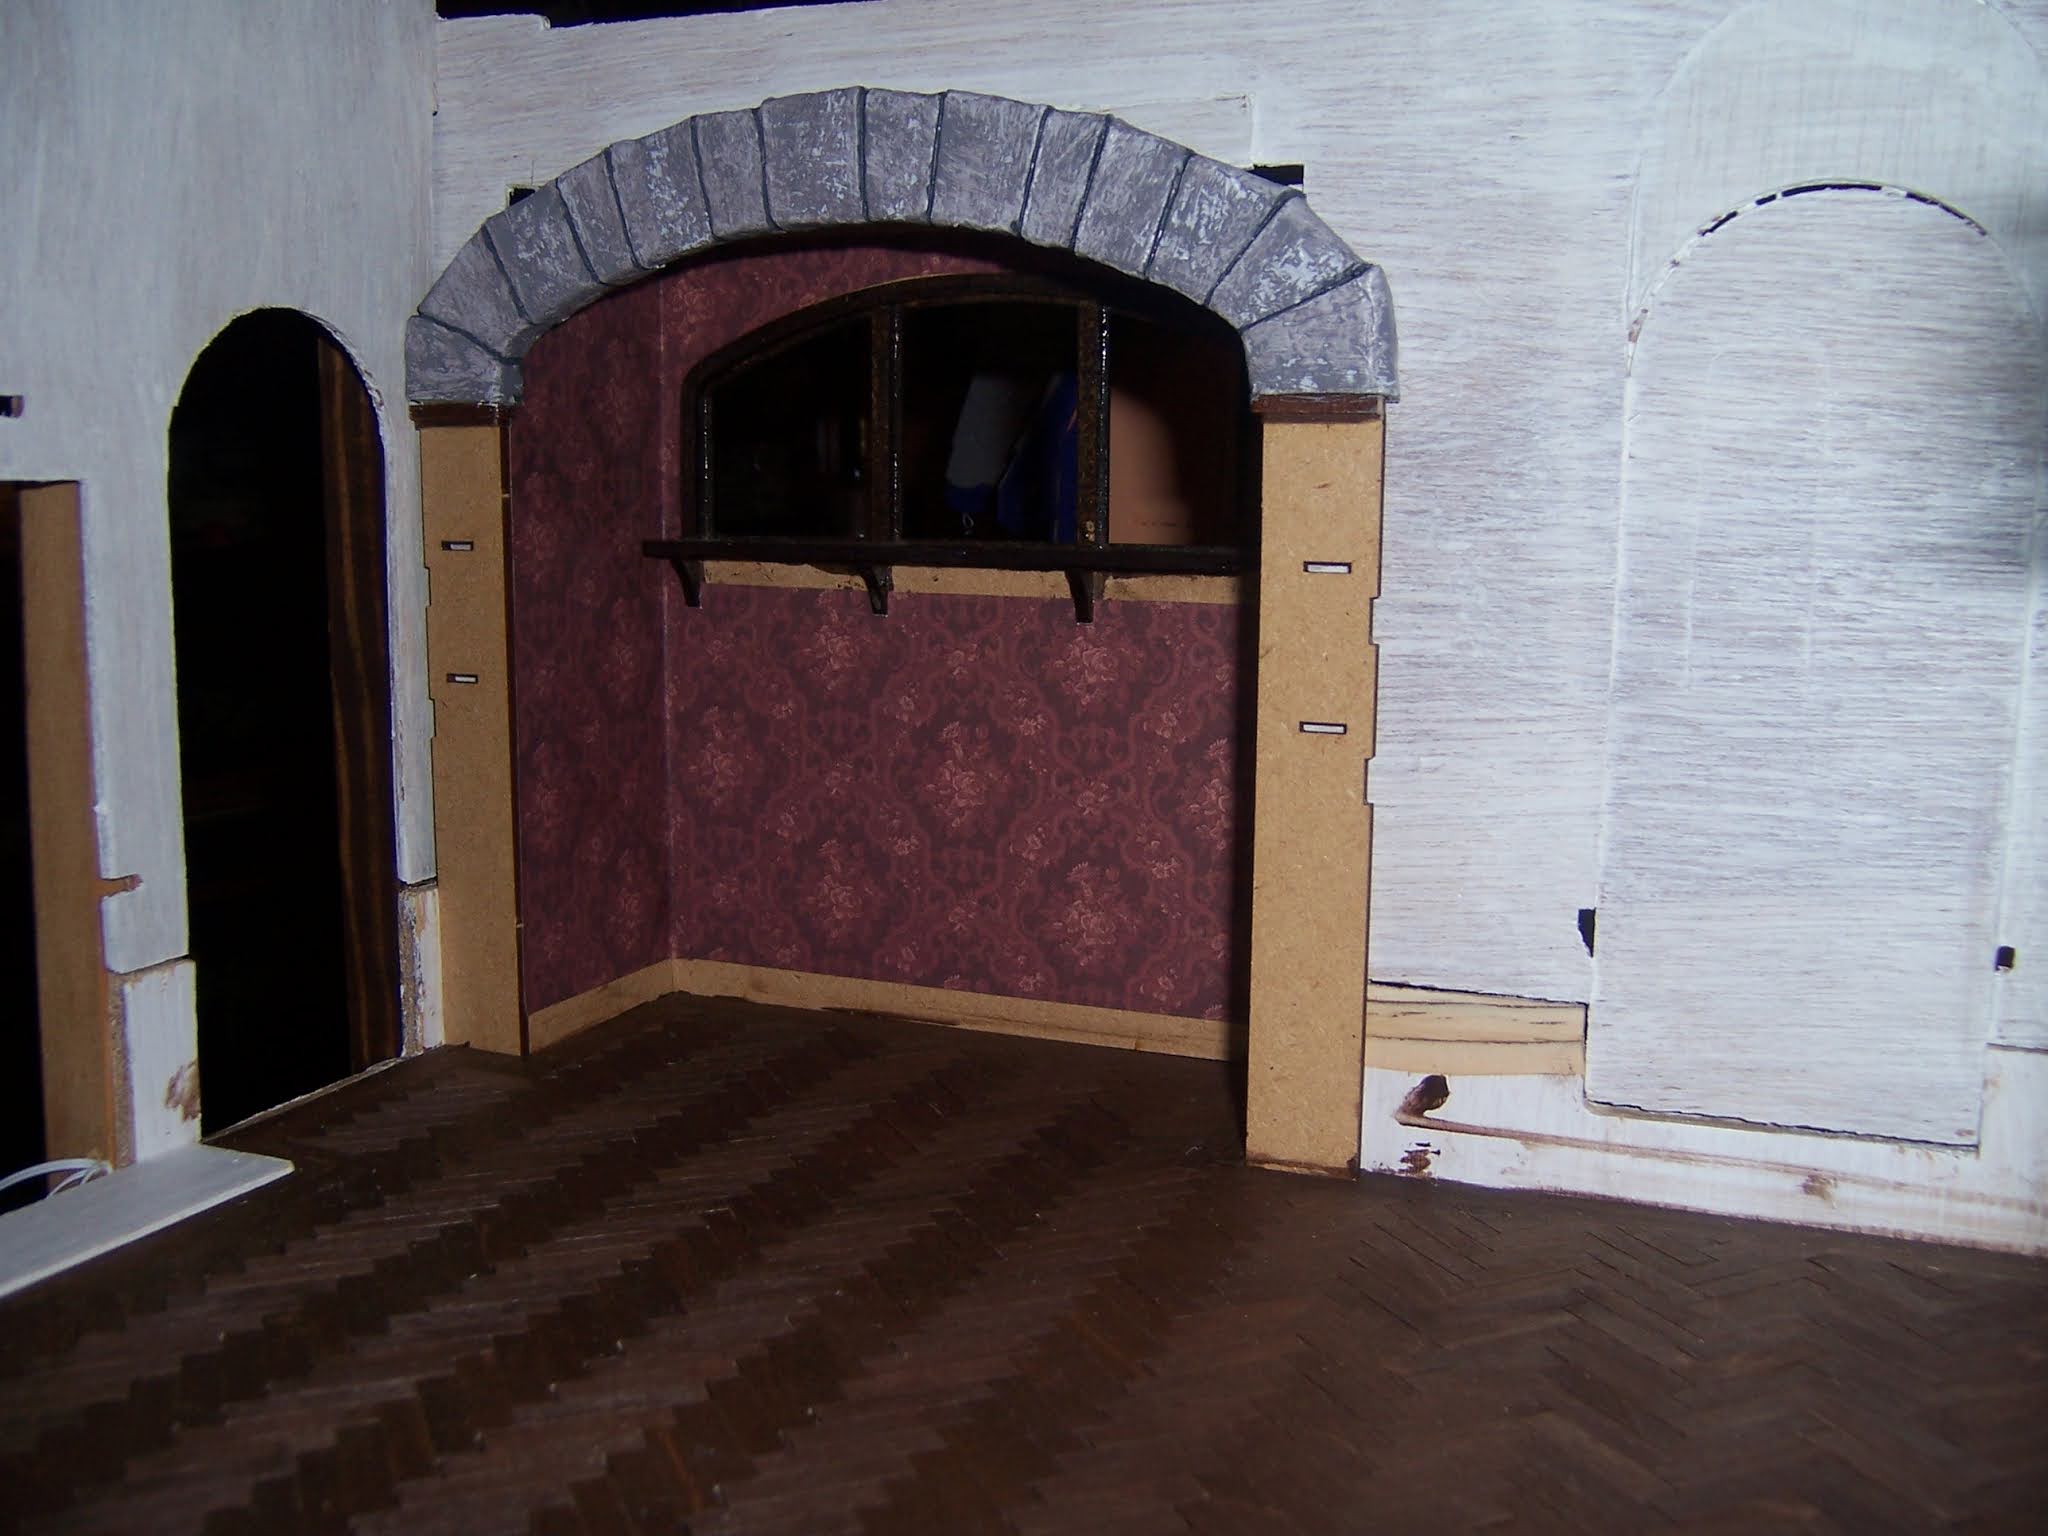
And now the door looks like it was made for this opening
instead of the other way around!
And because I had last week off from work, Dear Readers,
I was able to take the time to fiddle
with the frame work of this structure.
I apologize for the dark pictures...
I was just testing ideas and not taking good pictures.
I wanted to see the "whole" structure
so I added the kit roof panels.
You can see that the side walls of the upper floor are not straight...
since the kit has been "expanded" the floor
no longer holds the shape of the walls properly.
I was going to need to add a "framework"
to tie the walls together sturdily.
Then I thought maybe I could reverse the end wall
so the little porch balcony was on the opening wall side
instead of on the back wall....
this would allow more solid wall space in the interior...
So I gave it a try....
It would also make the extension created by the "Vignette" kit
look less cluttered and more like an old Tudor building...
This really is a small kit....
the ground floor with the warp ignored....
Upstairs room with the door closed in
where the balcony would have been...
now there can be a wall for shelves of some sort...
And the large window on the end wall
temporarily placed using the kit pieces...
And the attic....
still in the very undesigned stage.....
The frame I will be using for the end wall window....
just propped in place for testing...
I might still keep the little dormer
on this side and add a tiny window....
We shall see!
But meanwhile it became Obvious that
I needed to extend the sturdy framework
of the front opening wall....
Because the upper storeys would also need to have hinging doors to close...
There was only the small upper section of
the plywood wall to attach the posts to.....
So I used extra screws.
And once the front posts were in place,
I could properly measure for the crossbeam
needed to join them at the ceiling height.
And I could see that I would also need to add
another support post at the back corner where the
Tower stairs would join the building...
which also required correcting the
warped corner of the plywood
with More Screws!
Here you can see the two posts where the Tower will attach.
The left hand door is the entrance to the tower stairs...
And the crossbeam that will brace the upper floor
and the frame for the opening side doors...
Firmly screwed in place!
And after all that jostling and bumping....
I decided I better glue those stones onto the floor...
Before I lost track of how they fit...
See... I am ignoring the warped floor for now!
But here you can see the upper walls propped in place
with the new sturdy posts... I just have to trim off all those tabs...
And I really wanted to get the rest of the front opening wall doors cut...
I just forgot to take any pictures.
Here it is being tested for fit
before drilling and screwing it in place...
Here the rough panels are attached.
The little balcony will attach on the opening panel
and the door will open inward....
Here the door has been added...
the size of the balcony will need to be carefully fit
within the opening part of the front wall.
That is as far as I got on the Dollmaker's Studio, Dear Readers...
Every step required three times of taking everything apart and thinking again...
but such is the Nature of Kit Bashing!
You get to take everything apart....
and throw out the instructions....
But you need to be prepared
to make lots and Lots of Decisions!
And in case you wanted to know...
the day before Thanksgiving...
all the leaves had fallen from the Lilac at The Folly...
And the low winter sun reached way into the room...
and then Last night it Snowed!
I could not resist having a little Snow Day....
But Alas... there was no sun to shine in....
I will be sure to let you know when it does...!