Showing posts with label Teeny Tiny Christmas Tree. Show all posts

Monday, March 22, 2021

Waiting For The Glue To Dry....


A Little Distraction....

All that framework fixing, Dear Readers, was in preparation for attaching the light fixtures for the lower room of the Dollmaker's Studio. It was finally time to commit to attaching the lamps and running the wires through the walls to the exterior. I drilled the holes where the wires needed to go through. You can see the hole in the mantelpiece in the above picture. The lights on the other end of the room are positioned on either side of that big arched doorway... and where the wires go through the wall, I had already started to glue the "stones" a long time ago. I had stopped because I realized I was getting ahead of myself and needed to run the wires first! But a couple of the "stones" were already in the way.

There was nothing to do but make "adjustments" to the stones...


This consisted of peeling back one stone 
so I could carve the channel underneath it...
and making small cuts which will need patching in the other stone.


Actually gluing the lamps in place requires patience!
I needed gravity to assist while the glue was drying for each lamp, 
which meant turning the building on its side...
a different side for each lamp!
Above you can see the first one gluing.


And after a couple have dried....
 testing the electrical connection...
so far so good!


And testing the look with the ceiling panel in place... 
not glued yet!


And testing the lights on the end wall...
still working!
But there was a LOT of waiting for glue to dry!
And while I was digging out my extra wire
 for extending the wires so they could reach the switch connectors...
I came across a little Bell Jar that I was hoping to use someday.
I couldn't decide what sort of object to put inside...
But then I got an idea.....
Could I make a mini mini version....?
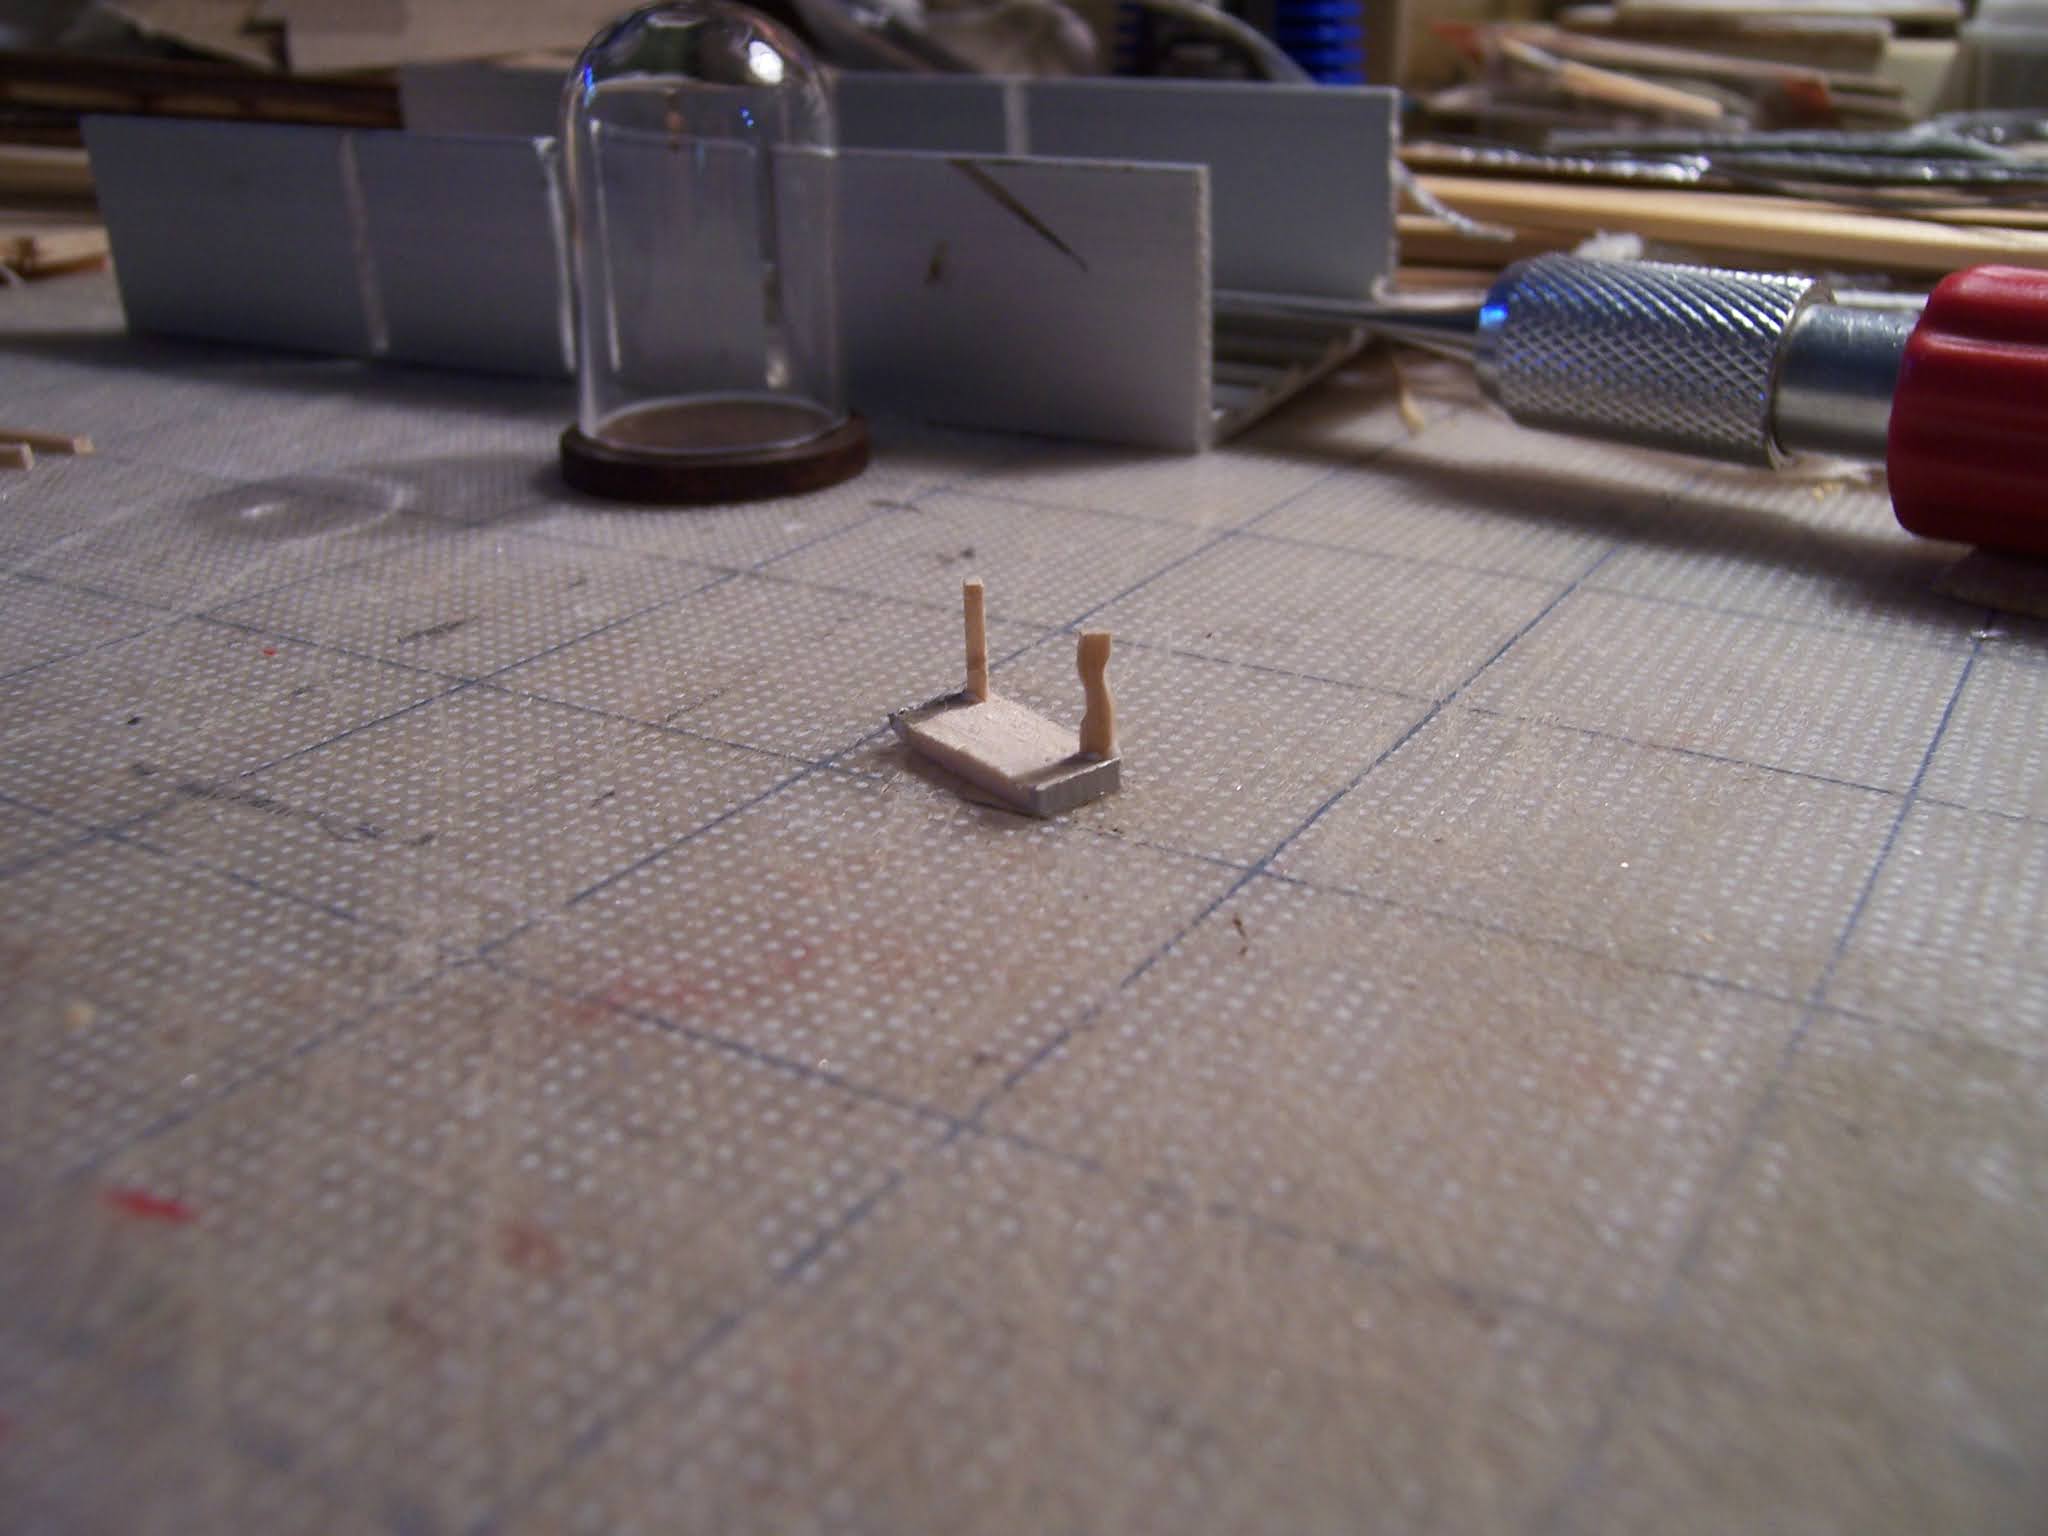

I thought I would give it a try while the glue was drying...
Just see if I could make a Tiny table....
There was a Perfect piece of wood waiting in my scrap pile...
(an off-cut from a castle ceiling trim "stone" from last summer's work....)


Can you tell what I am thinking...?


Have you seen this table before?


Is this a big enough clue?

But of course, I am really trying to get
 those wires buried in the walls 
of the Dollmaker's Studio Project!


This is boring work... 
you won't want to see endless pictures
 of glue and wires in a carved channel...


I will try not to bore you!
But the truth is, I got very VERY distracted 
by this Teeny Teeny building project!
Could I even make it happen....?


Well, Dear Readers, I had to give it a try!
I started with a tiny sketch of the wall shapes I would need...


And I needed to see if I could paint that small with any degree of success...
(Can you tell now I am duplicating the Secret Christmas House...?)


All of this is using plain card stock 
cut with my exacto knife and a ruler.
Above is the inner core of the framework.


I cut the pieces out as I needed them...
(I wouldn't want to lose a section!)


Here is the framework on the table....
Oooh... this might actually work!


And just to remind you what I am copying.....


See?!!
But this is just the beginning....
It is the interior that takes the time....
When I am not working on the Dollmaker's Studio that is....


Here the ceiling has been glued to the wood panel.
I debated making different "tiles" 
but decided it was pressed tin panels instead!
And the board is quite warped....


It took a lot of "convincing" to flatten out.
But I had plenty to do while the glue was drying!


I needed to paint the interior floors with the carpets...


So I could start to assemble the interior pull-out sections.


Which had to be tested for fit every step of the way!


This is the other interior pull-out section before gluing...


And here it is being tested for fit.


Of course, I had to paint the ceilings on the undersides of the floors...
(I did this in the Secret Christmas House too!)
If you look very carefully you can see a sky with clouds....


See how cute this is?


Here you can get a good sense of the structure...
Two house sections pull out from the sides of the main framework.


Testing the front roof panel....
(not yet glued...)


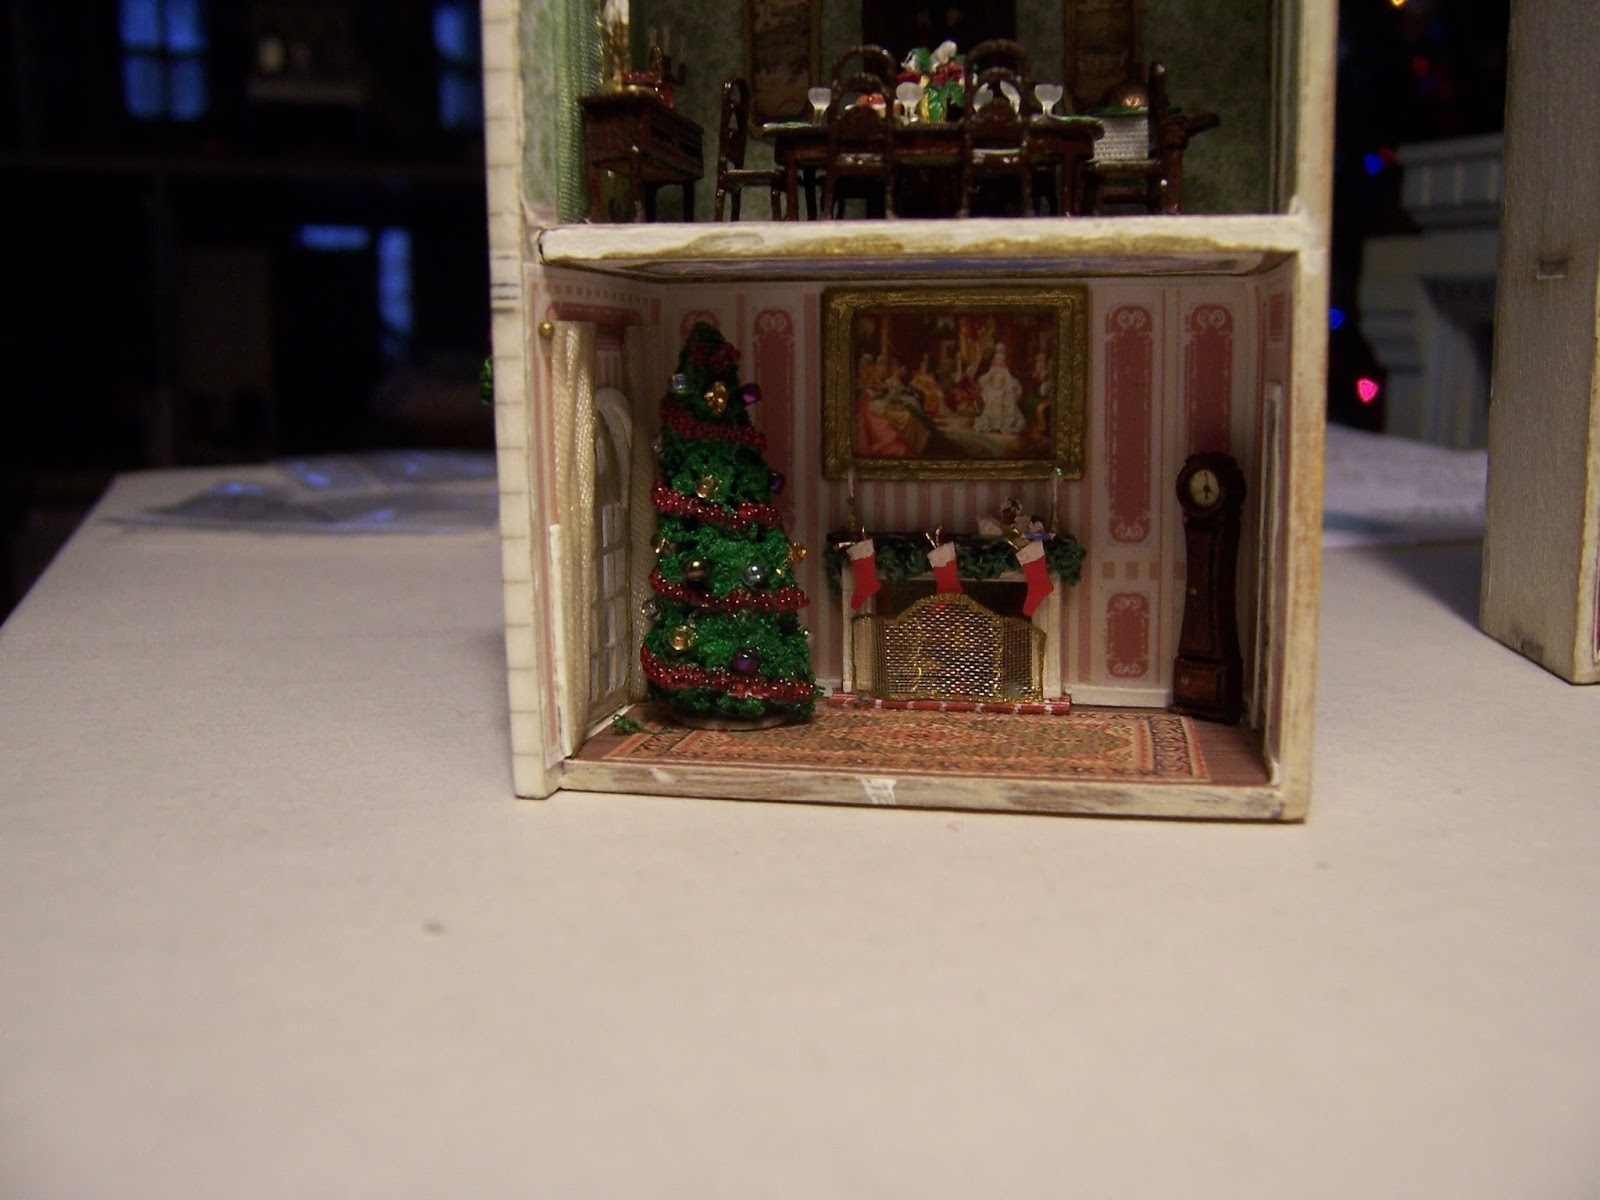
And I wanted to see if I could make a Christmas Tree for the parlor...
(using the glue trick and florist wire)


Here it is in the parlor... I know it is really tall
I always make the tree as tall as possible!


Here the outside wall is attached...
 and testing to see if it "works"
It does!!!


They both fit and slide in beautifully!


And the side roofs are attached....


Here it is with the sides closed.


And on the table...


And for comparison....
(please ignore the crudity of the tiny one...)
It only needs a few more details!


And inside the jar...
I think it worked, Dear Readers!
I only got a Little distracted 
While I was waiting for the Glue to Dry!


Saturday, December 23, 2017

Deck The Halls.....


Finishing Touches....

It is almost Christmas Eve, Dear Readers, and in my eagerness to get the Secret Christmas House done in time for Christmas, I almost neglected to prepare any of my other dollhouses! So I hurried around today and made sure the trees were put up. Charles is admiring the same old tree in the same old corner of The Lovely Old Dollhouse. There is still a little time left for last minute preparations, but he is telling Helen she must not go out in this weather... it is too dangerous! It has been freezing rain all day and everything is covered in ice!  Helen is telling him she doesn't have any more shopping to do anyway, so she is happy to stay home and admire the tree. I must admit, I never get tired of seeing these mini tree lights go on!

The Silver Tinsel Tree has been put up in The Cloud Palace...
It is decorated with Golden "Wishing Stars" 
which are the Specialty of Blue the Blue Fairy Beary.
Sometimes just looking at the stars is enough to grant a fervent wish... 
So you better be careful!

And Brother Beorn has invited Sweet Pea to join him
 on the Palace Tower Garden Top 
to admire the "Christmas Beacon Pines"!
(Surely, Someday this Tower Garden will get finished!)

And since I left you wondering whether I would
 make a better tree for the Secret Christmas House,
 I had better show you what I have managed to do!

Here is the humble beginning... a mini "bottle brush" tree 
next to the paper version that came in the kit.

I started by trimming off all the fake white snow...leaving a narrow brush tree.
(I actually made it narrower than this but didn't take a picture.)

Then I coated it in glue and rolled it in some "landscaping material" 
which was left-over from the Tiny Garden kit I made last winter.
I thought it looked wonderful as is... 
but the color is just a bit too yellow for a healthy Christmas Tree!

So I painted it a richer green...
Which did start to make the texture a bit too "clumped"....
So I used my exacto knife to cut gaps into the shape...
but I am afraid you cannot see the difference.

And then I wanted to see if I could make some 
tiny "berry" garlands out of tiny nail-art beads.....
I spread a thin line of clear gel glue along the plastic surface
 and "roll" tiny beads into it and let it dry thoroughly.

When they are dry I glue them to the tree!
In order to see how this will look in the Parlor, 
I have to cut the tree from the thick wooden base...
 
It is just leaning in place to get a sense of the size....

Here I have added some tiny beads for Baubles....
(I am not sure they are tiny enough!)

And of course, I have to keep testing it in the Parlor
 to see if I am getting anywhere!

And I have to compare it to the paper tree...
 to see if I am making any difference...
It is cute... but not there yet!

And while I am debating and Dithering, Dear Readers, 
Pollyanna has gotten involved in another Teeny-tiny project....

It is a Tiny Dollhouse kit by "Young At Heart" 
that I picked up last year at the Sturbridge Fair...

(I had to give Pollyanna some help... 
she doesn't have the right tools yet!)

I painted the floors red..... 
because the Lovely Old Dollhouse has red floors... 
and this reminds me of the Lovely Old Dollhouse!

With the remaining floor and side added.... 
not as easy as it looks! 
(I don't have the right tools yet!)

We are making some progress!

I painted it white and added the roof....

Oh, I LOVE this tiny House!!!

Meanwhile, Dear Readers, 
I have decided that I simply Must try to make 
some Itty-bitty candles for the Christmas Tree...
The paper version has them, after all.... 
and I have always adored a candlelit tree....
(I forgot to take pictures of the progress... 
but they would have been too small to photograph anyway...)

Can you see them here?
They are made of glue-stiffened sewing thread cut very short, 
with an end dipped in super fine glitter... 
and the bottom end glued to a piece
 of gold "glitter" (the ordinary kind).....
I am sure you cannot see all the bits in the pictures....

Testing it in the Parlor... 
I think the candles add a wonderful layer of detail!
And even though you cannot see it in photos, 
in RL the candles do sparkle!

And there needs to be a gold star on top!

And then I decided that I really did need to "touch up"
 the edges of the Creche figures... 
where they were cut from the card left some white showing
 that was very distracting... 
so I painted the edges of the angels
 with gold on the wings and
 blue and green on the gowns...

And then Finally.. glued it to the mantel!

And the Tree too.... glued in place!
(Oh, I also added more pieces of red "glitter" for baubles...!)

We are nearly done.... 
But the gifts are still not all wrapped!
(I may be running out of Time!)

But it is Christmas Eve...
 
Over at The Folly, 
Will has put up the little Creche....

Such a simple vignette, but so moving....

And in the Lovely Old Dollhouse too...
The usual creche is in the usual place...
(Although no-one can ever remember on which side the camel sits...)

Yes, I may be running out of Time, Dear Readers..... 
but that is nothing new.... 
(even when the Holy Baby was born... they were not quite ready...!)

So I am still Decking the Halls,
 and wrapping the gifts....
Adding the Finishing Touches.....
And I am still drawing the Christmas Card....

But Christmas Comes!
May you All have a blessed Holiday!