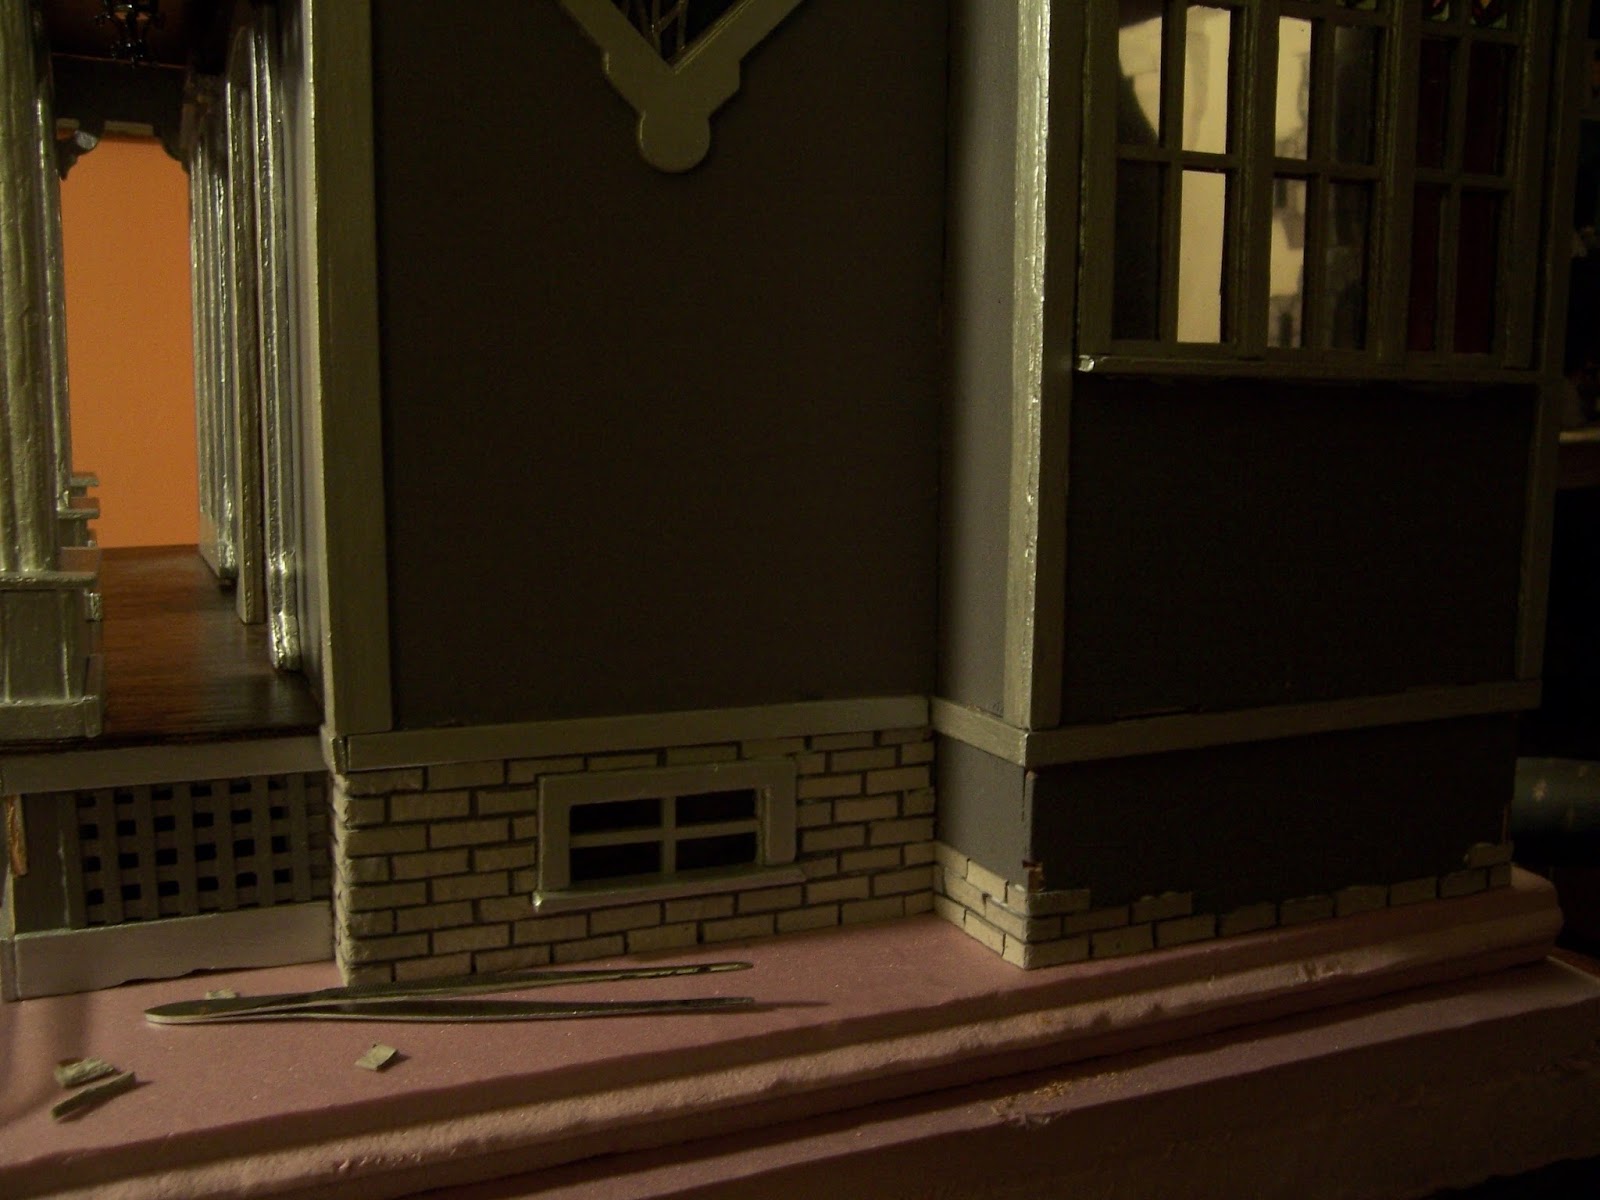
Showing posts with label Egg Carton Bricks. Show all posts

Tuesday, July 26, 2016

So Many Steps ... And More Bricks.....


Slow But Steady.....

The Not Yet Finished bricks were waiting for me on the weekend, Dear Readers, and I must admit that I spent some time casting around for excuses Not to work on them! All those unfinished steps were a bit daunting! They would require those bent "corner bricks" that take longer to cut and even longer to stick to the surface on both sides... and really almost all of what was left to do was those corner bricks! But then I thought about what would happen if I was Not diligent... and leapt over to some other part of the project.... ( I Could start to primer and paint the bricks that were done, after all!....) (or even some other project entirely....!!!) and realized that I really would be happier to be Done with making ALL the brickwork for this landscape! So I decided I had better just start in and see how far I could get! So I started with the rest of the steps on the side entrance, because there were only three to do. I was pleasantly surprised at how quickly I got them done!

So then I started in on the long flight of extra wide front steps.....
as well as finishing the retaining wall on the side of the hill.

And more of the front steps..... yes, it is getting late!

We've reached the last step!
But it isn't the last "step" at all!

I have realized, Dear Readers, that the side steps were still incomplete..... 
they needed the "brackets" on the sides at the bottom.... so I added them!

And covered them with the egg-cartons to make them look like "stone"...
And started on the front retaining wall......

Which once again is mostly those "corner" bricks.... 
all along the top edge....

On both sides of the stairs!
But Look! It is done!

It is looking so Formal....
but then I realized that it still was lacking the "stone" 
at the sides of the top steps...... 
so I added those too!

Now That is looking more like it!
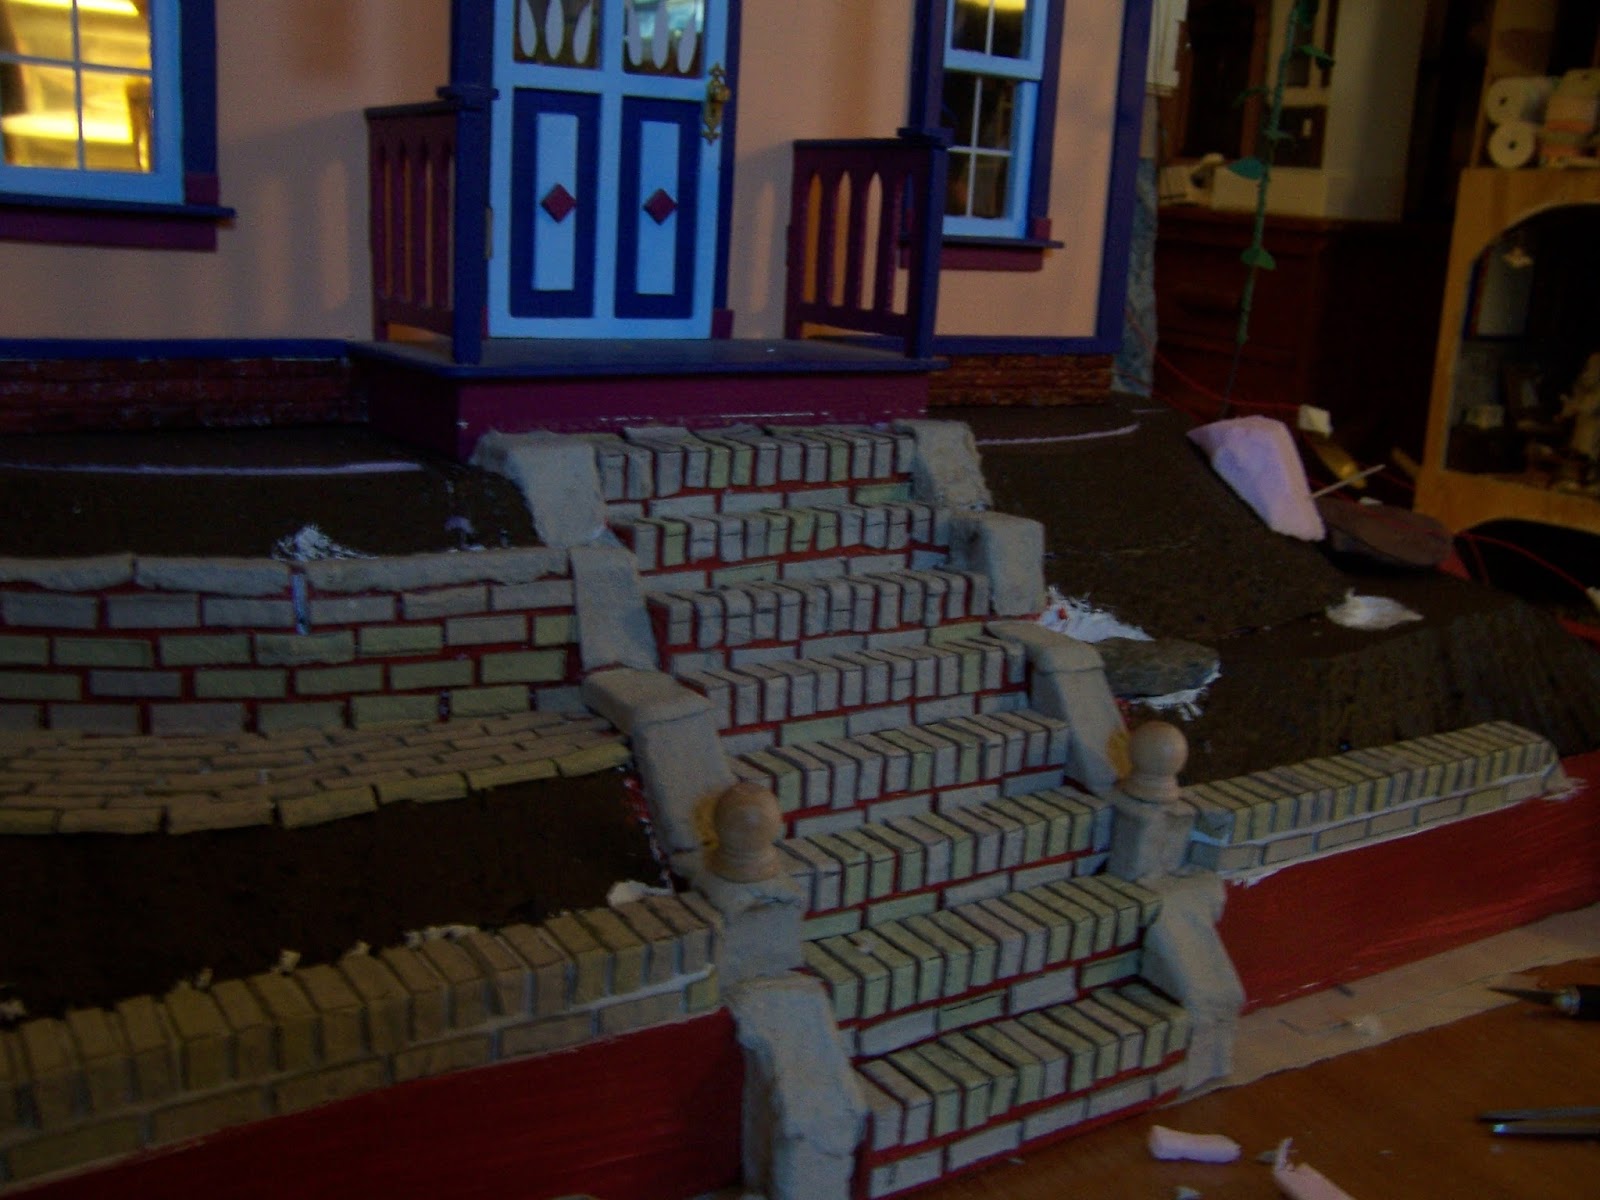
(Yes, it is nighttime again...!)

And testing the arbor in place...

And stepping back for a look.....
I do believe I've finished attaching all the bricks!
(The part of the base that is painted red on the outside
 is not going to be covered with egg carton bricks! 
I will probably just do a painted brickwork finish on those exterior walls)
And Yet, there are still all the "steps" 
of primer and paint and sealer 
and then the grout!
Yes, Slow and Steady might be Tedious, 
Dear Readers, but it does get you there in the end!


Monday, June 27, 2016

Bricks and Bases


Foundations... Getting to The Bottom....

I had a couple of extra days off from work last week, Dear Readers, and I made really good use of the time to work on the Foundation of Hardwick Hall! I started right in making lots of bricks out of egg cartons (thinking I would need Lots and Lots of bricks) I measured and drew guide lines on a pile of flat pieces....

Then I cut some of them into the little bricks... 


separating the regular sized ones from
 the extra long ones needed for all the corner pieces.....

Which you can see here with their ends folded 
to make a continuous corner piece.

I wanted to accomplish a lot on my extra days off... 
and got started early gluing them onto Hardwick Hall.

It was a lovely Summer Morning and It went very quickly!
I only had to cut more long corner bricks once....
There are more corners than you would think on this kit!
 
And the other side too! 
And then I realized I would have way more bricks 
than I thought I would need.... 
so I started to think about where else I could use all these bricks...!
There was always the Folly... 
 
 
 the Foundation section and the Garden wall could both use bricks... 
and the Conservatory foundation could also use bricks... 
Lots and Lots of bricks....
But they both had "issues" with their Bases...
That I had never finished constructing.... or had yet to start!
So I decided that first I needed to complete the Base for Hardwick Hall.
 
I started with plywood and attached low "stone walls" for the edges, 
leaving a gap for the front gate, 
and a separate back section that would open
 to hide the electrical plug strips.

At this point I decided the "hill" the house was sitting on 
definitely needed to be taller.... 
an extra layer of the pink insulation was needed!

 
From this.......

To this.....

And with the House.....


And hope there is still room for the front steps to fit all the way.....

Here we are test fitting... it looks as though they will work!
But it has gotten late and dark....

So I wait for morning to actually cut the styrofoam away 
and attach the front steps.

And here I am testing the front fencing.... 
it will have to be old looking.... maybe broken in places.

And then I had one of Those Ideas, Dear Readers...!
I was thinking there would be some trees 
in the front "yard", one on either side.....
and suddenly they were "Tree Houses".... 
with tiny rooms inside....!
But You haven't even finished the First Tree House, I hear you say!
Yes, but I must at least Ready the bases 
for these Eventual Tree Houses....
Before I glue it all down!
I can work on the Tree Houses...
 "Eventually".........
I reply!
So I made two separate removable tree House Frames.....

Here you can see the beginnings.
I cut away the pink foam 
and attach the support posts for the eventual doors
 securely to a removable plywood base.
The whole Tree structure can be lifted out while it is being built.

Here you can see one of the "Trees"
 has the wire supports added... 
and the other "Tree" is removed.

And while I was working on the bases, Dear Readers, 
I decided to take The Folly off its incomplete base so I could work on it too!

(sorry the picture is a bit blurry... no excuse!)
The front side wall and the Tree House side wall were never attached.
And the pink foam  "ground" wasn't finished being shaped.

And once the walls were attached, 
I painted the whole base a brick red!
The walls are supposed to be brick walls... 
so until I make all those egg carton bricks... 
the walls will just be plain paint. 

And on the left side where there is the garden area, 
I trimmed the foam base back 
so the house foundation can be completed in brick.... 
those egg carton bricks I already cut out!

And while I was going full steam ahead on the bases... 
did I start the base for the Conservatory?
Well, I did... but I am not sure I am happy with it....

So it might be a while before I add any bricks to this one!

But I did glue the foam into the base for The Folly....
So I could add those bricks any time!
And build the front steps....
And work on The Tree House....!

Any one of Those Tree Houses, I should say!
Between the bricks and the bases, Dear Readers,
I have been getting to the Bottom of it All!


Tuesday, January 8, 2013

Sealing.... And A Little Bit of Ceiling....


More About Grout..... 

There has been very Little added to the Tiny Tree House recently, Dear Readers.... because I have been so preoccupied with the Bigger issue of the Castle Tiles and whether or not to use Grout! But I have managed to fit the final section of the Library Ceiling.... that Incredible Blue with the Glittering Gold Stars just takes my Breath Away!!! So I couldn't resist showing you a view of the entire ceiling .... before returning to the comparatively boring subject of Grout!
The Grout on the Castle Floor is nearly finished.... I am just not sure yet whether to darken the tiles a little more before I apply the final coat of "Sealant" over the whole floor. I have been waiting for a day when I am home and the daylight is good enough to judge the darkness of my "aging" of the tiles. I think there are a few places where the grout is still too light.


 I am pretty sure I am supposed to "seal" the grout after I have reached the desired color... and I plan to use regular polyurethane sealer. I have even tested it on the sample tiles and it looks good... so why am I worried? Well, I don't want it to look too "glossy"! Which is what happened to the Chimney bricks I have also been working on for the Folly Chimney! Here below you can see the egg carton bricks I have been (slowly) adding to the chimney... I started it last Summer!

And after a Marathon session of cutting bricks and gluing them on New Year's Eve while waiting for the Ball to drop.... I was ready to paint the bricks! Which you can see below....

The chimney is in two parts... 
divided where it passes through the roof....

And you must NOT look too closely... 
it is a bit crooked and will need some adjusting when it is attached!
You can also see the white base of the central chimney that has not yet had any bricks attached...
And having painted the bricks with acrylic paints, I decided to seal them with the polyurethane sealer before applying the grout.... only to have it make them Very Glossy!!!
You can see in the picture below how shiny and un-brick-like they look!!!
 
And another view...... although part of the problem is the lighting..... 
and the fact that it is so Dark this time of year....
But Really, that is Way too Glossy!!!
So much that I decided to paint them Again with acrylic... 
Over the polyurethane....
Which really made almost no noticeable difference!
So I decided to apply the Grout and see what it looked like after.....

And the Grout seems to roughen up the glossiness.....

So that the chimney actually looks Remarkably realistic......

Even if it still IS a bit crooked....

So.... do I Dare to apply more Sealant Over the grouted chimney????
Is that the normal method? 
Do I have the wrong kind of Sealer..... it says matte finish...?
I guess I could always "scuff" it up after sealing.....
I need to figure this out!!!
But while I am looking into That question....
I am soothing myself with looking into the Infinitely Beautiful Blue of the Library Ceiling....

And even though I still have not glued the ceiling in place...... 
so there are a few gaps.....
I think it is one of the most beautiful ceilings I have seen!!!
Just a Tiny Bit of Ceiling!

Sunday, September 18, 2011

Steaming Ahead!

Roses, Wall Paper, Egg Cartons and Broom Sticks!

Dear Readers, I just can't tell you how MUCH I am enjoying my Mini Rose Garden by the Folly! This is how it looked this sunny Autumn Sunday morning. The Sun no longer strikes directly into the room... it has headed South for the Winter.... but even so, it lights up the tiny Roses and they keep on blooming! This white one has a delicious vanilla scent to it..... wish I could send it through the internet!

And while we are looking closer..... there is a lovely little birdsnest hanging from the eaves of the Folly! It is a jewelry pendant I found at Michael's last week..... and couldn't resist!

Here ..... you must have a closer look at this beautiful blossom...... they may be out of scale for minis... but they are tiny as far as Roses go! And they do make SUCH a lovely little garden hedge by the Folly! I am just in LOVE with them!

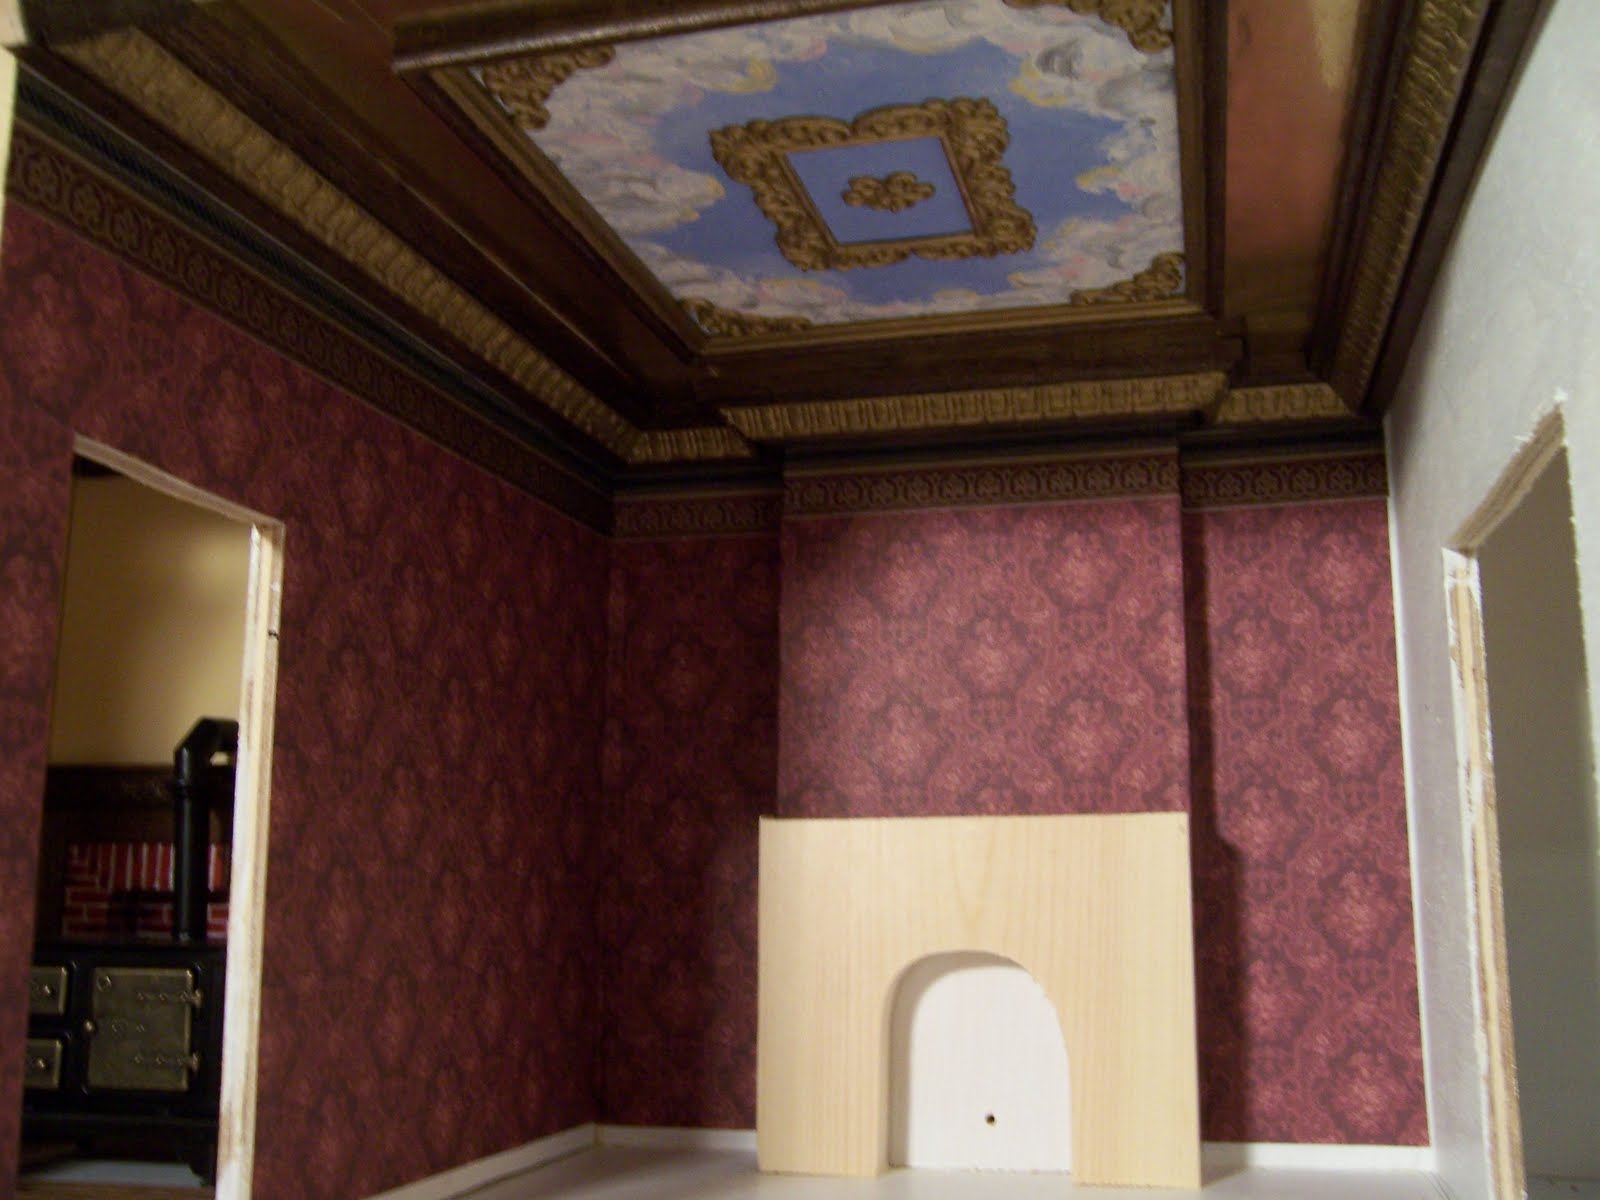
And speaking of Roses.... I chose this wall paper for the Dining Room of the Cupboard House at least in part because the pattern is bouquets of Roses...... in a very dark Old Fashioned Rose Color! Here you can see I have started to attach it to the walls!

And this shows how it looks when the doors are in place..... so Dark and Rich and Victorian!

And here it is with the third wall done.......
I love the way it reflects a Rosy hue in the gilded ceiling!

And Paper in ANOTHER form.... Egg Carton paper .... has FINALLY been tested out for the brick floor of the kitchen underneath the cast iron stove. I have been intrigued by the idea of egg carton bricks ever since seeing other bloggers using them to such great effect.... but I had never tried them myself. It seemed like an awful lot of steps were needed ...... cutting the bricks, gluing them on, painting them, sealing them and finally grouting them...... and I had never used the grout so I was NOT sure it would be successful! But I finally convinced myself that this small corner of floor would be a good place to test them out.... and if they didn't work.... then I would try a different method. So I cut the bricks.... not very precisely, I might add, and attached them to a cardboard base that was cut to fit the space exactly. This served to give the right thickness of floor and also made it removable! Here you can see them all attached......

Then I painted them and sealed them with polyurethane. They didn't look like much so I neglected to TAKE a photo of that step! Then I had to try the ALL IMPORTANT Grout! I carefully spread it on.... not too thickly.... making sure it went into all the cracks.... and wiped it off carefully so that only the grout in the cracks remained...... and left it to dry! At THIS point I began to see WHY people like it so much....... they REALLY started to look like BRICKS!!!! I am a complete convert! I LOVE them! I want to put them everywhere..... well, maybe NOT everywhere.... but I REALLY am impressed!

Just LOOK at how Wonderfully REAL they look!!!!!

And here's a view with the stove in place!
I Just Could NOT be Happier at the way these turned out!!!

So by now you must be wondering what the Broomstick part of this Post is all about! Well, I had an idea for making a water heating tank for the Kitchen, but it required the SACRIFICE of the end of my Broom handle.....

I thought about it for a Long time... but I am not very tall.... and heaven knows I don't Sweep very often.... so the end of the broom handle will probably NOT be missed....... and it IS for a Good cause.......
So I sawed the top four inches off......!

And painted it a beautiful shiny Copper color......
(more coats of paint will make it even shinier...)

And WHEN I attach all the copper pipes and faucets.....
it will make the PERFECT Hot Water Tank...
a VERY MODERN technology for the year 1852.....
Providing STEAMING Hot water for the Kitchen!

You will just have to IMAGINE the pipes for now.... as I didn't get that far this weekend......
But here is a peek through the almost finished window into the kitchen... oh dear.....
it is a bit dark and badly lit.......
I will have to do better next time.......

That's it for now!
(Not Steam Heat) but Steaming Ahead!