Wednesday, November 30, 2022

Carpets....


 Updates....

It Has been a while, Dear Readers, since I showed you any progress on my carpet stitching. This is something I work on in little bits and pieces here and there, and I often forget to take any pictures of progress. This might be because it always feels like I haven't made any progress, the stitches added are so small and few! But over time it adds up to a lot, and now I am nearing the finish of the central portion of the carpet. It is an elaborate pattern, but once you have stitched a few of the sections, you recognize the pattern which mostly just repeats with a different combination of colors. So you do have to pay attention! I know all those "extra" threads look like a tangle, but they will each be continued in stitching when I get to that part of the pattern. This is just a method of not constantly ending and starting the threads again and again.

 
And you might be forgiven for thinking you might never again see
 the carpet I was working on last spring! 
I did get the fringe added as you can see above.
I was only part way through stitching this carpet,
when I began to wonder if it would fit in the 
Dollmaker's Studio upstairs room. 
Of course, while it is on the needlework frame,
 I could not give it a "test" and had to wait until 
the stitching was completed before I could try it out.
I think it is so perfect I could not have planned a better fit!
And the little "bits" of blue I had added into the centers of some of those ovals
 is a perfect "reflection" of the ceiling above! 
(I had wondered if this would work!)
It is just impossible to simultaneously show you 
the details of the floor and the ceiling above!.
That will have to wait for it's own post!

And my newest carpet, Dear Readers,
 which you have not seen anything of at all, 
surprised even me!
But let me show you....
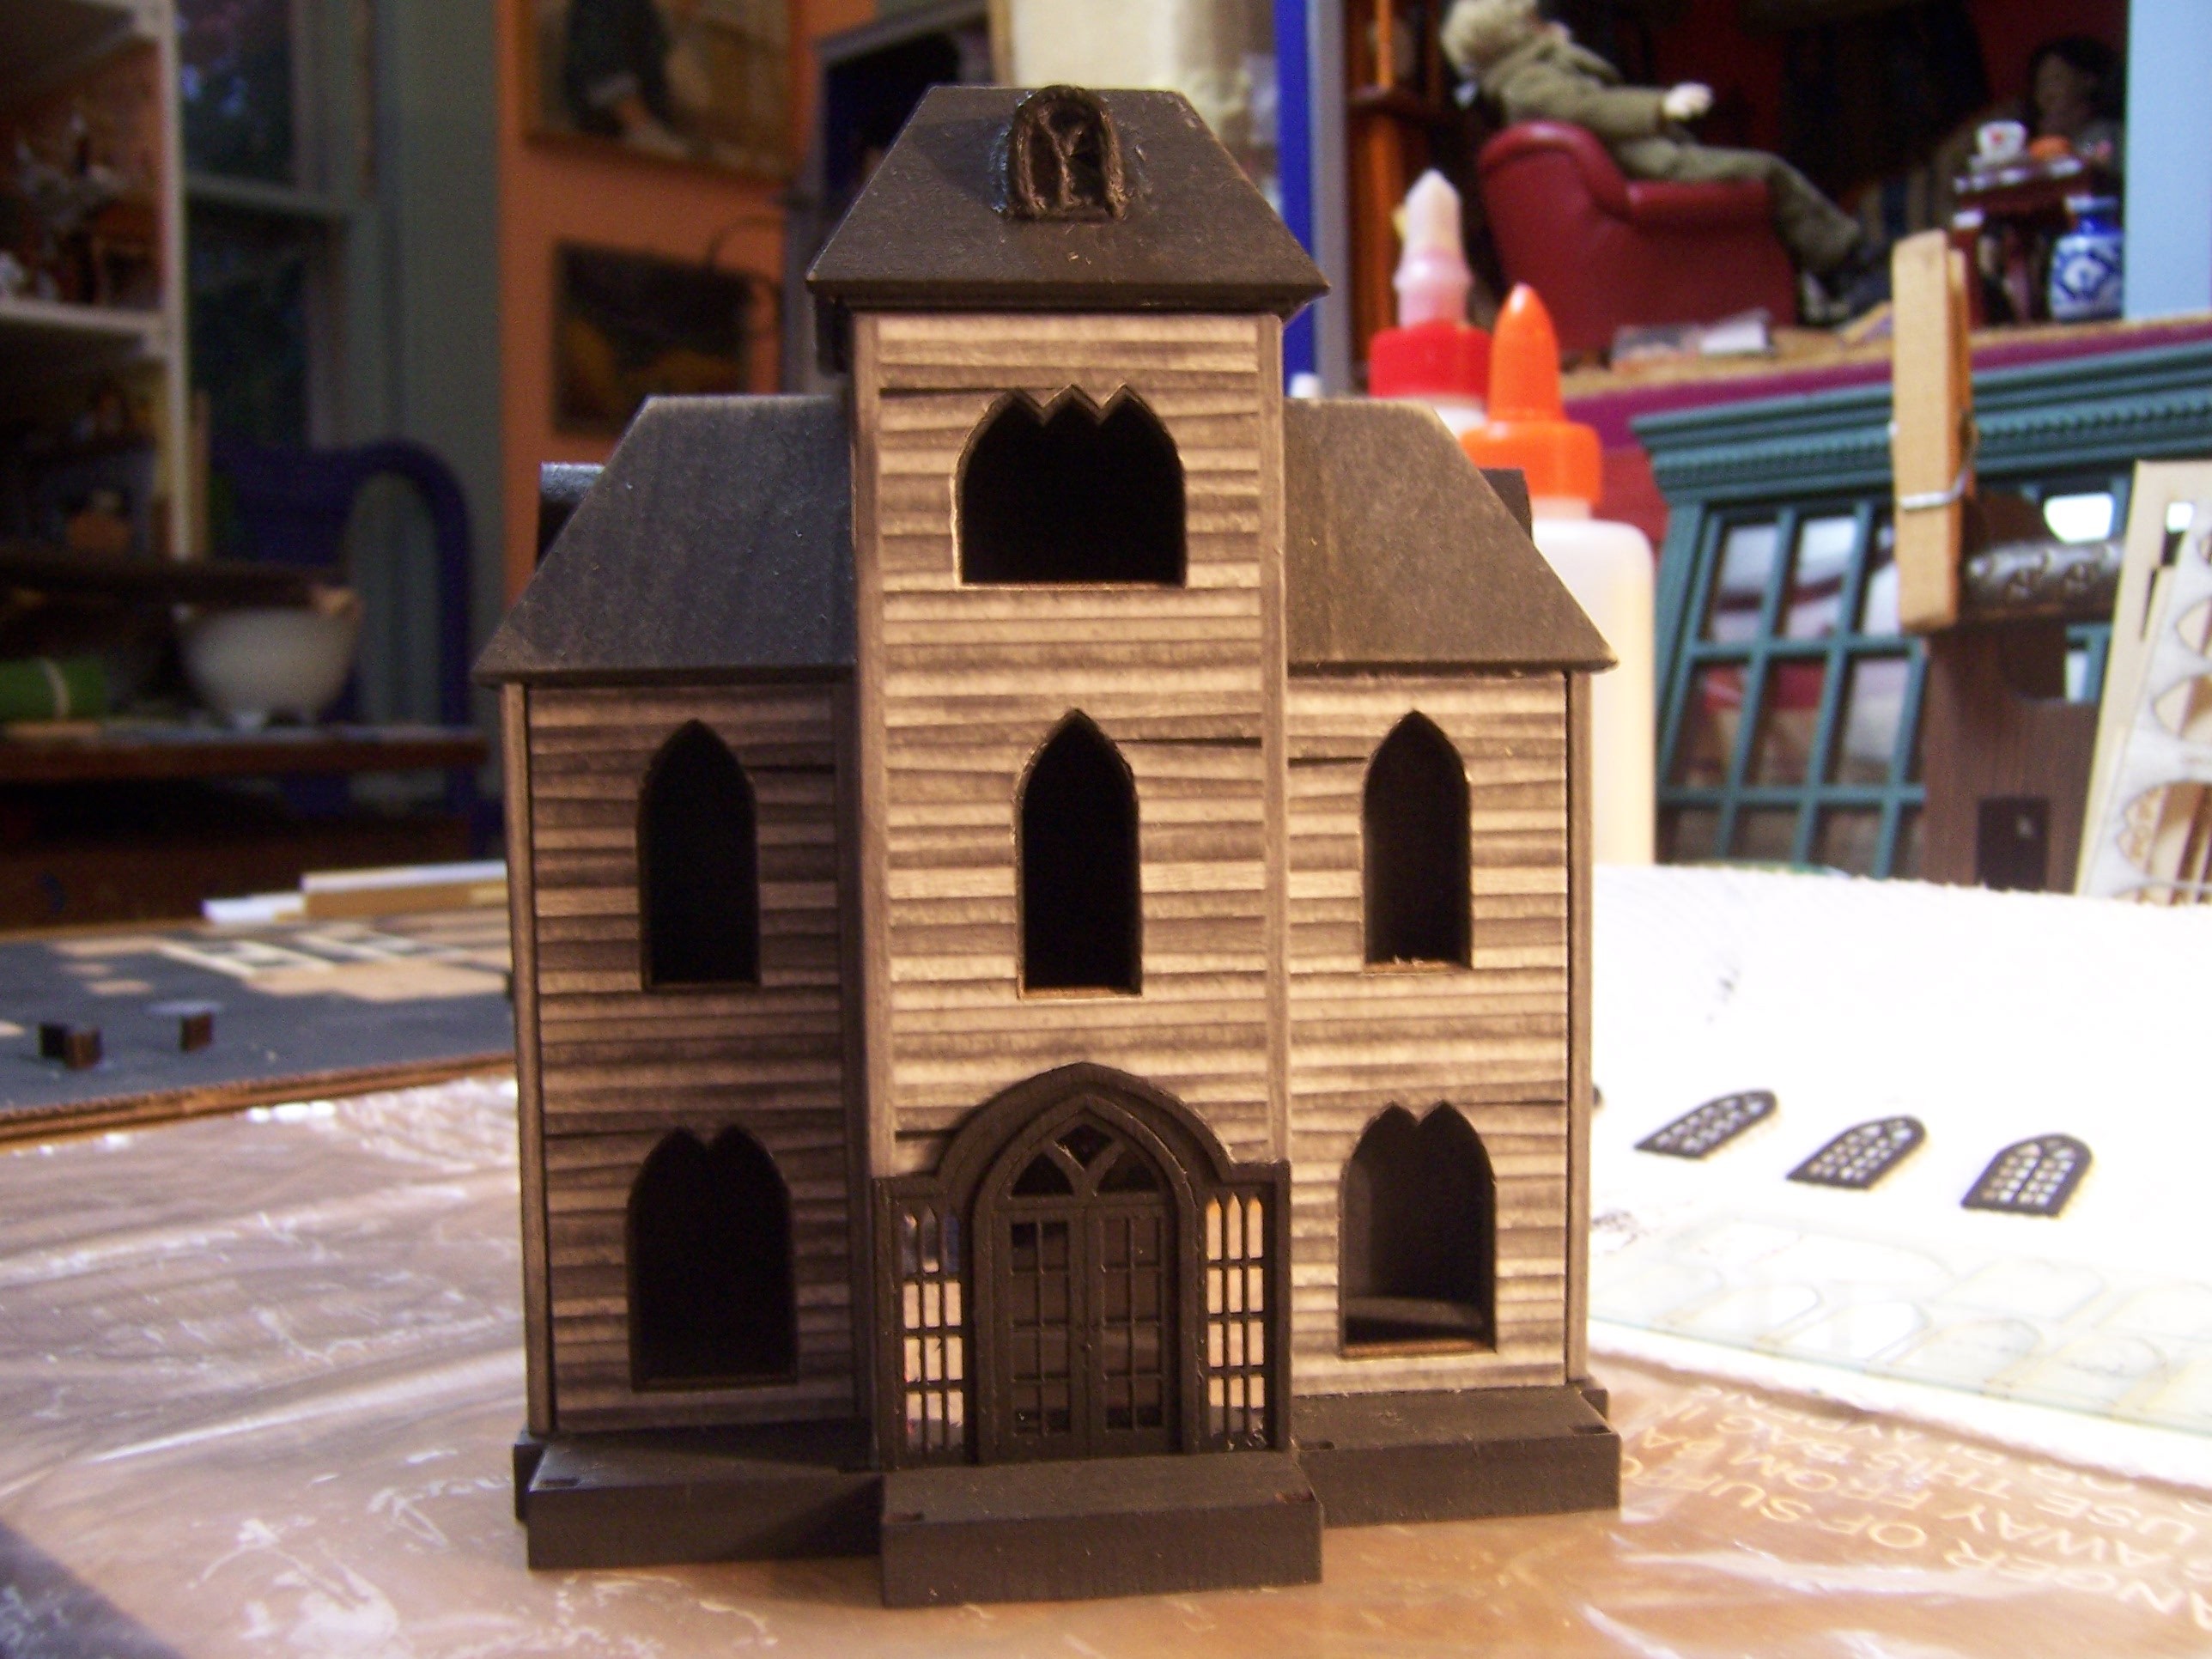
It has to do with the Ravenwood...

One of the features of this kit that enchanted me right from the start
 is the three floor grand staircase in the Tower section!
It even has cut outs for the stairs in the floors! 
The little people will be able to climb those stairs!
But first you have to add all the interior decorative papers... 
ceilings, floors and walls.
The color palette is a sophisticated selection of 
gray and black and ecru designs in tiny tiny prints. 
(It is very well designed!)
 
 
And here I must apologize for forgetting to take pictures... 
as I rushed ahead with my rash additions...
there are no pictures of the "before" staircase!
But suffice it to say that it was spray painted entirely black
 like the exterior framework... 
and when inserted into the grand hallway... 
it just lost too much of it's striking detail. 
(In my humble opinion) 
I thought it needed a brilliant contrast....
Like a crimson stair runner..... 
winding up that elegant stairway....
Could I manage to make something like that....?
That small....?
Well.... I had to try!
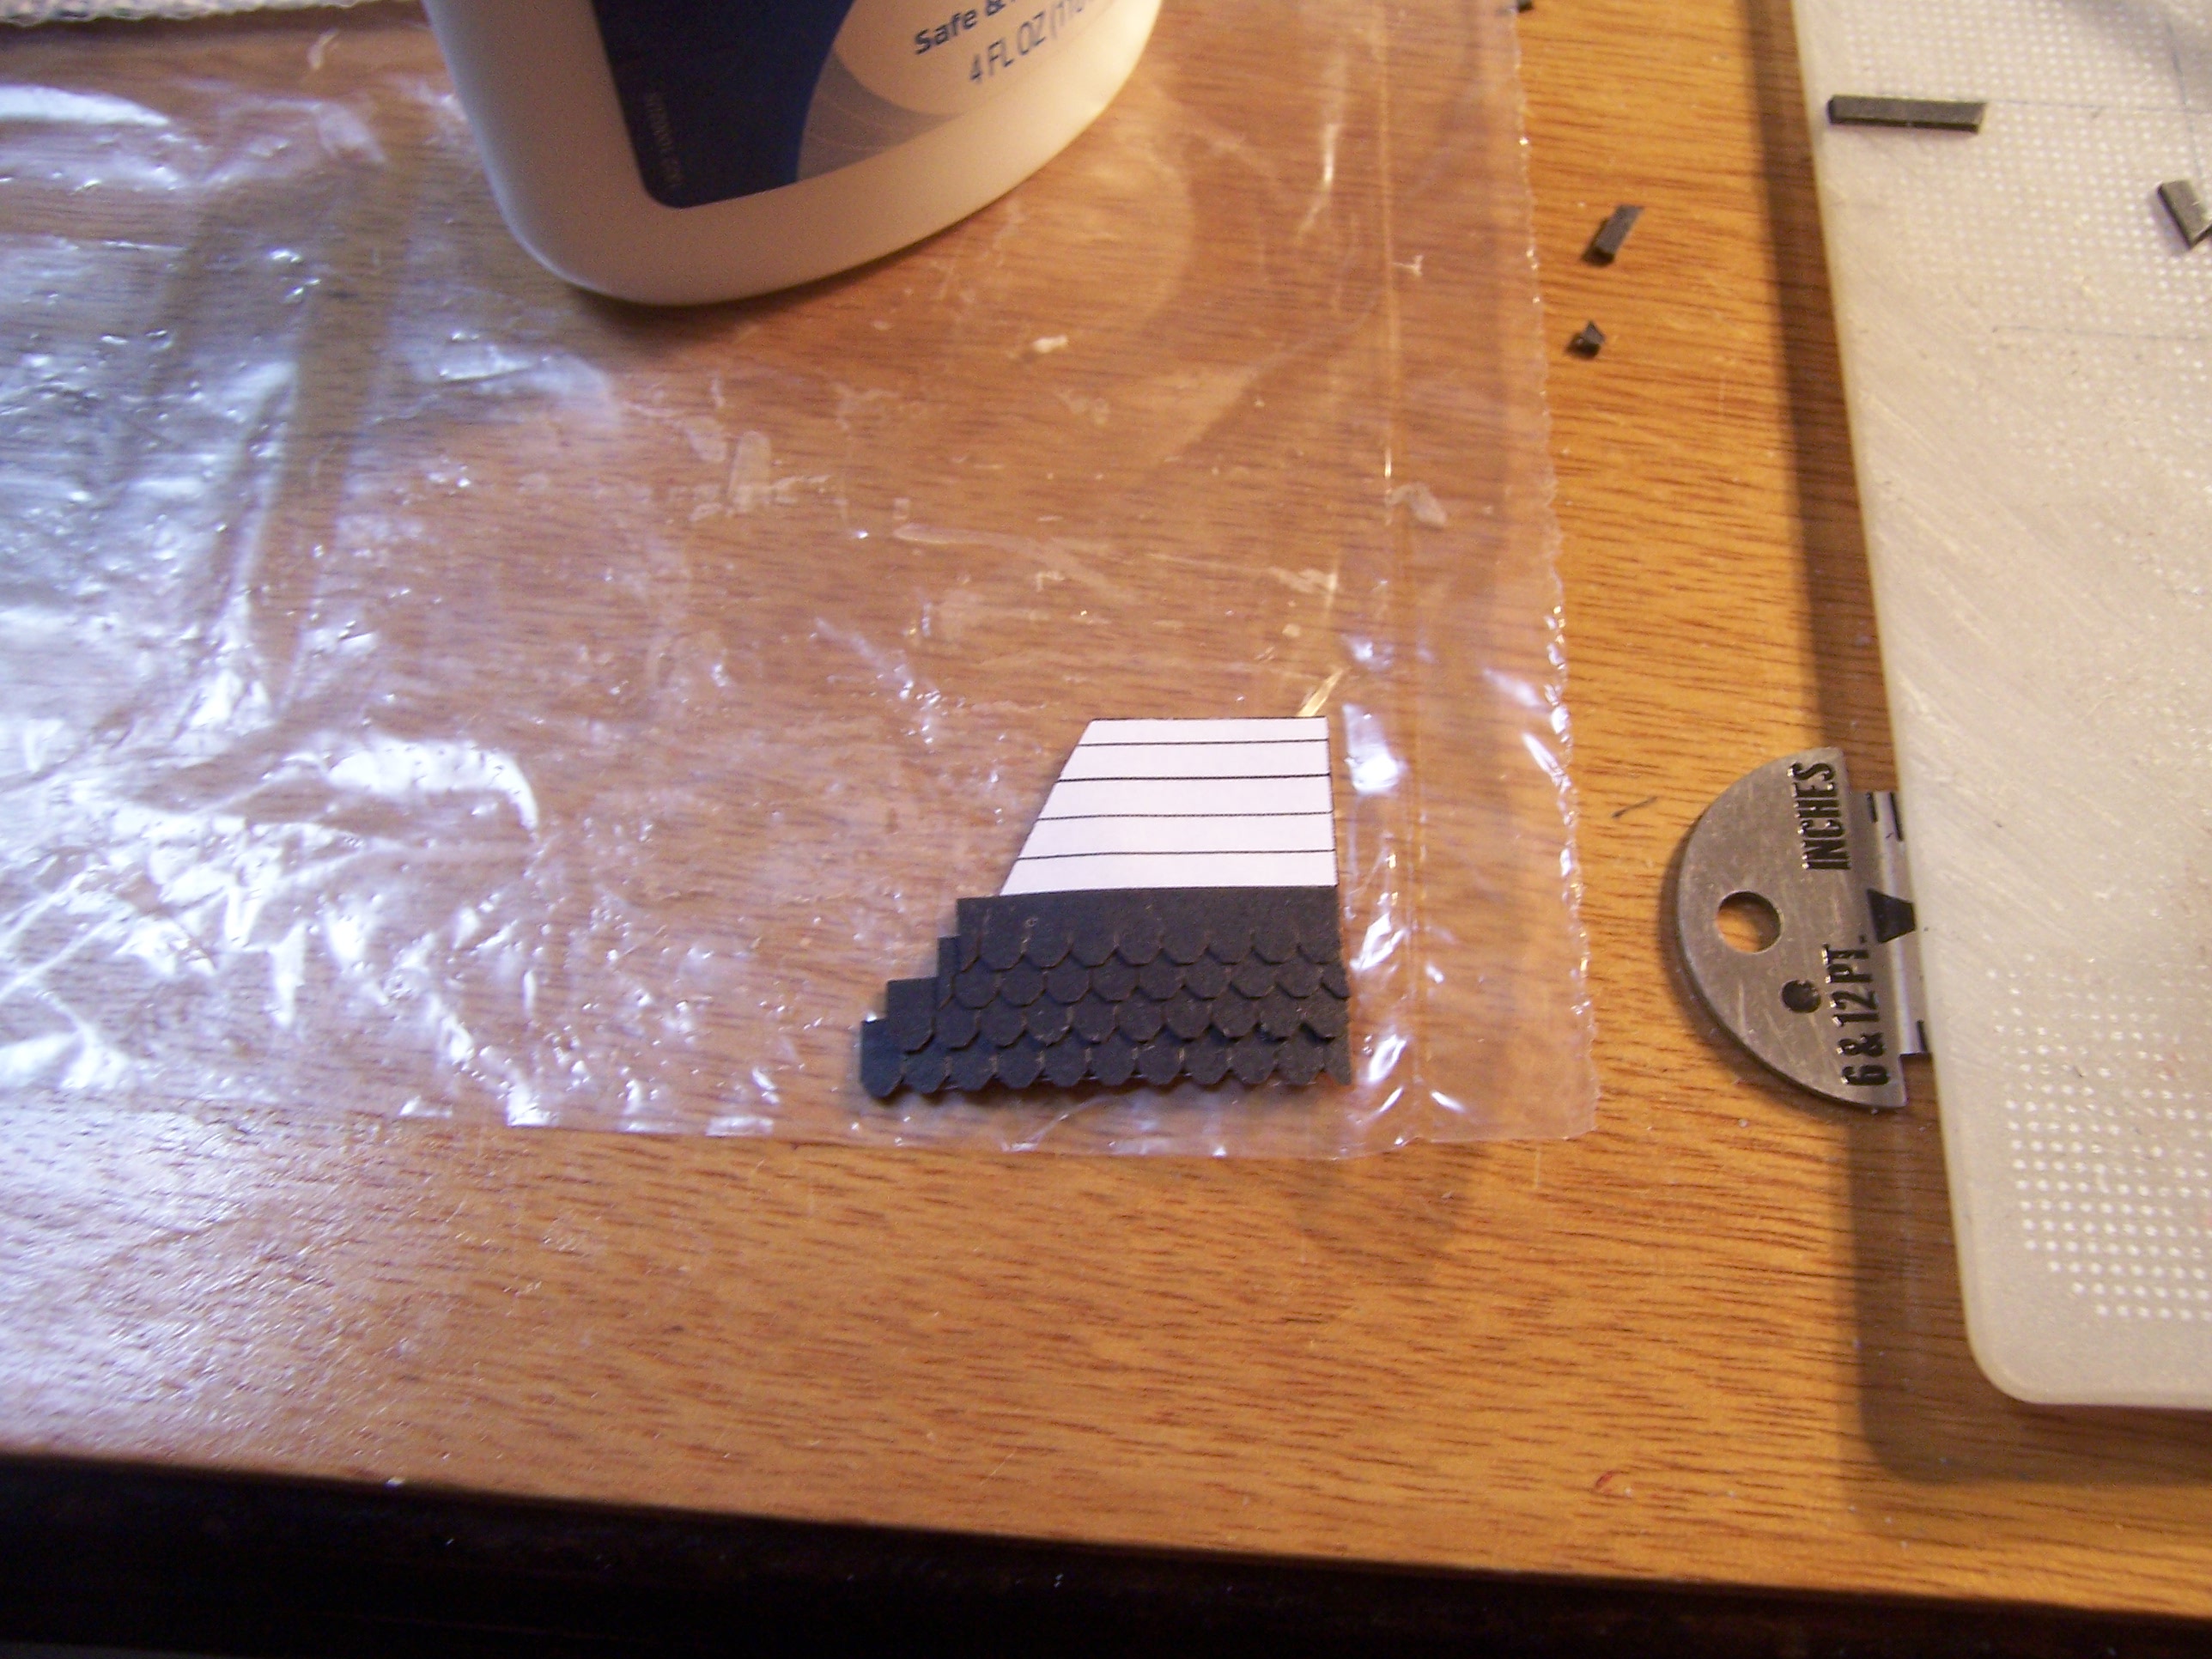
I found a luscious piece of thin raw silk... 
and cut it into a very thin strip....


And one step at a time, glued the carpet to the stair...
waiting for it to dry completely before doing the next step....


And the different stair "blocks" had to be done separately
 because they were not all to be assembled outside the Tower....


The side rail piece is added to the lower block
 and these sections are glued together.


Here are all three sections of the first floor stairs. 
 
 
And both sets of stairs are now "carpeted"!
But you might have noticed the rail sections
 have some etched design in their surface... 
and I thought they needed augmentation!
 
 
 Those newel posts needed to be a little more robust... 
and perhaps even have a three dimensional quality  
to the rounded tops!
Out came the glue...
 

 Those white blobs are the "glue trick"... 
I add a dot of glue and let it dry
 and then layer a few more layers on.. 
creating a three dimensional surface...
When all dry it is painted to match the rest of the surface.
Then came the really hard part, Dear Readers, 
correctly lining up and gluing the stairs into the Tower!


You had to start with the section at the top....
 glue it in place ... 
hoping the top of the next section
 would meet it in the right place...!


Once there was glue involved...
 there was no changing anything!
The bottom section was the most challenging.
The three sections had been assembled outside of the Tower... 
 

And when inserted carefully into the stair opening.... 
you had to hope they would meet the walls and floors just right!
(Mine didn't...!)
 
 
Were the walls a little off? The floor?
There was a sliver of space underneath the stairs
 that didn't touch the floor.... hmmmm...!
I will have to insert a piece to disguise this... 
fortunately, it is so small you don't notice it at first!
And once the glue is in place....
Nothing can be changed!
 
 
But I do think, Dear Readers, 
that the crimson stair carpet adds a
 Brilliant touch to this Grand Staircase!
And if you look very carefully...
You can even see it through the doorway!
I do Love my Carpets....!


Wednesday, November 23, 2022

Thanksgiving....


 Almost Late to Dinner...

You may recall, Dear Readers, many other Thanksgiving Dinners at the Lovely Old Dollhouse, all with the same dinner and the same guests and very little variation! But I beg your patience with this Tradition that comes around, ready or not, and needs it's moment of glory. This year Helen was astonished to realize that dinner was going to be late. Quite late, in fact! "Goodness!" she declared to Charles. "Look how dark it is already... and Sally May hasn't even arrived yet!" she added anxiously. "Do you suppose something is wrong?" "No! Don't worry!" declared Charles, knowing that Helen would worry no matter what. "It's just that Chip had a late job he had to finish, and Annabelle was napping, so they are running a little late." "But they should be here any minute!" he added. "But what about the dinner...?" said Helen, starting to fret. "Won't the Turkey be over-done?" she added. "Joanna assured me she was able to put off the schedule a little bit." he said. "It sure smells good!" he added.

Meanwhile, up in the attic, Pollyanna and Arthur 
were keeping "out of the way" of the kitchen.
 They knew that too many cooks spoiled the broth!
But even so, the aromas had reached up to the attic.
"Do you think it's ready yet?" asked Arthur. (He was hungry!)
"I think they will call us when it is time." said Pollyanna. 
"But it sure smells good!" She added.
"I haven't heard Sally May and Chip arrive yet either."


And down in the kitchen, Joanna and Victor 
were just taking the Turkey out of the oven. 
It looked like everything was ready... except that 
Sally May and Chip and Annabelle still hadn't arrived!


But just then they heard a commotion in the Front Hall.
The puppies were greeting Annabelle and making a great noise!


Sally May and Annabelle headed straight for the kitchen.
"I'm sorry we are so late..." she said. "Annabelle just woke up!"
"And Chip had to finish that job...."she added.
 "But let me help you get everything ready!" she declared happily.


"Sorry we are so late!" Chip was saying to Helen and Charles.
"Are your folks coming too?" asked Helen.
"They said they would be right behind us!" declared Chip.
"It sure smells good!" he added cheerfully.


Meanwhile, up in the attic, the noise of the arrivals was unmistakable.
"I think we should go down now..." said Pollyanna.
"We don't want to be Late!" said Arthur grinning.


And sure enough, Ernie and Blanche, Chip's parents,
 arrived a few minutes later.
Everyone was gathered in the kitchen at last!
"The Turkey looks wonderful, Dear!" said Helen to Joanna. 
"And smells even better!" added Charles!


Well, you know what happens next, Dear Readers!
Yep, its the same menu as always!
Roast Turkey, Mashed potatoes, Butternut squash,
 cranberry jelly and gravy... oh, and buttered peas too.
And for dessert Apple and Pumpkin pies!

And did you know, Dear Readers,
 all those foods, with the exception of the apples and peas,
 are Native to the American continents.
A fitting celebration of the bountiful Harvests of this Land!
I hope you all enjoy a wonderful day,
 whether you are Giving Thanks or not!
 
Happy (almost late!) Thanksgiving!

Tuesday, November 15, 2022

Ravenwood Exterior....


Windows, Siding, Porches and Shingles....

With the basic Shell of the House completed, Dear Readers, It was time to add some of the Exterior artwork. Above you can see the house with the two pull-out sections showing the interior rooms before any of the exterior trims and artwork were added. The Tower rooms are not showing because it lifts out from the top. This does make it a bit awkward to display... but the Tower interiors have some really wonderful features! But first we must complete the exterior of the building, starting with adding the wonderful printed paper siding...

This step always makes me nervous... 
getting glue on the outside of the paper is not a good idea,
 so you have to be careful when applying it.
The fit of the cut out shapes is excellent
 and requires virtually no trimming.


It looks wonderfully worn... I love the color!


And with the side pull-out wall done too!


Then all the delicate window frames are cut from their "motherboard".
The layers need to be glued together, 
and each painted individually...
a slow and delicate process.
I neglected to take pictures...


Here you can see the front door has been attached!
The frame holds the acrylic window in place in the opening.
I have put reflective glitter paper behind the window frames
 on either side of the door. This is because they are not real windows...
and I wanted them to look more reflective and glittery.
If you look carefully at the earlier pictures,
 you will see that the area behind these frames
 was just a blurry gray tone.


I wanted it to glow... glitter.... shine....!


Especially as it will be tucked under the porch....
when we get to that!


Adding the rest of those lovely windows and frames went pretty quickly... 
at least, I forgot to take any progress pictures!


The side pull-outs are finished too.


Here you can see a great comparison
 of my added attic window with the kit version below...
But really, the house is supposed to be weathered and worn...
 maybe I should have roughed up the window frames a bit...


The next step is adding the porches.... 
as with many of these tiny pieces
 they are made of glued together layers
 to achieve a three dimensional decorative relief.
Of course, I forgot to take any pictures
 of the very tiny finicky pieces!


Here the porch roof railings and trims have been added.
 
 
Oh, what a wonderful spooky porch!


We are almost finished with the exterior details, Dear Readers,
 but the next steps are complicated!
If you look closely at the edges of the roof in the above picture,
 you will see the edge trim pieces have been added.
These are built of several layers glued together,
 cut to the right length and attached along the outer edges of the roof.
 

It was really difficult to understand the directions
 on how and where to apply the trim
 until more than one piece was added... 
they need to abut the correct way on the opening pull-out roofs.
 
But on the Tower roof they abut slightly differently
 because there is no side pull-out.
 

 Laying the shingles was relatively easy.
The guide templates fit perfectly.


Plenty of shingles are supplied!


The first shingled roof is done... 
and you can see how it fits up against the edge trim pieces.


Here I am adding shingles around the Tower window that I added... 
so I needed to fit the template around the window before I added the shingles.


Once you have glued all the shingles to the template,
 you cut the edges back to the opening.


Like this.


Then it slips neatly into place on the Tower,
 between the edge trim pieces!
Doesn't that look as if it were part of the original design?


I did the Pull-out side roofs last.
They had the trickiest edge pieces....
And the fitting was trickier....


Again, the shingles were glued to the template,
 then the window was cut away....


There is a strip of edge trim on both the
 pull-out side and the front roof edge.


Here you can see how they align when the house is all closed.


I must say, Dear Readers,
 with the windows, siding, porches and shingles,
 all the extra little details on this kit
 do make it look wonderfully realistic!
Just a few more little additions are still needed, 
but the Ravenwood Exterior is nearly complete!