Showing posts with label Antique Carpet Kit. Show all posts

Wednesday, April 20, 2022

Fringes And Tassels....


 Finishing Details.....

I Completed the Fringe on the lovely antique carpet, Dear Readers, but it seems that I haven't yet found a good photo location for getting good pictures of this beautiful project. You might be aware that it doesn't quite have a "destination" in any of my current projects! How could this be, you ask? Well, I was given this kit completely unexpectedly by a co-worker who was given it with a bunch of quilting materials. It is fairly large by doll house standards, being 8 inches by ten inches. Unless it is to cover the entire floor, the room has to be a good bit larger, which is rare in kits. My Castle has large floor areas, but they are usually "inhabited" in the Medieval times when these carpets were not yet discovered. Add to that the reluctance to cover the entire carpet with furnishings and obscure the beautiful pattern. So, this is a puzzle I will have to solve! For now, be assured that it is finished, fringe and all, and I just love the way it turned out!

And by the time I was finished with all that fringe, I had become rather good at the "fringe stitch" which led me to start the fringe on another carpet I had completed months ago and never showed you.

I believe I was working on this carpet last summer
 and had decided to change the design just a little bit from the kit instructions.
It is one of Janet Granger's kits and the
 central medallion was much simpler in her design.
There were only the red roses and fewer leaves, 
and the whole was surrounded with an area that
 had scattered single stitches of the pale pink in the pale ground.
I just didn't like those dots of pale pink!
But I felt it needed something in all that space...
 but perhaps I went overboard
 and put too much "something" in the space...!
Anyway, I added all those pale pink roses
 and scattered buds
 and pale leaves...
I will admit it might not be my best design alteration.
And I am sure Sally May will love it anyway... 
once I get it done and into her Living room!
All it needs is the fringes... 
which I had been procrastinating about
 while I stitched other carpets.
So I've made a start!
But Heaven knows, one can't Only do the fringe stitch!
So I've also been finishing
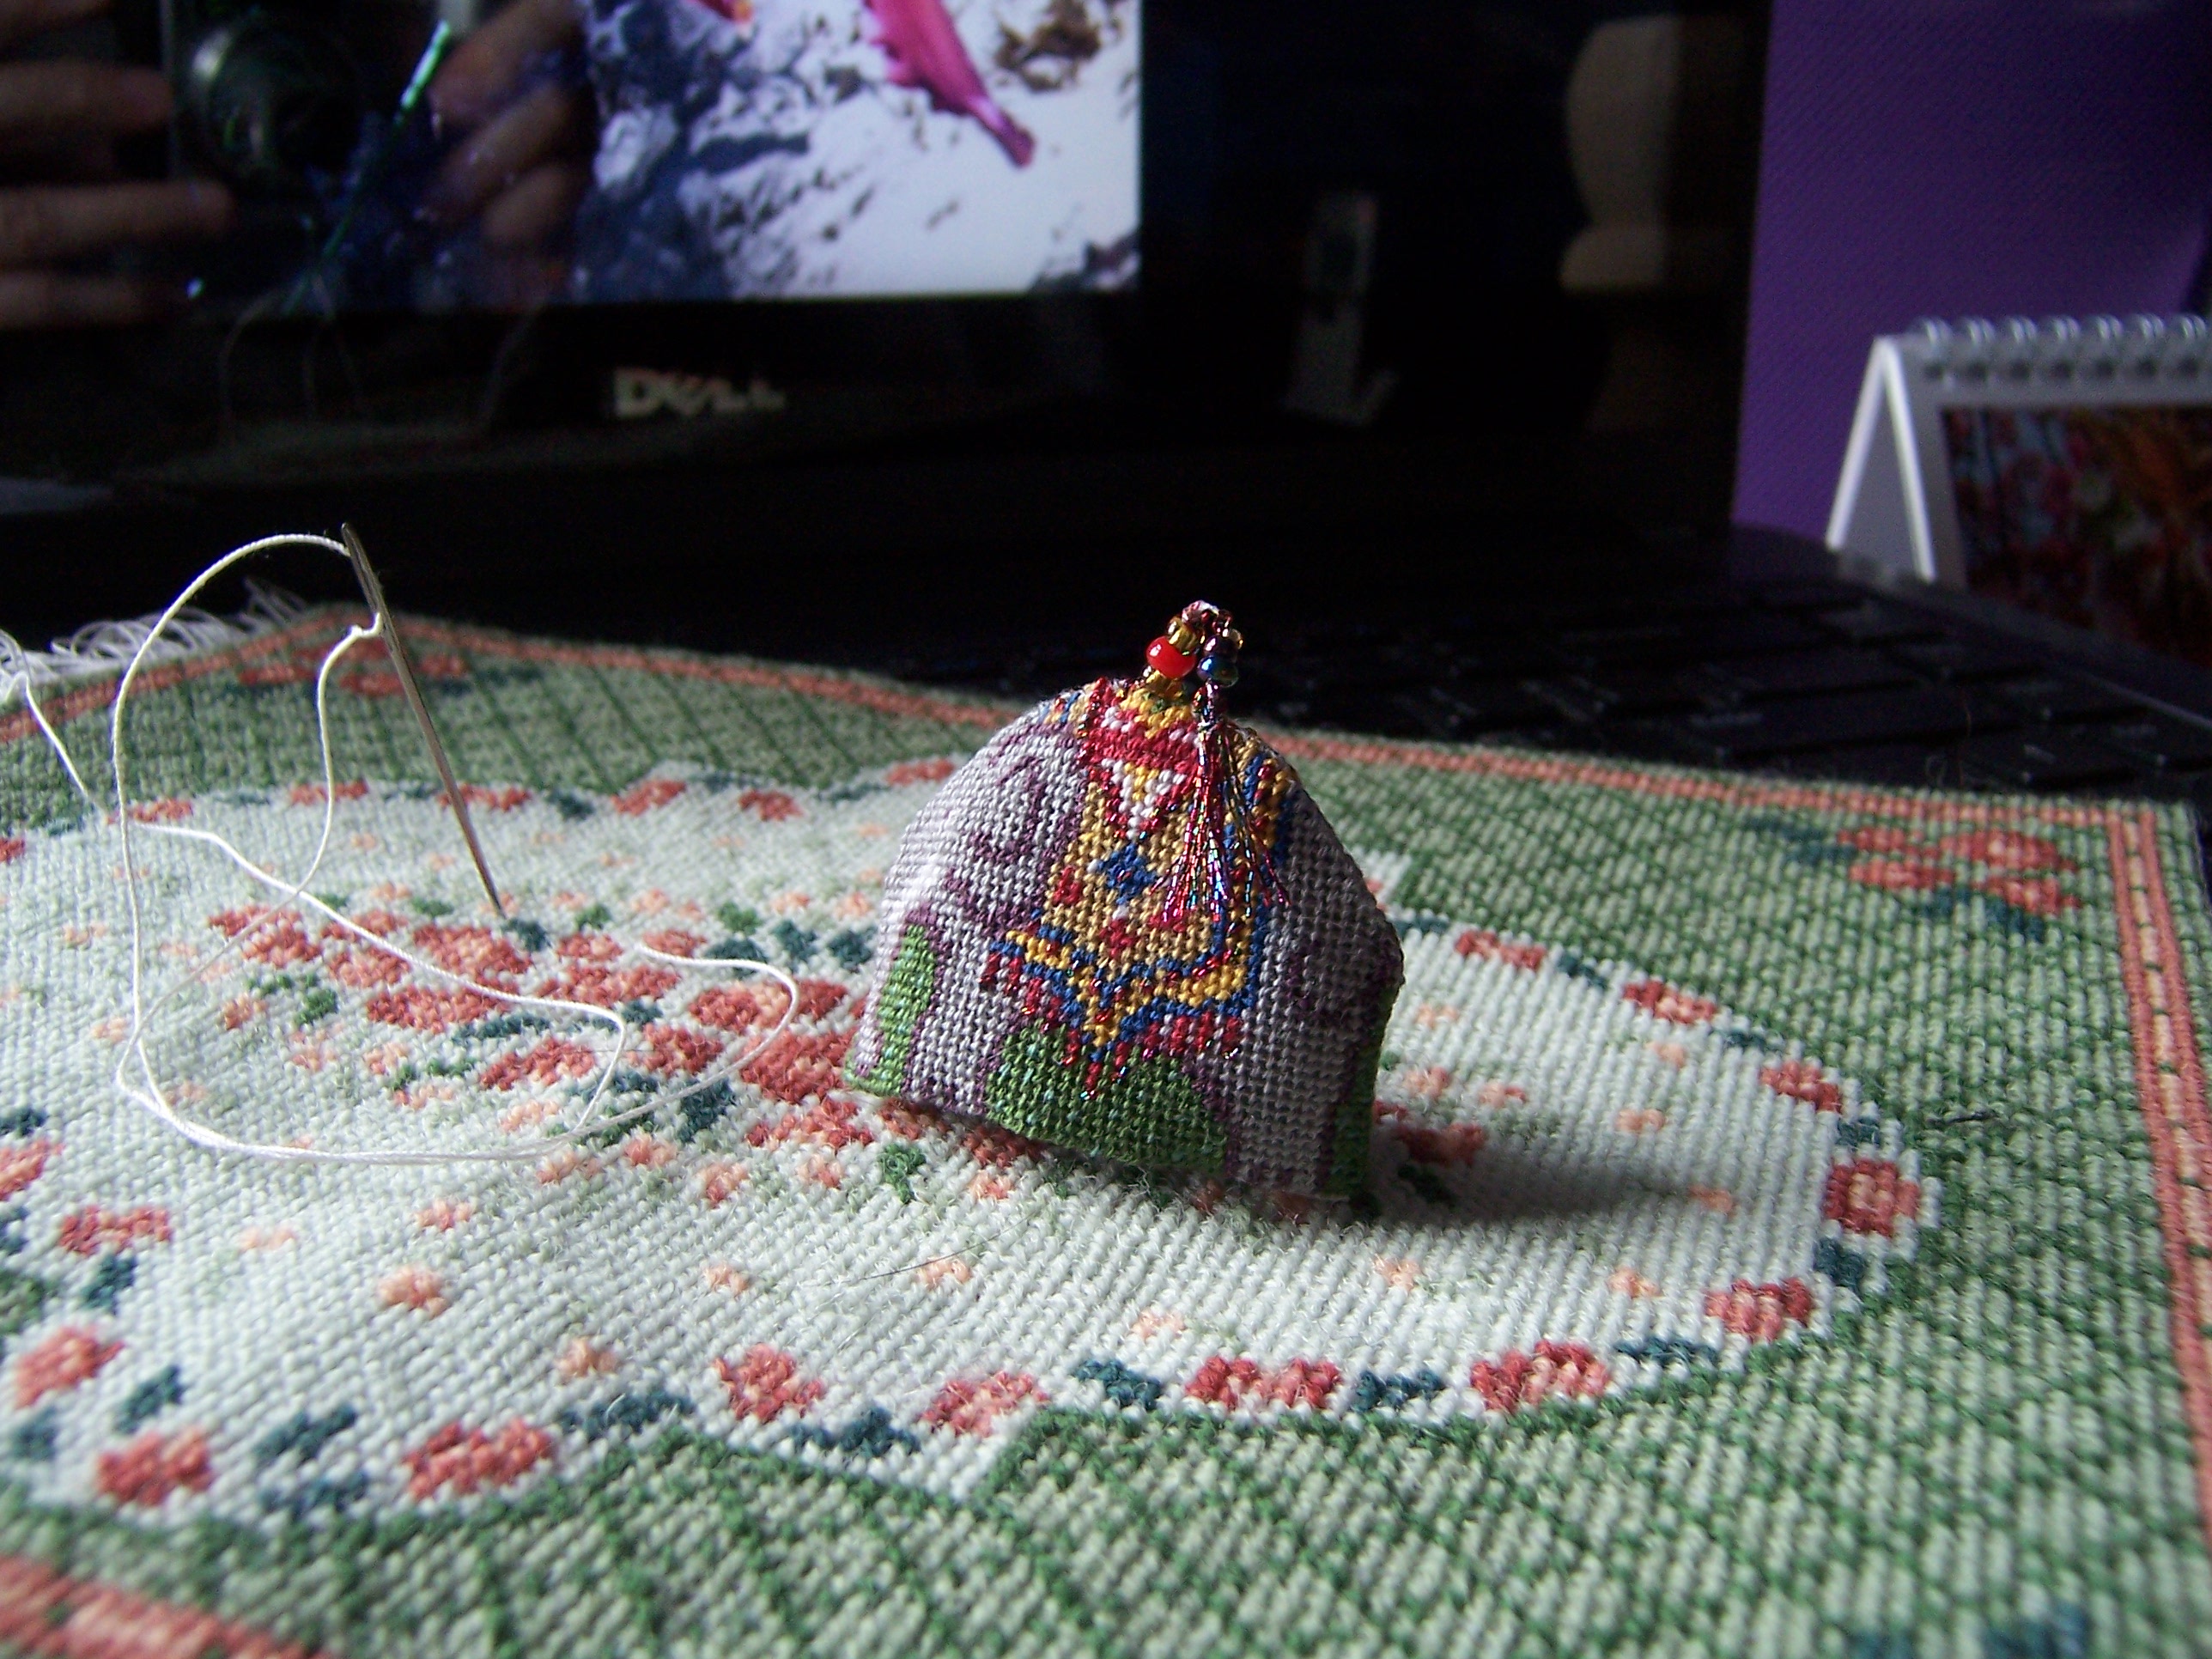
 the little Elephant Tea Cozy!


The instruction page is generic for the "tea cosy kits"
 and doesn't show the Elephant.
It says to stitch the two sides together
 using the thread of the background color.
Well, the Elephant is the background except around his legs!
I decided it would look terrible to have either a green stripe
 all along the back of the Elephant and down his face,
 or the gray stripe running up through the grass at the bottom!
So I carefully stitched with green at the bottom
 and gray all the rest of the way around.


Here the sides have been stitched together, 
but I didn't get a good shot of the seam... 
the light is too much from the side and the Elephant kept falling over!


And ever since I started this kit, 
I have felt that it would need to have
 a "Tassel" as a handle at the top.
And when I used the glittery embroidery threads
 to add some sparkle to the saddle,
 it seemed obvious that they would also serve for the tassel.
I have started to make one in the above picture...
 can you spot it there?
And I wanted it to attach with beads...
Which was a little tricky, 
because I hadn't thought it through...
which end attached to which part first....


But I think I made something that works!
(Unless you think it looks like a rather large night-cap...!?)


I do think it is rather cute! 
Even though it still tips over too easily....


Perhaps he is just missing the right teapot to cover!

As you can see, Dear Readers,
 I have been getting very carried away
 with the finishing details... 
Fringes and Tassels just add so much!


Tuesday, April 5, 2022

A Few More Rocks....


And a Little More Fringe...

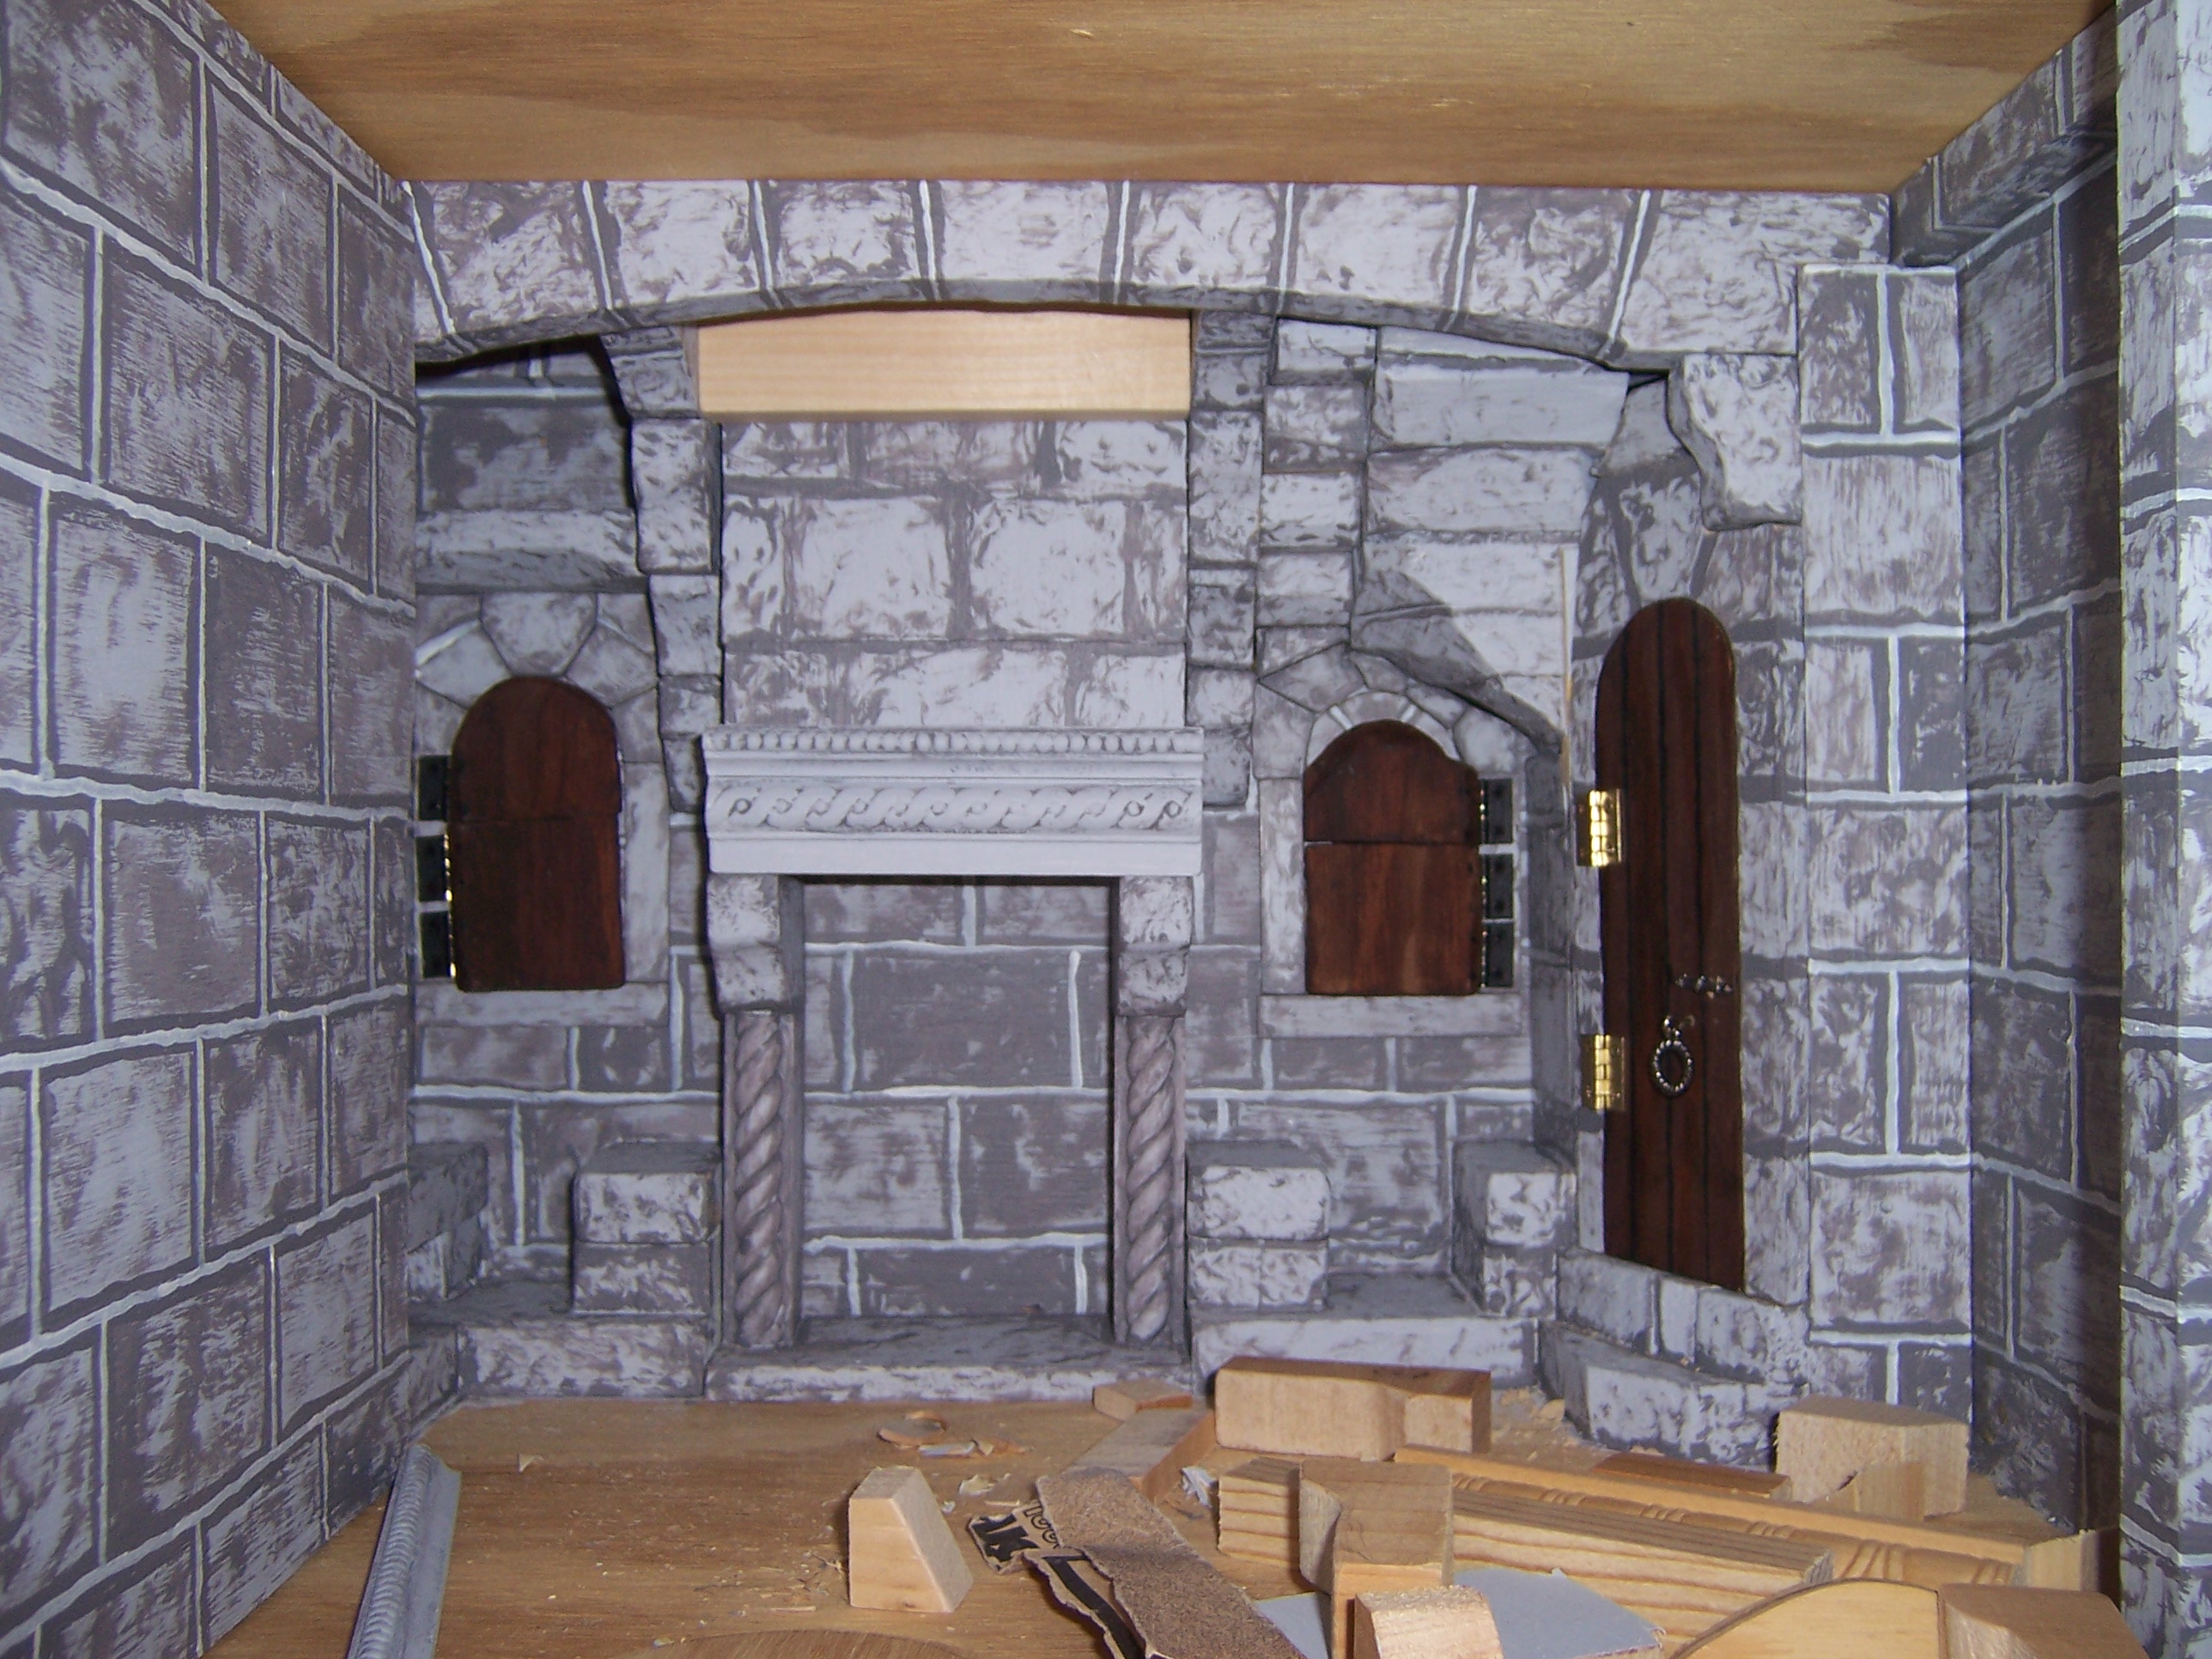
Well, Dear Readers, It was one of those weekends where RL tasks infringed on the Mini-making time and left me feeling as though Almost nothing got done! But as we know, this Castle building is a slow process, so any progress is worthy of notice! And I hope you won't mind if I show you a picture of the Lord's bedchamber as it looked early in the morning before anything had been done.... the morning light is the best light in this part of my house. As you can see, I had started to construct the window seats on the left side of the hearth, but nothing was painted, and only some of it was glued in place. But the natural light helps make it clear that this corner is really a small alcove off the room. All it needed was the bench seat along the left wall. But since the lower parts would be difficult to paint after the seat was attached, I decided to begin with the painting.

Here you can see I have started by removing all the unattached parts.
And it has become a dark day, so the flash is needed to see anything at all!


This is a slightly closer view.
And in case anyone wondered why I have only painted
 the parts of the "rock" that will be visible,
 it is because the bare wood takes glue
 better than the painted surface,
 so the bond will be stronger when glued!
(Yes, there is some reason to my madness!)


And the next morning, with the Hearth in place... 
and a slightly gloomier morning...
The bench along the wall is in position, but not yet glued.


And here you can see all the benches are painted to look like "rocks"...
 and they are even glued in place! 
(Why wait?!)


A couple more little "rocks" have been added to
 the gap between the stairs and the hearth on the right.


And if you look carefully, you can see I have begun to add the "rocks"
 which will make the vaulted ceiling over the benches on the left.


And here the side wall of the Chamber
 which separates it from the stairs below, 
is also in place, making the nook much more hidden.


When you step back, you can get a better sense of the whole room.
 The whole back wall will really be a series of alcoves in the Tower walls.

And as for the carpet fringe, Dear Readers, it is slow going.


But it, too, is Progress!
Rock by Rock and stitch by stitch, 
I will get it done!


Wednesday, March 30, 2022

Stitches And Stones...


Slow Going...

I Managed to find the time, Dear Readers, to take the carpet off the frame so I could finish stitching the edges. The long sides are finished by folding under a half inch of the fabric and stitching a binding stitch with a double thickness of the thread. You can see the beginning above. I am happy to be able to report that I had enough of the dark blue thread for both the long sides! I probably could have also done the short ends this way, but I wanted them to have a fringed edge instead. The fringe thread did not come as part of this antique kit... so I scrounged from the remains of a couple of other kits I have made.

Here you can see I have just begun the fringe along one end. 
It is a very slow stitch to make!
And it uses an enormous quantity of thread. 
A three foot length makes about an inch of fringe!
But I know where to get more if I need it, so I am not worried!
So I will slowly, slowly be adding the fringes!

And as for the Stones I mentioned, you know how that goes!


This is the view of the Lord's Bedchamber
 as it was on Saturday morning with the sun shining in.
You can see the unpainted "rocks"
 that I am trying to fit to various places:
The seat below the window, 
the bottom steps by the stairs,
 and most particularly, the "rocks" in the gap
 between the upper stairs and the chimney frame.
I am using small blocks of wood and cutting them to fit...
 then painting them and then gluing them in place.
 Yes, it is slow going.


The first step was to remove all the parts that were not yet glued in place!
Then glue the ones I was sure were correctly fitted... 
and then paint them with primer....


And then the first coat of gray paint...


And then add back in (temporarily for fitting purposes)
 the Hearth and the Door to the stairs...
So I could begin to glue the parts on the other side of the hearth.
The hearth is still removable as it is not finished yet.


The corner on the left needed to have it's post "strengthened"
(you might recall this being done on lower levels last year....)
And because it was an "afterthought",
 I had to carve away some of the window trim to fit the new post!


Yes, I have had to use the flash...
 it has become a dark and stormy Sunday
 and impossible to see in here!
The new post is snug against the original post...
 and now two more sections will be added to make it "square"...
 

I only painted the sides that would show...

Here all the new sections have been added. 

The grout lines will need to be painted.

That whole corner will have a seat across the side wall.
And I have to figure out how to make the ceiling arch inward... 
at the right angles to look like a vaulted ceiling...
 

No, not all of it is glued in place! 
But there are a few more pieces painted than there were last week!
So you can see, Dear Readers, 
Whether it is stitches or stones....
It is slow going!


Tuesday, March 22, 2022

Threads of a Different Color...


Stitching....

It has been a while, Dear Readers, since I showed you any progress on the beautiful antique carpet project. Above you can see the borders nearly completed. I was only about half way through stitching this project when I began to be worried that I would not have enough thread, especially of the dark maroon and the brighter red. So I began to be very careful how I stitched the patterns, wasting as little thread as possible, stitching down to the very tiniest ends possible of my threads, even not using knots but just pulling the thread carefully to the end before stitching back over a few stitches... all in the hopes that I would not run out of thread with only ten stitches left in the end! With the dark maroon there were a couple of places where the pattern needed three stitches of maroon way across the border, which would waste an inch and a half of thread each time... so I left those for last, thinking that if I had enough thread in the end, I could add them later. I did not have enough of the maroon for those little bits, but I did, just barely get those narrow borders completed! There was about 1" of threat left over. I used the blue and yellow and changed the pattern in tiny ways to make up for the missing maroon stitches. But when it came to the brighter red, I was even more afraid of running out. And the border had those large areas (I think they are turtles) which needed to be all done with the same color... no substituting possible! Once again, I stitched so So carefully... even working the pattern symmetrically in from the outer edges...

I would see just how far the remaining red thread would go...


I would just be happy if there was enough to finish both the turtles!


Which, Thankfully, there was!
There was even enough to just finish the center turtle too.
But that was it.
I ran out of red and the pattern still had unstitched stitches
 that really Really needed to be red.
And it needed to be a wool thread. 
And close enough in color to maybe pass as "the" red...
Did I have anything like it left from any of my other stitching....?


Well, gosh... it looks awfully close! 
I maybe couldn't find a better one if I searched for ages...!


So I bravely stitched the rest of the pattern in this leftover thread!
I know it is not quite a perfect match...
But it works for me!


Then it was just a matter of finishing the background
 in that glorious midnight blue...
Which I am pretty sure I have enough of...


And yes, the border is done!
 And I hope (believe) I still have enough left
 to do the binding on the two long sides.
I plan to add the fringe to the short edges.
I am just so happy to be able to see this carpet nearly done... 
and at the same time, I really wish I had another like it to stitch...
 what a beautiful pattern!

And I also finished stitching the Elephant Tea Cozy, Dear Readers,
Another really fun kit from Janet Granger.


The elephant is the same on both sides except for his tail!


I just love his cheerful blanket.. or saddle...
and as I was finishing this, 
my eye caught on some threads I had bought a while ago,
 just on impulse... metallic embroidery threads in all colors of the rainbow!


And I wondered how it would look if I added
 a few glittering stitches on top of the stitched pattern...


Just in certain parts, over red stitches....
Can you even see the glittery effect in the upper elephant?


The upper one has the glitter thread added... the lower one doesn't...
But I like the effect, so I added it to the other one too!


Of course, glitter is hard to photograph.
You will have to take my word for it Dear Readers,
 it added a really fun sparkle to this Tea Cozy!
I have been having fun with these 
Threads of a Different Color!


Wednesday, November 3, 2021

New Project....


Embroidery Again...

A Couple of Months ago, Dear Readers, a co-worker at the School where I work, the Fiber Arts Teacher, brought me a gift because she knew I had an interest in dollhouse miniatures. It was a very old and out of production kit for an oriental carpet in petit-point made by the House of Miniatures back in the eighties. My eyes lit right up! Wow! What a beautiful design! It was amongst a whole pile of boxes full of cloth and yarns donated by an elderly woman who had been a crafter for years but was moving to an assisted living home and needed to down size her supplies.

It's an old style chart with only the symbols
 because it predates color copying.

The fabric itself was printed with a rough guide of color placement...


And it only had a small amount of stitching which had been done
 and needed to be carefully undone.
 The woman had not been experienced
 and the stitching was not done right.
The only difficulty was that the original yarns for the kit had been lost
 and were no longer with the rest of the pieces.
I was sure I could probably find some yarns that would work!
But when I started to hunt for appropriate yarns,
 I was discouraged to find that local shops didn't carry the proper weight yarn...
 and figuring out colors on-line was going to be a real challenge.
I mentioned this difficulty to my friend and she said
 she thought she'd seen some yarns in the boxes
 that might be the missing pieces.
I went to look and sure enough.... 
there were the yarns!
Yay!
 

Such beautiful colors!
And I never would have known how much to buy!
You can imagine that I began to stitch
 as soon as I could get the cloth on my frame!


It is taking a little getting used to stitching on a printed cloth!
Fortunately, the instructions warn you that
 the colors might not exactly match where they should be stitched.
 It is too tricky to get the cloth threads to match the printing exactly.
So you still need to count very carefully to determine the correct placement.
 

 And the other tricky aspect of the chart is that
 it is only printed for one quarter of the carpet!
You need to "reverse" the images for the other quarters!


I am gradually getting the hang of it.
And because the chart is hand drawn....
It has a few errors too....
places where the color doesn't match what is on the cover picture... 
or stitches are missing altogether!


But I'm told that this is part of the fun of the genuine Oriental rugs... 
they have small "imperfections" in the patterns and colors!
So if I leave something out or get the placement a little wrong...
It just adds to the authenticity!


I am just Loving this pattern!


Especially once you start to get the contrast
 with the dark background colors!


And because I am sure you will want to know
 that I did complete the stitching of the little cushion...
I thought I would show you both together!
(I still have to stitch the pillow to its backing...)


Here you can see the completed cushion close up.
I think I like the way the colors turned out
 better than the original design would have been!
So that's what I have been playing with, Dear Readers,
 a new (Old) Embroidery Project!