It's the Little Things.....
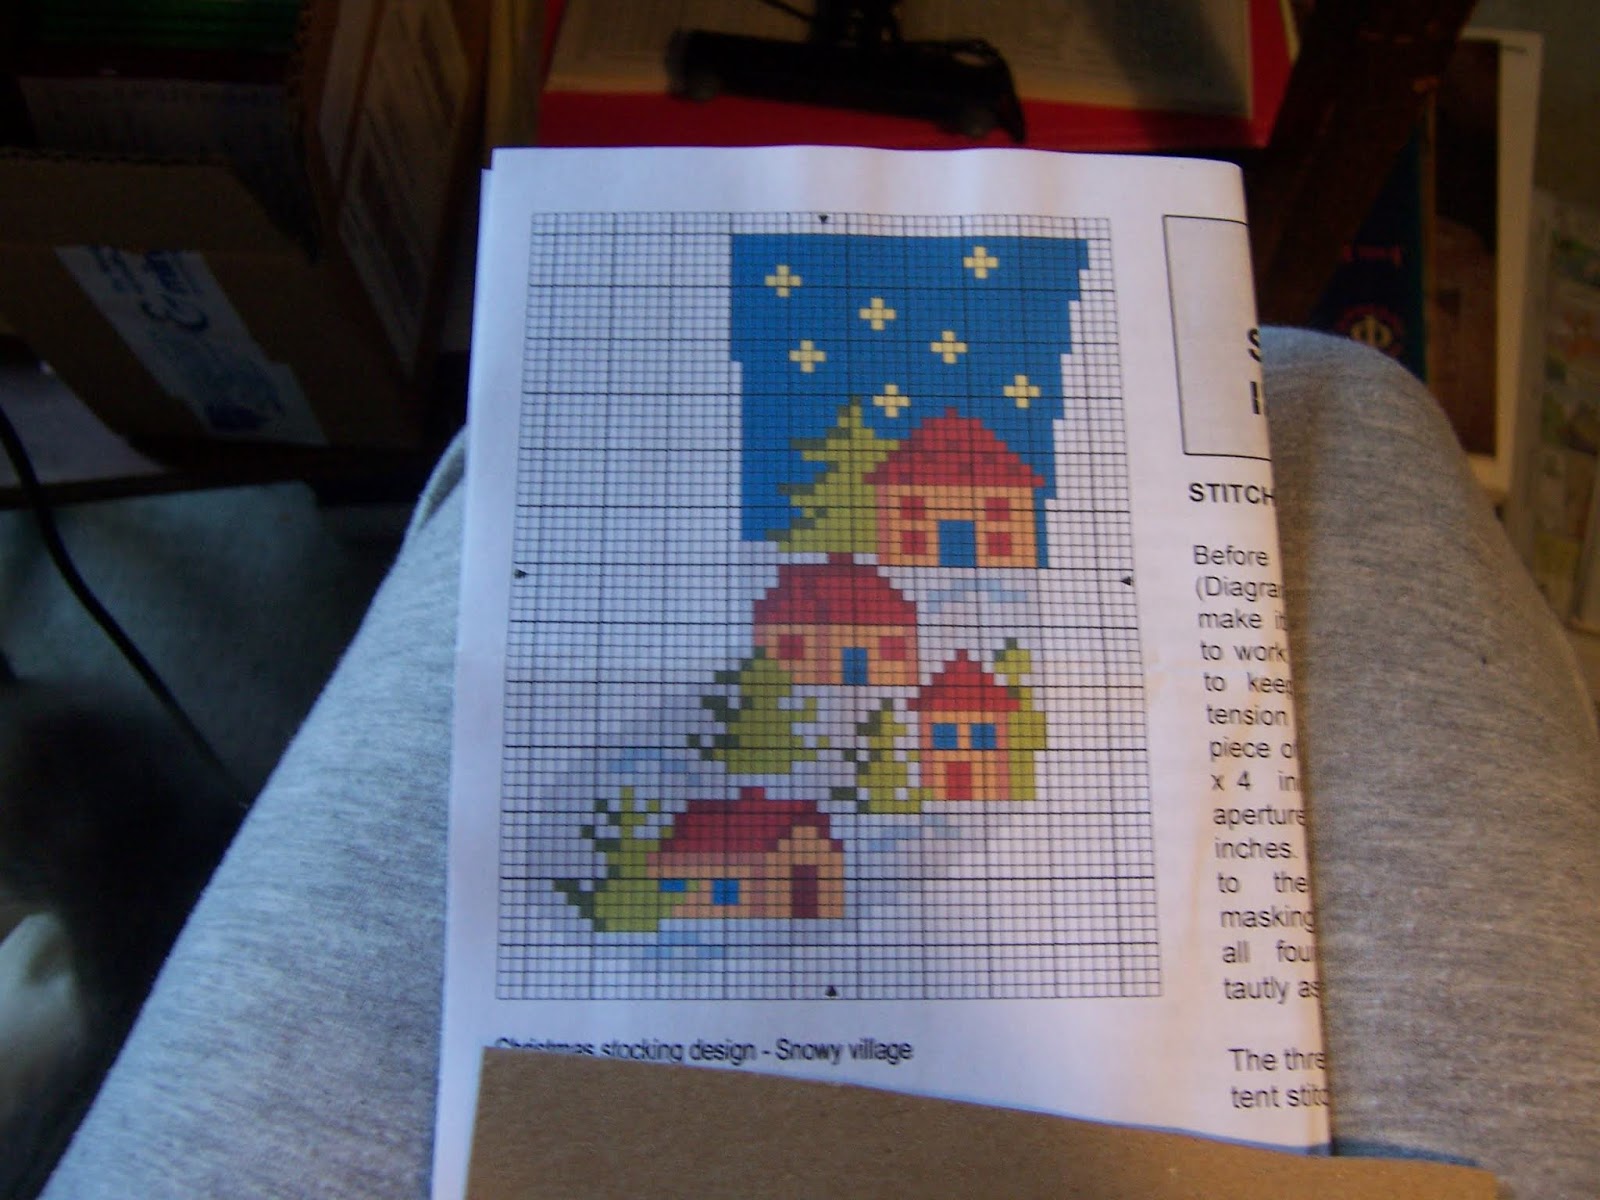
After enjoying the visit with my son So much, Dear Readers, it was Difficult to see him go home! But my consolation is having my small studio back... it serves as the guest room from time to time... and so I was able to sit by the window and add a few stitches to the little petit-point stocking as you can see in the above picture. The pale blue snow drifts are almost invisible, but the stars and the beginning of the night sky are easily seen. I think I am going to adore this tiny stocking! And while I was trying to put my house back to "normal" (which really means dollhouse projects Everywhere!) I decided to paint the primer coats on the ground floor of the Dollmaker's Studio.

I have realized that I really need to get the ground floor structure
completely set up before I can make the first floor section,
the Sugarplum kit section fit securely to the lower part.
I am planning for the lower section to be mostly "stone"....
meaning egg-carton stones most likely...
and the upper section will probably have a half-timbered exterior.
Here you can see I am adding the primer coats to the lower section interior.

And the exterior too.

Then I painted the exterior a dark gray base coat.
This is so that when I add the egg carton stones,
the spaces that show between them will be a dark color.
I know from experience how important this step is!
It is impossible to get the dark paint into all those cracks afterwards!

I am planning to make the floor stone as well,
hence the gray paint there and around the doors and
windows where the stone framing would show.

I am planning to have paneling on the walls
and wooden beams overhead supporting the floor above.
And lest you think I was ignoring my
Leaf-making responsibilities, Dear Readers,
here you can see the Ten leafy stems for this week!

And I was all set to begin attaching some of these stems to the shrub
when I remembered that all the ones that have already been attached
need to have their leaves "shaped" before I can add any more stems!

This is what the shrub looks like
before the leaves are "shaped" properly.
It is a complete mess!
In a real shrub the leaves are all
pointing their flat tops to the sun
(little solar panels that they are!)
and are spaced evenly to fill all the gaps
where the sun comes in....
and are all growing "upward" on the stems!
And they have a crease down the middle too....

If you look carefully at the leaves on the lower left
you can see they are creased and are growing "upward" on their stems....
not just sticking out straight to the side of the stem!
This is a slow process....
I manage to arrange about half of them....

You might not be able to see the difference,
but the stems on the upper right side have been "shaped".
It makes for a much more orderly arrangement of the leaves.
It makes it easier to see where the new stems are needed...
and will make it easier to add those stems....
once I have shaped all the leaves that are already attached!
And I even managed to do a little more stitching on the stocking!

Although I think I counted wrong somewhere
between the stars and the roofs...
But I think it won't matter in the end.
So you can see I made Progress, Dear Readers,
Even if it was all just Little Things!