Almost Done....
I have Finally managed to make progress, Dear Readers, on the Musical Automaton Kit that I had to put aside when I hurt my arm a few weeks ago. I had managed to assemble the box and the tiny piano, but the battery pack and speaker which needed to be carefully fitted and firmly attached to the inside of the box required a minimal amount of arm strength. At last I have succeeded in gluing the speaker into the box in the right spot along with the battery pack and made the switch button fit too!

I know, it doesn't look like it should be so difficult....
but the wires are stiff and the button for the switch
had to reach the hole that was prepared for it....
And it all had to allow the battery box to fit behind it.
The back wall of the box pulls off
(held with tension by fitting tightly)
so you can access all the works and change the batteries.
It is a neat design and I can tell you, I smile with delight
when I push the button and a piano tune plays on the speaker!

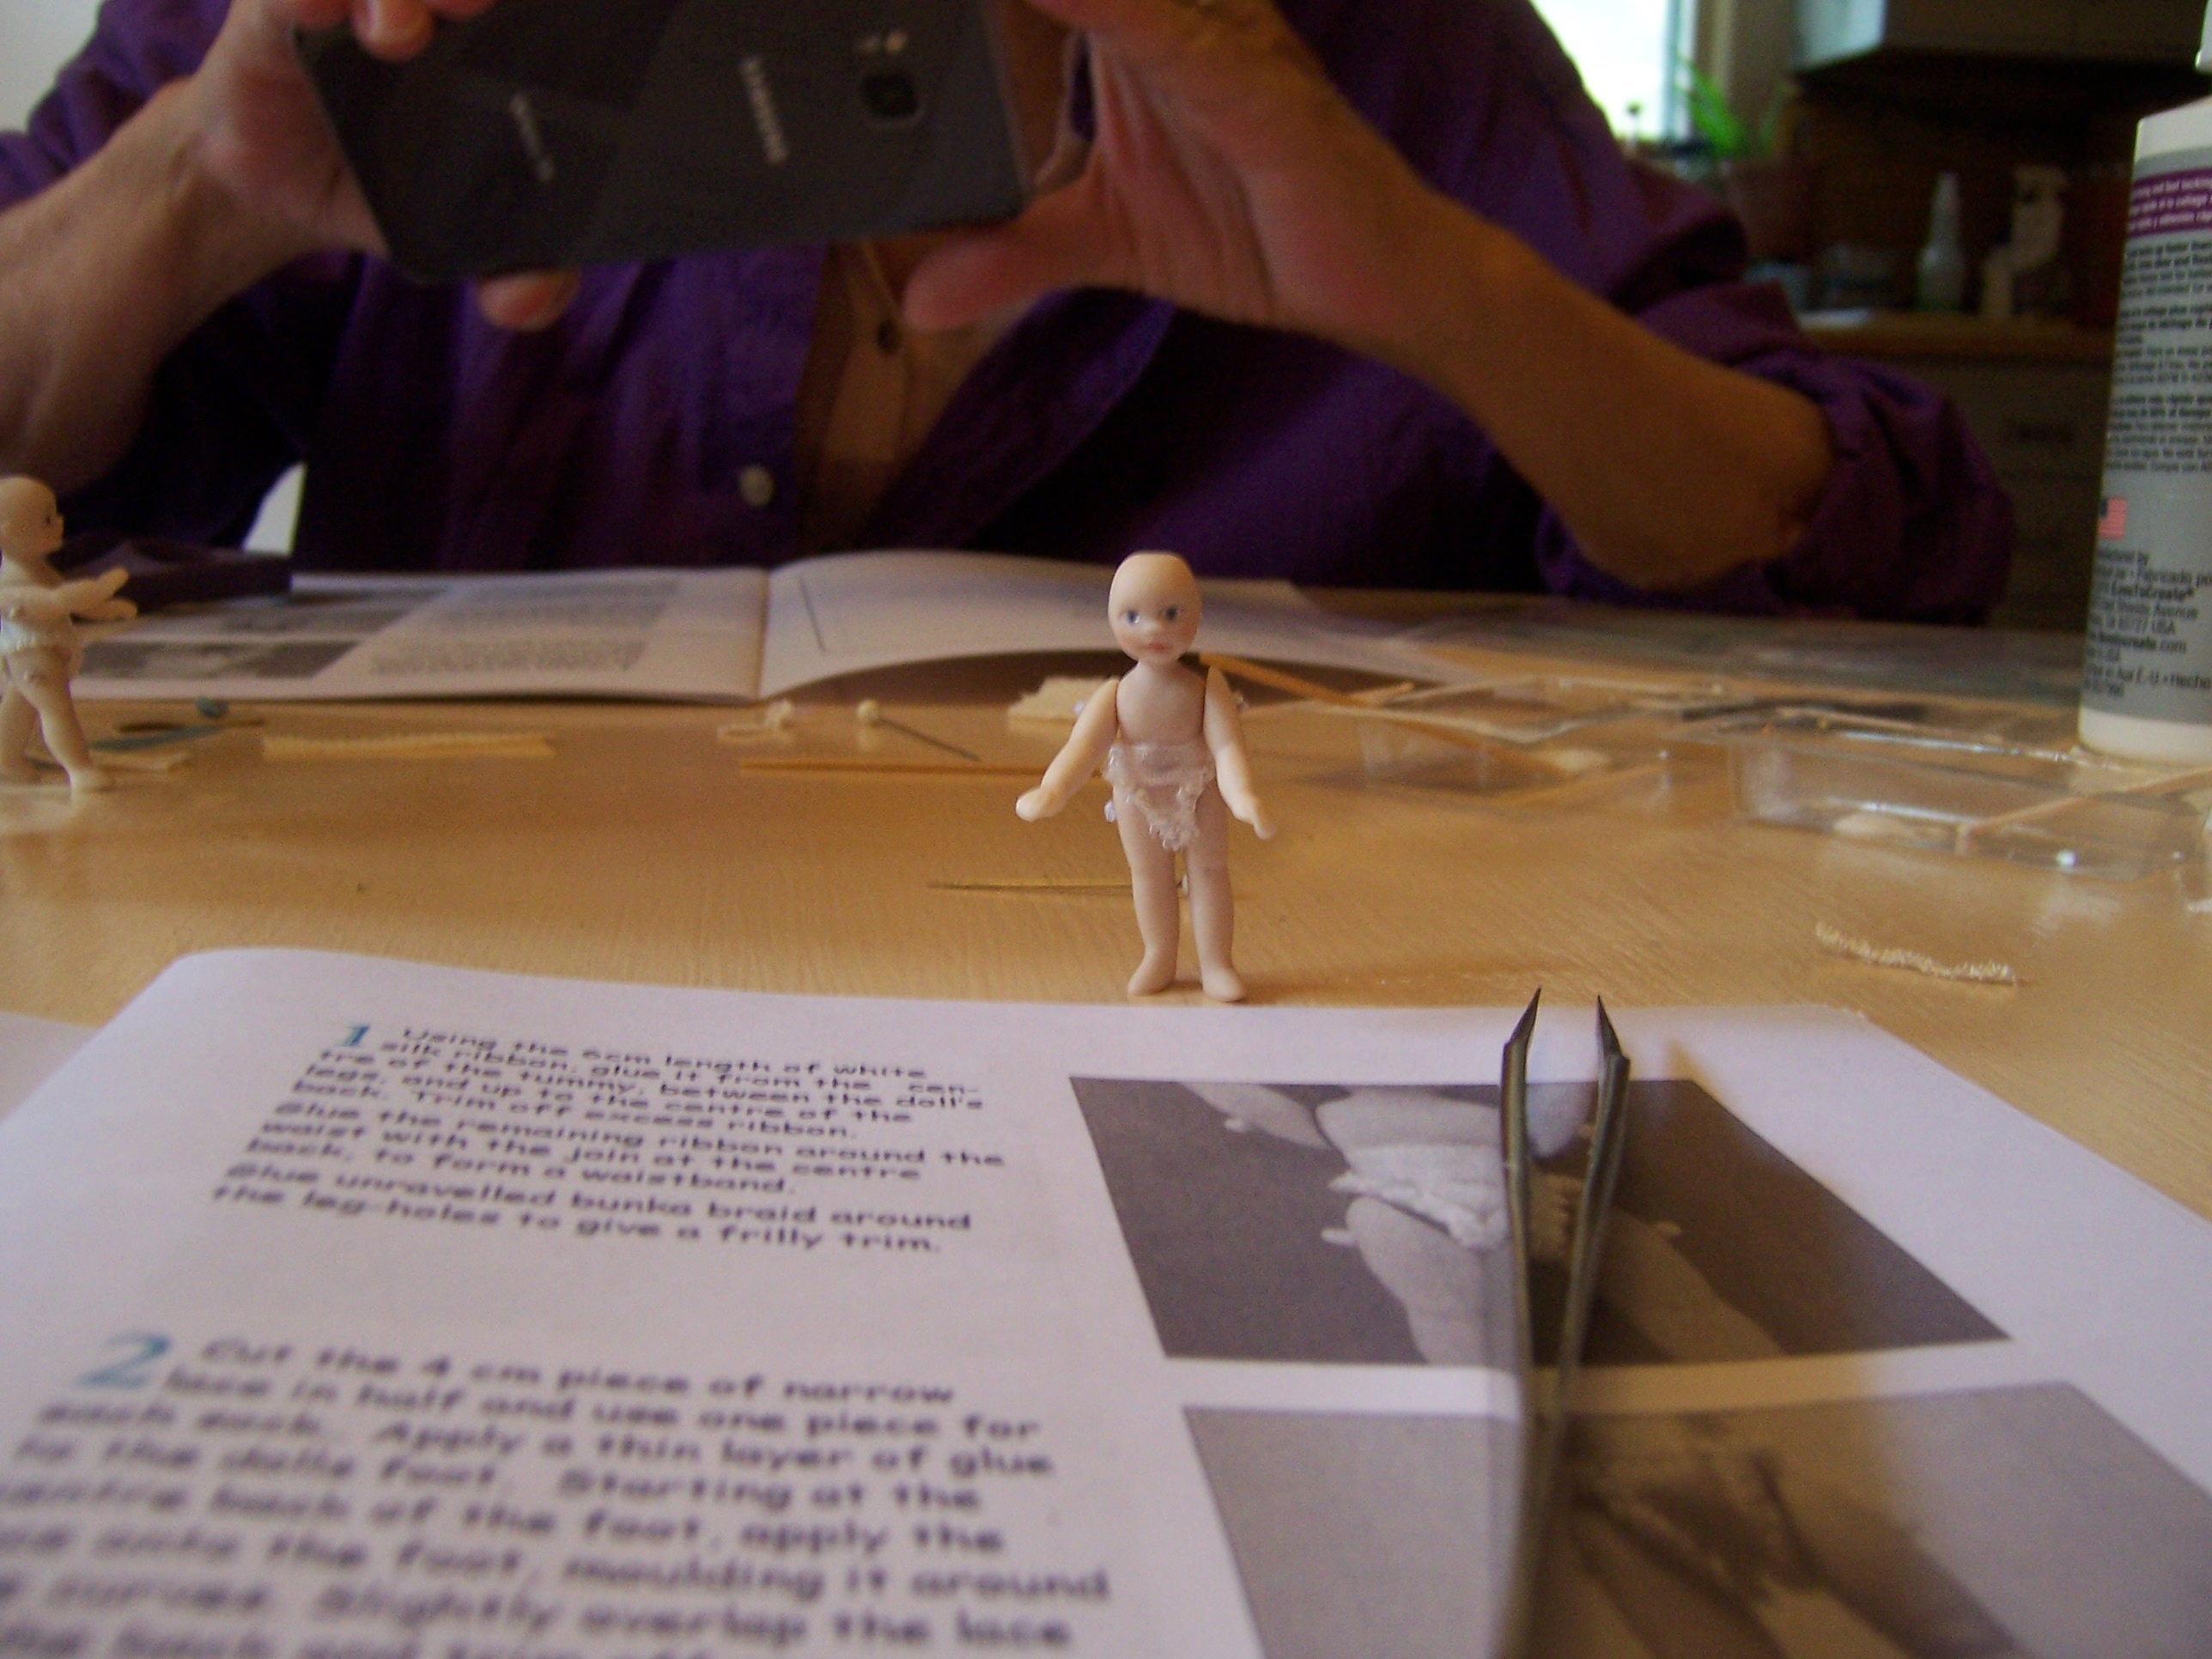
So all that was left to do was dress the little doll!

Yes, another one of Sandra Morris's little dolls!
By now you know the drill....

She has a "routine" to follow....

And she's really great at standing by herself!

And with her shoes on too!
But these shoes need an extra feature....

The shoes will have tiny magnets to help her stand at the piano.
These tiny things were fidgety to attach!

And then we had to glue the leather soles on too.

Success!

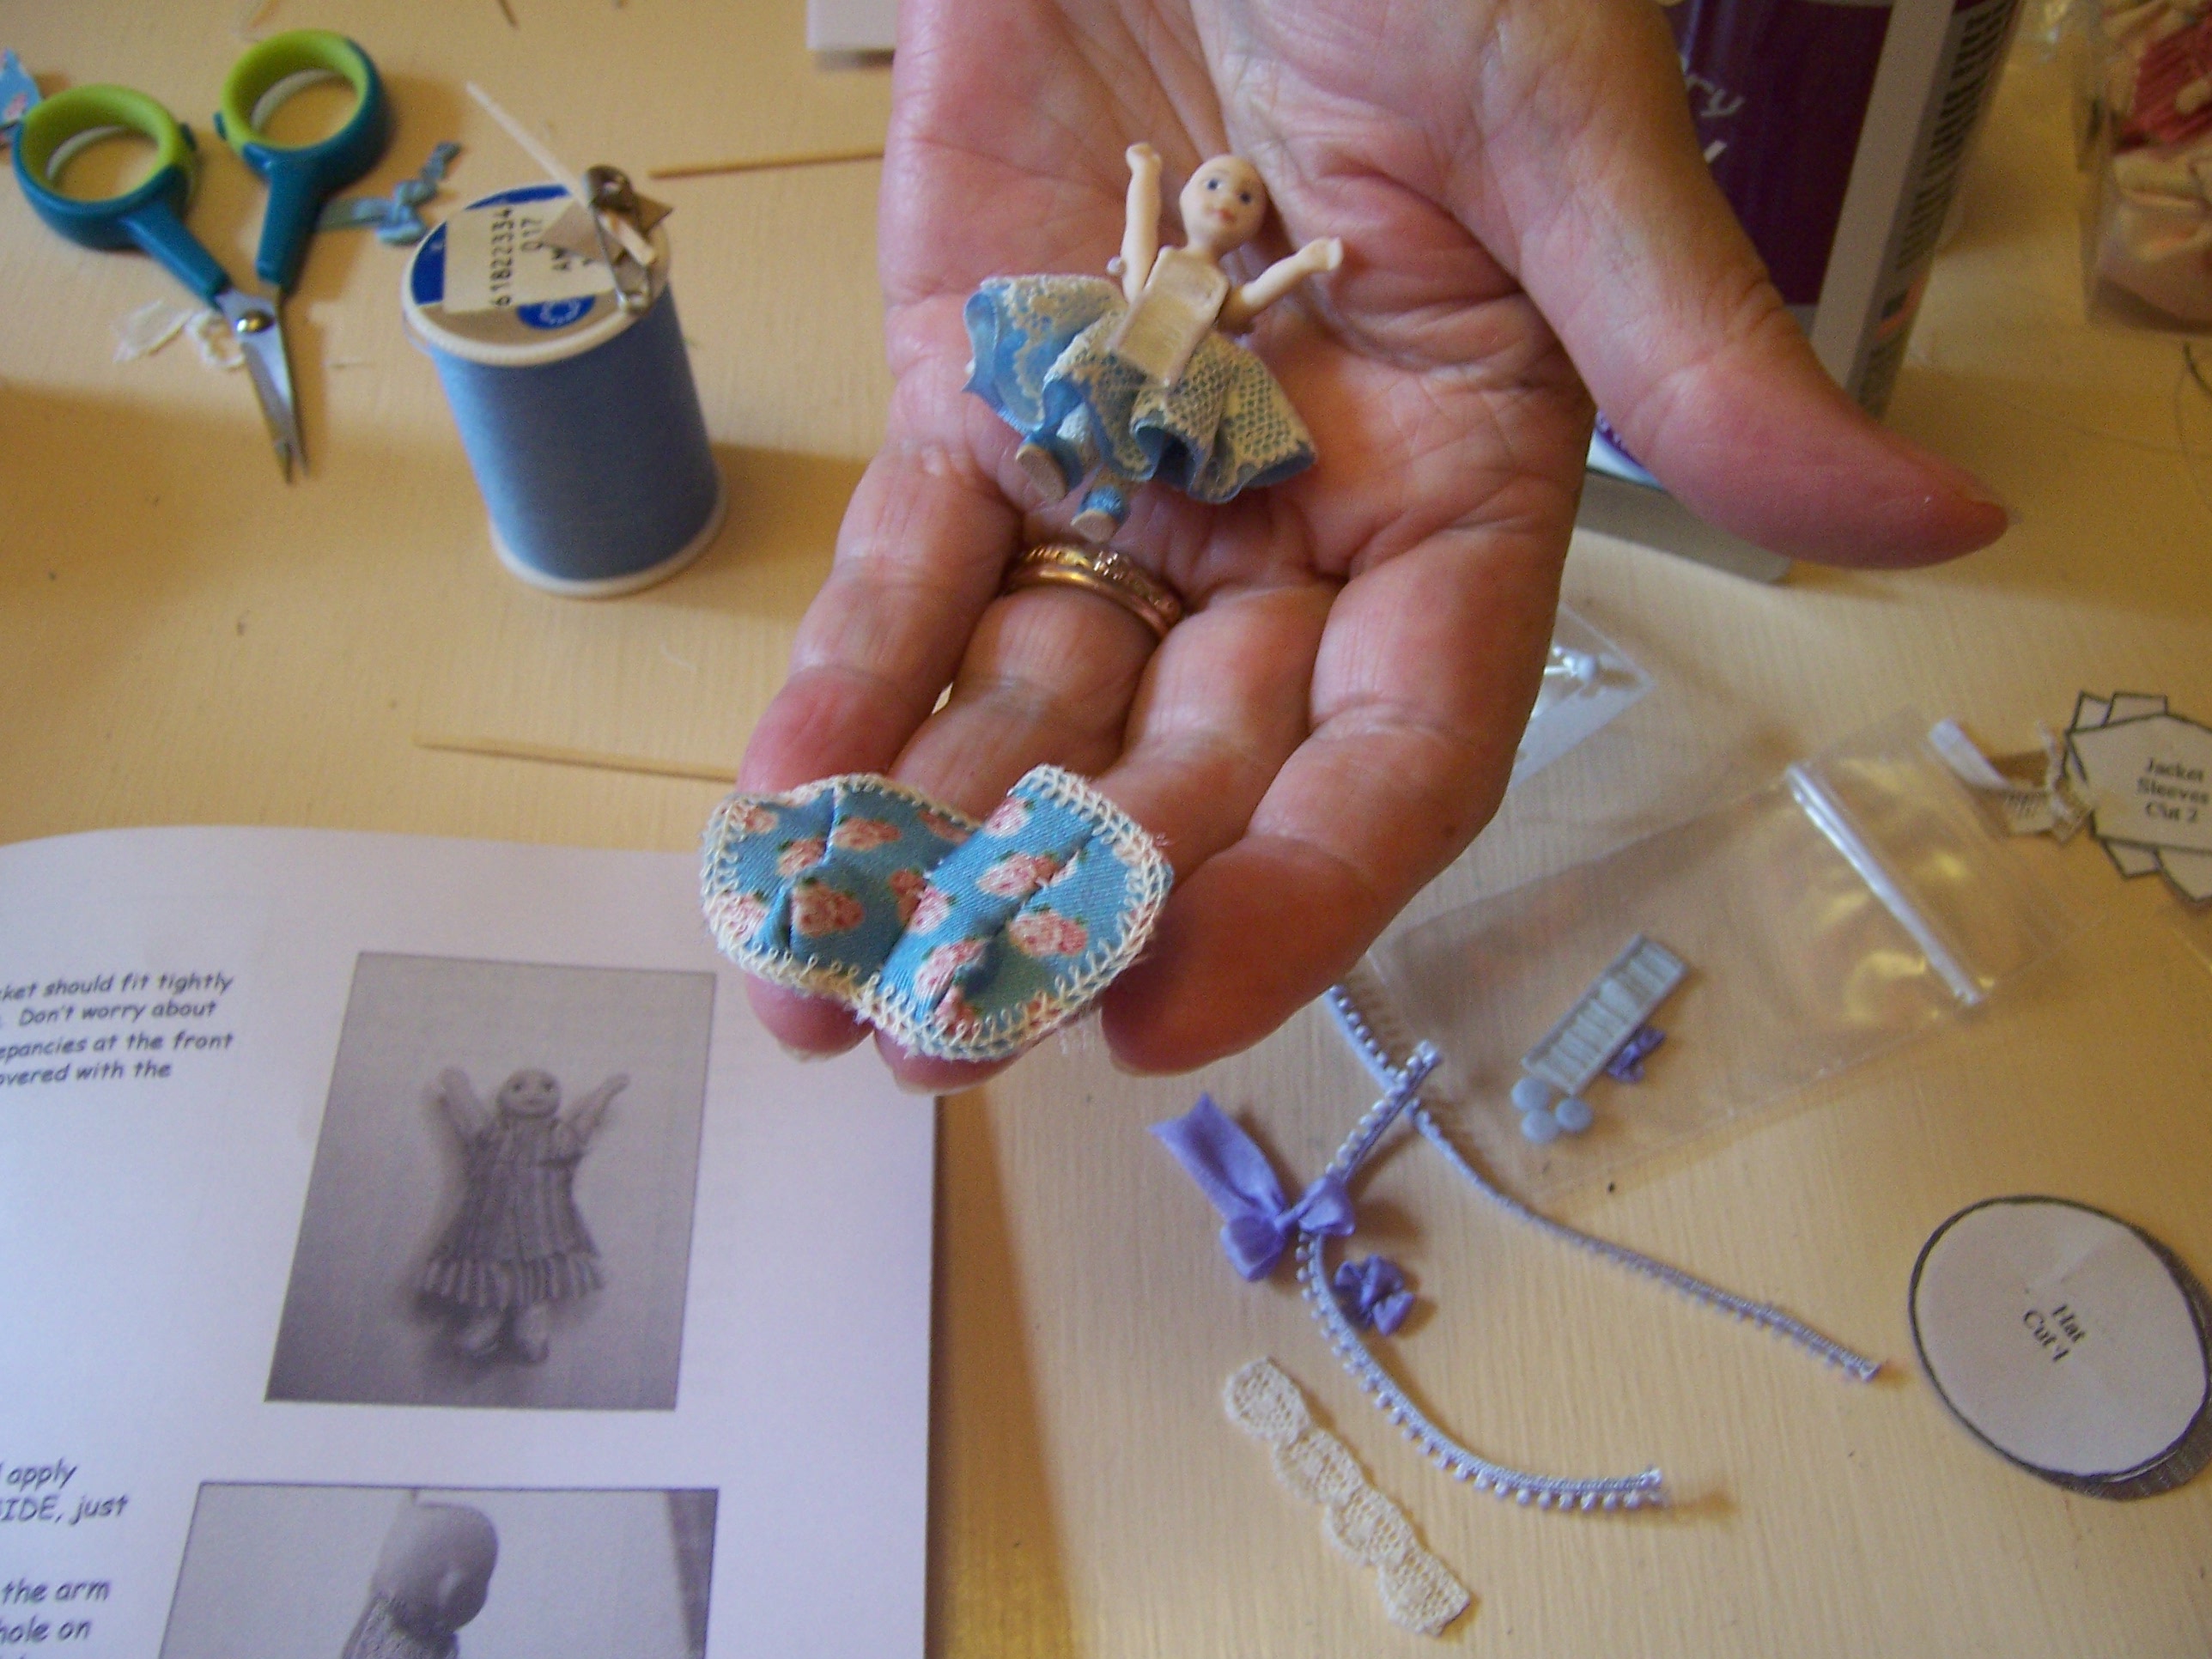
And the lace petticoat....

Then things started to get tricky!
I had to sew a pleated silk band to the lace petticoat....

Then a lace ruffle on top of that...

And another pleated layer, this time a pink one...
and believe me, it was not easy to stitch all these
onto a ruffled lace petticoat!
And that was just the skirt!

And in case you didn't know, Dear Readers,
this little doll is a Performer...
and she has to dress for the role!
She gets sparkly jewelry!
I had to assemble the necklace...
thread the tiny beads, glue on the crystal....
and I left the earrings for later.
(I didn't want to run the risk of
knocking them off while fitting the jacket!)

Next came the bodice... just glued in place,
with some lace trim at the top.
And then it was time to sew the jacket...

Here you can see the seams are all stitched and pressed open!
(Yes this did take a long time...)

And here you can see the right side with the trim glued on the edges.
By now it is late again (this is the third day of working on this little one!)

And the next day...
testing the fit of the jacket...
and gluing it to the bodice.
And starting the sleeves!

Many careful steps go into the sleeves!
Here you see one is turned right side out,
and one is just stitched and hemmed
before turning it right side out.

Here the sleeves have the lace trim added.
There wasn't enough trim left for this,
so I had to improvise.
I found some lace in my stash
with a very fine picot edge
and used that instead.

And here the sleeves are finished and attached!

And the next day... (yes this is now day five!)
The enormous bow gets added to the front of her skirt.
It nearly hides all the pink pleats...
but just barely shows a flirty edge...
(Those Victorian costumes were elaborate!)
And then I glued the earrings to her ears prior to making the wig.

All the materials for the wig are also part of the kit.
Curls for the brow and then the main head covering are glued on.

Long ringlet curls adorn the back...

As you can see above,
I have not used up all the ringlet material...
I might add more curls....
But there is also a very fancy bonnet
to go with this ensemble...
(See the picture on the instruction book in the background!)
Which I have not yet assembled!
But I hope you will understand, Dear Readers,
that I am having a enormous amount of fun
with this little automaton!
(If you can call her that!)

Here she is on the magnetic stand on the box...


I have placed the box in the Castle Great Hall....
And every time I walk by,
I have to reach in and push the little button...
and the piano music pours out into the Great Hall!
And I sit entranced to hear
such wondrous music filling the Castle!
It is truly quite Enchanting!
But the Musical Automaton
is still not quite Done!