Showing posts with label Hardwick Hall Kitchen. Show all posts

Monday, February 5, 2018

Sunlight.....


Bolsters and Hinges.....

There was a brief moment of Sunlight on Saturday, Dear Readers, that illuminated all my work in such a way as to make it Clear to See.... even in the dark corners! Inviting us to come closer and spend some time in the window seat on a sunny morning! You might not notice, but I have sewn a matching pair of bolsters for the window seat.... tucked in behind the curtain.

Perhaps you can see it a little better from this angle? 
It is large and solid enough to lean against while reading.
And perhaps you will not mind seeing the Living room
 also bathed in morning sunshine....

Allowing a clear view of all those unfinished parts!
But we will not dwell on that... 
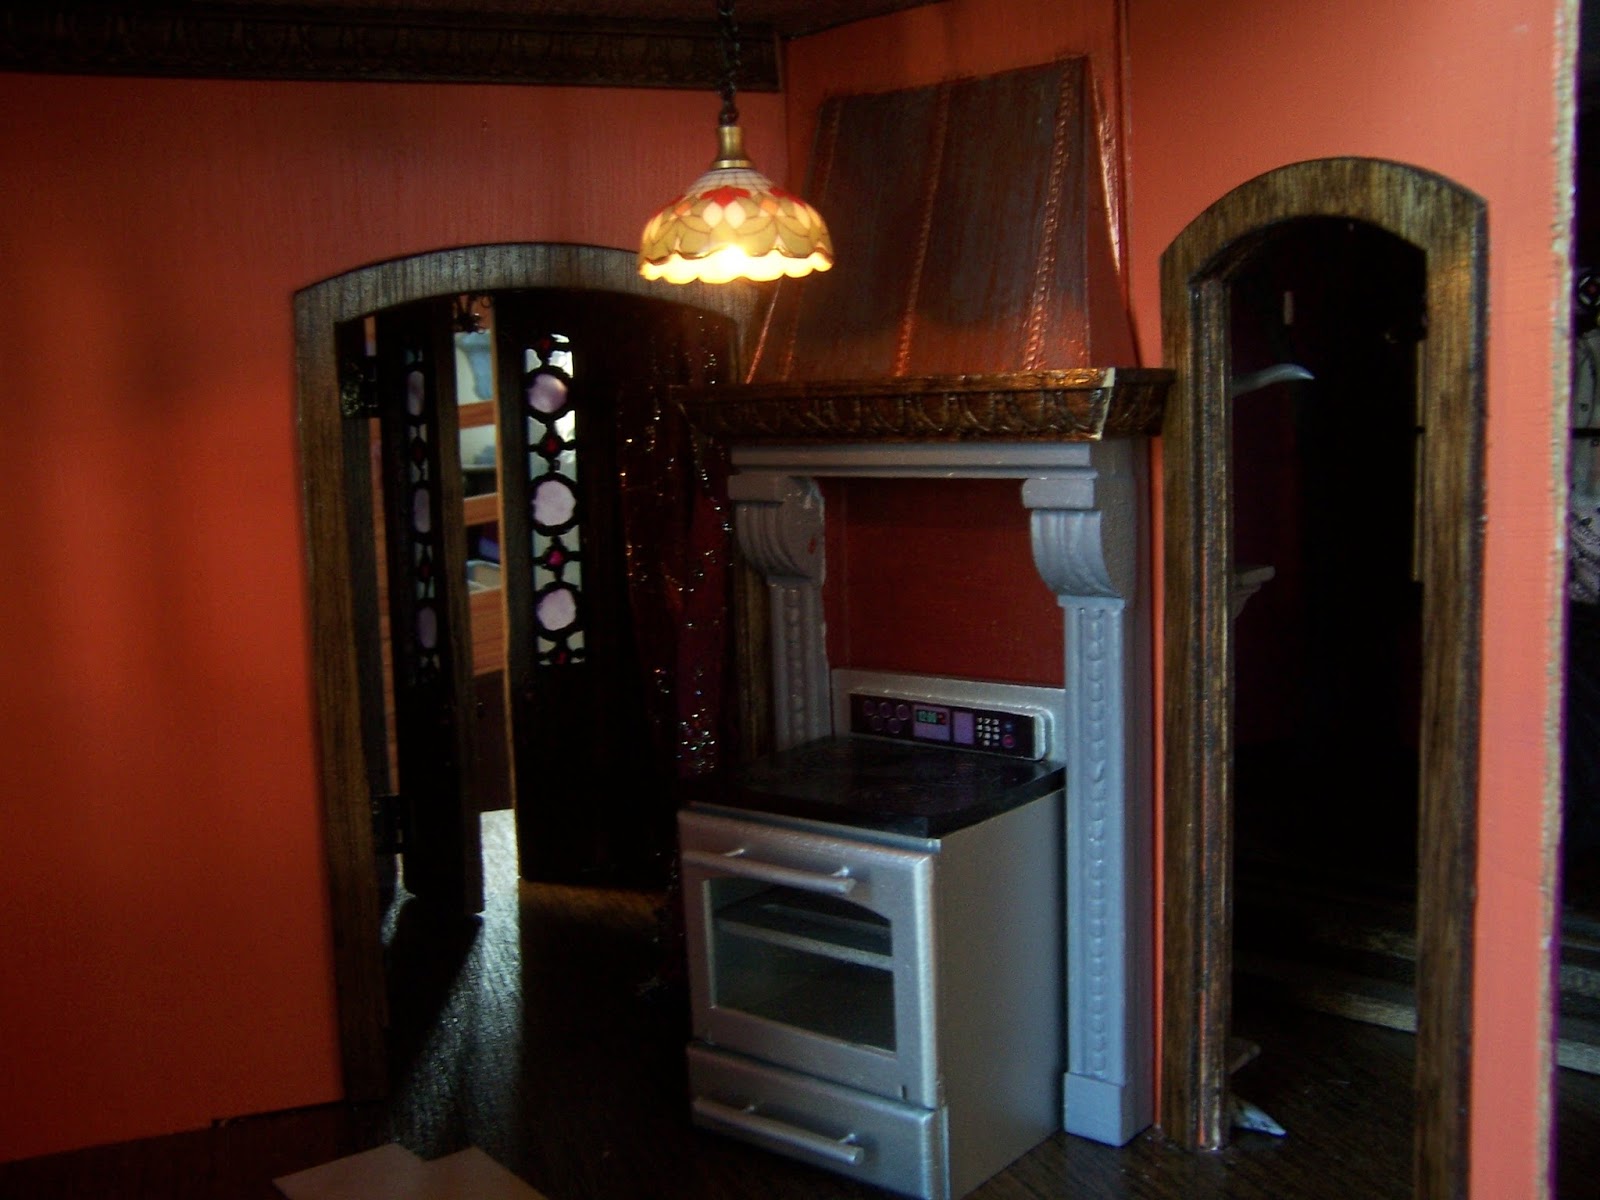
come have a look in the Kitchen too!

Nothing is finished or attached... 
but being tested for space and placement.
It always amazes me how much the sunlight reveals!
But we are getting ahead of ourselves.... 
the Attic is where I am working!

I only had enough time on Saturday
 to make the second of the pair of bolsters.
But by then it was too dark to get any pictures until Sunday morning,
 and even then it was no longer sunny but starting to snow...

Even with some artificial light added, it is difficult to see.

But you can see the bolsters tucked into the corners
 if I pull the curtains aside!
And you can also see one of the Tiny Dolls visiting....
 her name is Heather, and she hasn't yet caught up
 with her sisters Little Rose and Sweet Pea.... 
but more on that another time!
Because what I really want
 to show you, Dear Readers,
 is the Hinges!
You may have noticed that this Attic
 also has two smaller window alcoves on the side walls,
 and they also are Begging for window seats!
 
Here you can see one of the alcoves with the bench seat just begun.
These alcoves are much smaller than the one in the back of the room, 
and the windows are lower too. 
Which means the bench seat has to be lower as well.
I really wanted to make use of the area
 under the window seat for storage... 
and debated for the longest time
 whether to build a drawer under the seat,
 or hinge the seat to make a "storage chest" under the seat.
Well, if you know me, Dear Readers, 
you will know that the hinges won!
(I do love hinges!)


I needed to construct the framework that the lid hinges on,
 which needed to be fairly sturdy
 and also allow for the lid to swing up
 with out scraping against the side walls.
Above you can see I am attaching the hinges.... 
tiny nails and a dab of superglue.

Here I am testing it for fit in the alcove  prior to attaching it.
(I know, it is really dark again!)
These kits never go together squarely... 
so the fit was a little bit off....
But extra cracks in an old house are to be expected!
And the hinges work!!!
 
I know it is really dark.... 
I hope you can see that the seat is open!

And while I was building those hinged bench seats,
 I was also adding all the trim
 that covers all those horrid tabs
 and the cracks in all the corners.....

It is really challenging to get these tabbed sections to go together right...
 the gaps are really large in places!

If you are not papering the walls, 
all these corners need to be covered somehow!


Here you can see it with the spotlight on...
The trim on the facing wall will be added when the bookshelves are built.

See... it opens!

What a perfect place for storing extra blankets or cushions.... 
or hiding things you want to keep secret!

Because with the seat covered by a cushion.... 
you might never see there are hinges.....

But I will know they are there!
 
I have been Dreaming about these
 window benches for a Long Time Dear Readers!
And whether there is sunlight or not.... 
I will be playing with bolsters and Hinges!
(I can't tell you how much I Love Hinges!!!)


Monday, June 20, 2016

On A Midsummer's Night....


 Whereof Do You Dream....?

It is that Magical Night, Dear Readers, the Longest day is slowly fading and a Full Moon is rising to cast it's silvery beams over all below. Fireflies are winking in the hedges and and birds are chirping their evensong as the breezes rustle in the trees. Is there time for sleep at all? Or do you find yourself gazing out the windows and Dreaming of all things Magical? Have the Fairies whispered in your ears or rubbed potions on your eyelids? Are you led down the paths of the Forest Mysterious by the calls of your Lover? Have you set out for the Midsummer's Eve Ball, prepared for an evening of Enchantment? Do you wish to Dance until dawn in the Gardens under a bower of Roses? Whereof do You Dream Dear Readers?

Yes, Magic is in the air and even the Tiny Lady Evelyn
 was not quite prepared to find herself and her Sisters 
wandering in a Strange Enchanted land!

Alas, Dear Readers, I cannot tell you
 whether they are on their way to the Midsummer's Ball.... 
Or whether they have strayed into another Enchanted World.....
the Night is still young.....!
 
But I can show you where My Dreams led me the other night....

It was probably because I had mentioned making all those bricks 
for the Foundation of Hardwick Hall 
along with mentioning that I was going to finish
 the Trims on the Porch Foundation.... 
that I Dreamed of that Porch. 
And  when I awoke I realized 
that there would have to be some serious changes.
The porch foundation was all wrong! 
In this part of the world where houses are made of wood 
and sit on a brick foundation, 
the porch is always built with wood not brick. 
And wooden foundations need "ventilation" 
to prevent them from rotting right away. 
And that is usually provided with inset panels 
of latticework between the supporting posts.
I was going to have to revise the porch structure!

I had intended to start making those egg carton bricks 
for the house foundation.... but the porch came first.
Here you can see I have cut away on both sides.

And then I painted the interior wall of the house foundation 
to look like brickwork 
(rather than make the egg carton bricks 
where they would not be visible...)
I also added back in a central "post"  
so that there would be two lattice panels 
on the front side and one on each end.

I made the lattice panels from small coffee stirrers...

Here you can see I am testing the fit of the first panel.... 
and you can see I have also finished painting the trim for the porch posts!

And while I was painting all that lattice work and waiting for it to dry,
 I also finished painting the bricks on the kitchen fireplace!

A Task which I should have done ages ago!

Here you can sort of see it in place... 
the hearth still needs painting.....

Here you can see the lattice on one end....
There will need to be trim added to cover the porch corners.

Both the front panels being tested for fit....

And the close-up view....!

Here is the other end of the porch.
I carefully carved away at the bottom trim board 
where it would be likely to rot a little...!

And I painted a hearth for the kitchen fireplace!

The kitchen side wall.... the porch just looks so much better now!

And who knows.....Something might even live under there!

As for Lady Evelyn and her Sisters, Dear Readers,
Their Stories are as yet untold!
Because Who knows What Adventures they encounter 
while we Mortals are sleeping... 
Straying down Strange Paths...
Dreaming of Tiny worlds.... ?

And in the Morning Light....
Who could say whether they had been anywhere at all?

Certainly This fellow would never tell...!


On A Midsummer's Night, Dear Readers,
Wherof do You Dream?

Monday, March 28, 2016

What.... Another Project...???


Just a Little Diversion.....

Believe It or Not, Dear Readers, my weekend began with Nothing out of the ordinary on the Horizon. I started on the many small steps needed for the re-design of the Attic roof for Hardwick Hall, one of them being attaching the decorative ceiling crown molding trim while the roof was still open and unobstructed. I am using the same pattern wood that I used in the Parlor and the Kitchen, stained the same dark walnut color. And since there were still parts of the kitchen crown molding that had not been cut yet, because I had to complete the hearth inner wall before I could know the proper dimensions to cut... I decided to also work on the hearth and see if I couldn't also attach some of the kitchen molding. I had noticed a small scrap of paper lying around (because we don't throw these away!) that was trimmed from the ceiling "embossed" paper and it reminded me of the kind of trim you see when metal sheets are joined it looked like a row of rivets....

 I thought it would be perfect for the hood on the hearth in the kitchen,
 which I wanted to look like an old copper covered hood....
So I glued some strips in place....

Then I added a coat of iridescent copper paint.....

With the darker gray coat still showing through in places....
Then we have to see what it looks like in the kitchen.....

Yes, I am liking this!
(And you can see one piece of the crown molding has been attached...)
But that is not all... there is a mantelpiece too...

Yes, I know the copper is really shiny here... 
the light is hitting it just right....

Inside the kitchen it is not so garish!

Maybe we need to see how it will look 
with the stove added and the light on.....
I still need to add the bricks to the hearth itself and the chimney back...
but it is starting to look like I imagined it would!
 
I hope you will Believe me Dear Readers
 when I tell you that I Intended to keep working 
on the attic structure and the Belvedere....
But then I Dreamed all night about building Tiny Tiny 
Dollhouse roomboxes in 144th scale!!!
And when I woke up I realized I'd never thought of 
just making a roombox in that scale.... 
And if it was JUST a roombox, how difficult would that be?
Well... I had to give it a try ... just to see....

And as I thought about Where this tiny Roombox would live.... 
I realized it had to be on a shelf somewhere where it could be easily seen....
And what better shelf than one of the shelves beside the fireplace in The Folly?
So I made sure to build it so it would fit.....
And then I realized it would be fun 
if the scene were to "mimic"  The Folly Parlor itself!
 
 
Which meant there would be a fireplace....

So I glued some tiny scraps of wood to a piece of cardboard...
With several layers to make the decorative profile....
I could have used just cardboard, 
but I had some tiny slivers of wood just begging to be used!


Then I painted it to look like a brick fireplace....

And attached it to a "marbled" hearth base......
(sorry the glue is still not dry and rather obvious!)

It still needs quite a few details.... 
like the flames and the logs... and the coals.....!

And here it is inside the roombox....
I will need to build the shelves that flank the hearth....
And the books that go in the shelves....
Because to tell you the Truth, Dear Readers, 
my Dream was all about those Teeny Teeny books 
and how to make the shelves 
and whether it would be a Library or a Bookstore....
So maybe this is just for practice....
 
Just a Tiny Diversion......
Except I had to see if I could make a Tiny Person too....
 
Here you can see the beginnings...
At one-half inch tall she might be a tiny bit large for the scale....
and I have only just started to figure out the costuming....

But I succeeded in making a carpet for the floor!

And while I was test-building the roombox... 
I made a couple of them..... just in case.....
There could be a Library AND a Kitchen..... !
Because, really... they don't take up much space!!!
And I am pretty sure there will have to be more than one Tiny Person!
Oh Dear, WHAT have I gotten myself into???
But just to reassure you... 
The Kitchen Hearth in Hardwick Hall 
has not been abandoned....

And every little bit of Progress Counts!
Because the Roomboxes, Dear Readers,
Are really just a Tiny Diversion!