Showing posts with label Willowcrest Bedroom Murals. Show all posts

Tuesday, January 5, 2016

Picky Picky!


Little Details.....

I had a couple of days of Holiday Time left, Dear Readers, after I had finished painting the Christmas Card (see previous post for a picture!), and had hoped to get a Great many things done on All my mini projects! But, as often happens, every little thing takes longer than you could imagine to complete.... and the Indecisive part of my Imagination prevented me from Choosing the best projects for the moment.... so I did not get very much done at all. But I did get a few Little Things done.... even ones I had almost forgotten about! I hope you can recognize, or even Remember The Folly Bed Nook in the above picture (It is so dark at this time of year it is difficult to get a good photo!) Long ago I had started to sew a pair of bolsters for either end of the bed, but I was not at all satisfied with the way the first one was turning out, so I put them aside and forgot about them! Well, for some reason, I decided it was time to finally finish them!

I had sewn one of them but did not have the right material to stuff them. I wanted to try sand or beads so they would look heavy and sag in the middle. They are sewn the old fashioned way by hand, and at first I thought they would be too large and bulky for the bed nook. But then I decided to over-stitch the ends, making a welt around the end seams, which gave more shape and definition to the pillow. I had bought some bird gravel and used it to stuff and I really liked the way it came out after all! Then I tried to make the second one to be just like the first one, and even though I had cut the pieces at the same time, the second one did not turn out right at all! I had to pick it apart and re-stitch it more than three times! (This never happens to me!) Eventually I got it close enough to the first one....

When they are in place on the bed they are almost impossible to see.... 
(Maybe the next time there is a sunny morning.....)
But I know they are there!

And because one is at each end of the bed.... 
you don't notice any difference in size at all!

Another Tiny little detail that I worked on was the Curtain rods in the Willowcrest.
It bothered me that it was impossible to remove the curtains from the rod once the walls were all in place! This is because the rods are made to slide out the ends of the eye-screws that hold them to the walls.... but you need enough length of the wall on either side of the window for this to work!  Which just isn't there in these small rooms! I decided I would need to open up one of the eyes on each set of curtain rods.... so that it was a hook instead....

This way you could lift one end of the rod out of the holder 
and slide the curtain off the end!
So while I had taken the Willowcrest mostly apart.....
I fixed all the curtain rods!
And while I was at it I worked on those pesky window sills....
remember the problem with the muntins abutting the window sill on the exterior?
When I fixed the exterior side.... it left an unfinished strip visible from the inside!

Here you can see I have covered three out of four of the panes... 
that little white stripe at the bottom on the right 
is the exterior frame showing on the inside.
(Sorry about all the reflections!)
You can also see I have added the under-painting for some more flowers
 on the wall murals along the bottom edge.
And once all the window frames had been fixed... I added the interior sills.
It makes the windows so much more realistic!
(The kit design does not include any interior window sills!)

Here you can see the window sill added to the interior of the window.
(Sorry it is so dark.... night again!)
And the exterior window sills that had not yet been attached I fitted and glued in place.
It takes quite a bit of picky carving away at the notches in these pre-cut pieces 
to get them to fit flush to the frames and the wall!

These also required the exterior window frames and muntins to be added.....

And I had Almost enough already painted pieces 
of the very fine silver trim I am using....
But not quite enough! 
I will have to cut and paint some more pieces 
in order to complete all the windows.

And yet another small detail I worked on 
was the fireplace for the Willowcrest bedroom...

I had not been happy with the way the paint looked 
the first time around, so I re-painted it!
It is made of wood, but I wanted it to resemble carved stone.
(I also added a thicker wooden base for the hearth.)
And painted the bricks on the hearth interior....
And tested the look with the Regency Fireplace insert....

It looks lovely, but Much too clean!
So I added a lot of "soot".

Which really doesn't show well in this photo... 
the light is too glaring!

Maybe you can see the soot a little better in this view.
I have not attached the plug to the wiring for the fire yet.... 
so we cannot see it lit.
But you can sort of see the additional tiny flowers 
I added at the bottom of the murals....
(Very picky little details!)
Tulips, violets and dandelions....

So hard to imagine at this time of year! 
(And there will also be a baseboard added at the bottom.)
I will have to get some better pictures for you in the daylight!

And Another project I picked away at was the 
Painting of the rocks on the Cloud Palace Tower!

Believe it or not, Dear Readers, this is a part of the project 
that one could never possibly be satisfied with the results!
The rocks are fine.... but they are all different
 from the ones painted on the lowest section of the Tower!
It is like when you buy yarn and you get two different dye lots 
and don't notice until the project is all done and you can see where one color is off!
The paint batches for the rocks will never match the older part!
So I have decided that it is "good enough" and moved on 
to gluing the parts together!

Which means I can construct the beds 
for the Guy Bearys.... in the "Bear Racks"!
(Otherwise know as bunk beds and a loft!)
Once I get the interior structure glued 
I can add all the rest of the "Rocks" 
to the outside of the Tower!
 
And one more thing I want to show you, Dear Readers, 
is not a project at all....
But a Gift I received for Christmas from my Dear Niece!

She sent me this fantastic roll-top desk 
and the beautiful painting and the bouquet of flowers!
Thank you, Hali!
The only way I can be picky with these is Where to put them... 
and I think the roll-top desk might just belong 
here in the attic of the Willowcrest!

So Dear Readers, I hope I have not bored you 
with all these Picky Little Details!
Sometimes you just have to be Very Picky!


Monday, June 29, 2015

A Few Little Things....


Oh Those Details!

The Comings and Goings at my RL house are not all done, Dear Readers, and to add to the chaos in my RL World, I need to have extensive repairs made to my garage because last Winter was so brutal that it damaged the foundation! This requires that I clean out the garage so the repairs can be made.... and because they are starting next week.... I had to spend my weekend moving the accumulated detritus of several years.... yes, Nature abhors a vacuum.... so the space was not empty! And one of the items was a dresser that never should have stayed out there for so long after my move to this Much Smaller House.... I did not think there was anywhere inside that it would fit! But I measured it again.... and decided that it would Just fit into the space next to the Castle Dollhouse... if I shifted the Cupboard Dollhouse onto the worktable..... and you can imagine where we go from here...! Well, it is still a bit Unsettled in the work area, but the dresser Did fit Just Exactly into the spot I hoped it would. This means that the Cupboard Dollhouse is in the middle of the worktable.... and that means I Might get to addressing the structural issues that kept me from working on it for the last few years!
So, you can imagine that I did not accomplish much in the mini-making department last weekend, but I do have a few Tiny improvements to show you that have been accomplished over the last few weeks. The first is that I painted some birds on the walls of the Willowcrest bedroom murals... and you can see them up close in the picture above. I also added the lights which will go over the fireplace in that room....

There are still plenty of details I wish to add, so it is not yet done......

And I also decided that the windows for the Willowcrest 
needed to have wooden dividers added to cover over the fake 
painted ones on the plastic that came with the kit.....

As well as adding an additional crossbar at the top
which will allow me to add a "stained glass" portion to the top of each window.
I wanted to be sure we would be able to see through the 
windows themselves, as so much of this house is invisible 
except for glimpses through the windows.

Here I am testing the effect of the windows, 
in this case it is the "French doors" from the parlor 
onto the front porch of the Willowcrest.
You can also see I am testing the candelabra sconces
 and the placement of a few pieces of furniture.

Here you can see I have also started the attic wall construction.
None of it is attached, but I wanted to get a feel for the space...
and I needed to decide where the lights would need to be so I could plan the wiring!
You can also see that this kit has rear wall "side panels" which I am not liking at all! 
They obstruct the access to the rooms and make the small spaces feel even more cramped. 
I can feel some kit bashing is in order here!

The kitchen windows here have the 
added crossbars, but still no "stained glass".
(Sorry the picture is so dark)

And another Tiny Little Thing I was able to accomplish, Dear Readers,  
was thanks to Brae of Otterine's Miniatures blog, 
who recently posted a tutorial on how to make and print 
tiny reductions of all sorts of images....
(I know this is common knowledge to so many of you, 
but I had not managed to learn how to make these tiny minis!)
So I spent some time looking for things like old can labels, 
and printed myself some tiny labels 
and made a couple of tiny old cans for the conservatory.... 
to keep the paint brushes in, of course!
Thanks Brae!

I know this is just the beginning of Many tiny items I will now be able to make!

So while the dust has not even begun to settle around here, Dear Readers,
I know that Some of you are probably wondering 
just Where in my Mini Worlds have 
Buttercup and Marmalade and the Little Dreamers gotten to now?

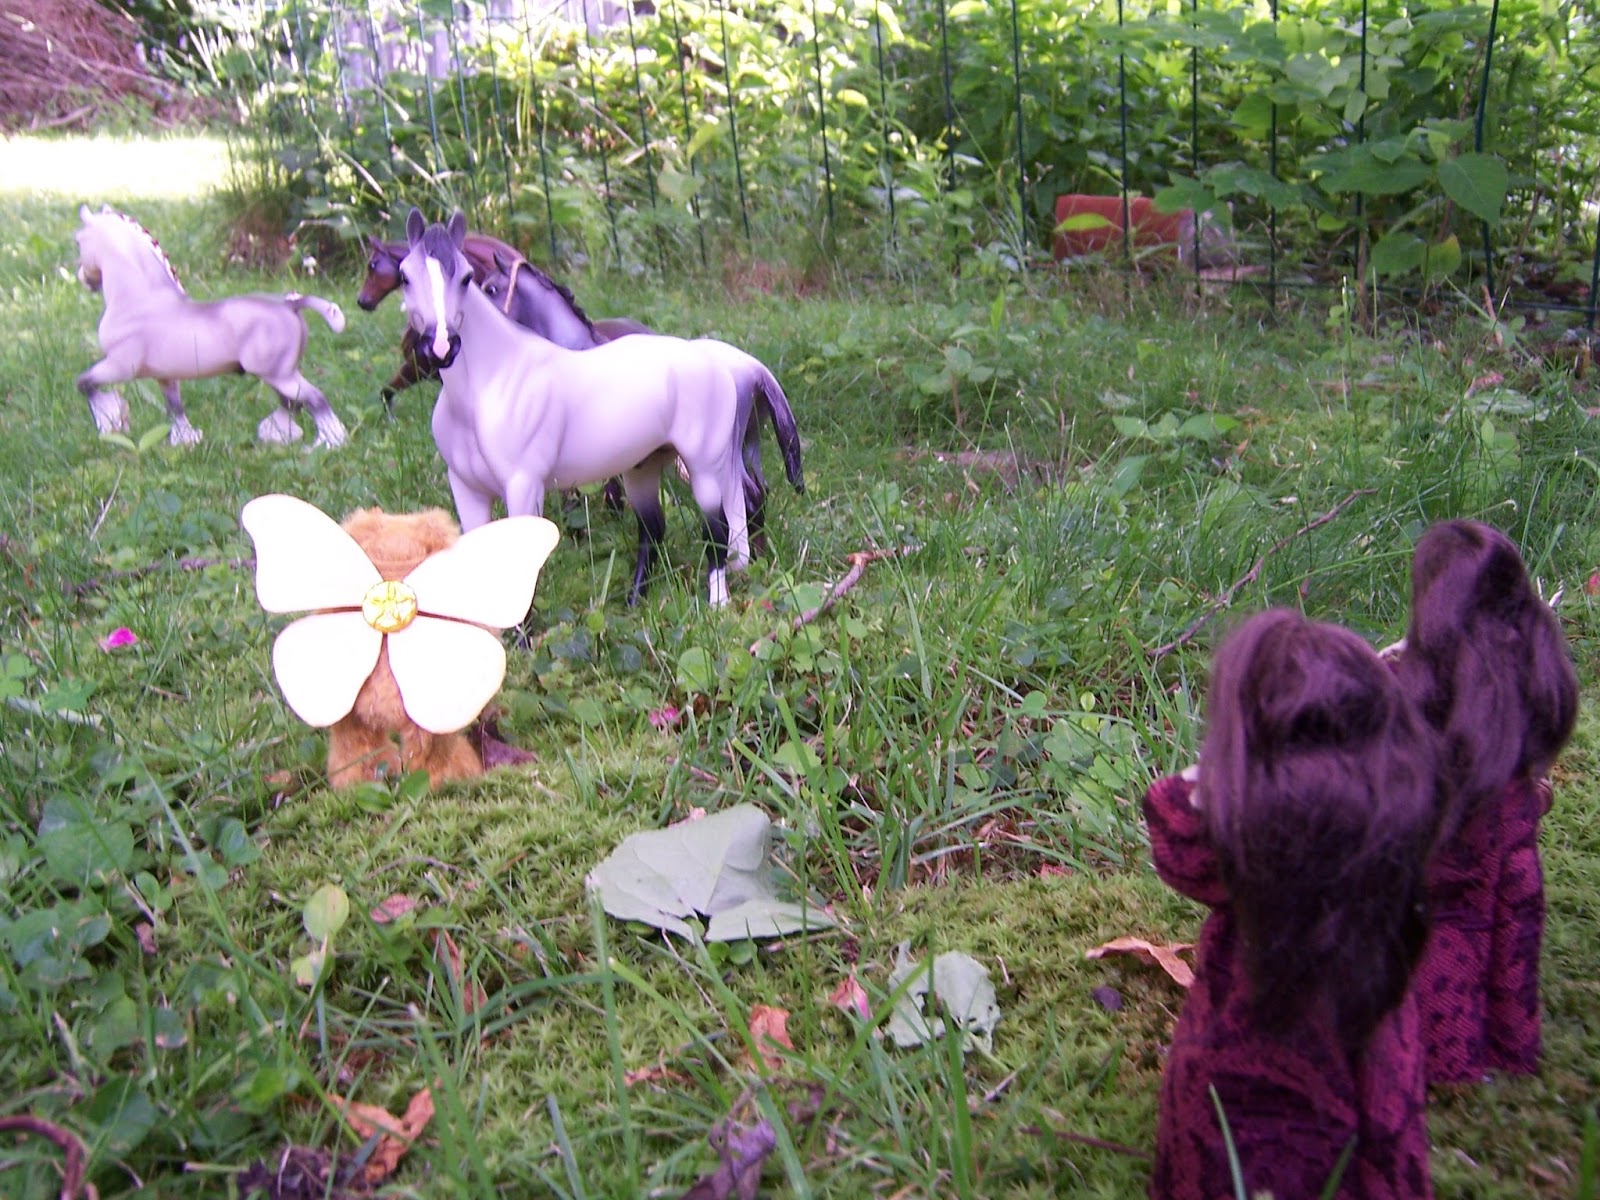
You might recall that we left them staring off into the distance....


And you might also remember 
that they were watching a herd of horses go by....

But what you Might Not know is that 
Buttercup is fluent in several languages.....
Including "Chevalese"

And she "Whispered" to the Horses as they passed by!
"Phantom" stopped to answer her.
And so they learned that these were the Castle Horses 
and they were indeed heading back to the Castle stables for the night.
"The Castle!" said Buttercup. 
"We are trying to find the Wizard who lives at the Castle!" she added.
"Do you think you could show us the way?" she asked politely.
Phantom whinnied to the other horses 
and they all agreed that it would be simplest 
for the Little Beings to climb upon their backs 
as they were still some distance from the Castle 
and it would soon be growing dark!
They did not have to suggest it twice!

In no time Everybeary and even the Little Dreamers 
had climbed on the horse's backs....

and were happily riding across the meadows....

Led by "Ghost Rider" who carried Tiny Bear.....

And not One of them Noticed that they 
had completely forgotten the picnic basket!

And in case you were wondering what 
the other Fairy Bearys were up to, Dear Readers,
Brother Beorn is showing Sweet Pea 
the cozy Library of the Cloud Palace....

Where he is Happy to tell her 
there are several good herbal reference books....

And up on the top of the Lady's Tower, 
Blue and Sir Orion are keeping a look out for the Travelers....

That is when they are not Distracted by cakes and tea....

and delightful conversation......!

And Because Hamish Harry takes his work seriously....
He has brought in some more Supplies for the Kitchen....

Orange juice and toast have been added to the menu!
Oh..... and where is Hamish Harry?

He's trying to entice Lady Lavender 
into telling him what her Favorite food is!

So you can see Dear Readers, 
In spite of the chaos around me in my RL, 
I have accomplished A few Little Things...
And those little Details do make All the Difference!

Monday, June 8, 2015

Trees


Day and Night.....

I had very little Time to devote to minis last week, Dear Readers, as I was trying to prepare my RL house for visitors! This means I have to move Dollhouses off of the chairs and put them back into the corners where they are less in the way! As I was moving the Willowcrest, and all the pieces fell off yet again because they are still not attached, I realized that I really want to get the side walls attached so I can go forward with the major construction portion of this house! So I decided to catalog all the steps that were keeping me from attaching the side walls so I could get started. If you recall, the side wall on the left was held up by all the details required to complete the front hallway which would be inaccessible once the walls were in place. That included the doors and trims, the windows, the lights (for downstairs, upstairs and front porch!) the curtains.... and of course the murals with the Moon Maidens.... and even the stairway up to the top floor! All of which have been done! So what is keeping me from attaching the left side wall, you ask? Courage! Because once it is glued in place those Moon Maidens will be nearly invisible... the trees climbing the stair wall will be just a memory... the stars overhead will be barely visible.... yet I know I have to take this step in order to move on! It was Time, Dear Readers....

After fitting the tabs and slots together and making sure they would all match correctly 
(or as correctly as possible with this sort of kit)
I took my Courage in my hands and applied glue 
to all the joints in the lower portion of the wall!
(The upper portion needs to stay unglued until the attic floor is added)
I held it together with masking tape while the glue dried.

Here you can see the interior of the stairway (I know it is a bit dark...)
without the interior bedroom wall in place.... 
another one of those Details that need to be finished!
With the left side wall glued, I looked at the right side 
and found a much longer list still to be done!

To begin with, there were still many more details 
to add to the murals in the bedroom....
Not to mention the windows and trims and lights...
Above you can see a picture taken in the morning light
(I apologize for the poor focus!)
And in the Parlor below, there were even more complicated details 
and Decisions that needed to be made 
before I could safely attach the side wall. 
(Although, I could probably manage to complete most of it 
with the side wall attached.... it is easier while there is more access.)

Here you can see the Parlor in the morning light as well....
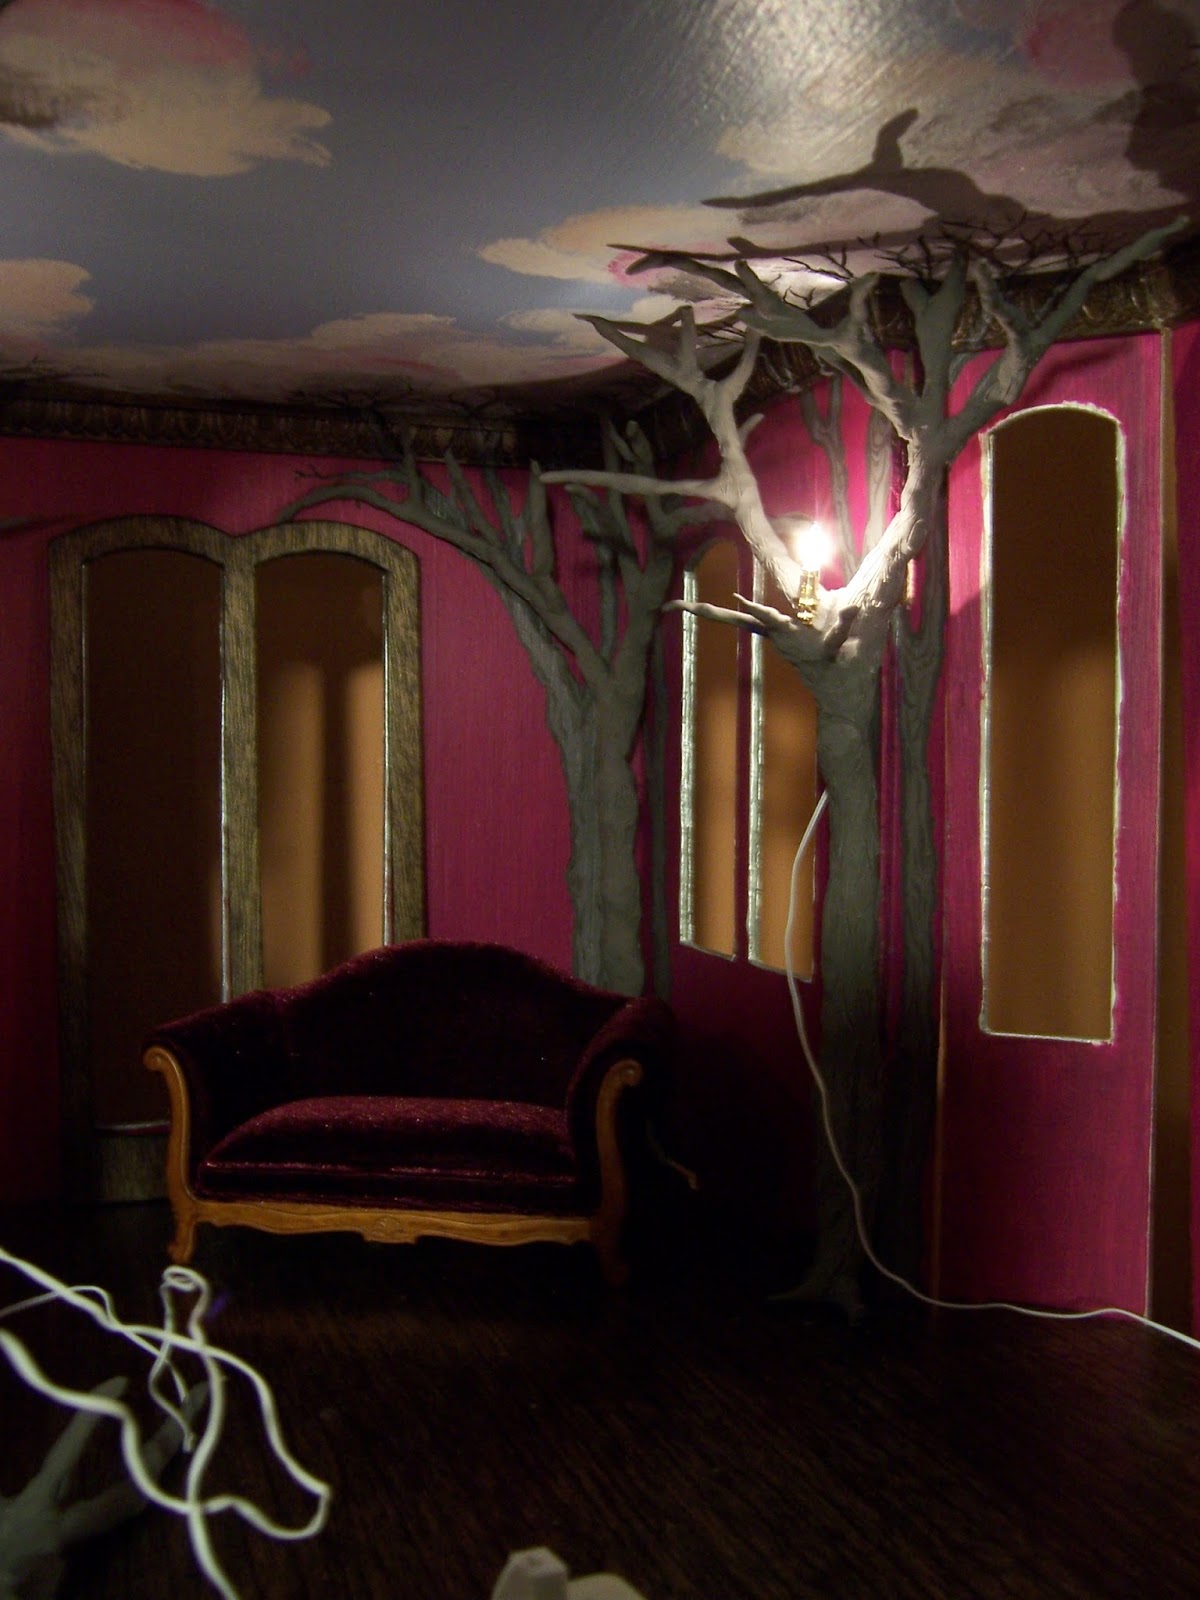
and you can see I have been adding the 
three dimensional trees made of sculpey to the corners of the room.
The biggest decision I have to make with these trees is whether or not to paint them!
I cannot make up my mind!
So meanwhile, I started to make the remaining tree 
which also needed to have a light in its branches.
(I forgot to take pictures of the process.)

And by the time it is finished, Dear Readers, 
it is night time and dark, and you can barely see the tree!
And while the sculpey was baking, 
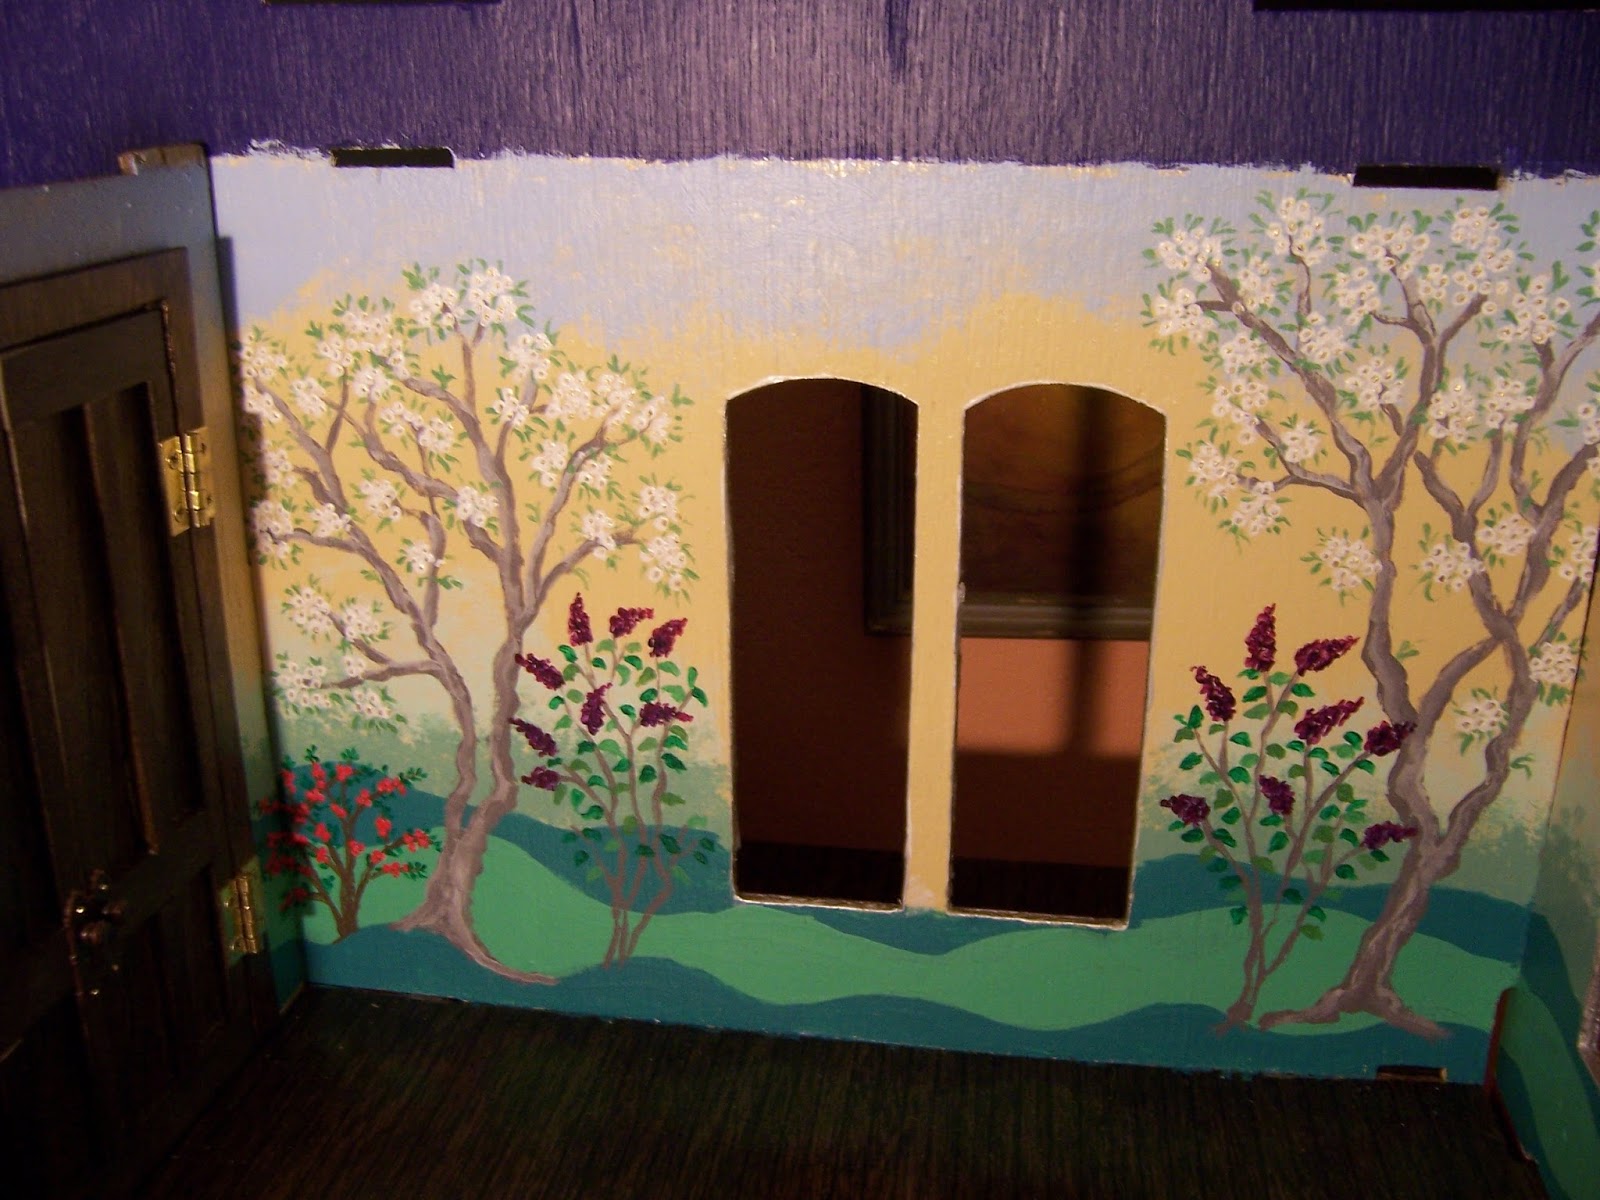
I worked on adding details to the bedroom murals.

I started by adding a central dot of gold paint to the blossoms on the apple trees....
I know it is difficult to see in the above picture with the glare from the light.

Here you can see them up close!
I know the gold paint looks almost black in these pictures....
But it adds a layer of definition and texture to the trees as  a whole, 
which you can really see when you compare the painted one with the unpainted one...
And in the right light it glows a burnished gold!

This is not the "right" light.... but the tree on the left 
has the centers painted and the one on the right does not.
And next I started to add the leaves....
just the tiny baby leaves that are starting to grow as the trees are blooming....

Here you can see the side wall with the leaves added...

And the front wall with only one of the trees with the leaves.
This wall is the hardest to paint as it is "attached" to the house!

Here you can see the right wall "in place" but still not attached.
Yes, there are more details still to paint!

And while I am shining a light into the back of the room, 
can you see the glitter in the gold paint?

Well, even though you can't see it now Dear Readers,
perhaps when I get the lights for this room attached
Perhaps then the light will be just "right" for seeing the gold glisten!
But meanwhile lest we forget the baking Sculpey trees....

I finished the one with the sconce for the window wall...
and I still can't decide whether or not to paint them!
And until I decide one way or the other, 
the right side wall will not get glued in place!
I spent my Time on Trees, Dear Readers,
But they are as different as Night and Day!