Friday, May 26, 2023

The Other Side of The Porch.....


Are You Ready?....

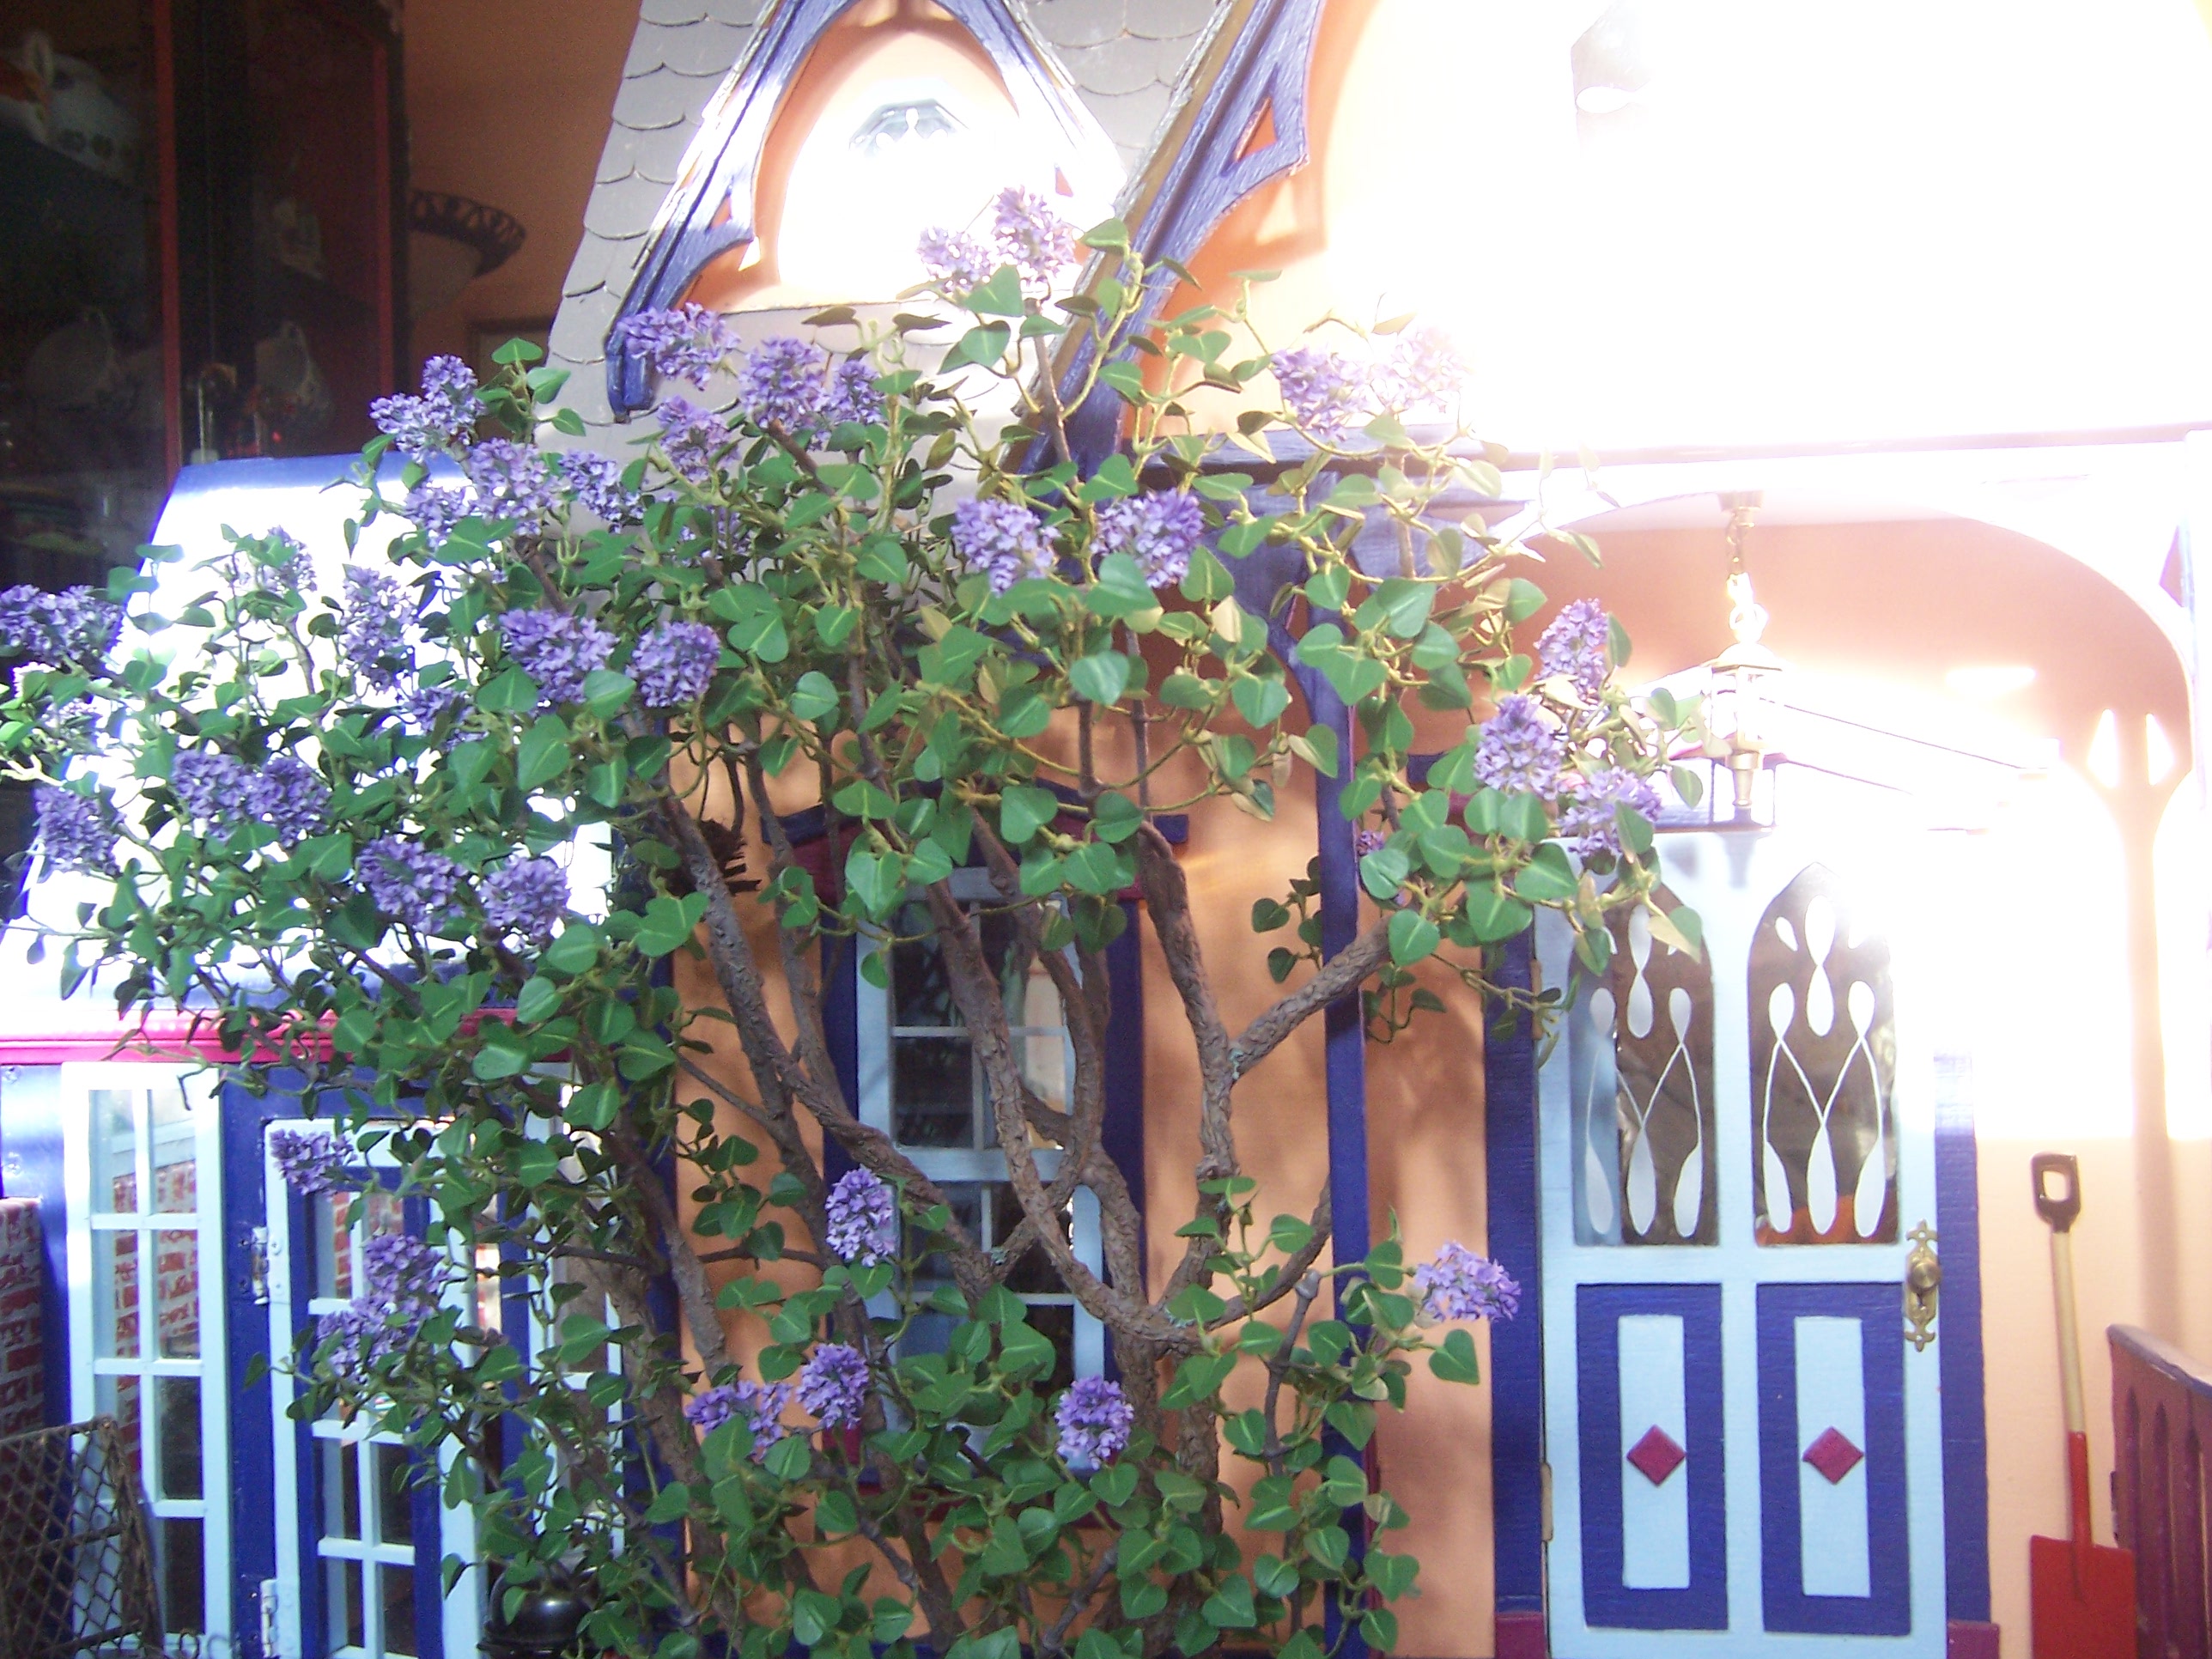
It Occurred to me, Dear Readers, as I was watching my RL Rhododendron shrub begin to bloom last week, that if I was going to start on the shrub for the Other Side of The Folly porch any time soon, then I had better get started or I would have to wait an entire year for the chance to accurately copy the blossoms! I needed to know how large the florets really are, the precise color of the red to use, how they are attached to the stem, the number of florets to make per cluster and so on! The Lilacs in my RL garden have now finished blooming for the year, and the Rhododendron is taking over the show, and I have always intended to have this same sequence for the Folly Garden. The Lilac on one side of the porch is an old and venerable shrub and they are common in this part of the world. Once planted they last forever. The same is true for the Rhododendrons, the only difference being that their popularity is slightly more recent, the nineteenth century instead of the eighteenth century for lilacs. So the shrub beside The Folly porch will be old and venerable too! How fortunate that I have a nearly one hundred year old specimen beside my porch to use as a model! 

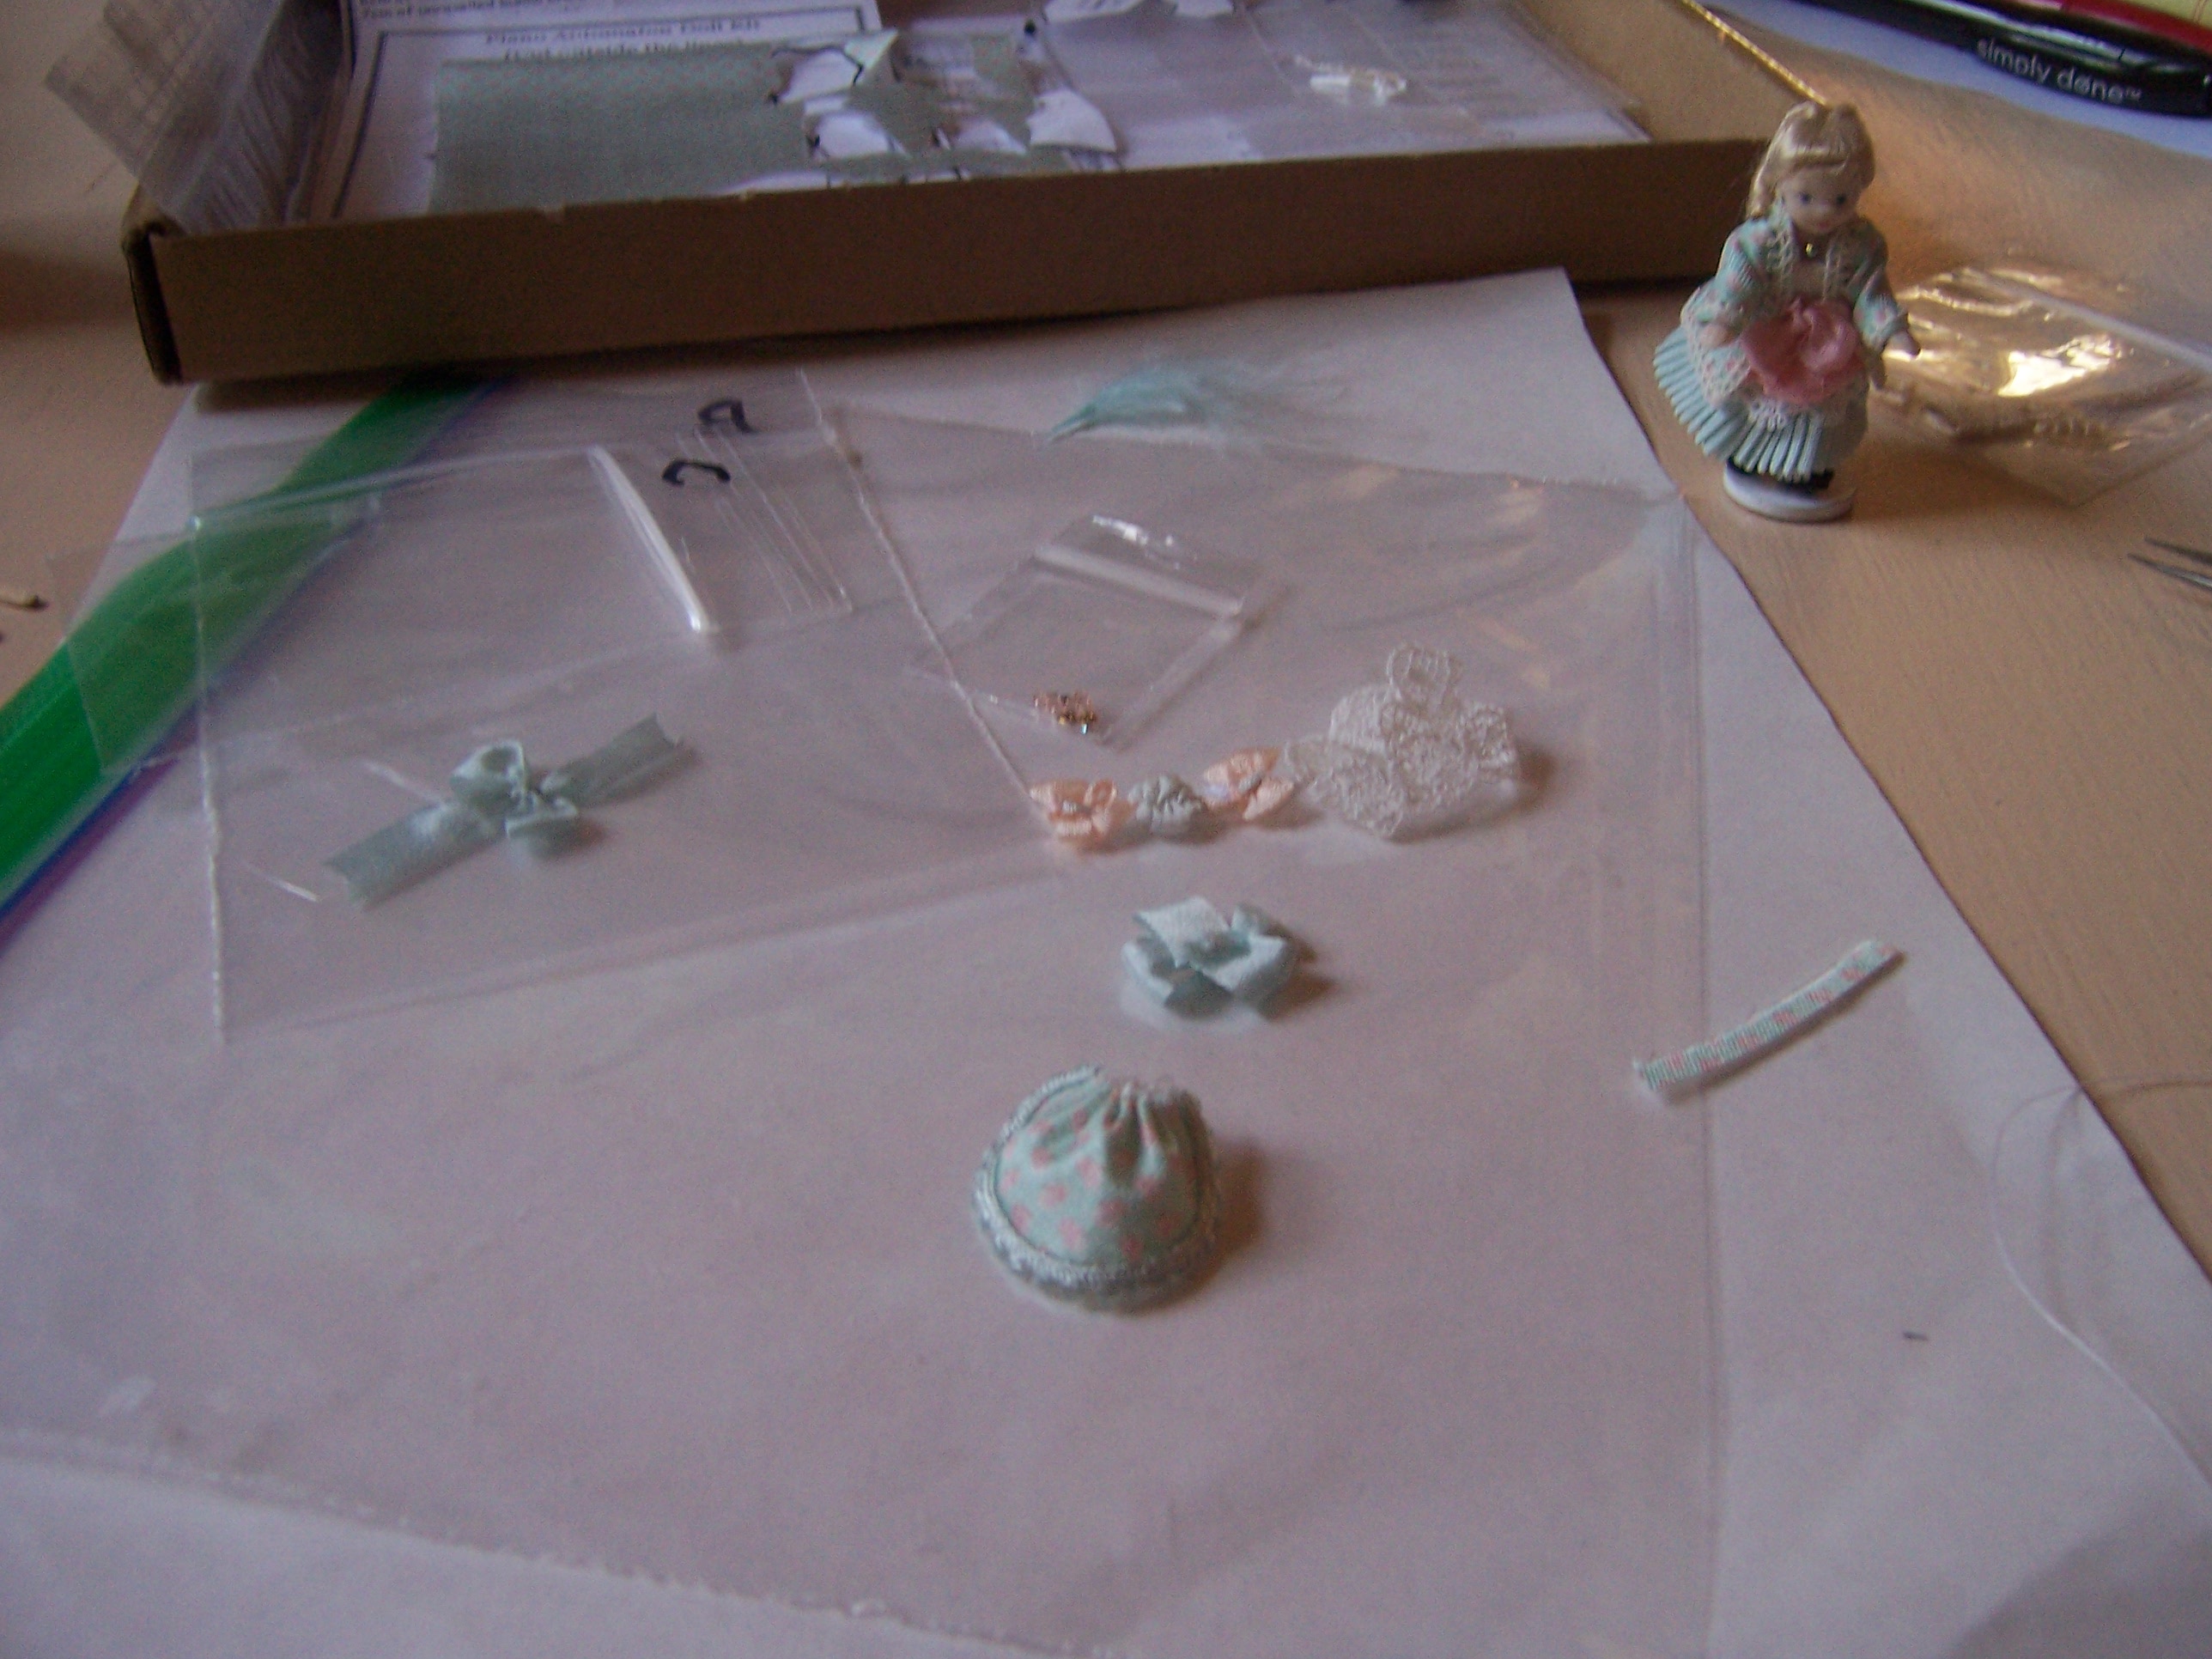
The little removable garden pod was constructed when I made the lilac base....
The nail poking out of it is so you can remove it easily.... 
there are three other pods which can each have their seasonal shrub,
 but in this case I will not have to use them all!
 There is no "bare shrub" in winter because it is evergreen.
So I will only be making three Rhododendron versions...
 spring flowering, summer green and winter snowy green.
As you can maybe guess, I got started right away!


I needed to know just how big the florets really are...


The blossoms are each about 2 inches in diameter,
 which is about 1/6th of an inch in mini scale.


I needed to test the color mix to try and duplicate the red...
The sample at the top is a combination of the other two...


And seems to match the blossom fairly closely.


I needed to figure out how to make a five petal trumpet shape...
I started with the punched shape above, 
and cut off three of the petals...
and glued the remaining five around a wire stem.
 Of course, I forgot to take pictures of some of the steps...


I got a floret painted.... 
but have to add the stamens...


Which I made from thread dipped in yellow paint...


But on closer inspection the stamens
 should be more white than yellow...


But so far, Dear Readers, 
I think the blossoms look promising!

So the next day I set about trying to make the leaves...


For reference I also picked a lilac leaf... 
to compare the difference in the green.
The rhododendron is clearly much darker.


I tried various combinations of greens.... 
the closest was just the chromium oxide mixed with mars black.


And the underside of the leaf is a pale yellow green.
Alas, I do need to mix three pigments to get this color!
But it is the underside and will not be very visible.


The rhododendron leaves are between
 five and six inches long at the longest... 
(there are smaller leaves too)
which is about 1/2 inch in mini scale.
I used a multi petal leaf punch to separate into leaves...


Here they are glued onto wire in pairs....
painted the green with a narrow paler vein stripe...


And glued onto a stem, fanning out the leaves.

And by now I have made lots more blossoms... 
with paler stamens... 
I need to use cream, not white or yellow!


I have determined that five stamens and one pistil
 will work in this scale 
(The real florets have ten stamens)
They need to be bunched together and glued securely.
 

The glue must be allowed to get very dry
 or the stamens clump together when added to the blossom.


This is a cluster of ten florets, 
not yet attached to the main stem and leaves.
Many of my shrub's clusters are between eight and fifteen florets...
I will experiment with the number in a cluster.


Here they are with the leaf cluster... 
not yet attached together....
But I think it looks promising, Dear Readers!


And here we have the first batch of florets
 attached to a stem with the leaves too!


Can you picture it, Dear Readers, 
A towering shrub covered in
 bright red blossom clusters...?
Are you Ready for the Rhododendron marathon
 for the other side of The Folly Porch?


Friday, May 19, 2023

The Bonnet...


Variations On A Theme...

I am always reluctant, Dear Readers, to glue hats onto the heads of these little dolls, but I always end up doing it anyway. The hat would not stay in place otherwise, and these dolls are quite little.... so I succumb to the power of the kit instructions and follow the steps! But in this case, I really wanted to make some adjustments to the design of the bonnet. I just didn't like that it was so flamboyant! This little girl is not an opera dancer! She is a child prodigy, perhaps, and has a great deal of charm, but she is devoted to her music! The hat should not stand out as the defining feature of her costume! With all due respect to Sandra Morris, the bonnet if completed as described in the kit, would be as tall again as the doll! I wanted a more sedate design. Above you can see the beginnings of construction.... but I had already reduced the size of the bonnet brim by cutting about 1/8th of an inch off from the bottom edge before gathering it as instructed.

Here you can see the other side of the gathered cloth
 with the picot trim glued on. 
(That little strip on the right is the piece
 I trimmed from the bottom edge.)


Then I gathered the lace and glued it into the hat as instructed...
 but since the brim is now smaller,
 the lace was a bit more crowded...
so I didn't use all of it so it wouldn't be too frilly.


The instructions wanted me to glue the bonnet to the doll
 before I added the pink bows...
But since I wasn't exactly sure how I wanted it all to go together...
 I didn't want to glue it to the doll just yet!
After a great deal of testing on her head, sans glue,
 I decided it would look okay if I glued the bows into the bonnet,
 slightly more to the sides rather than all on the top as the kit  picture shows.


Okay, I suppose you need to see the kit picture up close for comparison!


And this is my "lower profile" version!


Slightly closer.... 
and please note the jewels on the shoes too!


And the back view... before completing the bows...


The big blue bow is supposed to be the only ribbon
 on the back of the bonnet...
 covering the gathers.
But I wanted this bonnet to have "ribbons" to tie it on with....
 if one tied them, that is!
So I dug in my ribbon collection
 and found a pink silk ribbon 
that was almost a perfect match...


I made a little knot at the edge of the brim
 and twisted it over the crown and placed another knot
 at the other side of the brim...


Here you can see the other side.
I do think it changed the entire character of the bonnet!
Much more demure and delicate!
And I decided not to add the feather after all....


She could not possibly concentrate on her music
 with ostrich feathers tickling her brow!
And as for the tunes she plays... 
I dug into Sandra's blog to find the listing of this kit
 and the tunes on the list were not familiar to me... 
(I am not a pianist!)
But perhaps you know them 
and can hum along while watching her play...
Schubert's "Standschen Serenade"
Gustave Faure's "Dolly Suite"
"Cherry Ripe" (traditional)
Carl Filtsch's "Romance Opus B #1"
Chopin's "Nocturne Opus 9 No. 2"

As you can see, Dear Readers, 
I managed to add the bonnet
With only a small variation on the themes!
Now I am off to push the little button...


Tuesday, May 9, 2023

Lilacs.....


Are Blooming....

Maybe you remember, Dear Readers, the months and months of work it took for me to make the lilac shrubs for The Folly garden! And because it was such a monumental process, with the challenge of making the shrub suitable for four seasons of viewing (four different removable versions of the shrub!) it is an absolute necessity that the Blooming Lilac shrub have it's show time every May! So I have moved the dollhouses around so The Folly can sit in solitary splendor at the end of my work table where the lilac is easily viewed in all it's glory. This is my favorite spot for this dollhouse.... and seeing it still half finished... there is the other half of the garden still to make and the Tree House to complete... maybe it is not even half finished yet! But I have resigned myself to the idea that this must take it's time in order to be done right. So for now, we will just admire the lilac in full springtime bloom!

Believe me, it is a challenge to get good photos of this shrub!
The sunlight hides behind the neighbor's house at this time of year,
 and then suddenly it is taking over with brilliant contrast
 as it tops their roof and glares in my windows!


There seems to be no in-between!


My camera doesn't know where to focus...
and too much reflection spoils the colors...


The blossoms are still too washed out....!


And on a different morning....
 before the sun is too far advanced...
Perhaps we get a better view?


And a moment later the sun is taking over...


And I must try again another day.


Perhaps before the sun arrives.... 
when it is still too dark to really see.
Well, no matter Dear Readers,
I am enjoying every minute
 of seeing The Folly lilacs in bloom,
 and maybe just a little bit of 
Dreaming about the rest of this Garden!