Showing posts with label Musical Automaton Kit. Show all posts

Friday, May 19, 2023

The Bonnet...


Variations On A Theme...

I am always reluctant, Dear Readers, to glue hats onto the heads of these little dolls, but I always end up doing it anyway. The hat would not stay in place otherwise, and these dolls are quite little.... so I succumb to the power of the kit instructions and follow the steps! But in this case, I really wanted to make some adjustments to the design of the bonnet. I just didn't like that it was so flamboyant! This little girl is not an opera dancer! She is a child prodigy, perhaps, and has a great deal of charm, but she is devoted to her music! The hat should not stand out as the defining feature of her costume! With all due respect to Sandra Morris, the bonnet if completed as described in the kit, would be as tall again as the doll! I wanted a more sedate design. Above you can see the beginnings of construction.... but I had already reduced the size of the bonnet brim by cutting about 1/8th of an inch off from the bottom edge before gathering it as instructed.

Here you can see the other side of the gathered cloth
 with the picot trim glued on. 
(That little strip on the right is the piece
 I trimmed from the bottom edge.)


Then I gathered the lace and glued it into the hat as instructed...
 but since the brim is now smaller,
 the lace was a bit more crowded...
so I didn't use all of it so it wouldn't be too frilly.


The instructions wanted me to glue the bonnet to the doll
 before I added the pink bows...
But since I wasn't exactly sure how I wanted it all to go together...
 I didn't want to glue it to the doll just yet!
After a great deal of testing on her head, sans glue,
 I decided it would look okay if I glued the bows into the bonnet,
 slightly more to the sides rather than all on the top as the kit  picture shows.


Okay, I suppose you need to see the kit picture up close for comparison!


And this is my "lower profile" version!


Slightly closer.... 
and please note the jewels on the shoes too!


And the back view... before completing the bows...


The big blue bow is supposed to be the only ribbon
 on the back of the bonnet...
 covering the gathers.
But I wanted this bonnet to have "ribbons" to tie it on with....
 if one tied them, that is!
So I dug in my ribbon collection
 and found a pink silk ribbon 
that was almost a perfect match...


I made a little knot at the edge of the brim
 and twisted it over the crown and placed another knot
 at the other side of the brim...


Here you can see the other side.
I do think it changed the entire character of the bonnet!
Much more demure and delicate!
And I decided not to add the feather after all....


She could not possibly concentrate on her music
 with ostrich feathers tickling her brow!
And as for the tunes she plays... 
I dug into Sandra's blog to find the listing of this kit
 and the tunes on the list were not familiar to me... 
(I am not a pianist!)
But perhaps you know them 
and can hum along while watching her play...
Schubert's "Standschen Serenade"
Gustave Faure's "Dolly Suite"
"Cherry Ripe" (traditional)
Carl Filtsch's "Romance Opus B #1"
Chopin's "Nocturne Opus 9 No. 2"

As you can see, Dear Readers, 
I managed to add the bonnet
With only a small variation on the themes!
Now I am off to push the little button...


Friday, April 28, 2023

Musical Automaton.....


 Almost Done....

I have Finally managed to make progress, Dear Readers, on the Musical Automaton Kit that I had to put aside when I hurt my arm a few weeks ago. I had managed to assemble the box and the tiny piano, but the battery pack and speaker which needed to be carefully fitted and firmly attached to the inside of the box required a minimal amount of arm strength. At last I have succeeded in gluing the speaker into the box in the right spot along with the battery pack and made the switch button fit too!

I know, it doesn't look like it should be so difficult....
but the wires are stiff and the button for the switch
 had to reach the hole that was prepared for it....
And it all had to allow the battery box to fit behind it.
The back wall of the box pulls off 
(held with tension by fitting tightly)
so you can access all the works and change the batteries.
It is a neat design and I can tell you, I smile with delight
 when I push the button and a piano tune plays on the speaker!


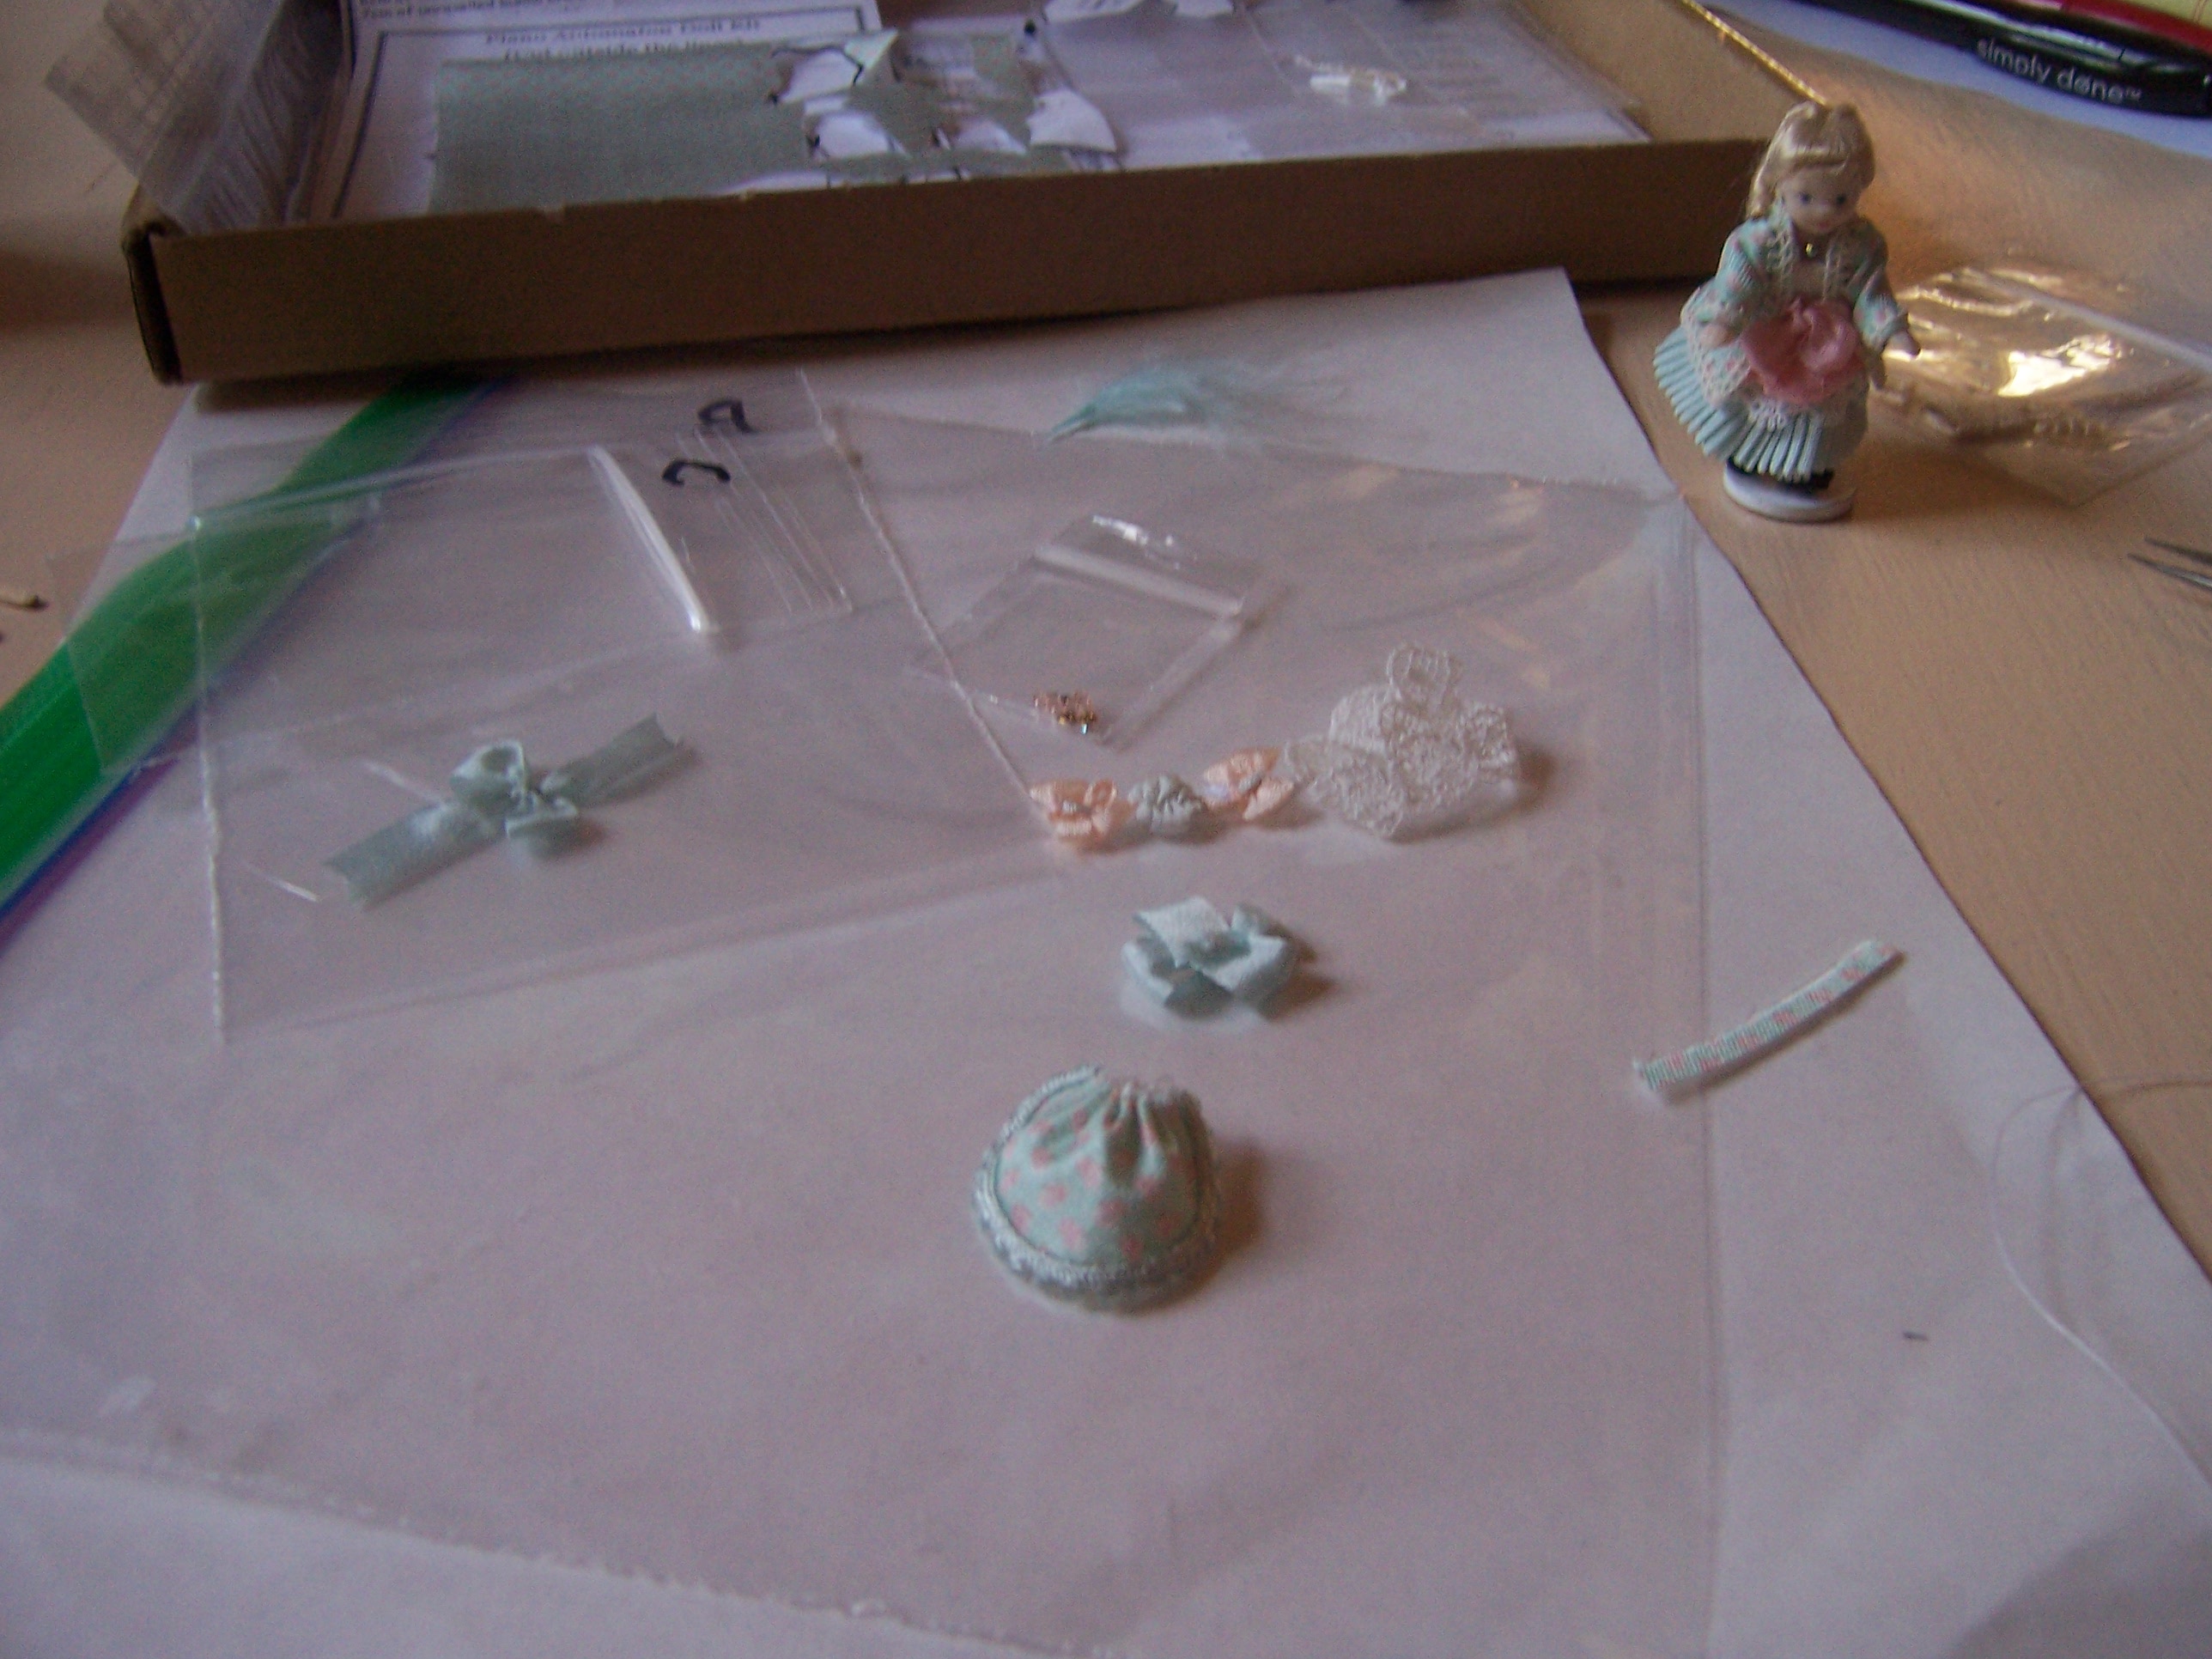
So all that was left to do was dress the little doll!

Yes, another one of Sandra Morris's little dolls!
By now you know the drill....
 

 She has a "routine" to follow....


And she's really great at standing by herself!


And with her shoes on too!
But these shoes need an extra feature....


The shoes will have tiny magnets to help her stand at the piano.
These tiny things were fidgety to attach!


And then we had to glue the leather soles on too.


Success!

 
And the lace petticoat....


Then things started to get tricky!
I had to sew a pleated silk band to the lace petticoat....


Then a lace ruffle on top of that...


And another pleated layer, this time a pink one...
and believe me, it was not easy to stitch all these
 onto a ruffled lace petticoat!
And that was just the skirt!


And in case you didn't know, Dear Readers,
 this little doll is a Performer... 
and she has to dress for the role! 
She gets sparkly jewelry!
I had to assemble the necklace...
 thread the tiny beads, glue on the crystal....
and I left the earrings for later.
(I didn't want to run the risk of 
knocking them off while fitting the jacket!)


Next came the bodice... just glued in place,
 with some lace trim at the top.

And then it was time to sew the jacket...
 

Here you can see the seams are all stitched and pressed open!
(Yes this did take a long time...)


And here you can see the right side with the trim glued on the edges.
By now it is late again (this is the third day of working on this little one!)


And the next day... 
testing the fit of the jacket...
 and gluing it to the bodice.
And starting the sleeves!
 

 Many careful steps go into the sleeves!
Here you see one is turned right side out,
 and one is just stitched and hemmed
 before turning it right side out.


Here the sleeves have the lace trim added.
There wasn't enough trim left for this, 
so I had to improvise.
I found some lace in my stash
 with a very fine picot edge
 and used that instead.


And here the sleeves are finished and attached!


And the next day... (yes this is now day five!)
The enormous bow gets added to the front of her skirt.
It nearly hides all the pink pleats...
 but just barely shows a flirty edge...
(Those Victorian costumes were elaborate!)
And then I glued the earrings to her ears prior to making the wig.


All the materials for the wig are also part of the kit.
Curls for the brow and then the main head covering are glued on.


Long ringlet curls adorn the back...


As you can see above, 
I have not used up all the ringlet material...
I might add more curls....
But there is also a very fancy bonnet
 to go with this ensemble...
(See the picture on the instruction book in the background!) 
Which I have not yet assembled!
But I hope you will understand, Dear Readers,
 that I am having a enormous amount of fun
 with this little automaton!
(If you can call her that!)


Here she is on the magnetic stand on the box...
 
 (Her name is "Chere Elise")....


I have placed the box in the Castle Great Hall....
And every time I walk by,
 I have to reach in and push the little button... 
and the piano music pours out into the Great Hall!
And I sit entranced to hear
 such wondrous music filling the Castle!
It is truly quite Enchanting!
 
But the Musical Automaton
 is still not quite Done!
 

Friday, April 7, 2023

Yet Another Kit...


Slowly Taking Shape...

I apologize for the terribly Dark picture, Dear Readers, but it was a gloomy day! I had decided to try to complete another lovely little kit from Sandra Morris of 'Tower House Dolls' fame. She has just retired and closed her shop, and it made me want to finish some of her kits I had bought over the years and then not had time to build. This is the "Musical Automaton Kit" which consists of a little Victorian Doll you get to dress, standing beside a tiny piano you get to build, and the box they stand on contains a music speaker and it plays piano pieces when you push the button! "What a cute Idea!" thought I when I purchased it a couple of years ago. I now have experience on assembling one of her costumed dolls, but a music box assembly was definitely a new challenge!

First Step was to get the instructions out and identify all the parts!
These are just the ones for the base with the music box. 
The battery pack, speaker and switch are in the bubble wrap.
There is a little chip with a pre-programmed selection of piano tunes!


The box itself was fairly straight forward.
Wooden framing and matboard sides.


You needed to cut a hole in the back panel 
for the speaker and the switch.
Templates were provided.


Next step was to paint the box
 The paint provided with the kit
 had dried out because I took so long to get to it...
So I used the basic gray I use for the castle...
 I have plenty of that!


There are lithographed designs to glue onto the panels.
The next step should be attaching
 the speaker and the switch to the back panel... 
This requires some epoxy, which I don't have...
 and some ability to use the right arm....
which I have to admit, Dear Readers, 
 is a problem!
I have pulled a muscle.... or a tendon.... 
causing pain when I try to do too much...
(or anything at all, actually!)
(I am always trying to do too much!)
I have had to take days off... 
doing almost Nothing with my right arm!
I am becoming ambidextrous as a result.


And maybe I could just do tiny things?
So I started to build the teeny piano kit.


Only requiring the tiniest bit of folding...


And gluing....


The sum of one day's work!


And the next day... 
can I paint at all?
Just a Tiny bit?


And maybe glue some of the graphics on?
(Carefully...!)


And the following day,
 glue the rest of the graphics on the tiny piano!


Oh, and the music stand too!
But I think I let it slide down too far...
You can't close the lid this way!
(No, I did not add hinges!)
(But maybe I should have!!)

So there you can see, Dear Readers,
 the Slow total of the "work" I can
 accomplish with my sore arm.
I am not used to so much "Inactivity"!
But I will admit that rest is the best cure.
So I am doing my best to do just that...
And learning to do everything with my left hand!