
I Couldn't Wait To Show You....
It isn't Finished yet, Dear Readers, but I am having so Much FUN making this Itty Bitty desk that I could Not resist showing you what I have accomplished so far! But I am getting ahead of myself.... because First I want to show you the Piping on the Arms of the Rose Velvet chair.....


The photo doesn't show it.. but it is really quite a harsh light....
when looking into the room it is way to bright to be right in the middle of the back wall....
This will take some considering...
So Meanwhile.... I made a start on the Desk I have promised you!
I began by making a to scale sketch..... on a scrap of paper......

I'm sorry you can barely see my pencil marks.......
And then I began by cutting and testing most of the main pieces......
Including the desk Top which I wanted to Hinge open.....!
Please Do NOT Laugh at my Hinges, Dear Readers.....
I KNOW they are impossibly Too BIG....
But they are the best I could manage.....!

I had to cut the nails down to tiny stubs
so they would not go through the 1/16 inch stock wood I am using...
You can almost see them in the plastic dish above....

And This time I stained all the pieces Before assembly....
so the glue will not ruin the wood for the staining!
Above you can see the hinges attached to the Desk Top......

And here you can see the base partly assembled!
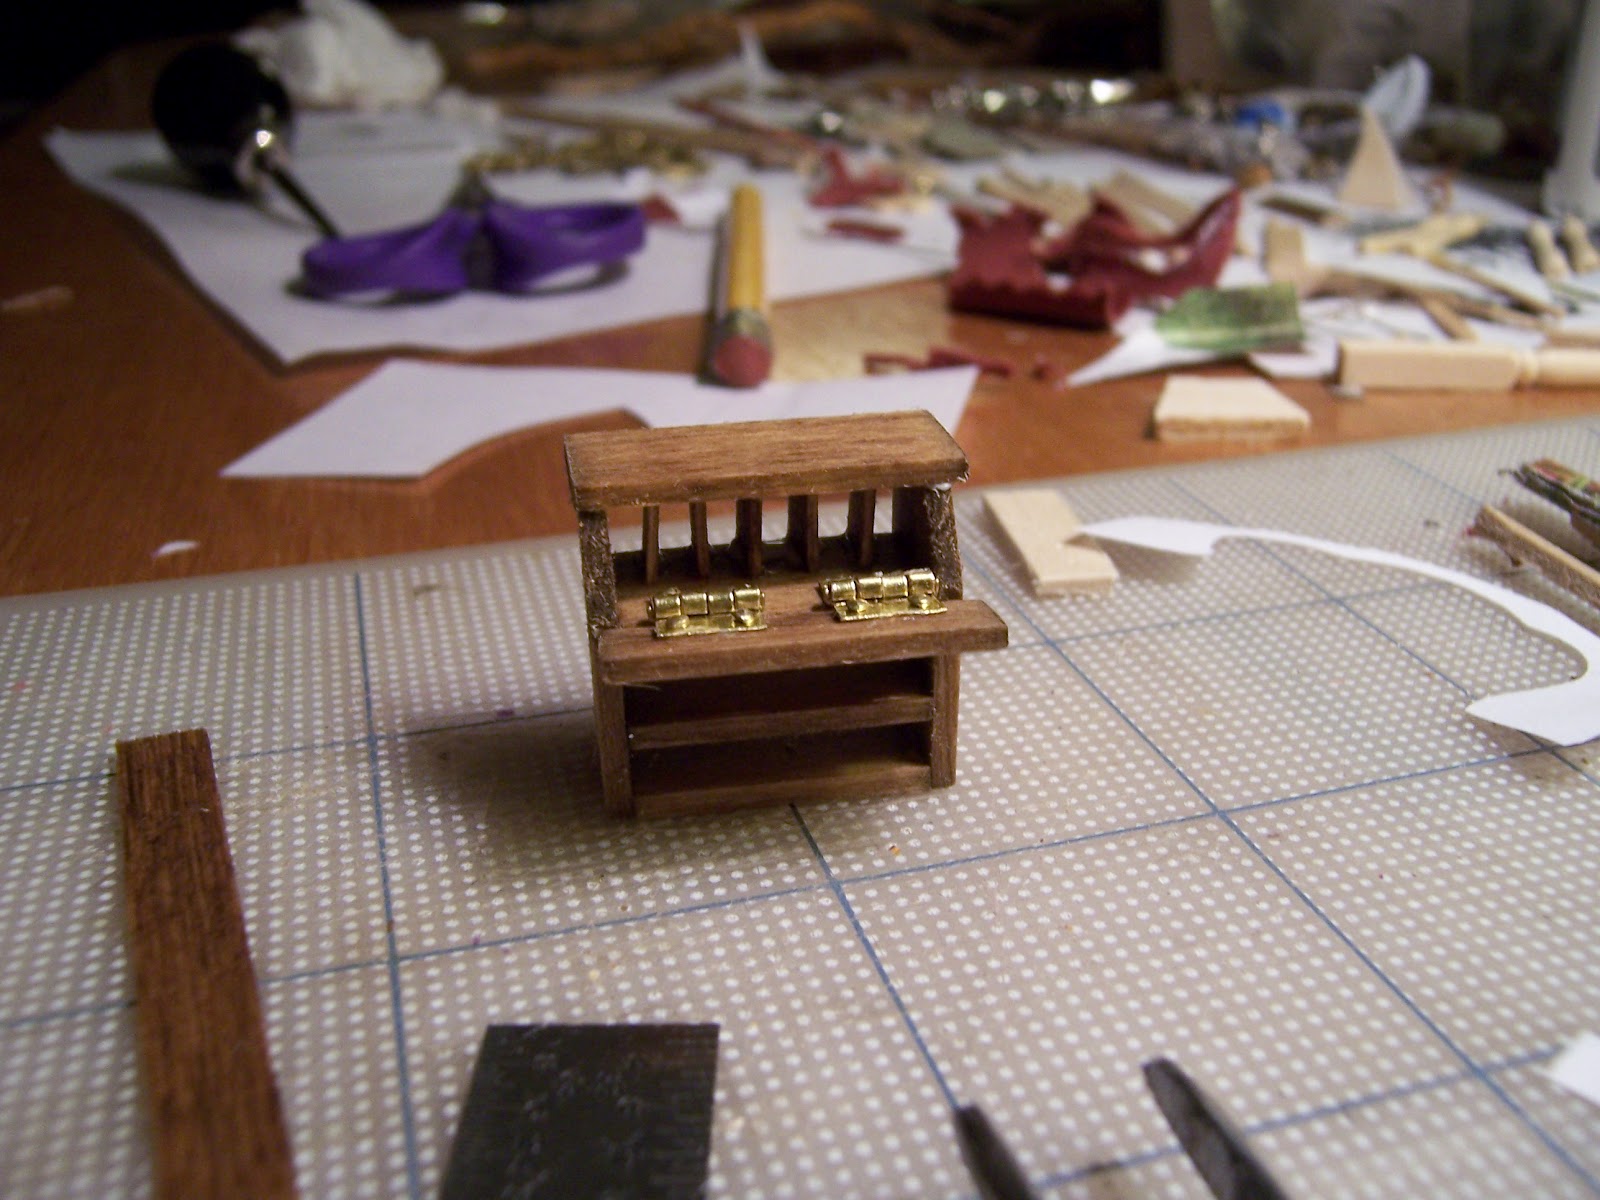
It needed to have mail slots... of Course!
These I cut from leftover edges from sheets of pre-cut shingles....
VERY thin wood!

See how CUTE it is????
But this is only the Beginning......
I wanted the Drawers to open too.....

The drawer bottoms and fronts are made from the shingle stock.....
the sides are the cut off edges of Woodsies trimmed down....
With Beads for pulls.....

They really do Open and Close!!!

And I added Feet made from jewelry findings for the front...
And matchsticks for the back.....

But you must NOT Laugh at my Hinges!!!
They are Huge.... but they Work!!!!
So far the Upper Cabinet Shelves are not done.....
But you can get an idea of how they will look in the Library....

I Know it is Snug.... But I Measured....
and It Fits!!!

And maybe with enough Books and letters on the Top...
you won't notice the hinges are so big.....!

Or Perhaps we should just keep it Shut.....
It might even get some more Decoration before it is done......
So Far that's the Desk -
Part One!
