Showing posts with label Attic Knee-wall Doors. Show all posts

Wednesday, September 2, 2020

More Of The Same.....


Stones and Stitches.... 

You Might recall, Dear Readers, that I was needing to unstitch a good portion of my work on this Medieval Ladies Tapestry. It is another kit by Janet Granger. I have indulged my current passion for Petit-point stitching by purchasing a whole bunch of her kits. As I am gradually moving on to stitching larger items that require a Real embroidery frame (I feel so Grown up!) I have at last also purchased a stand to hold the heavier frames. It does take some getting used to! But more importantly, I have to confess that I am also altering her kit design just a tiny bit. (I have done this a couple times before now as well.) In this case the Lady on the left had a hairstyle which I thought was too modern looking.... I wanted to emphasize the Medieval nature of the project, so I changed the hairstyle a little bit. I will show you the details later. For now you can see that at least I have positioned her correctly in relation to the Lady on the right! You would be surprised how much difference one row to the right or left can make in the end! I am double checking my "counting" constantly with this one.... and "reverse stitching" quite a bit too! But progress is being made.

Here you can see a bit of the stand that holds the frame.... 
I will have to take a better shot of it.
And the ladies are beginning to look like themselves!
I have already identified a place where
 I missed just one stitch of the brown thread....!
 Just one stitch!
I have to figure out how to get just one stitch in where it is missing.

As for the Stones.... progress is slow.
I thought for sure I would get the arch supports
 in the Stables all finished this weekend... 
 
 
but then I ran out of the lumber I was using....
just two "stones" shy of completing one of the arches.
I thought I had lots more of the same material,
 but the dimensions turned out to be just a tiny bit different!
They were even labeled as the same size "stock"
 but when placed side by side you could clearly tell
 they were not the same!
 

I went back to the local Home Depot to get some more
 if I could find any the right size,
 but I couldn't find any more.  
When I got home I found one more piece in my stash that was the right size!
I swear I had looked five times and not found it!
So I was able to complete the arch with the same size stock after all.
And I have enough to make the arch on the remaining wall as well.
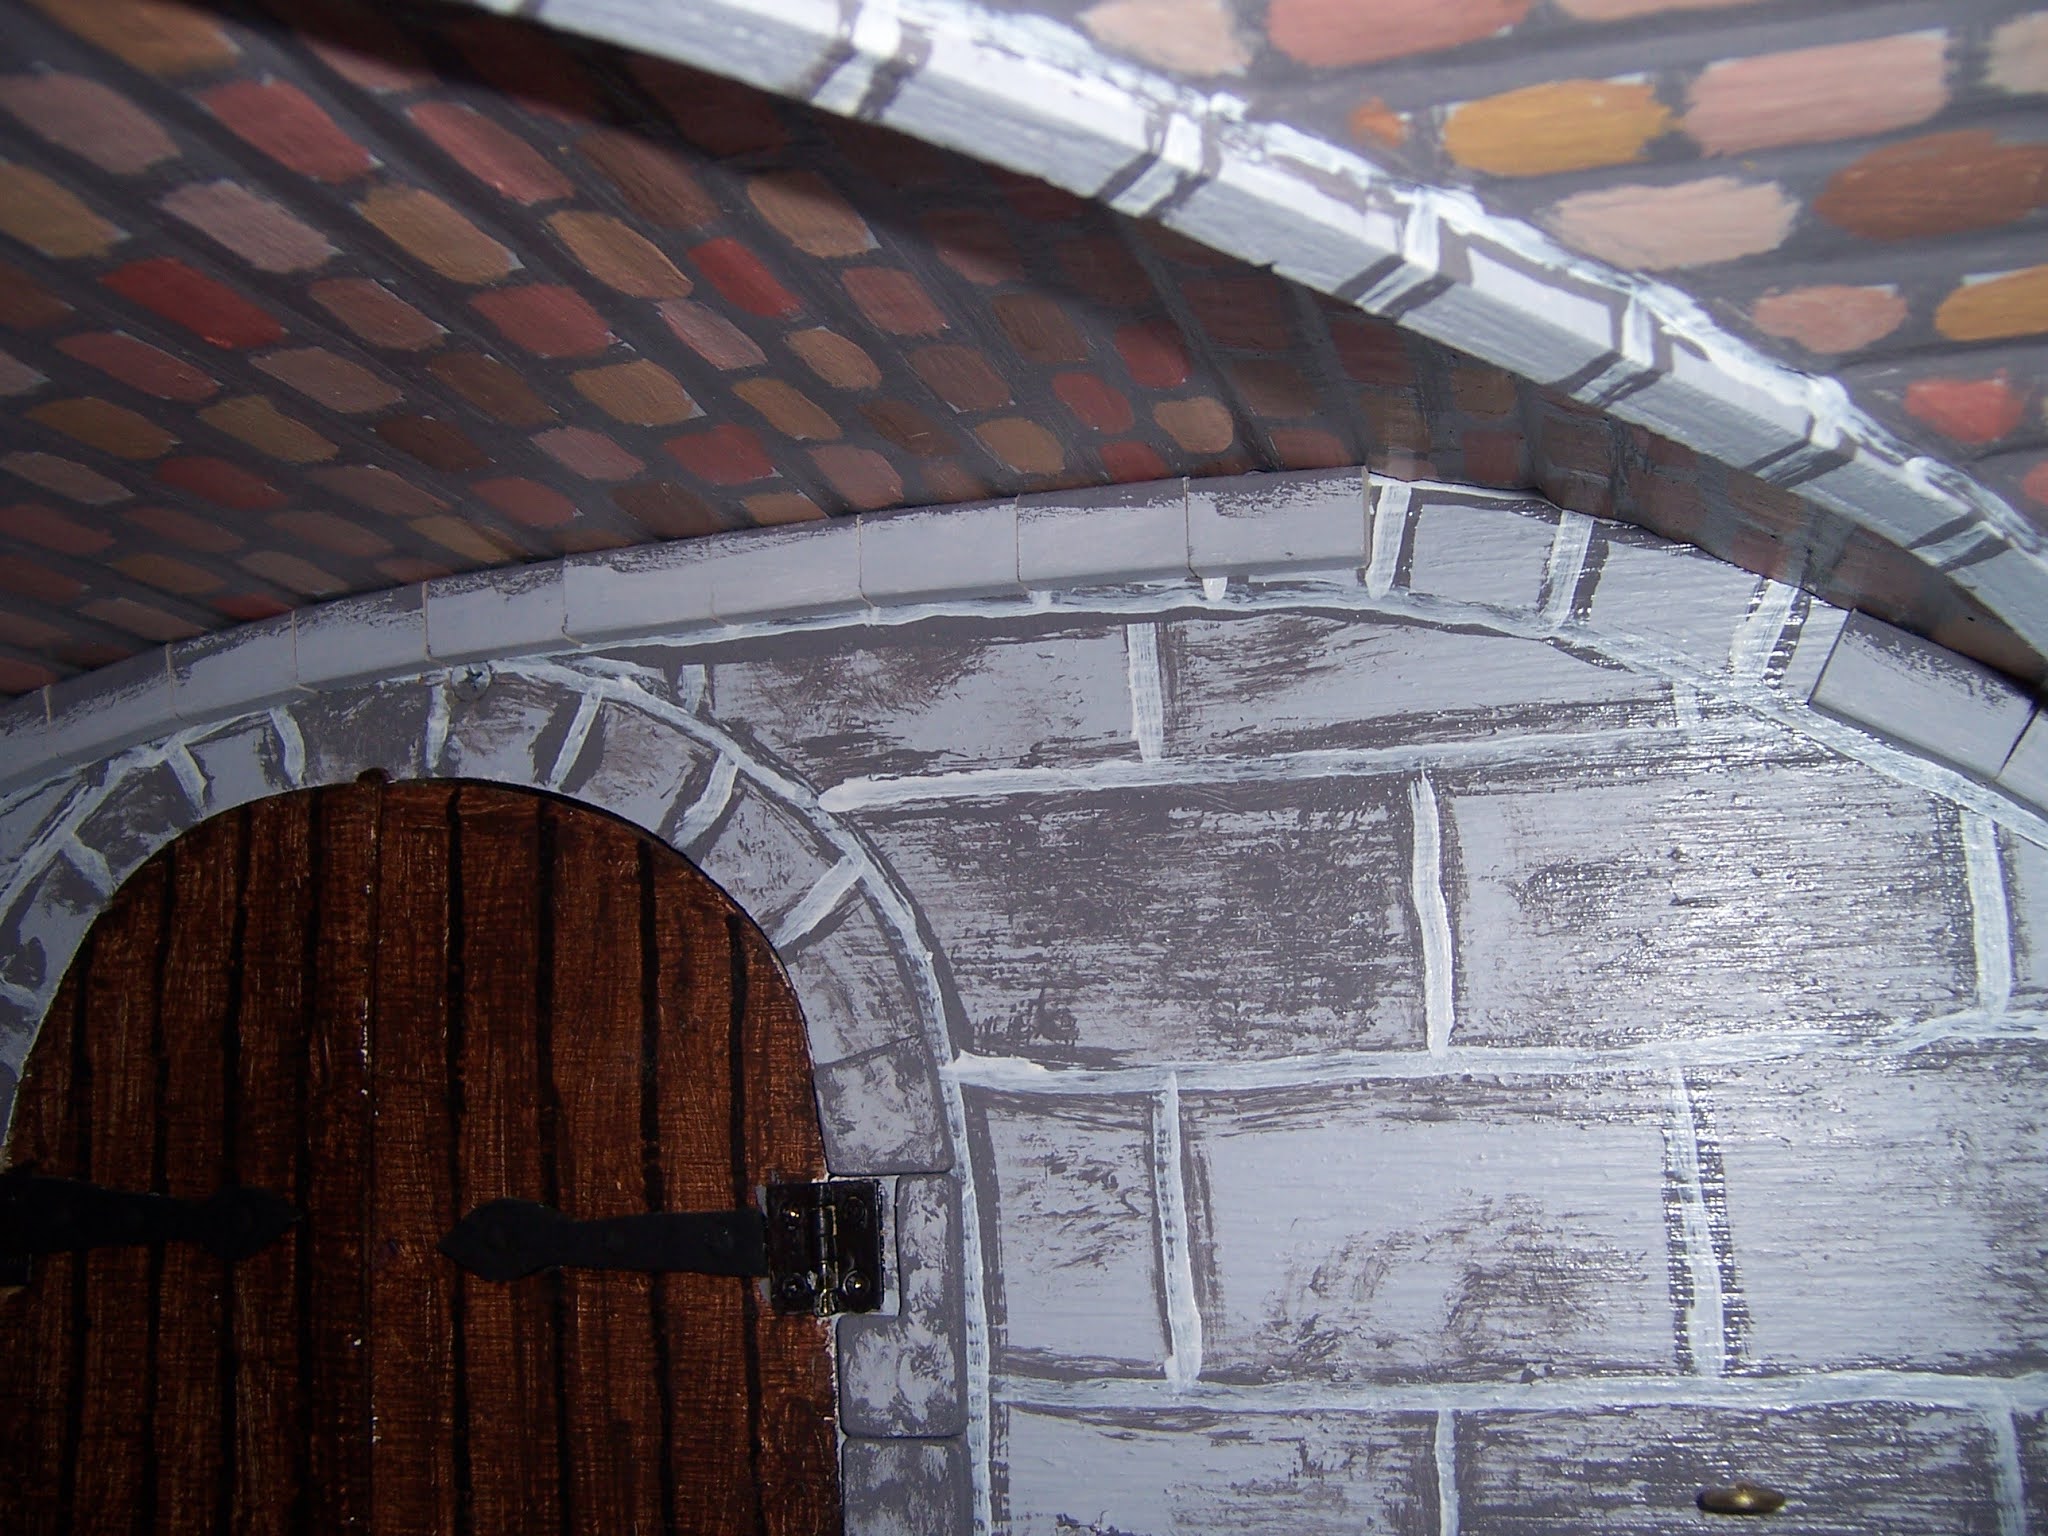
As you can see, none of the "grout lines" have been painted yet.


And once the Vault support stones were in place,
 I could continue with the door surround stones.
 These will need to be fitted carefully against the Vault support arch.
I still have not added the door handles to these doors!


Here is the Stables as it stands today.
The left side Arch Support stones still need to be added.


And the stones for the Door Surround in the side door too.
And all the grout lines will need repainting.
But, Truly, Dear Readers, I can't tell you
 how happy I am with all this Stone Work!
I turn the Castle lights on at night and just sit in front of it
 and move from room to room
 admiring the sturdy Castle-like feel of the structure!
Doors.... Windows.... Shutters..... Vaulted Ceilings...... 
it is just so Wonderfully Medieval!

And here is a better (sort of) picture of the Embroidery stand....


It has a whole series of adjustable joints
 so you can position it in a great variety of ways 
to suit your every need!


And the Tapestry as it now stands....
I still have a long way to go.
But that is the Fun of it, Dear Readers!
It might be just More of the Same....
But Stitch by stitch and Stone by stone
It adds up to a Whole Castle....
And I am Loving how it is turning out!


Tuesday, November 7, 2017

Where Was I.....?


Hmmmmm..........

It was weeks and Weeks ago, Dear Readers, that I last accomplished any building on any of my many projects! I hope you will be able to remember that I was building the attic "knee walls" for the Lovely Old Dollhouse sometime back in September, before I got swept up in the recent story-telling binge. This was a project I had been contemplating for nearly fifty years!!! I had even made a version of these knee-walls back in my teen-aged years when I was first trying to "up-grade" the decor of the dollhouse, but my construction methods were not sturdy and did not last. This time I am being a little more thorough and not relying on glue alone to attach the parts. At the moment they are all still removable while I decide how detailed the walls and doors need to be. But I did manage to add a coat of primer to the basic parts! It makes an amazing difference in the feel of the rooms to have the walls painted!

Of course, the lighting is not very good in my photos... 
and you can hardly see the wall behind all the furniture..... 
but that is sort of the point! It now feels just like a wall!

And the same is true of the bedroom....

I am still not sure if I will be trying to make 
the walls appear to be "bead-board" paneling....
since that is a later style of decor than the supposed era of this house. 
But I probably will... 
because "up-grades" would have been done over time, 
like with the kitchen walls.
 
And these were not the only walls I was painting, Dear Readers, 
as you may have spotted in that first photo!
I was also working on painting the 
sleeping compartment of the second Gypsy Wagon!
 
Here I have started to paint the dark blue base coat.
 
(Yes, I know, I have not shown you this second Gypsy Wagon!
But you might have spotted it in the Meadow with Beatrice!)
It is becoming quite different from the first, 
starting with an extra rear window in the sleeping compartment.
And I wanted the mood to be more "mystical"....
beginning with deep blue walls and silver-gray forest...

Here you can see how the walls fit together... 
only the gray under-painting has been done so far on the trees.

Here I have started to add the black details...
but decided that I really needed to add the silver color first...

You can see on the tree to the far right that I have added the silver .....

And now I am adding the black over the silver. 
I wanted a reflective effect because the compartment will be quite dark,
 and this way the trees will stand apart from the blue background.

Slightly closer shot.....

Most of the black texture added.....
There are still many details to be added... 
I have not decided how much foliage to add... 
but there will be more added!

Here the walls are assembled temporarily.....

And a hint of the decor... 
viewed through the compartment doors......

And closer..... 
Yes, it will feel much more Mystical than the other wagon!

And speaking of doors....

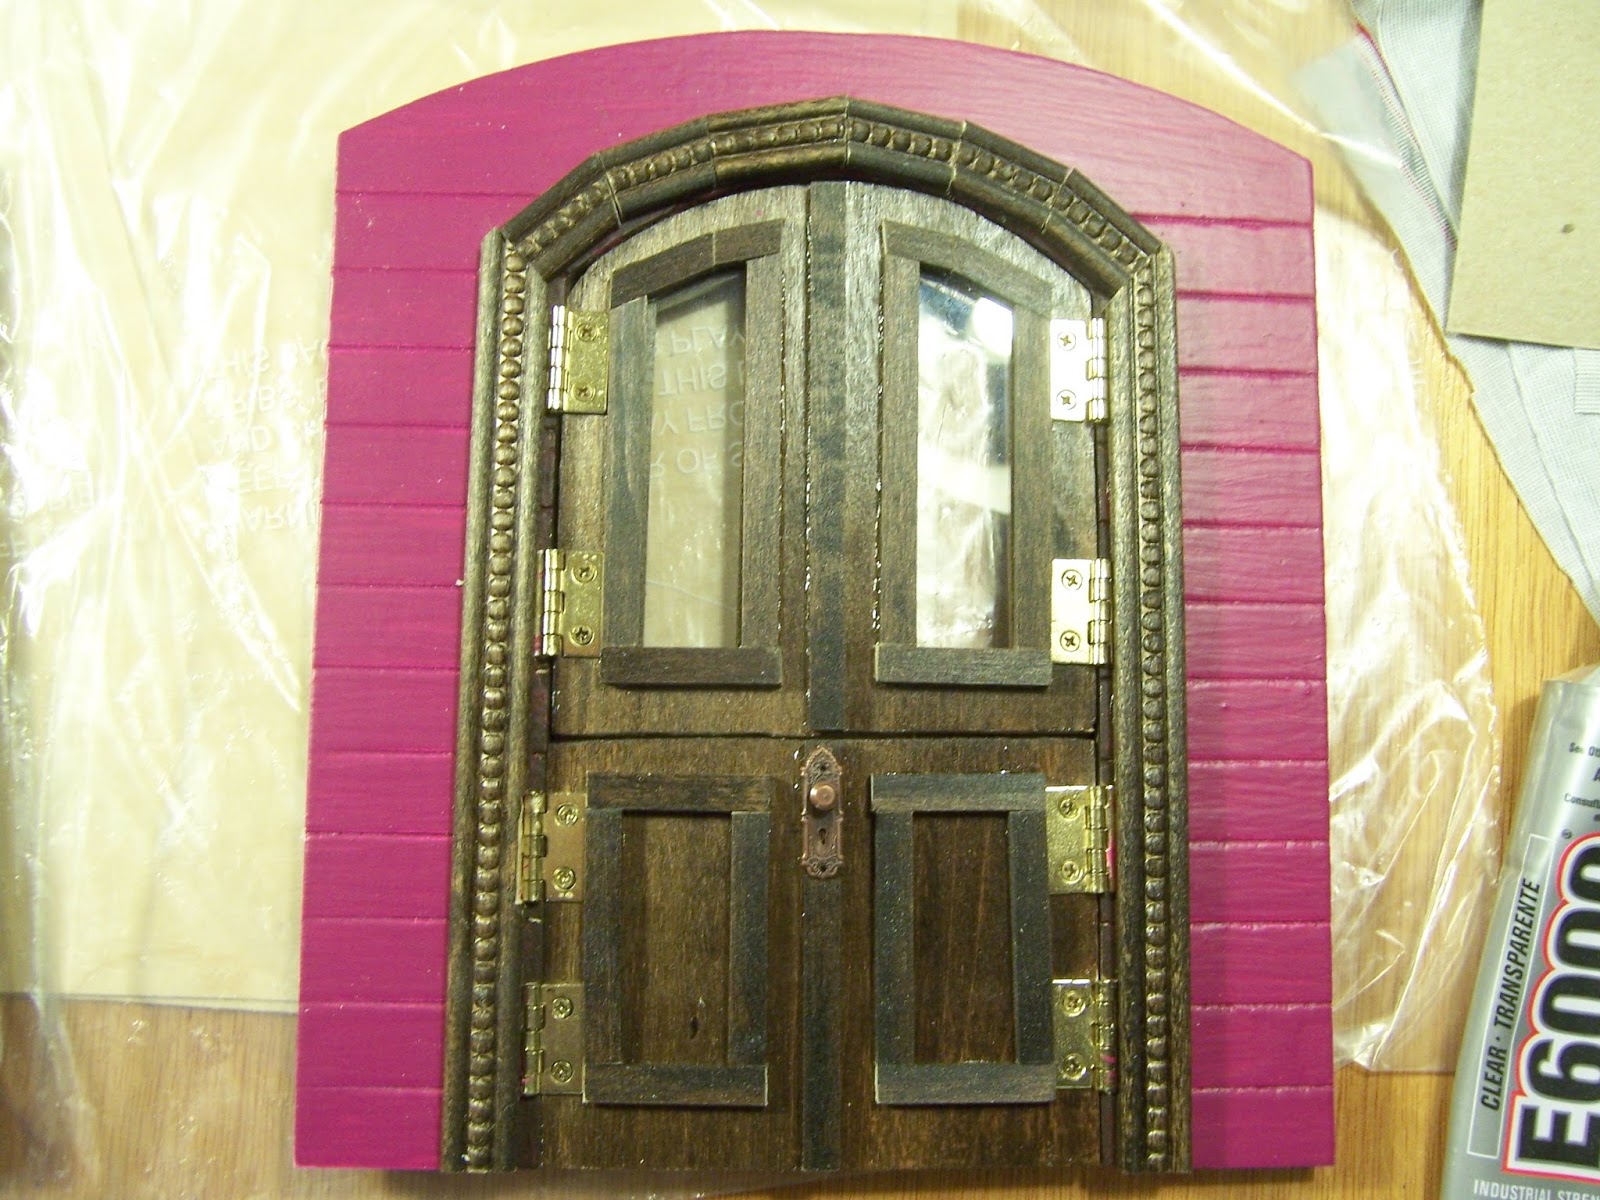
The exterior doors needed trim added....

And the doors needed the draft strip added to the center 
where the doors don't quite meet when closed.

And a lovely old tarnished bronze door knob too!

I love the way it looks in the morning light!

Well, Dear Readers..... 
I seem to have discovered where I was 
All those weeks ago!
Where I am going is another matter altogether....
Hmmmmm.... we shall have to wait and see!

Monday, September 18, 2017

Access Requires Doors.....


Doors Require Hinges... (I love hinges!)

I Think I mentioned, Dear Readers, that I was going to want access to the area behind the knee-walls in order to be able to reach the wiring that passes through that space. I decided that sooner was better than later for tackling the construction of the doors... the sort of task that brings a complete halt to further decoration if left undone! Above you can see the "workroom" wall removed (these walls are not glued in place) in order to measure and add a "brace" for the wall to butt against to keep it in the upright position. (Without a brace the wall can twist and not stay vertical.)

Here you can see both the walls removed 
and the knee-wall brace being tested.....

Here you can see the primitive wiring that I am going to need to upgrade...!
The Lovely Old Dollhouse is the first house I tried to do any electrical wiring, 
so it has been a learning project from the start.
The main wire for the outlet strip you see here
 is buried in the walls all the way down to the base of the house....
(I carved a channel and glued the wires in prior to decorating the lower floors).
This is the only plug strip for all the attic wiring! 
I am pretty sure my upgrade will consist of splicing the extension wires 
at this point rather than having these plugs which just come loose all the time.
Whether I add more outlets for each attic room 
and run new channels down the exterior walls is still undecided. 
It will depend in part on the total bulb count of the lights 
and the size of the transformer... I might need to get a larger transformer.
But meanwhile, I just needed to have access to the space behind the walls!

Here you can see the doorway cut in the wall, 
as well as a glimpse of the brace the wall butts against on the right...

And with the doors cut... testing for fit...

And with hinges attached....!

And with the doors open! 
(I Love hinges!)

And I needed to repeat the process for the bedroom side of the attic....!

Here you can see the Bedroom wall is temporarily removed to fit the bracing.
 
Nothing is glued in place yet because
 there are so many decisions about the wiring 
that I need to settle first!
For now the wiring is just extensions 
plugged into the plug strip in the hallway.

And with the furniture in place.... the doors are barely noticeable!

Hidden behind the furniture....

But I know they are there!

And in Pollyanna's Workroom too.... 
hidden behind all the tables...!

But Pollyanna isn't thinking about the doors at all...
She is trying to get started assembling some little furniture kits.
She is thinking she might need some better lighting....
and she is wondering if she has the right kind of glue!
So you can see, Dear Readers, 
(even though you can barely see them)
I now have my access doors...
And I got to play with hinges!