Showing posts with label Attic Window. Show all posts

Monday, November 7, 2022

Ravenwood .....


More Windows...

You Might Recall, Dear Readers, that a few weeks ago, before the Mayhem that is All Hallows Eve on this blog took over, I was embarking on the building of the 144th scale Ravenwood Kit designed by Sean and Robin Betterley. It is a wonderful kit! But soon after I started to build it I realized that I needed to make a few changes. The first was adding a window to the Tower attic, because I could not accept that there was an attic with no access at all. Well, no sooner had I added it, than I looked at the other two attic rooms on the sides of the house and decided that they had to have windows too. I hadn't noticed this lack when I was making the Secret Christmas House kit, many years ago, but now I just thought an attic room with no window was intolerable! So I started right in cutting the openings in the roof.

This was done in much the same way as the window for the Tower, 
starting by drilling a hole with an ever larger bit. 
Only this time the window wanted to have a pointed gothic shape.
So I used my small files to form the window opening into the gothic arch.


Then I added the cardboard "dormer roof" over each one,
 trying to match them in size as best I could.
(I am hand cutting all these pieces.)


Here you can see the position of the window when
 the "pullout" section is in the House frame.
It is on the side of the building rather than the front
 because I want to be able to see the dormer window
 from inside when I have the rooms "open".


The next step was to try to cut a window frame out of card stock...


And paint it black... 
it is easier to do this step before
 you cut it completely out of the card stock...


Then I glued it and the window pane... 
(cut from thick plastic packaging...)
into the opening, trying to be sure
 it remained as vertical as possible.
 

Here you can see the window with the light reflecting off it...
 clearly showing how uneven my window panes are!
(But who is ever going to be close enough to notice that ...?)


Here is the dormer seen from the interior of the room.
 I painted the interior of the dormer a color similar
 to the wallpaper which will be used in this room...
 we will see how it looks when the paper is added.


Here you can see both windows are done!


I really like the view through the window into the room!


And even better the "window shadow" on the floor!


And here the "rooms" are inside the house frame...
 showing the new windows in the attic rooms!
And I hope you will agree with me, Dear Readers,
that in spite of all the beautiful windows that came with this kit,
 it definitely needed a few more!


Tuesday, October 11, 2022

As Darkness Descends...


Is Madness Far Behind....?

I was only going to look in the box, Dear Readers, to see if I could find the kit and check out what supplies might be needed and see what the construction might involve, and maybe have a glance at the instructions... Well! The very first thing the instructions said would be needed was to spray paint all the pieces (except for a few) with flat black paint... which I did not have...! And then I realized that we were at that time of year .... possibly the last weekend of outdoor spray-painting weather for the year! Was there still time to buy the paint and get all the pieces sprayed.... both sides with drying time between..... and daytime temperatures hovering in the 50's (Farenheit) and early early night fall with frost in the forecast....? As you can see from the above picture... yes, just barely! And as you surely can guess.... I was suddenly and unexpectedly launched into the mini mini Madness of another Robin Betterley Kit, the "Ravenwood"! In case you don' know this kit, here is a picture...

I bought it quite a few years ago, and stashed it with my multitude of kits... 
waiting for the right Time to begin...
Ready or not... here we go!
I was careful to read all the instructions first... 
so I could get a picture of what came first and why...
(the better to know when to make changes...!)
for changes there must be!


Here I have begun the assembly of the House body.
This kit is like the Secret Christmas House kit
 in that it has pull-out sections inside an outer shell... 
but this kit has three pull outs instead of just two...
one on each side and a central Tower that lifts out from the top!
 

Here the outer shell is mostly assembled.... 
just lacking the side mansard roofs...


Using a rock to weight the roof as it is gluing... 
while I make supper.

Starting the Tower pull-out assembly....


fitting the Tower attic floor and testing it in the house body....


And testing it with the mansard roof  in place to see how it goes....
and then I realized that this attic was going to be
 all closed in and Inaccessible...???
Really?
A Perfectly Wonderful Spooky Attic going to waste???
Well, I was going to have to make some changes here!


Here is what the space looks like with both side roofs but no top roof...
and the "roof support" that you can see in the previous picture is a bit clunky.
I abandoned the idea of trap doors and ladders to make it accessible to little people... 
but I feel strongly that the bats will need access to this space! 
There needs to be a window.....
At the very least!


I carefully marked the spot....
And started drilling in the center with my smallest drill bit 
(I didn't want to risk cracking this fine piece of wood!)
I kept increasing the drill bit size all the way up through my bit collection,
 ending at 3/16th of an inch diameter.
Then I took my small round file and continued to shape an opening...


The sides needed to slant correctly as the roof sits at a slant.


I split the attic roof support and made it two legs... 
so the bats could fly straight in the window and not hit a wall!


Here the roof and the Mansard side roofs have been attached.


Testing the fit inside the house body...


And starting to build the window frame...
A very small piece of cardboard,
 curved and shaped to fit the slant of the roof... 
making a dormer window.
Of course, I got really involved and forgot
 to take any pictures of making the tiny window! 


Which you can see here... all assembled and glued in place.
It is a cutout of plastic packaging material...
 fairly stiff, with a notch cut out for the broken window pane.
And the gothic framework is made from fine cloth covered florist wire,
 painted black and cut to fit and glued in place over the plastic.


Here it is attached and in the Tower.
But can we see the window pane...?


There!
Now you will know,
 that the attic is not Inaccessible!
At least for the Bats!

And you can rest Assured, Dear Readers,
 that there will be a few more changes made 
to this Wonderful Enchanting Kit!
Because the Darkness is Falling...
Let the Madness begin!


Tuesday, March 14, 2017

Cushions for Comfort....


Feeling the Blues.....

Not Very much was accomplished in my mini worlds last weekend Dear Readers, because most of Saturday was spent traveling way up into the mountains to attend a Memorial Service for a dear woman, a co-worker for twelve years, who passed away recently after a long struggle with cancer. The road was long and snowy and nostalgic, we used to go that way when I was a child and used to ski in those mountains. The weather was bitterly cold, not getting above 15 degrees F, and windy too. The tiny New England church in the Village was packed with family and friends, there to reminisce and say "good-bye" to a beloved woman whose life was too short. She is Home now. Back up in those hills where she was born and lived most of her life. We miss her. But life goes on. When I got home late in the afternoon, my eyes fell on a little pile of cloth scraps... scraps I had bought a couple of years ago on another terribly nostalgic trip to a different Memorial Service at another tiny New England church.... and had not yet made use of.....

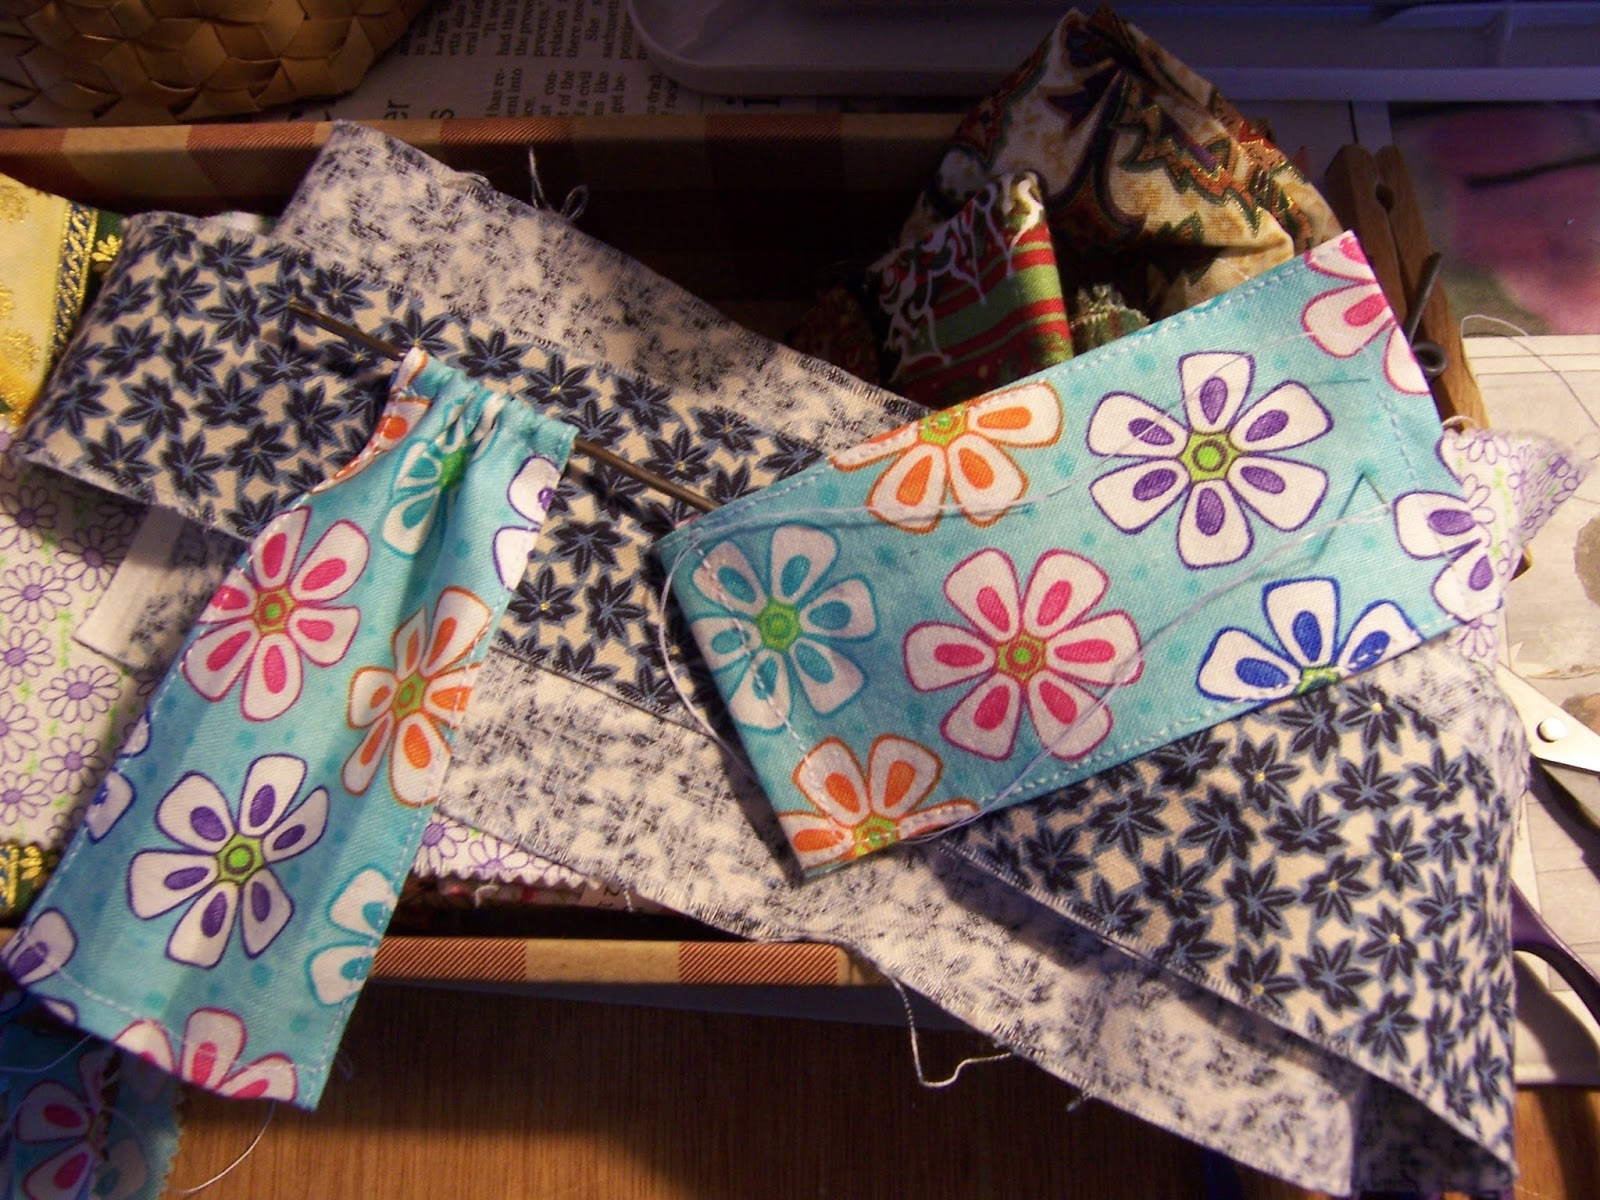
Something about the cheerful blue flowers called out "cushions" to me....
The scrap, bought at a little quilting shop in the back of beyond, 
was only 2 and 1/2 inches wide by 22 inches long.... 
just the right size to make mini pillows!
So I spent the evening stitching up a couple of tiny pillows 
with bright 60's era patterns on them,
 and then wondered where in my many houses they should go....

I had always thought the Attic of The Lovely Old Dollhouse 
should have an old "Hippy Vibe" to it...
as though it was decorated by a teenager in the 60's....
The cushions would be perfect!

And then I thought there should be curtains too!
But there was so little fabric... 
would there be enough...?
It is such a tiny window.... 
surely there would be enough....

So I cut the remainder of the cloth in half 
and stitched hems on all the sides...
Leaving a pocket at the top for the curtain rod...
made from an old coat hanger
 (just like all the other curtain rods in The Lovely Old Dollhouse!)


Can you Believe the serendipity of how the pattern aligns?
I think they look simply Gorgeous!
But that window was still unfinished... 
It was the only window in the house that had no trim!
So I dug around in my scrap wood...
 and found the remains of that lovely old lumber
 my brother had cut for me so long ago....
And sawed it into pieces to trim the window...

And glued them in place.
The window still has no glass....
But that will have to wait for another day...
building the glass windows is not a simple task!

The framing is rough as befits an attic.
I screwed in some tiny eye-screws to hold the curtain rod...

And hung the curtains!
It was getting dark, so the picture is not the greatest...
but I think they are the Perfect curtains for this attic room!
And the only other project I made progress on Dear Readers, 
was the petit point embroidery for the Tea cosy...

I completed the front side with the Blue Willow pattern.....
And started on the reverse side....
Ii know, it doesn't look like much yet.... 
I think it is a stylized Oriental Cloud pattern.....


 Anybody can guess where this Tea-cosy will end up....!
And speaking of Clouds.... 
We are under the clouds right now...
It is snowing heavily and blizzard winds are forecast... 
we are supposed to get a LOT of Snow!
I am home from work today... trying to stay cozy...


Perhaps I will stay curled up in bed with Cushions and a Book...
For what better comfort is there than Cushions, Dear Readers,
When feeling a Little Blue?