Castle Doors Continued....
The Castle, Dear Readers, is my first Scratch built Dollhouse, and as such it has the advantages that come with being designed by an optimistic Dreamer, and also the disadvantages of being designed by an optimistic Dreamer! To begin with, it is large.... because Castles Are large by definition... and because I didn't want to be disappointed later if I "pared down" my real estate! And it is built by hand with only the barest minimum of "real" tools, and using the most readily available materials. Because my original childhood experience of dollhouses is based on The Lovely Old Dollhouse, which was built by my grandfather from plywood.... it seemed only natural that my first real attempt would also be made of plywood. The business of making raw plywood appear to be ancient stone did not seem an obstacle at all! Miracles could be accomplished with paint! This was before I had any experience of egg-carton rock or paperclay surfaces... let alone any idea at all about sculpey and other modern mediums. This was the Dark Ages! I forged forward with gusto, and you can read about my early construction in the early posts of this blog.... because the Castle was begun only two months before I started this blog. As many of you long time readers know.... I have not stuck to only one project... and have jumped again and again to newer ones, all the while learning many new techniques and materials. And here I am now, back at the Castle attempting to bring its construction forward at least a little bit! Which brings me back to the topic of this post...paint!

The castle doors that I am adding (at long last) to the fronts
of the mostly completed lower rooms needed to be painted.
And as most of you know, this always takes longer than you think it will...
sanding.... primer coat... both sides! .... drying between coats...
sanding again.... first coat of color.... both sides ....
and then finally me recalling that the interior side of each door needed
to be made to look like rocks.... like the rest of the interior of the castle!
Believe me, Dear Readers, I have often debated with myself
as to whether I should apply some sort of "three dimensional" faux rock
to the interior surfaces of the Castle..... (like egg-cartons)
and I have abandoned the idea as impractical at his point,
given the size of the project and that
half the Castle rooms are already "done"
with only the painted illusion of rock.
So I am once again painting the "rock" walls ...
in this case the inside of the front opening walls...
hoping that the "illusion" holds up well enough on close inspection.
Above you can see the beginnings of the process on the stable doors.
The minimum number of tones needed to create the illusion of depth is three...
one for the ground color, one for the shadows and one for the highlights.
It also relies on a "direction" for the source of the light....
which in this case is not really applicable as
the "light" will come from different directions at different times.
So I compromised and assume a "direct front" light source.
This diminishes shadows, so I resorted to two basic shades of gray
and the white of the grout for the highlight color.
Of course, the gray paint needed to dry before I could add any highlights.
And the kitchen doors too... with just the "rock" shapes roughed in....
trying to be realistic about structure....
although I have identified several places where my rocks
are not placed right and in RL the Castle would fall down!
(This comes from planning window openings
without taking into consideration rock courses....)
These are just the first layers of paint....
there will be more details of "rock texture" added at a later date....!
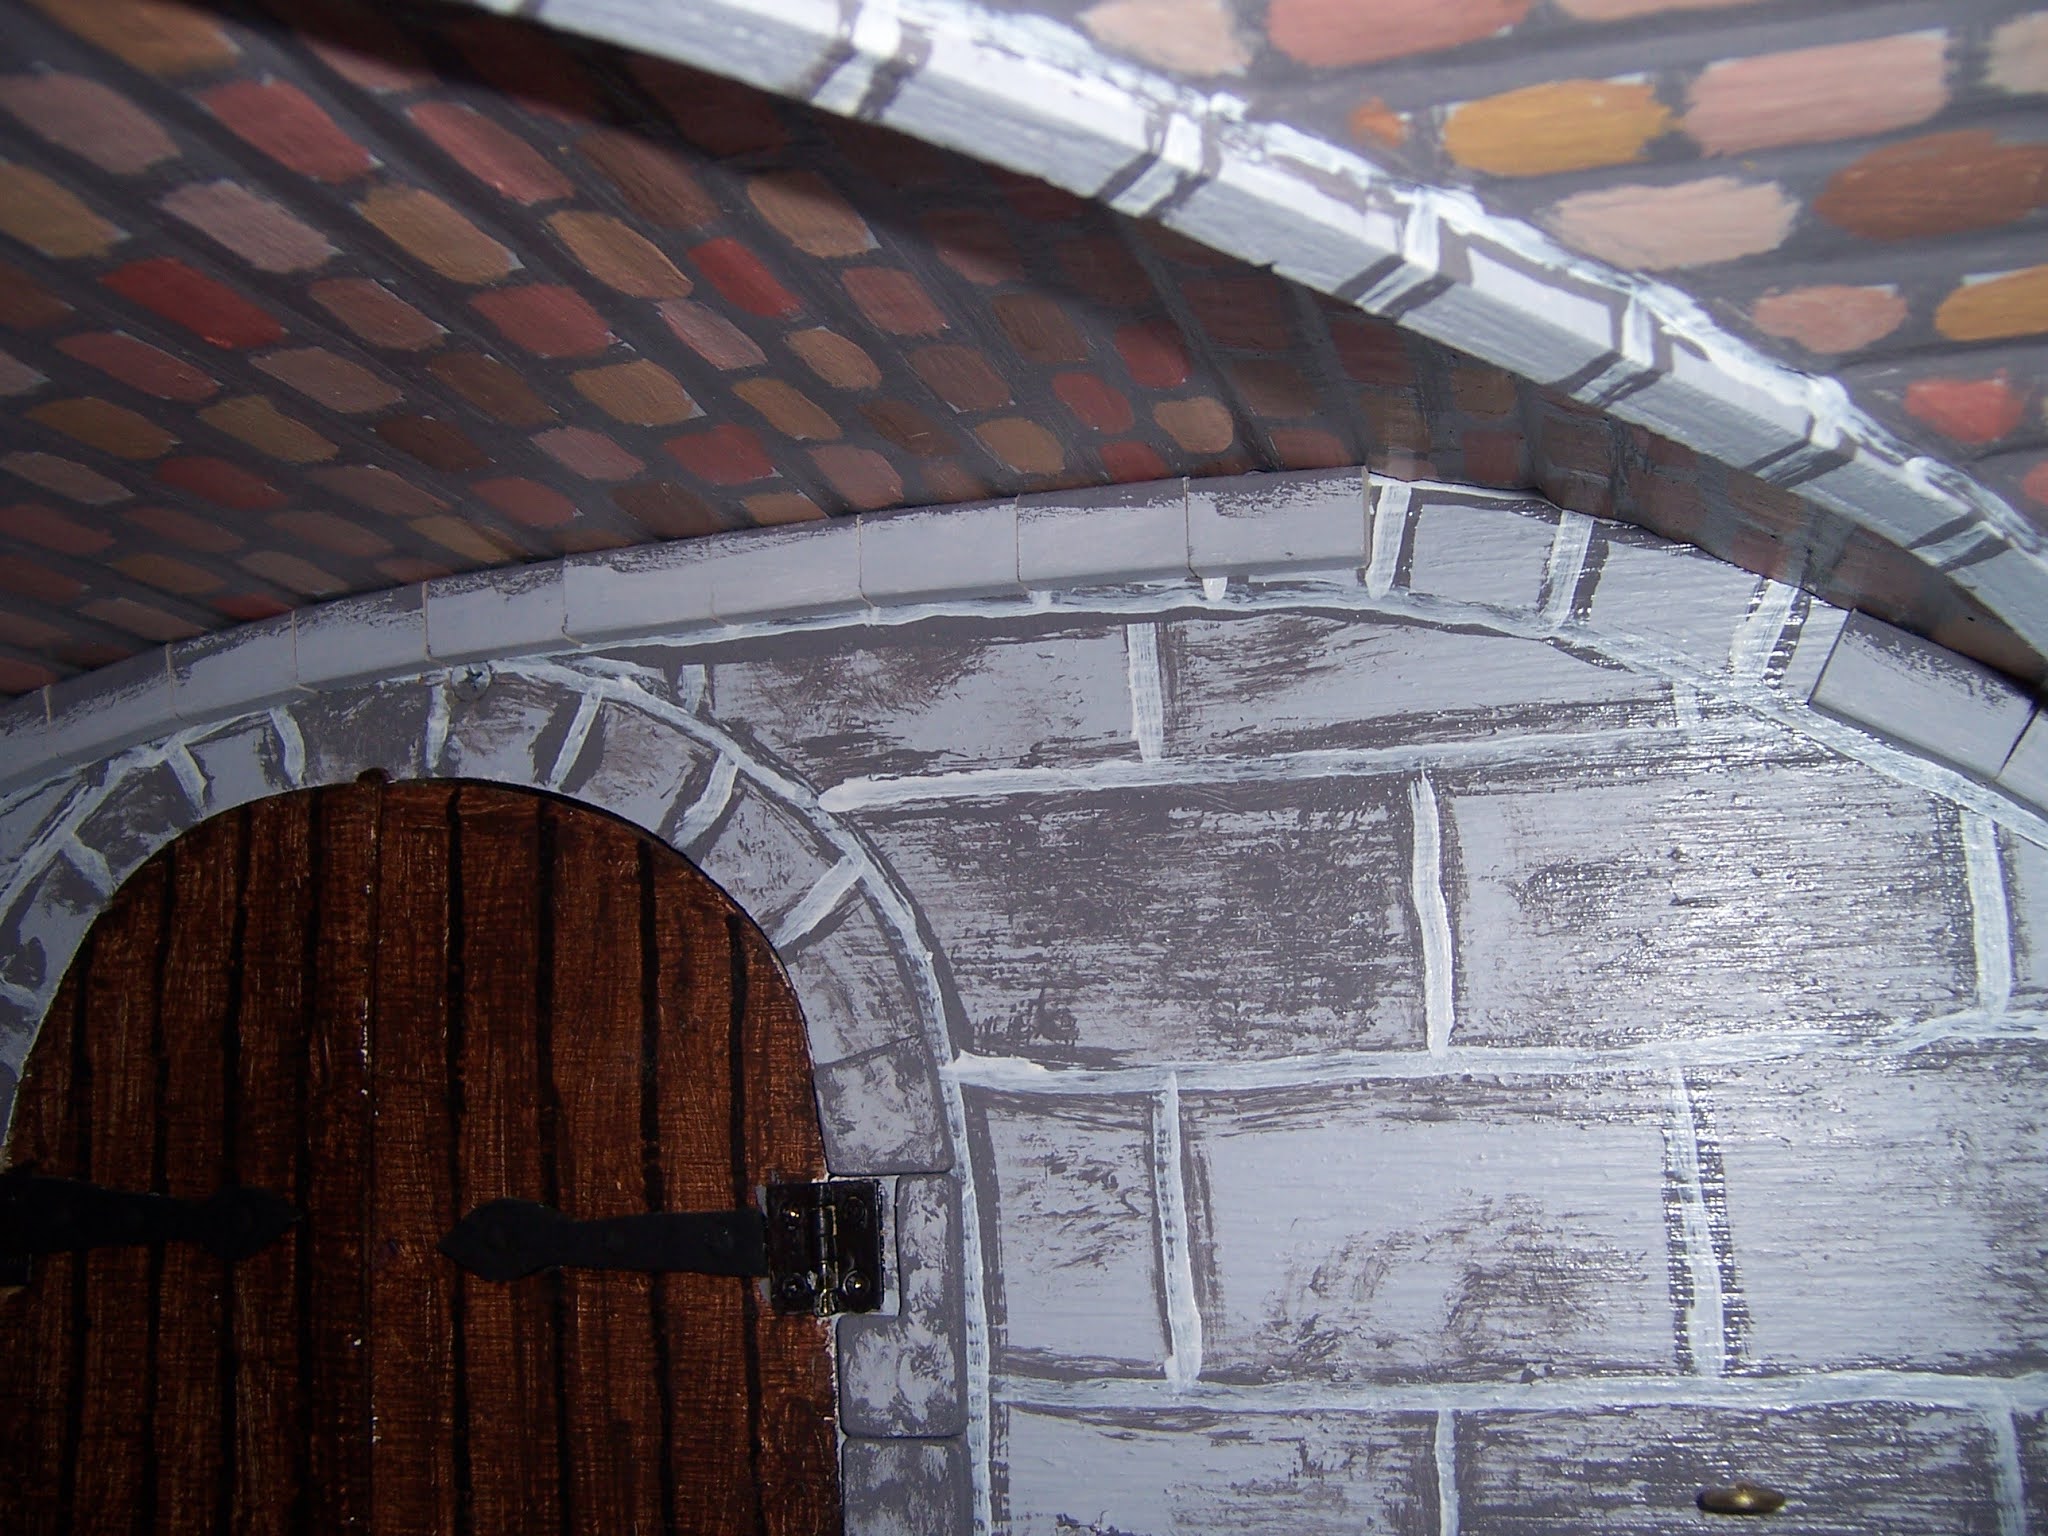
And then I add the "grout" lines.....
Just a line of white paint down the middle of the dark lines...
creating the illusion of grout in a crevice... (I hope!)
Boring and tedious ... but not difficult.
Here are the two halves of the door side by side to show the difference...
And both with the grout added.....
it defines the rocks in a way that only two shades doesn't accomplish!
(Even when the "rocks" lack texture or variety.)
And the kitchen doors with the grout.....
And the dungeon doors too....!
And then Finally, Dear Readers, are we ready for the Hinges?
The stable doors are attached....!
And the first of the Kitchen doors....
And with the door open....
And the other door too!
And both open......
And the bigger picture....
all the lower rooms have their doors attached!
Shall we turn the lights on...?
And open the doors....?
Yes, the inside of the Pantry doors have not yet been made "rock"....!
And the unfinished Great Hall Ceiling still beckons......
And maybe I am getting a little closer to being ready to finish it too!
Painting of a different sort altogether!
And lest you think I have forgotten Dear Readers,
I also completed the eighteenth lilac blossom!
Count them if you like!
But I have to confess, Dear Readers,
the more I make... the more I think I will need to make...!
This is a Loooong way from done.... like the Castle....
Painting on the doors and walls will take a long time...
But I will continue!