Hardwick Hall Progress... And More!
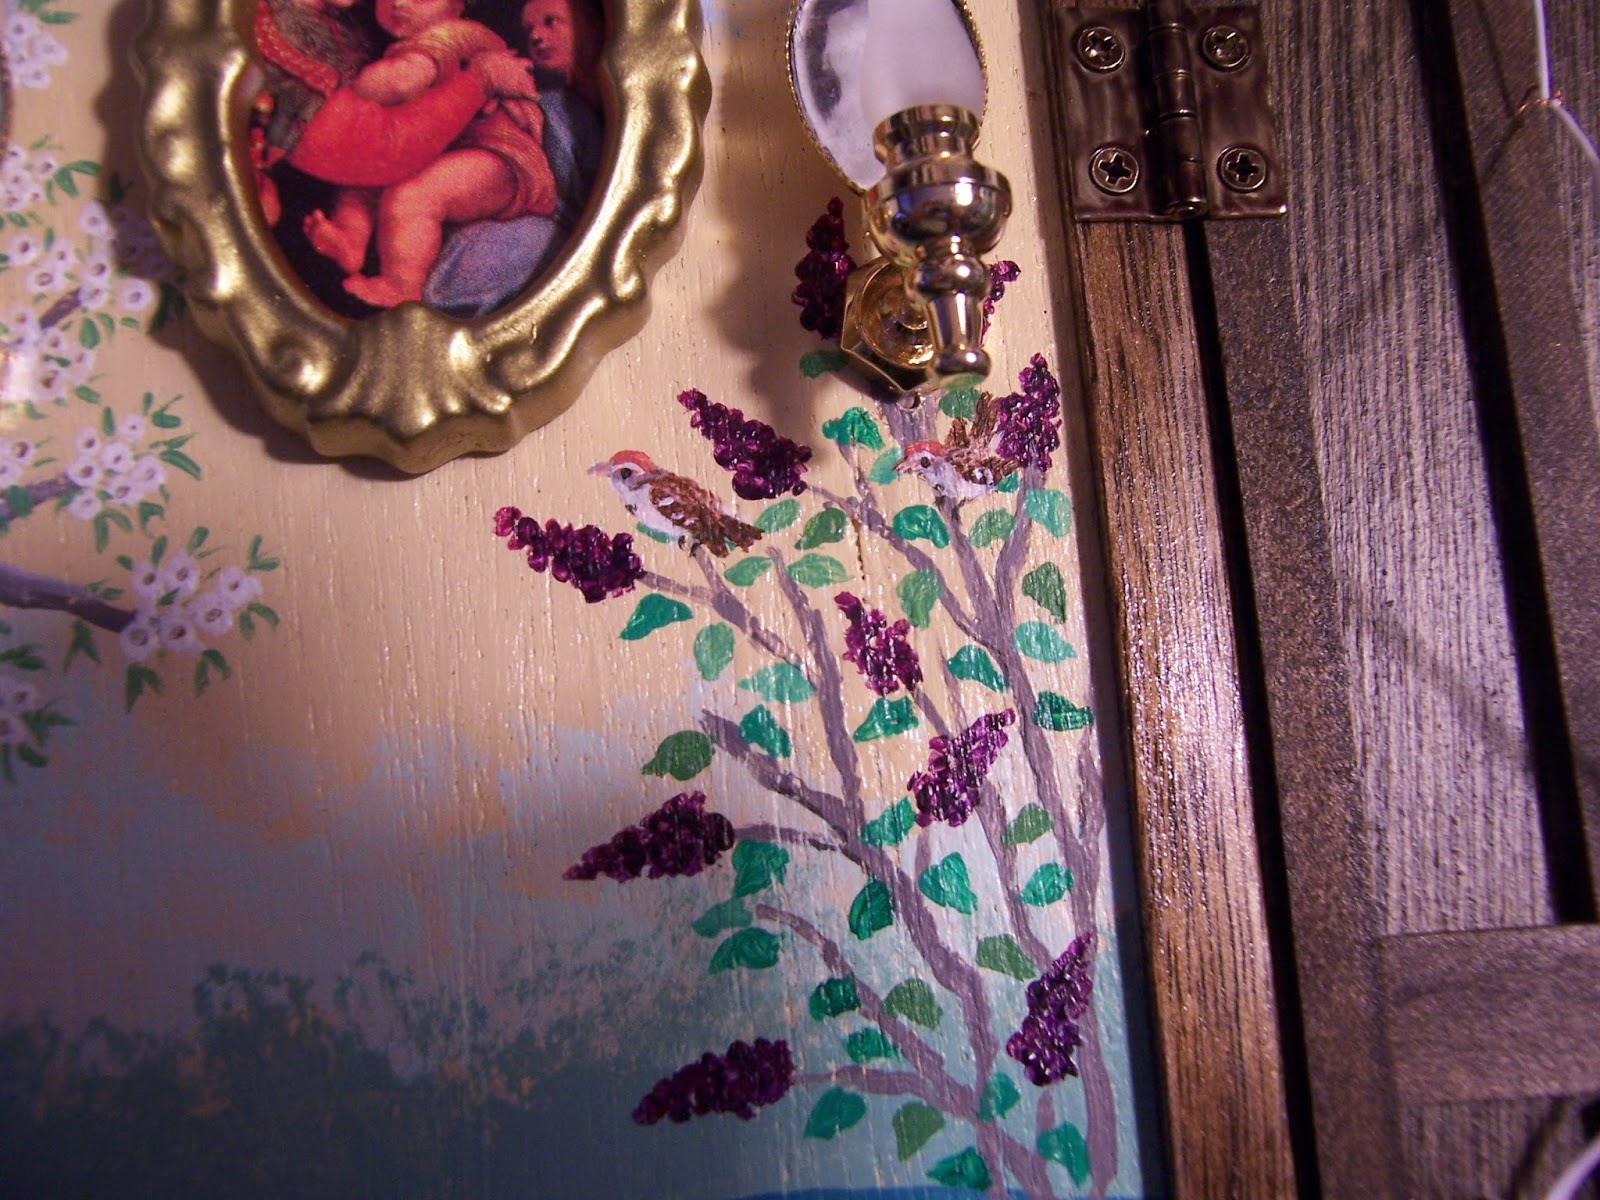
Believe it or Not, Dear Readers, I added a few more birds to the murals on the Bedroom Wall in Hardwick Hall! And whether or not they can all co-exist in Harmony in the Real World, here on my Mini Paradise Walls, I wanted to include as many of my favorites as I could! So I added a pair of Tufted Tit-Mice, which you can see on the branches to the left, and I also added a pair of Common Yellow-throat Warblers to the tree on the right. Because I was home on vacation, I spent a snowy/icy/ windy/freezing day flitting from bird to bird in my own little Springtime! And because I had so much Time to pursue all those little Details on my List, I also began to run all the wires from the Bedroom and the Parlor through the kitchen and into the basement.


And here is the view of the underside of the house,
where the wires come through the floor
and pass out from the foundation at the back
(which is at the top in this picture!).
I tested every light before and during and after
the procedure of splicing...
just to be sure they still worked!

Parlor sconces and hearth fire and downstairs hallway.... check!

Front porch.... check!

Bedroom sconces and hearth fire.... check!
So far we are good to go!
And of course, there were still a few more Birds that got added....


Then I remembered that there were two more lights
that would need to be run down the kitchen wall...
One was the kitchen light itself.....
Here you can see that I have added a chain
to support the light so the light is not hanging by the wire alone.
I have snaked the wires through the links
and added a jewelry finding as a ceiling plate.
The other light which will need to run down this wall is the upstairs hall ceiling fixture... which is attached to the underside of the third floor... so I have to get that floor glued in place before I can run the wires down... and before I can glue the third floor, I have to glue the outer side walls!
And the front hall upstairs will be forever viewed only through the adjacent doorways...

Here is the view looking down from the top before the third floor is attached....
The Moon Maidens are marching up the stairs from the front hall to the attic,
each one representing a different phase of the moon.
There are thirteen of them in all.
And since I was finally done adding birds....
well, I could go on adding, but enough was enough!...
I had Finally reached that important step, Dear Readers,
the one where I take my courage in my hands
and GLUE the wall in place!!!

I wanted to attach an outlet into the baseboard that runs along the outside wall before I put the ceiling on! The wire would run through the groove in the baseboard and out the back corner where it could run down the outside to the plug strip. This would be covered eventually by the corner trim boards.

Here the kitchen light is glued to the ceiling,
but it's wires have not yet been spliced.
And then, because nothing else could be done
until the third floor was attached....

You can see my inventive method of "clamping" the walls together while the glue dries...
Because I have no clamps big enough... and ALL the walls were quite warped and unwilling to just sit nicely in place until the glue dried! I used a toothpick to insert some glue into the cracks of the upper half of the front corners, added tape and braced the stick against a nearby doorjamb!
Then I went to bed! (It was late!)

And in the morning I went to see if all was well.....
So far so good!!!
But I still needed to attach the wires to the lights from the hall and kitchen....
and run them down through the basement....

Kitchen light.... check!

Upstairs Hall light.... (viewed through the bathroom door)... check!
And you can even see a few of the stars glowing!
Progress, Dear Readers,
This is Progress!!!
But I promised you blossoms too,
and so far they have been missing...
Here you can see I found time to sew
the backing on the needlepoint pillow
and stuffed it with seed beads...

I am in love with these needlepoint kits!!!

I think it looks so comfortable on this settee!
And that is not all!
Do any of you even Remember
the embroidered curtains
for the Thee House Pagoda Bed?

Well, I couldn't remember when I had last stitched on them,
and couldn't find a good picture,
and forgot to take one of the "before"
when I started stitching again....
Only about half of the blossoms on the left hand curtain had been done.

They are each about two and a half inches long,
the basting stitches outline the curtains edges.
They are getting very close to finished!
So There you can see, Dear Readers,
between the birds and Blossoms and wires and walls,
I made Great Progress on Hardwick Hall!
And Beyond!