Showing posts with label The Secret Christmas House Kit. Show all posts

Monday, March 22, 2021

Waiting For The Glue To Dry....


A Little Distraction....

All that framework fixing, Dear Readers, was in preparation for attaching the light fixtures for the lower room of the Dollmaker's Studio. It was finally time to commit to attaching the lamps and running the wires through the walls to the exterior. I drilled the holes where the wires needed to go through. You can see the hole in the mantelpiece in the above picture. The lights on the other end of the room are positioned on either side of that big arched doorway... and where the wires go through the wall, I had already started to glue the "stones" a long time ago. I had stopped because I realized I was getting ahead of myself and needed to run the wires first! But a couple of the "stones" were already in the way.

There was nothing to do but make "adjustments" to the stones...


This consisted of peeling back one stone 
so I could carve the channel underneath it...
and making small cuts which will need patching in the other stone.


Actually gluing the lamps in place requires patience!
I needed gravity to assist while the glue was drying for each lamp, 
which meant turning the building on its side...
a different side for each lamp!
Above you can see the first one gluing.


And after a couple have dried....
 testing the electrical connection...
so far so good!


And testing the look with the ceiling panel in place... 
not glued yet!


And testing the lights on the end wall...
still working!
But there was a LOT of waiting for glue to dry!
And while I was digging out my extra wire
 for extending the wires so they could reach the switch connectors...
I came across a little Bell Jar that I was hoping to use someday.
I couldn't decide what sort of object to put inside...
But then I got an idea.....
Could I make a mini mini version....?
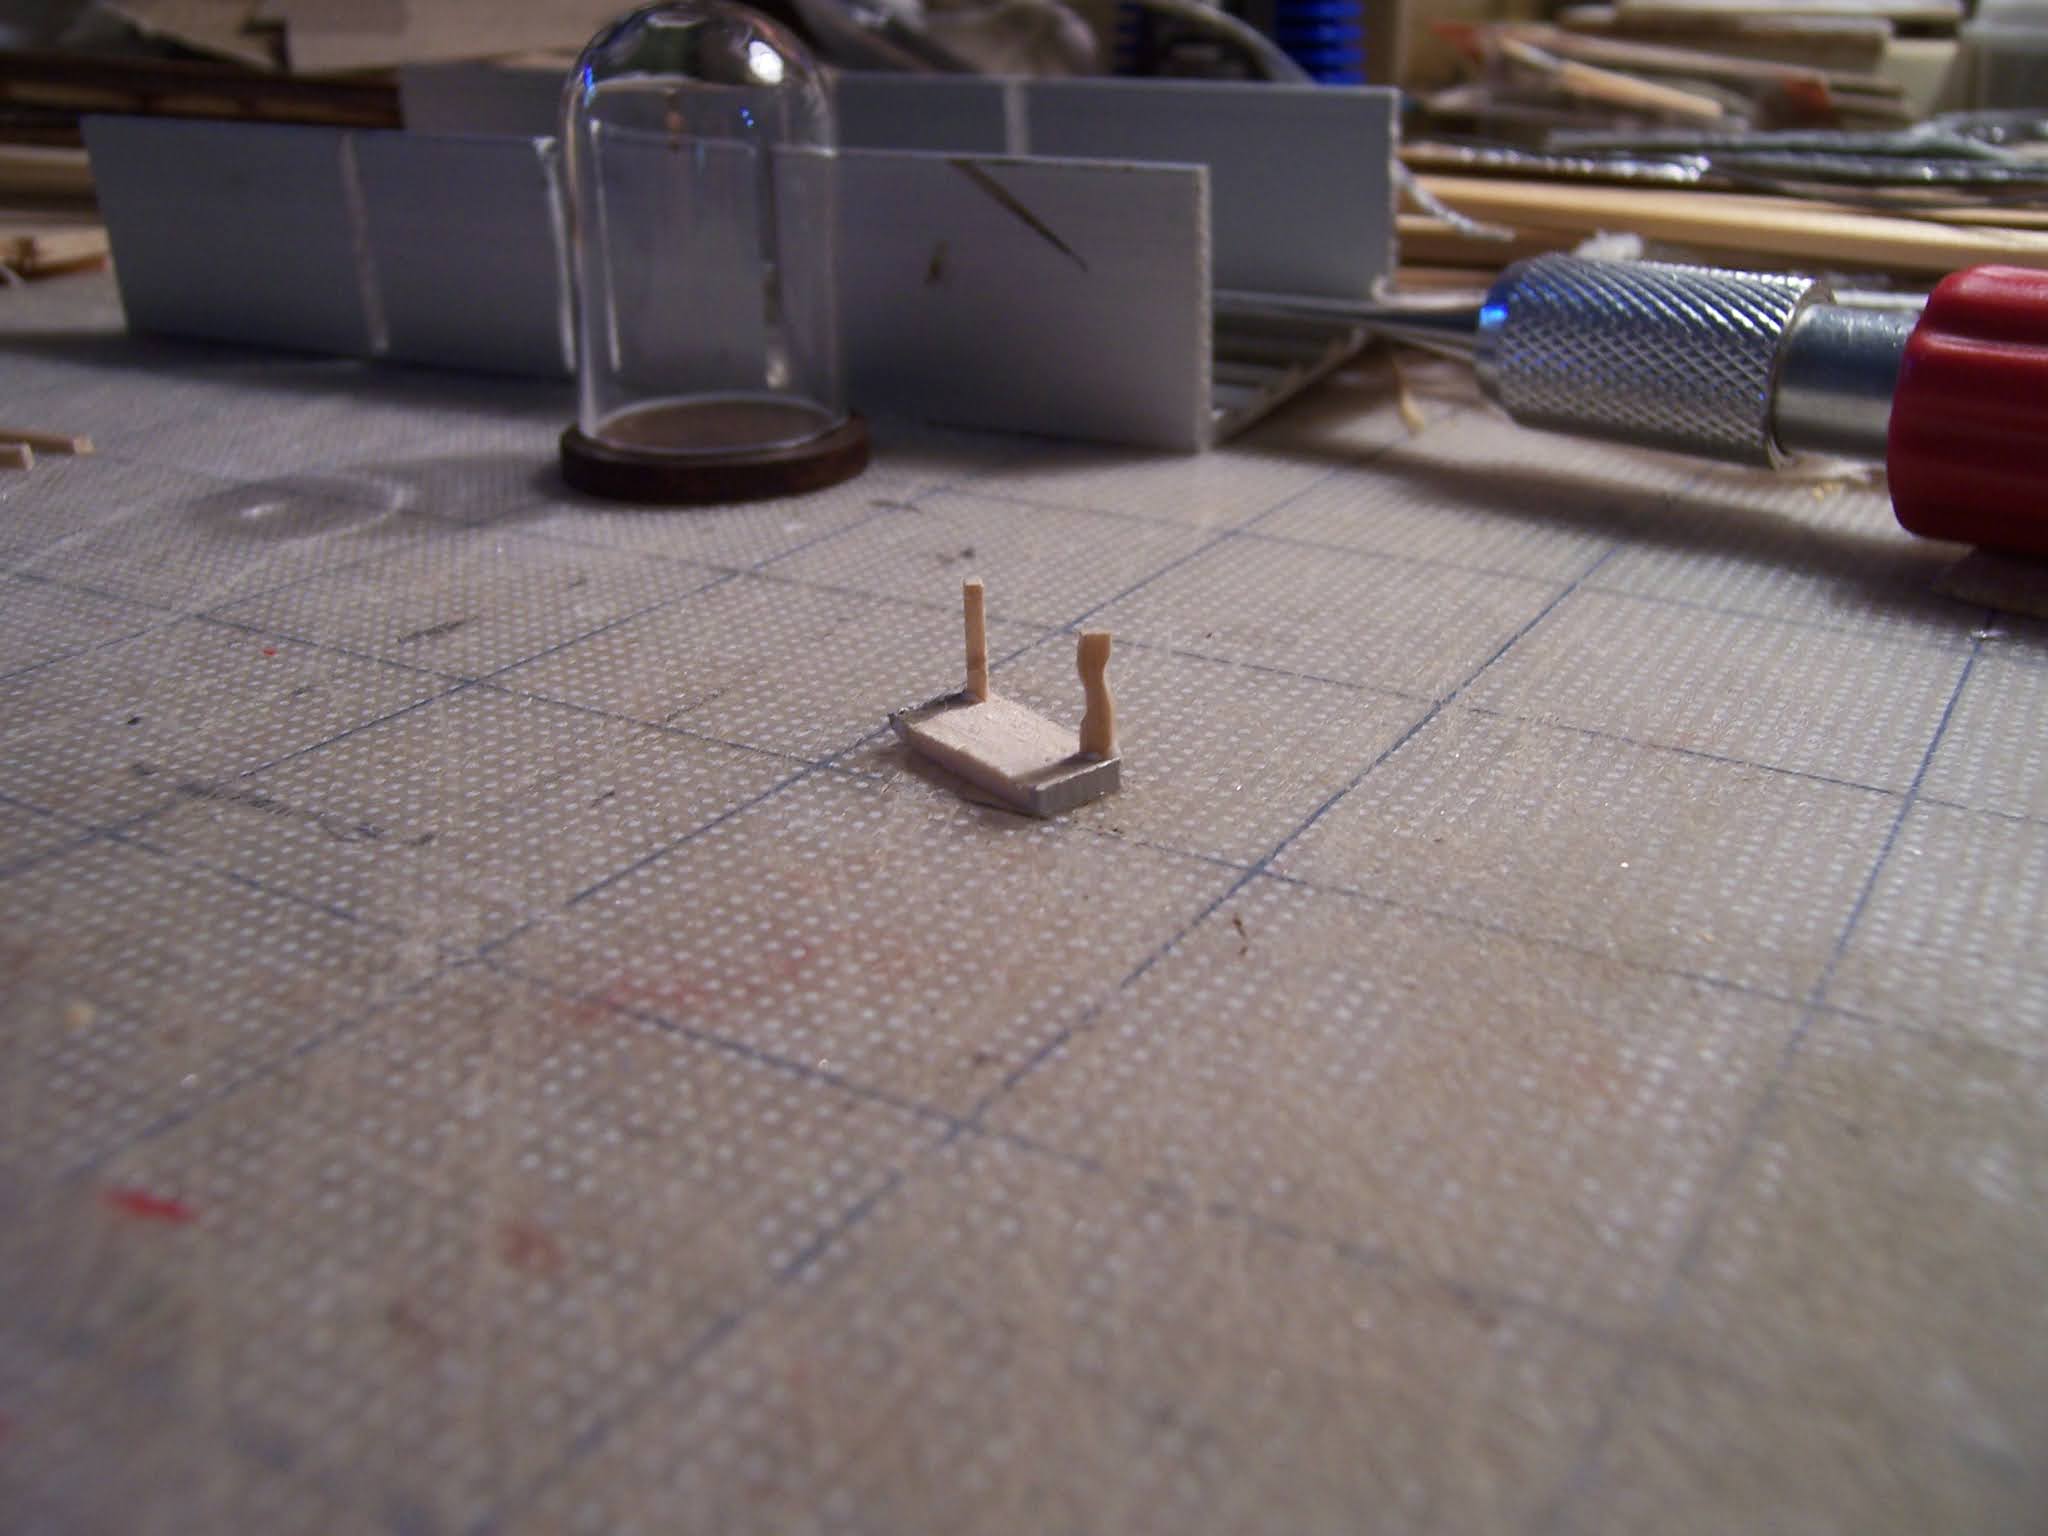

I thought I would give it a try while the glue was drying...
Just see if I could make a Tiny table....
There was a Perfect piece of wood waiting in my scrap pile...
(an off-cut from a castle ceiling trim "stone" from last summer's work....)


Can you tell what I am thinking...?


Have you seen this table before?


Is this a big enough clue?

But of course, I am really trying to get
 those wires buried in the walls 
of the Dollmaker's Studio Project!


This is boring work... 
you won't want to see endless pictures
 of glue and wires in a carved channel...


I will try not to bore you!
But the truth is, I got very VERY distracted 
by this Teeny Teeny building project!
Could I even make it happen....?


Well, Dear Readers, I had to give it a try!
I started with a tiny sketch of the wall shapes I would need...


And I needed to see if I could paint that small with any degree of success...
(Can you tell now I am duplicating the Secret Christmas House...?)


All of this is using plain card stock 
cut with my exacto knife and a ruler.
Above is the inner core of the framework.


I cut the pieces out as I needed them...
(I wouldn't want to lose a section!)


Here is the framework on the table....
Oooh... this might actually work!


And just to remind you what I am copying.....


See?!!
But this is just the beginning....
It is the interior that takes the time....
When I am not working on the Dollmaker's Studio that is....


Here the ceiling has been glued to the wood panel.
I debated making different "tiles" 
but decided it was pressed tin panels instead!
And the board is quite warped....


It took a lot of "convincing" to flatten out.
But I had plenty to do while the glue was drying!


I needed to paint the interior floors with the carpets...


So I could start to assemble the interior pull-out sections.


Which had to be tested for fit every step of the way!


This is the other interior pull-out section before gluing...


And here it is being tested for fit.


Of course, I had to paint the ceilings on the undersides of the floors...
(I did this in the Secret Christmas House too!)
If you look very carefully you can see a sky with clouds....


See how cute this is?


Here you can get a good sense of the structure...
Two house sections pull out from the sides of the main framework.


Testing the front roof panel....
(not yet glued...)


And I wanted to see if I could make a Christmas Tree for the parlor...
(using the glue trick and florist wire)


Here it is in the parlor... I know it is really tall
I always make the tree as tall as possible!


Here the outside wall is attached...
 and testing to see if it "works"
It does!!!


They both fit and slide in beautifully!


And the side roofs are attached....


Here it is with the sides closed.


And on the table...


And for comparison....
(please ignore the crudity of the tiny one...)
It only needs a few more details!


And inside the jar...
I think it worked, Dear Readers!
I only got a Little distracted 
While I was waiting for the Glue to Dry!


Monday, April 1, 2019

Now Showing.....


Gallery Exhibit....

I have been invited to Show my work in a Real Gallery exhibit, Dear Readers, and it has caused me to have to step out of my comfort zone! I apologize for the blurry photo, but my hand was a little unsteady when I first arrived to the Gallery Opening on Sunday and saw my drawings on display, so the photo is not very clear. The show is in a local gallery CX Silver Gallery, and the exhibit is the art of the faculty (and staff!) at the school where I work. They wanted a selection of my Christmas Card Drawings.... and when they saw that the recent ones were all about Dollhouses.... they wanted one of them too! I decided that the only one that was portable enough... and finished enough... was The Secret Christmas House....

 
So I put together a little display with the Secret Christmas House
 carefully set up under a glass dome,
 with a magnifying glass for looking closer.
 
On one wall are eight of my early cards.... 
done all in black and white...
 because color reproduction was terribly expensive back then.
Of course, they are full of tiny detail
 and you can't get a good view in these pictures.

On the opposite wall are a few of the early ones where I added color....
You can see a little more detail on these.

And on the third wall are the rest of the color ones.
You have probably seen these before
 as they are all more recent and I have shown them
 here on the blog at Christmas.
Just to their left is where the Secret Christmas House sits,
 so the reference to it in the Cards becomes obvious.
They want me to do a book...!
 
And meanwhile, Dear Readers, 
all I can think about are the leaves I have to make....

Ten more leafy branches done!
(I know this will get boring!)

And blossom number Fifty!

And in the box!
I know the temptation is there to celebrate now...
But we are Not Quite There!
Do you see the empty corner in the box...
I am aiming for at least two more Blossoms
 before I am satisfied!

But perhaps we can Celebrate 
the Gallery opening, Dear Readers,
Because every little Showing 
has to Count for something!

Tuesday, January 16, 2018

January Dreaming.....


Looking Back.... Looking Forward....

I have to admit, Dear Readers, that January brings with it the inevitable urge to assess the progress, or lack of progress, made during the past year on any of many "in work" projects. And when I review last year's accomplishments in my mini worlds, the list is small! That might be in part due to the fact that I worked on the Secret Christmas House kits for much of the year..... and the results are Tiny! In a "regular" size dollhouse I would feel I had accomplished a great deal if I had built, decorated furnished and accessorized an entire house! But in this case... it is all so small it hardly seems to count! Not to mention that it is Not quite Done! In the above picture (taken back in November) you can see the "shell" of the house with the morning sunlight streaming in the windows (a rare thing at this time of year!) and illuminating the interior of the rooms before the furniture was added.

I love that you can see right into the tiny rooms 
as if they were much larger than they are!
But the chief thing I want to point out is that there is still No Snow
 adorning the exterior of the house!
Lots of lovely icicles but no snow!

Yes, I have been avoiding this step.... 
intimidated by the types of artificial snow and how to apply them......!
 I need to do some test samples to get familiar with the materials!
And because it is snowing right now in my RL world, 
and might snow all night and most of tomorrow... 
I might have a Snow Day to stay home and play with ... snow!

My lack of significant progress on any of my larger projects can really only be ascribed to my lack of focus.... (we won't mention the broken arm). I made a little progress on painting  the Castle Hall ceiling.... but didn't come near finishing it. I made a little progress on the Cloud Palace Roof... but didn't make any progress on the exterior walls... which need tons of egg-carton rocks. I made a little progress on the Gypsy Wagon interiors and windows, but didn't even get as far as attaching the walls to the base! 

I made a little progress in the Attic of the Lovely Old Dollhouse.... 
but didn't even get the new knee-walls painted! 
There was No progress at all in the chapel...

Even though Father Alban has been on the brink
 of an inspirational breakthrough... for ages!

No progress at all on the Tree House.... 
waiting patiently for the next floor to be worked on...

(I know, you can barely see it behind the lamp.... I can't find the better pics!)

But it is the Willowcrest, Also known as Hardwick Hall, 
that has been calling to me recently!

In particular, all the places on the exterior walls where the tabs show through...
making me decide that I must add clapboards to the exterior to cover them up!

Like right there above the bottom trim..... it's driving me nuts!

And all the corners on the dormers in the attic.... 
absolutely need covering up!
But then I have to admit, Dear Readers, 
that before I can add the clapboards.... 
I must complete the wiring of all the lights....
Yes, I tried so hard to run all their wires down 
through the center wall behind the fireplaces....

Except for the bathroom.......

Which has no wiring at all so far..... 
and the middle wall is the one beside the tub.... 
not really where the lights would be placed!
Not to mention the other side of the kitchen.... 
which right now only has the overhead light....

Shouldn't there also be a light over the sink? 
Which means running the wires down the outside of the wall....
And even in the attic..... there should be a couple more lights....

On the outside walls...
Which means running the wires down the outside walls...!
I guess it's Time to go back to the Drawing Board 
with the layout of the wiring!
Not to mention the interior trim needed to cover 
all those not very appealing corners on the dormers!

And the design for the cupola which brings light into the top floor.... 
and the chimney re-design since the kit placement was so not acceptable!
And speaking of little bits of trim needed in odd places....

The bay window in the living room has gaps between the panels.... 
where daylight shows through!
I filled the cracks with 1/8 inch square strips...

The clapboards will run between the strips....
I just need to decide how I am making the clapboards!
I bought some of the pre-formed basswood panels, 
but don't like the way they would need to join at the ends
 and overlap their sections.....

At least the strips have covered the gaps in the panels!
(But I still need to add the exterior window muntins too!)
So which comes first... 
completing the interiors with all the wiring
 so I can cover the exterior walls... 
or just getting the wires in place.... 
for all the remaining lights...
and decorate later....
 
And surely, the oven should have a light too?
I guess I have a whole lot of re-thinking to do with this house!
But that's what January Dreams are for Dear Readers,
Looking back so we can look ahead!
 
(And I did finish the Christmas Card! 
But I don't want to show it here until
 it has arrived at my family's homes.
 I will show it next week!)