Showing posts with label The Folly Parlor Roombox. Show all posts

Monday, April 23, 2018

Blogging Still......


Where Have They Gone.....?

You Might not remember, Dear Readers, the condition of The Lovely Old Dollhouse when I first began to re-build it way back in 2009, before I had even discovered the world of Miniatures on the internet and had no clue about blogs! The above picture shows it shortly after I had begun the rebuilding. I had decided to add a few fireplaces and had begun to rebuild the stairs and then discovered electrical lights at a miniatures store nearby.... and my world was changed! It was not long before I was searching for mini lighting on the internet and stumbled upon the world of blogs.... miniaturists from all over the World at one's fingertips! I was smitten! And only a little while later, with the help of my tech savvy sons, I started this blog... my own contribution to this fascinating international exchange had begun! You might wonder why I am suddenly waxing nostalgic here.... and it is for two reasons. One is that a blogger I admire and who had not posted in a long time, posted again the other day... Helene at Pubdolls.... (please go on over and say Hi to her! ).... and she mentioned that she would have to have a look to see what I had been up to in her absence from blogging! My first reaction was to cringe..... how could Anybody Possibly review all of my... how many years is it now.... Eight years of loooong posts? It would not be possible! And then I realized the eighth Anniversary of this blog had recently passed... Eight years and I am still blogging! Helene had last posted in 2011.... and I was still building.... well... what was I working on in 2011? Oh, the years have been flying by! I think I was working on the Cupboard House.....

Which is literally an old cupboard that I am retrofitting to be a Dollshouse.
I ran into some technical snags with wiring
 and glue and wood shrinkage and have.... um....
 put it on the back burner.... for now.... 
while I figure those things out!
But I have not forgotten it!
And then in 2012.... 
I got all swept up in the Wedding of Pollyanna and Arthur..... 
 
You might not remember how many costumes
 I had to make to get Everybody ready!

And they barely fit into the Chapel of The Castle Dollhouse.....
And there was a Reception afterwards too!
And before the dust had even settled....
I began to work on the landscape for The Folly Dollhouse... 
and got swept into The Treehouse Project.....
Which as some of you might not know,
 is a Tree that stands on The Folly landscape.... 
that has rooms inside it which are the home of the Rats
 and are built in 1:48 scale....
And I became enchanted with the smaller scale....


Can you see the furniture at Belle's feet? 
And every now and then when the sun is shining on it 
I have a peek inside the Tree House....
 
 Samuel Whiskers is a bit surprised.....
 
Do you even remember this Parlor......

With the Gods cavorting in the clouds on the ceiling...?

Or the Library.... 
with all those Treasures and Paintings.... 
I know, it is a Mess and so hard to see....

I will have to get in there and put things to rights...

And the Bedroom too... 
with that Divine Pagoda bed... 
with the embroidered curtains....

And the Tree House Nursery... 
where we got side-tracked.... 
years and years ago....
Well, I think it was because I had to Tell a Few Stories....
 

I had to build a Conservatory.....

I had to build a Park.... 
that could even be visited on a rainy day......
And years and years go flying by!

I am still working on painting the Castle Ceiling.....
Someday it will be finished!
But for now, every so often when the sun is shining right... 
I can get good pictures....
It is dark in the Castle and you have to
 get down on your knees and look up.....
Those Saints are Very Patient!

Because, as some of you might know... 
I get side-tracked... 
and might have to take a year or two building only in 1:144th scale.....
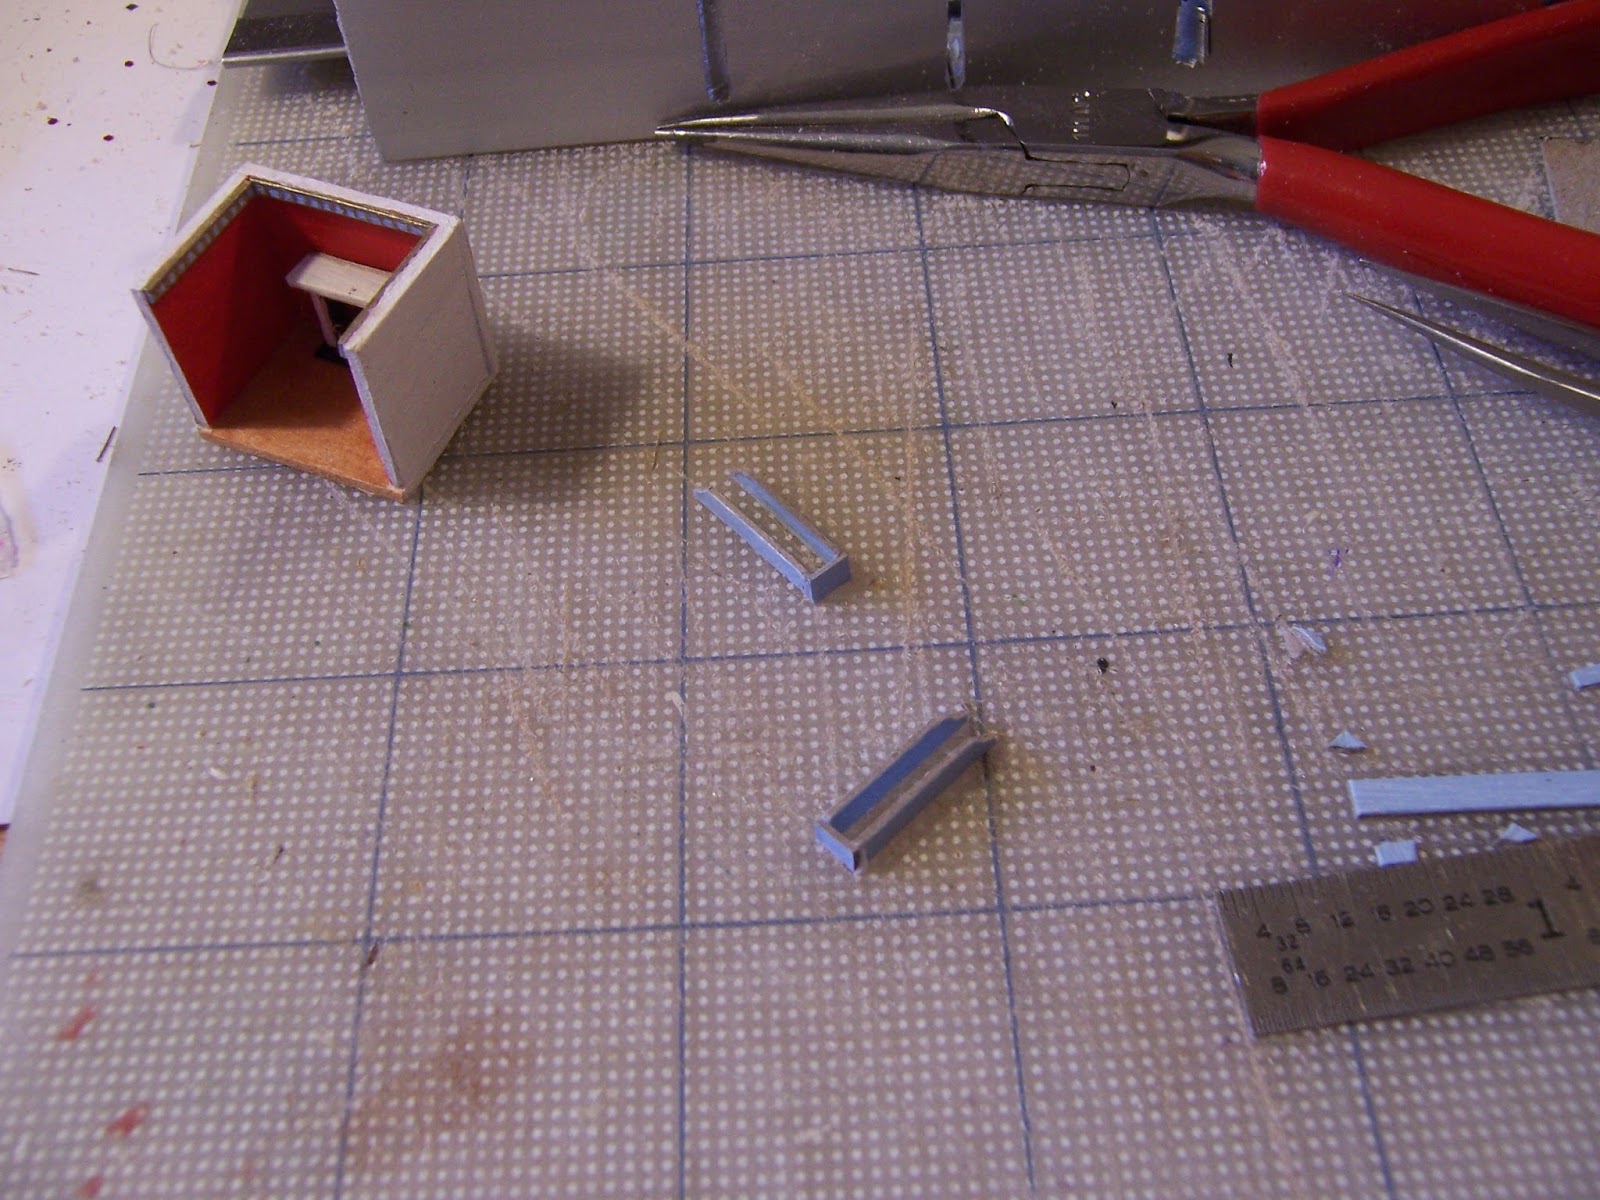
 starting with the roombox on the shelf in The Folly Parlor!
(Do you see it there...?)
Oh, Dear Readers, I am afraid it is not Possible to review it all!
And did I forget to mention a Project or Two.....

The Cloud Palace is not yet done......

Nor Hardwick Hall.... 
Nor the Castle itself....!
And here I am ..... promising to make more....
Shrubs for The Folly garden.......
 
 Which I did manage to get mostly painted....
(the first shrub, that is....)

And more tiny Lilac blossoms!
Now there are three!

And here you can see the mostly painted shrub by The Folly.....
Still a Looong way to go, Dear Readers!
Yes, I don't know where the years go....
But I am blogging still!


Monday, April 18, 2016

The Tiny Settee Upholstery....


How Hard Can It Be....?

I Left you last week, Dear Readers, with the incomplete Settee for the Tiny Roombox, and me struggling with which fabric to use. I thought I had made a perfectly good carpet in the first attempt. At least it looked well with the colors of the room. But it was not a good match to the carpet in The Folly itself, and with the tiny roombox trying to be a copy of that room, I thought I might have to try again. And then the settee was not at all to my liking using the same fabric as the carpet, it just didn't look enough like the settee in The Folly, and the two together were all wrong! So I was back to square one seeking fabric in tiny patterns and colors similar to the one in The Folly! How hard could it be?  Well, I spent a considerable amount of time pawing through my fabric stash.... Looking for tiny prints in patterns and colors even close to the Chinese red and blue in The Folly! Over and over again I found pieces that were not small enough, not the right color, too thick.... this was much harder than I thought it would be! But I got lucky! I found a piece of fabric with a tiny bit of print that would probably work for the carpet..... but only if I got creative.....

Here you can see the new carpet completed... along with the old one....
So you can see the colors are a good, almost Perfect fit!
But I had to piece this rug together from tiny pieces of patterned print...

Can you see it on the little fan in the middle...? 
Fan shaped... not rectangular.......
I cut the fans out and glued them onto a piece of silk seam binding....

Here you can see some of the trimmed pieces.....

And the carpet glued together... 
made up of three sections of the pattern aligned carefully!

Yes, I do like that carpet! 
But the fabric on the settee is still all wrong!
I went back to searching my fabrics.
And while I was at it, I made a tiny hearth rug too.....
 
It is not exact...... but it resembles the one in The Folly.....

Which you can see in this picture... 
(I know there is a lot of mess on the floor!)
And you can also see a glimpse of the settee
 and the fabric I am hoping to copy.....
And while I was searching my fabrics again and again...
I also made a tiny framed picture for the wall behind the settee.

Sorry this picture is upside-down, 
because the image is so small that 
I had it turned the wrong way when I took the picture!
It is a Madonna and child .... 
taken from a printed mini book page of a Medieval Manuscript.
The colors and subject are right, even though 
it is not the same painting as the one on the wall in The Folly!
(Remember you can poke the pictures to enlarge them!)

I tried other prints from that same fabric......
 
 
But I really didn't like the way they looked at all!
This was much harder than I thought it would be!
But then, Dear Readers, 
I remembered that I had (half-jokingly) 
responded to a comment last week,
 that I would probably end up painting some cloth....!
Well....Just How hard would That be???

Well, it turns out Dear Readers,
 it was Not very hard at all!
I found two scraps of silk, 
a white with a texture and an off white raw silk...
pulled out my acrylic paints 
and painted a "similar" design to the fabric on the settee.

The design is so tiny, I have really only approximated it......
But it gives the stripe and medallion feel of the pattern, 
and the colors are right. I even used the gold paint!

I decided to use the white textured one... 
and I was so excited that I forgot to take any pictures of the process! 
So you will just have to imagine the next steps.
The fabric is glued to a piece of plain paper cut to the exact shape needed,
and the edges are then turned under and glued to the back of the paper....
and then it is glued to the settee.
Basically the same method used for larger pieces, just very small!

I did my best to match the stripes and pattern.....
I really think it looks remarkable....!
(sorry it is a little blurry... so hard to photograph this small!)

Can you see it now?

And in the roombox...?

Can you see the resemblance...?

Maybe if we move some of the mess....
Now it looks like I imagined it could!

Well, Dear Readers, That is the smallest 
upholstery I have ever attempted!
And it really wasn't as hard as I thought it would be!


Tuesday, April 5, 2016

How Small Is Small.....?


Oh, Those Details....!

Believe it or Not, Dear Readers, It looked like that outside my windows all day yesterday... so I stayed home and finished a few small details on some of my many projects, one of which is the "Tree of Life" pillow on the sofa in the above picture! It was a gloomy day and I was feeling a bit "under the weather", so I did not get much done, but fortunately I have all sorts of details to show you from the past week. As you can probably imagine, once I had started on the Tiny Roombox version of The Folly Parlor, it was hard to put it down! What you saw last week was just the merest beginnings! The tiny people were high on my list of things to do.... so I started right in on the First Lady.... (Perhaps her name is "Eve"?)..... she needed to be painted....

So Much "personality" is added once there is a face!
But can you even see her?
(Please remember to poke the pictures for a bigger view!)

And for modesty's sake, I have added a lace petticoat....
(please pretend that it hides anything at all!)
 
And then because I always work on several things at once, 
while glue and paint are drying, 
I also started on the details for the fireplace....

Because a fireplace Must have logs and flames....

And I also painted the surround to resemble black marble, 
like the one in The Folly Parlor!

And I started to make a tiny mirror... 
by painting a metal jewelry chain link gold.....
And gluing on a piece of reflective mylar 
(cut from fancy glittery wrapping paper!)...

But Eve needed some hair, 
and I was having a hard time figuring out how to make it!

My first attempt did not work out, so I pulled it off and started again....
You can see here I have knotted the end of a piece of brown sewing thread....
and I am gluing the knot to the top of her head to form a "bun"....
but I had to be patient and let the glue dry all night and all day....

Before I could add more glue and carefully wrap the thread around her head....

When it was wrapped far enough and dry enough, 
I cut off the tail end of the thread!
(She may not be Perfect.... but she is the First Lady!)
 
The next Tiny little detail that gave me fits was the andirons for the fire!
I kept thinking I needed to use beads... but none were small enough!
Eventually I tried just twisting the finest brass jewelry wire I have....

They are a tiny bit large.... but they work!
You can still see the glue drying in this shot!

And then the Roombox itself Dear Readers, 
still lacked all sorts of architecture....
starting with the crown molding trim.....

 It is just painted cardboard... cut very small....
with gold painted details...

And the bookshelves that flank the fireplace....

Again, just painted cardboard.....

The shelf widths are just 3/32nds of an inch!
And the tiny mirror....

(I "pinched" the jewelry piece a little to make it oval instead of round.....)

And we must test it all for fit.....

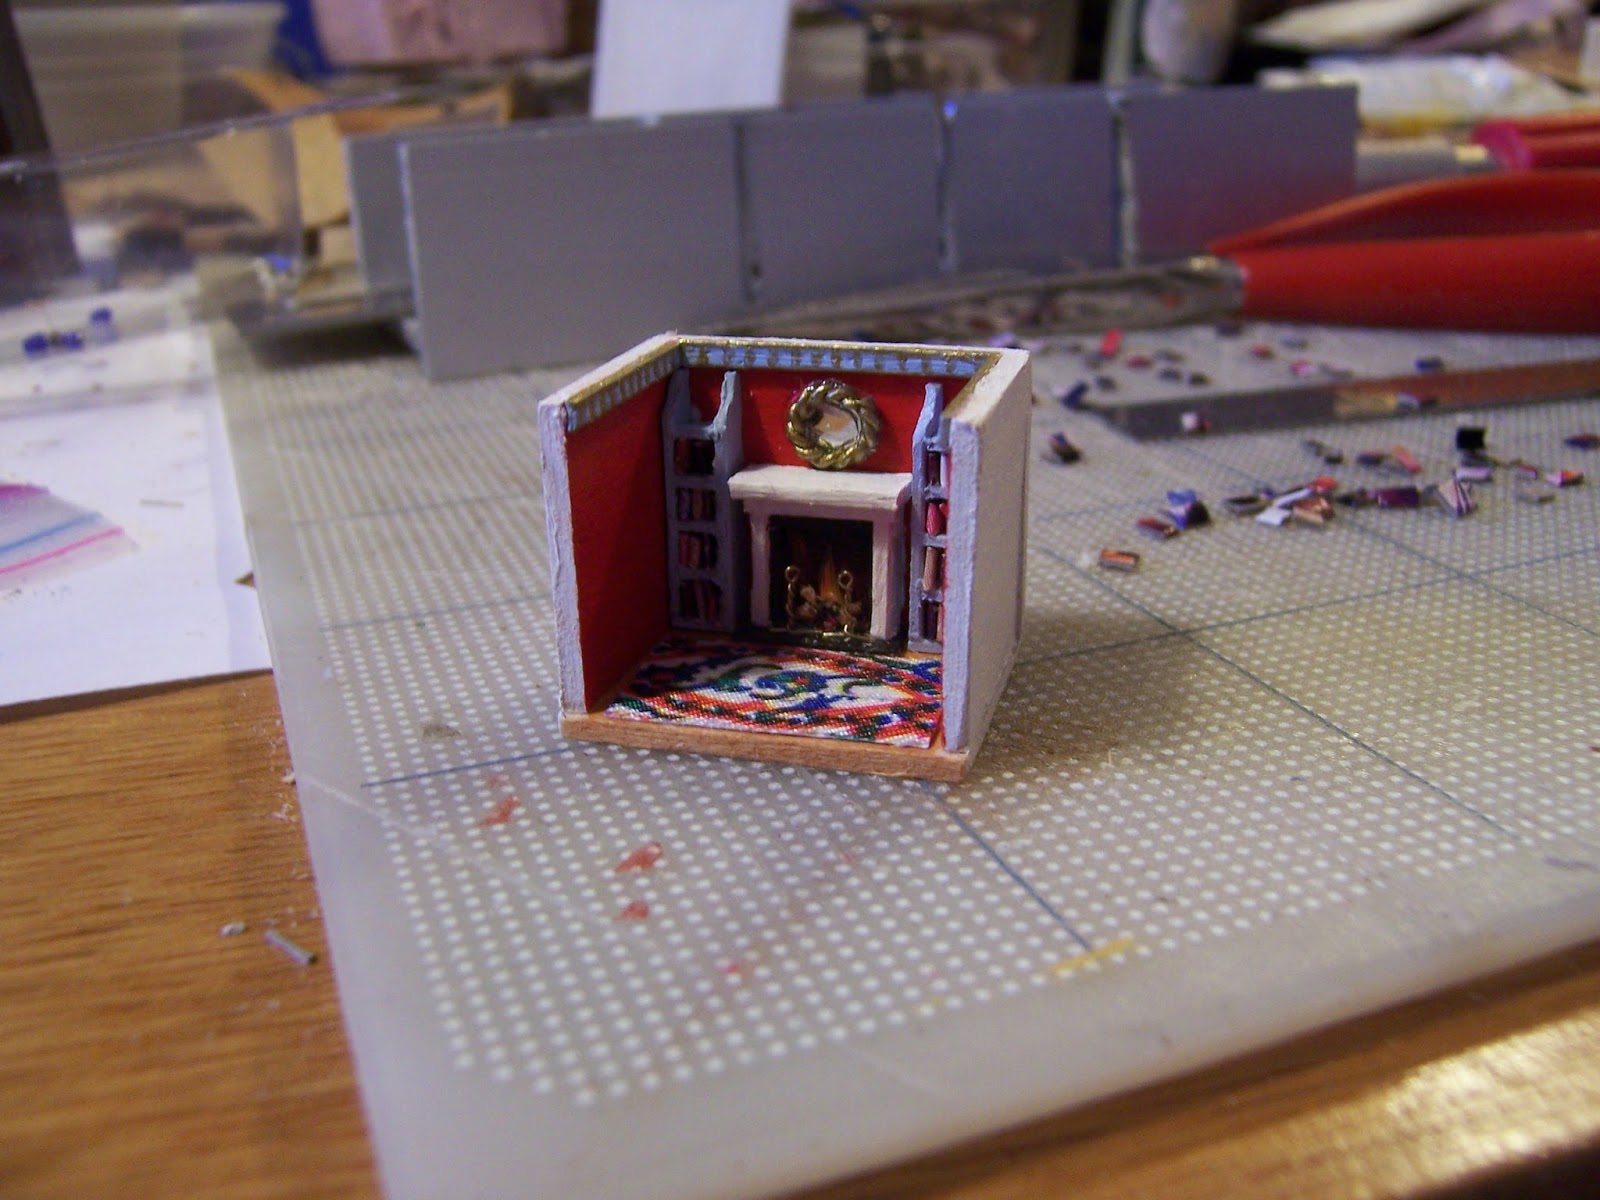
It is starting to look like The Folly Parlor!
(But it is still missing a few small details.....)

Like the ceramics on the mantelpiece.....

Will beads work..... 
if I glue them together and paint them......?
And what about books???
We Must have Books!
 
I cut strips of paper from magazines
 that had interesting color patterns on them...
and glued them around a piece of cardboard .....
cut it into a narrow strip, then sliced it to tiny tiny pieces....
Most of these "books" are too large to fit in the shelves!
But I found enough small ones.....

To fill the shelves... which don't hold many books
 even in The Folly Parlor itself!

Can we even see the books on those shelves???
How about with the ceramics on the mantel....?


(The Folly mantel has even more....)
 
Another ceramic vase and a book on the mantel.....
(and a couple of "vases" on the top shelves of the bookcases too!)
It is Not perfect, Dear Readers... 
the details of the closeup photos 
reveal all the flaws in the painting
 and the rough edges of the bookcases....
 but it is starting to look a lot like The Folly Parlor!

Of course, it is late now, 
and really difficult to get a well lit and in focus picture!

But maybe you want to see it in the bookshelf of The Folly?

Or how about an excruciatingly revealing close-up....?
 
Yes, Dear Readers, it is a bit rough around the edges....
And of course, there are still several missing details to be completed...!
And in order to make those little details..
I keep having to ask just how small is "Small"?

Oh, and did you want to see the "small" snowfall we had...?

Almost five inches fell!
(Not very small at all!)