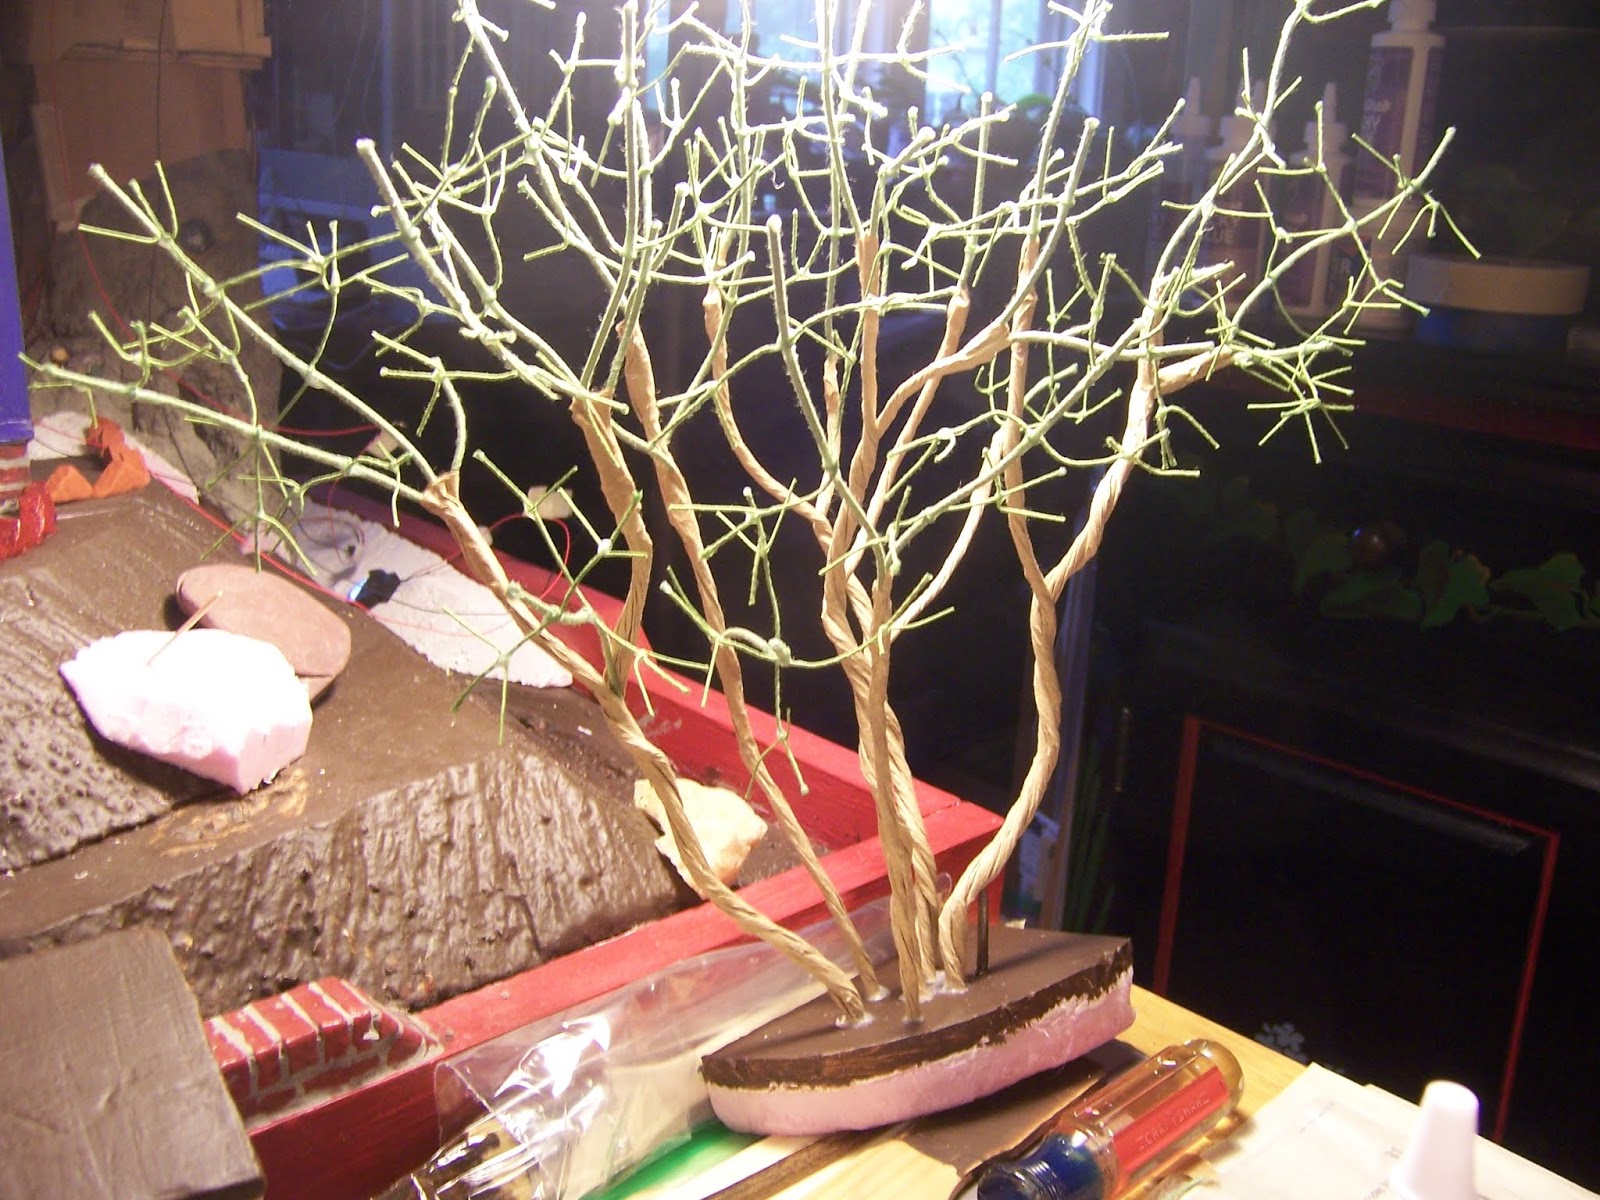
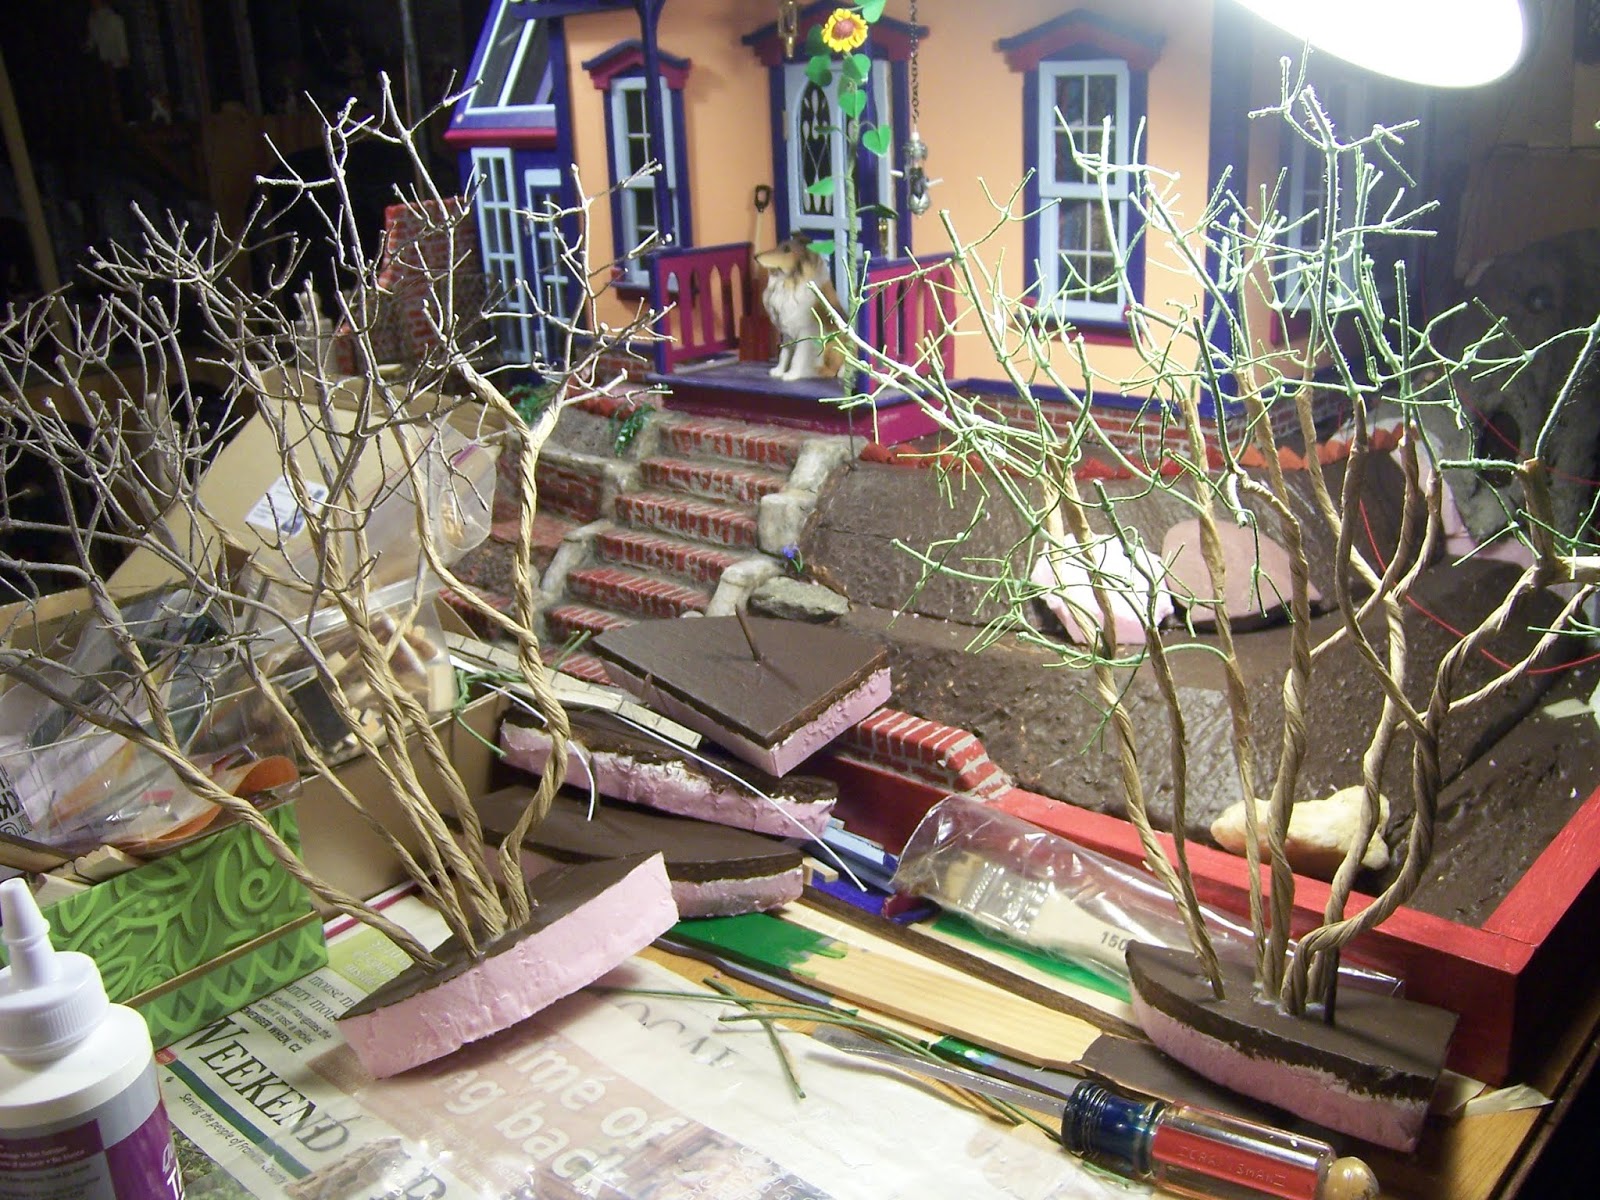
Showing posts with label Putney Lilacs. Show all posts

Monday, October 8, 2018

Branching Out....


Layers and Layers.....

Blossom number Twenty-seven is completed, Dear Readers, and ready to be added to the lilac shrub! I have to admit that it was a little bit of a shock to look into the "Lilac Blossom Box" and see fewer blossoms than before! Now that they are being attached to the already completed ones, my plan is to add the pair to the shrub as I go, rather than store them up, meaning that the supply in the box will dwindle from here on out! But the shrub will slowly begin to bloom!

And it was as I was contemplating attaching this second set
 to the shrub that I realized it was crucial that 
I finish painting that shrub before I went any further!
Last week I had "quickly" attached the blossoms and leaves
 just to see how they would look... 
but of course, I loved how they looked, 
so I glued them in place!
But you might not have noticed that I had only painted a couple of the branches .... 
in a hurry because it was late and I was just testing....!
But it was now time to get serious about
 the color of those branches and stems!
 
 
Above you can see the beginning of my paint mixing.... 
burnt umber, black and white...
along with the "sample twigs" 
taken from my lilacs months ago.
I decided the color was good enough to start painting
 the branches of my mini "Spring Lilac" shrub.

I started with all the tips,
 covering the green wire stems first, 
and gradually working down the twisted paper stems.
This shrub will have all the leaves on the green wire stems
 because they are "new growth" 
and stay green for the first part of the summer.
(The "Summer" shrub will have the leaves attached to brown stems.)
At this point I wanted to see how it looked compared with the Real Thing.....

So out we went into the Garden... 
(fortunately it was not raining....)
to visit the Real lilac shrub!

Here, this is even closer...... 
you can see the texture and the lichens on the RL branch.....
(yes, I will have to make those too...)
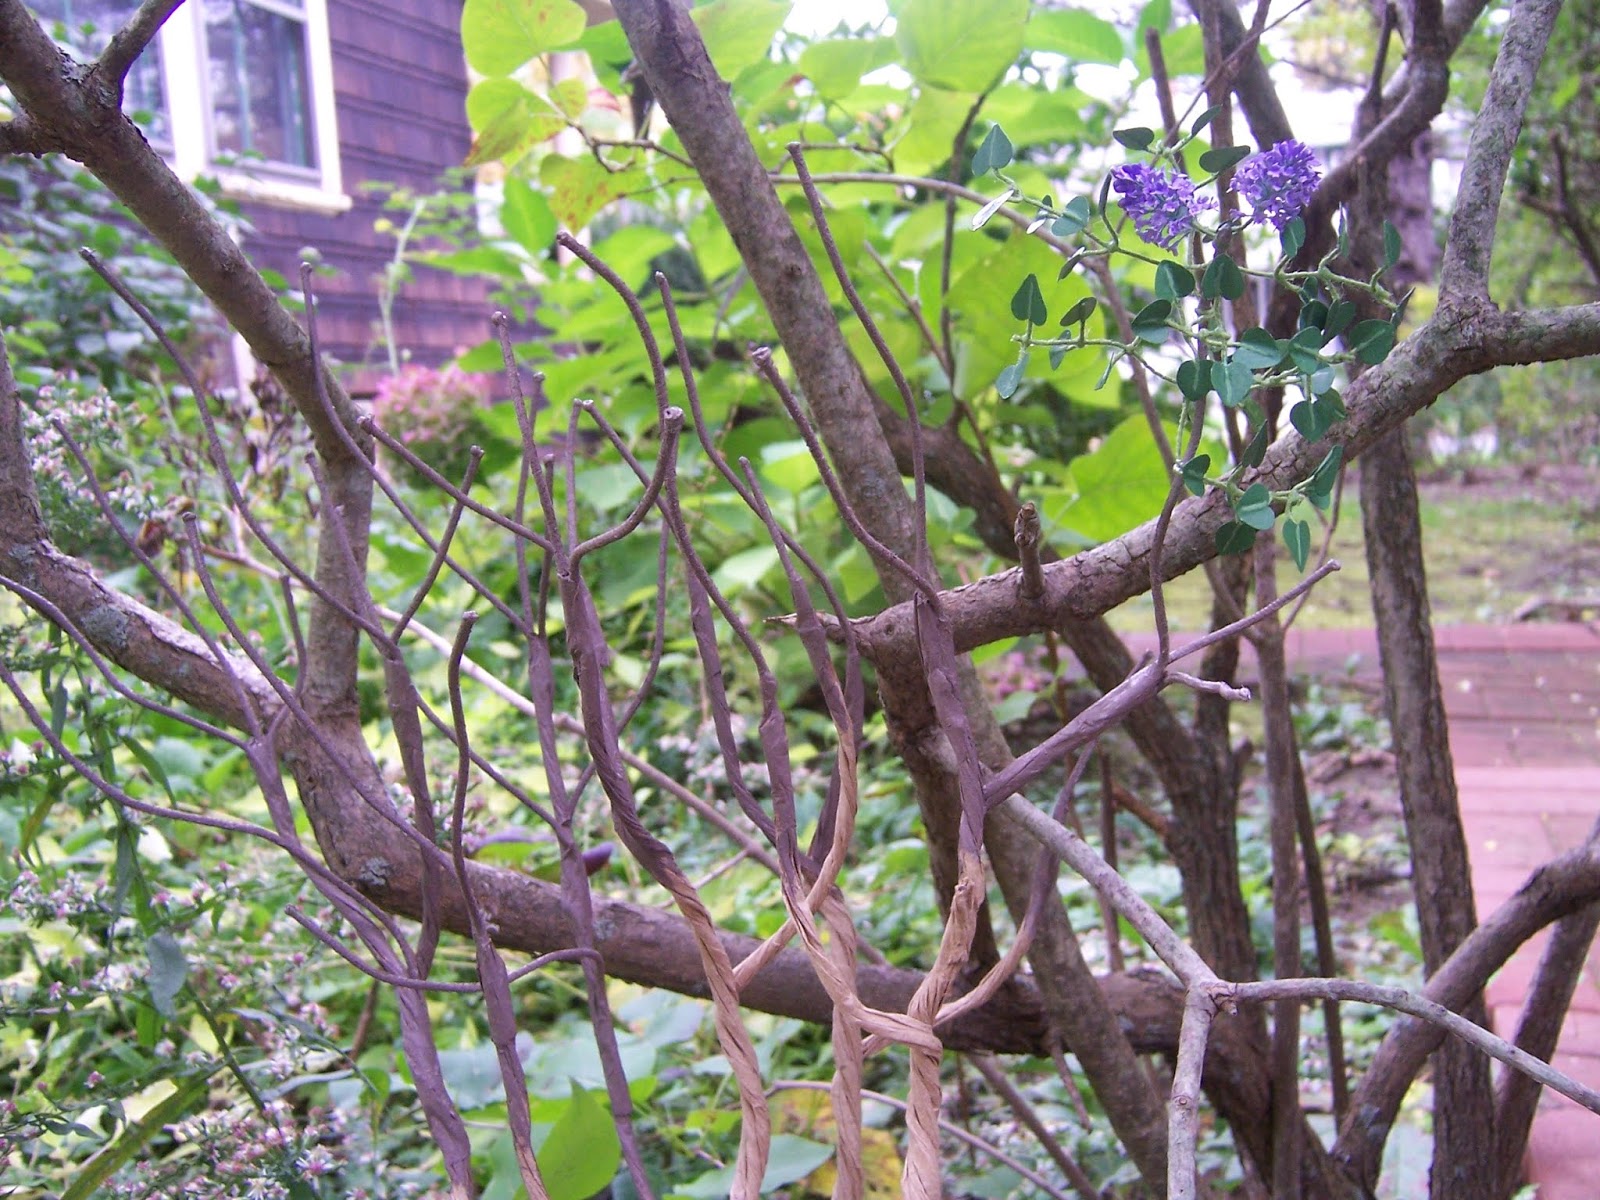
And with the mini blossoms showing too..... aren't they cute?

I know... one more shot.... because the leaves.....
(I'm getting goose-bumps...!)

I Loved the color, 
so I painted the rest of the paper wire stems....
 and had to test it in The Folly Garden.
The bottoms of the main stems will get
 a lot more layers of paint and texture before they are done....

Here I have added some lighter more ocher colored
 layers at the base of the main stems.... 
starting to experiment....
But then I remembered, Dear Readers, 
that I wanted to try adding more texture
 to the lower part of the stems.... 
which would be best to add before I got the paint done!
And for this I was going into very Unfamiliar territory!
I had bought some paint texture additive, 
used to add to regular wall paint to make a textured surface.... 
so I mixed some into some of the gray paint I had left from the Castle Caves....
 and repainted the shrub!

 
Yes, I covered over most of that great color I had painted before!


It does add some texture... 
but I'm not sure it is enough... or the right texture.....
It needs to look a little more like this....
 
The ancient Lilac Shrubs at work.....

With all their broken and gnarled stems are the models for my minis!

I think I will have to experiment some more!
Maybe if I mixed some sawdust into the paint....?
Or just more layers with more of the texture in the paint...? 
Layers and layers of details....
Yes, this is going to take a while!

But meanwhile, I had to add the newest blossoms to the shrub....

Just to see how they would look....
because I couldn't wait....

They seem to have caught Will's attention!
 
Well, Dear Readers, it seems as though
 I am Branching Out along with the Lilac Shrub!
Layer by Layer I am adding to my abilities
As I add branches to my Lilacs!


Tuesday, May 15, 2018

Lilacs Encore.....


Taking A Closer Look.....

The Lilacs are Finally blooming in my RL garden, Dear Readers, even though they are a looooong way from blooming in my Mini ones! And so while they are putting on their annual show (admittedly very very minor here in my yard) I am taking the opportunity to have a close examination of exactly how all the pieces come together! The blossom on this plant is the only one this year. It was a harsh winter here and many of the plants are showing a sparse bloom, especially when compared with last year which was so abundant! And besides that, this plant was only newly planted here, having endured for several years in a spot it did not like, (it was too wet). I moved it a couple of summers ago, and now it is finally showing some growth! It is a sprout of the plant that was next to my old Home which had been there for almost two hundred years! It has the very pale lilac blossoms. And the second lilac in my garden was here when I moved in, and it too has struggled, and also suffered much damage a couple of years ago in an ice storm. But it too, is surviving. It has a few small and scanty blossoms...

They are the deeper purple that I love so much.... 
and I am trying to copy in my minis.....
(I need to make the unopened buds a redder hue...)

And I am happy to report that I have managed to complete
 one more blossom for a total of seven!
  Plus I have assembled the florets for the eighth one,
 although they are still not painted.

And while I have standardized my method (for the moment)
 to grouping the florets into clusters of four before attaching them to the stem....

I have noticed upon closer inspection that the RL blossoms
 often have many more florets in their bunches.....

As you can see here on that same bush
 a few days before they opened....
And you can also see that there are two blossoms
 sprouted from the tip of the branch, 
while the leaves are sprouted from buds farther down the branch!
Believe me, I was glad to see any blossoms at all on this bush this year!
And while we are taking a closer look at the lilacs, 
I wanted to show you the ones where I work...

I couldn't get very good pictures 
because it was windy with a storm coming...
 poor light and plants in motion....
But it shows the scale of the much older shrubs
which I am modeling my mini versions on.
And these shrubs also have taken a beating over the past few winters.
There are many broken stems and more dead wood than usual.
 
And here you can see where the new branches
 have sprouted from the old broken stump...

Showing how over the years the shape of these "trunks"
 become quite irregular and have awkward "joints" 
between the stems and the trunks...


And bulky, knotty places along the stems
 that seem to be unexplainable....

Twisted and covered in lichens.....

Irregular, broken, bent....
 certainly not flowing in a smooth continuum from large to small....
And just as surely telling a tale of endurance...!

And so I flatter myself, Dear Readers, that Upon closer Inspection, 
My mini shrubs too can tell a tale of survival.... 
and that my Despairing comment of last week, 
that I would console myself that no-one would be looking
 too closely to see how inaccurate my "joins" were.....
can be revised!
Because the Truth of the matter is that
 I Would know that they were not good enough
 even if no-one ever saw them!

And truly, with only a little more glue and paint work.... 
(a task that was already on the list of things to do!) 
great improvements in the accuracy 
of my mini shrubs can easily be attained!
I am now consoled that they are not so far
 from the originals as I had thought!
(And I hope that now you, Dear Readers,
 can recover from any shock my comment caused!)

Even though they are far far far from done,
 and already hopelessly out of season,
 I am making progress...

The second one has all the branches added now, 
and I even added the glue to the tips of all the branches!

It is now ready for the first layer of painting the branches.....

Here you can sort of see the unpainted one
 with the painted one in the background...

And another shot with the two of them for comparison....
Yes, I have adjusted my expectations of making them identical,
 and am watching the process of growth and change
 that can happen in just one year!
And believe me, 
I am getting a little bit anxious about the Leaves!
I am going to have to start working out the method
 for making them sooner rather than later!

But for now, Dear Readers, 
I will Leave you with a picture of the seventh blossom....
because Upon Closer Inspection I think
In a small way,
 they are pretty close to being perfect!