Showing posts with label Castle dollhouse. Show all posts

Tuesday, August 10, 2021

Elusive Illusions.....


The Wonders of Paint....

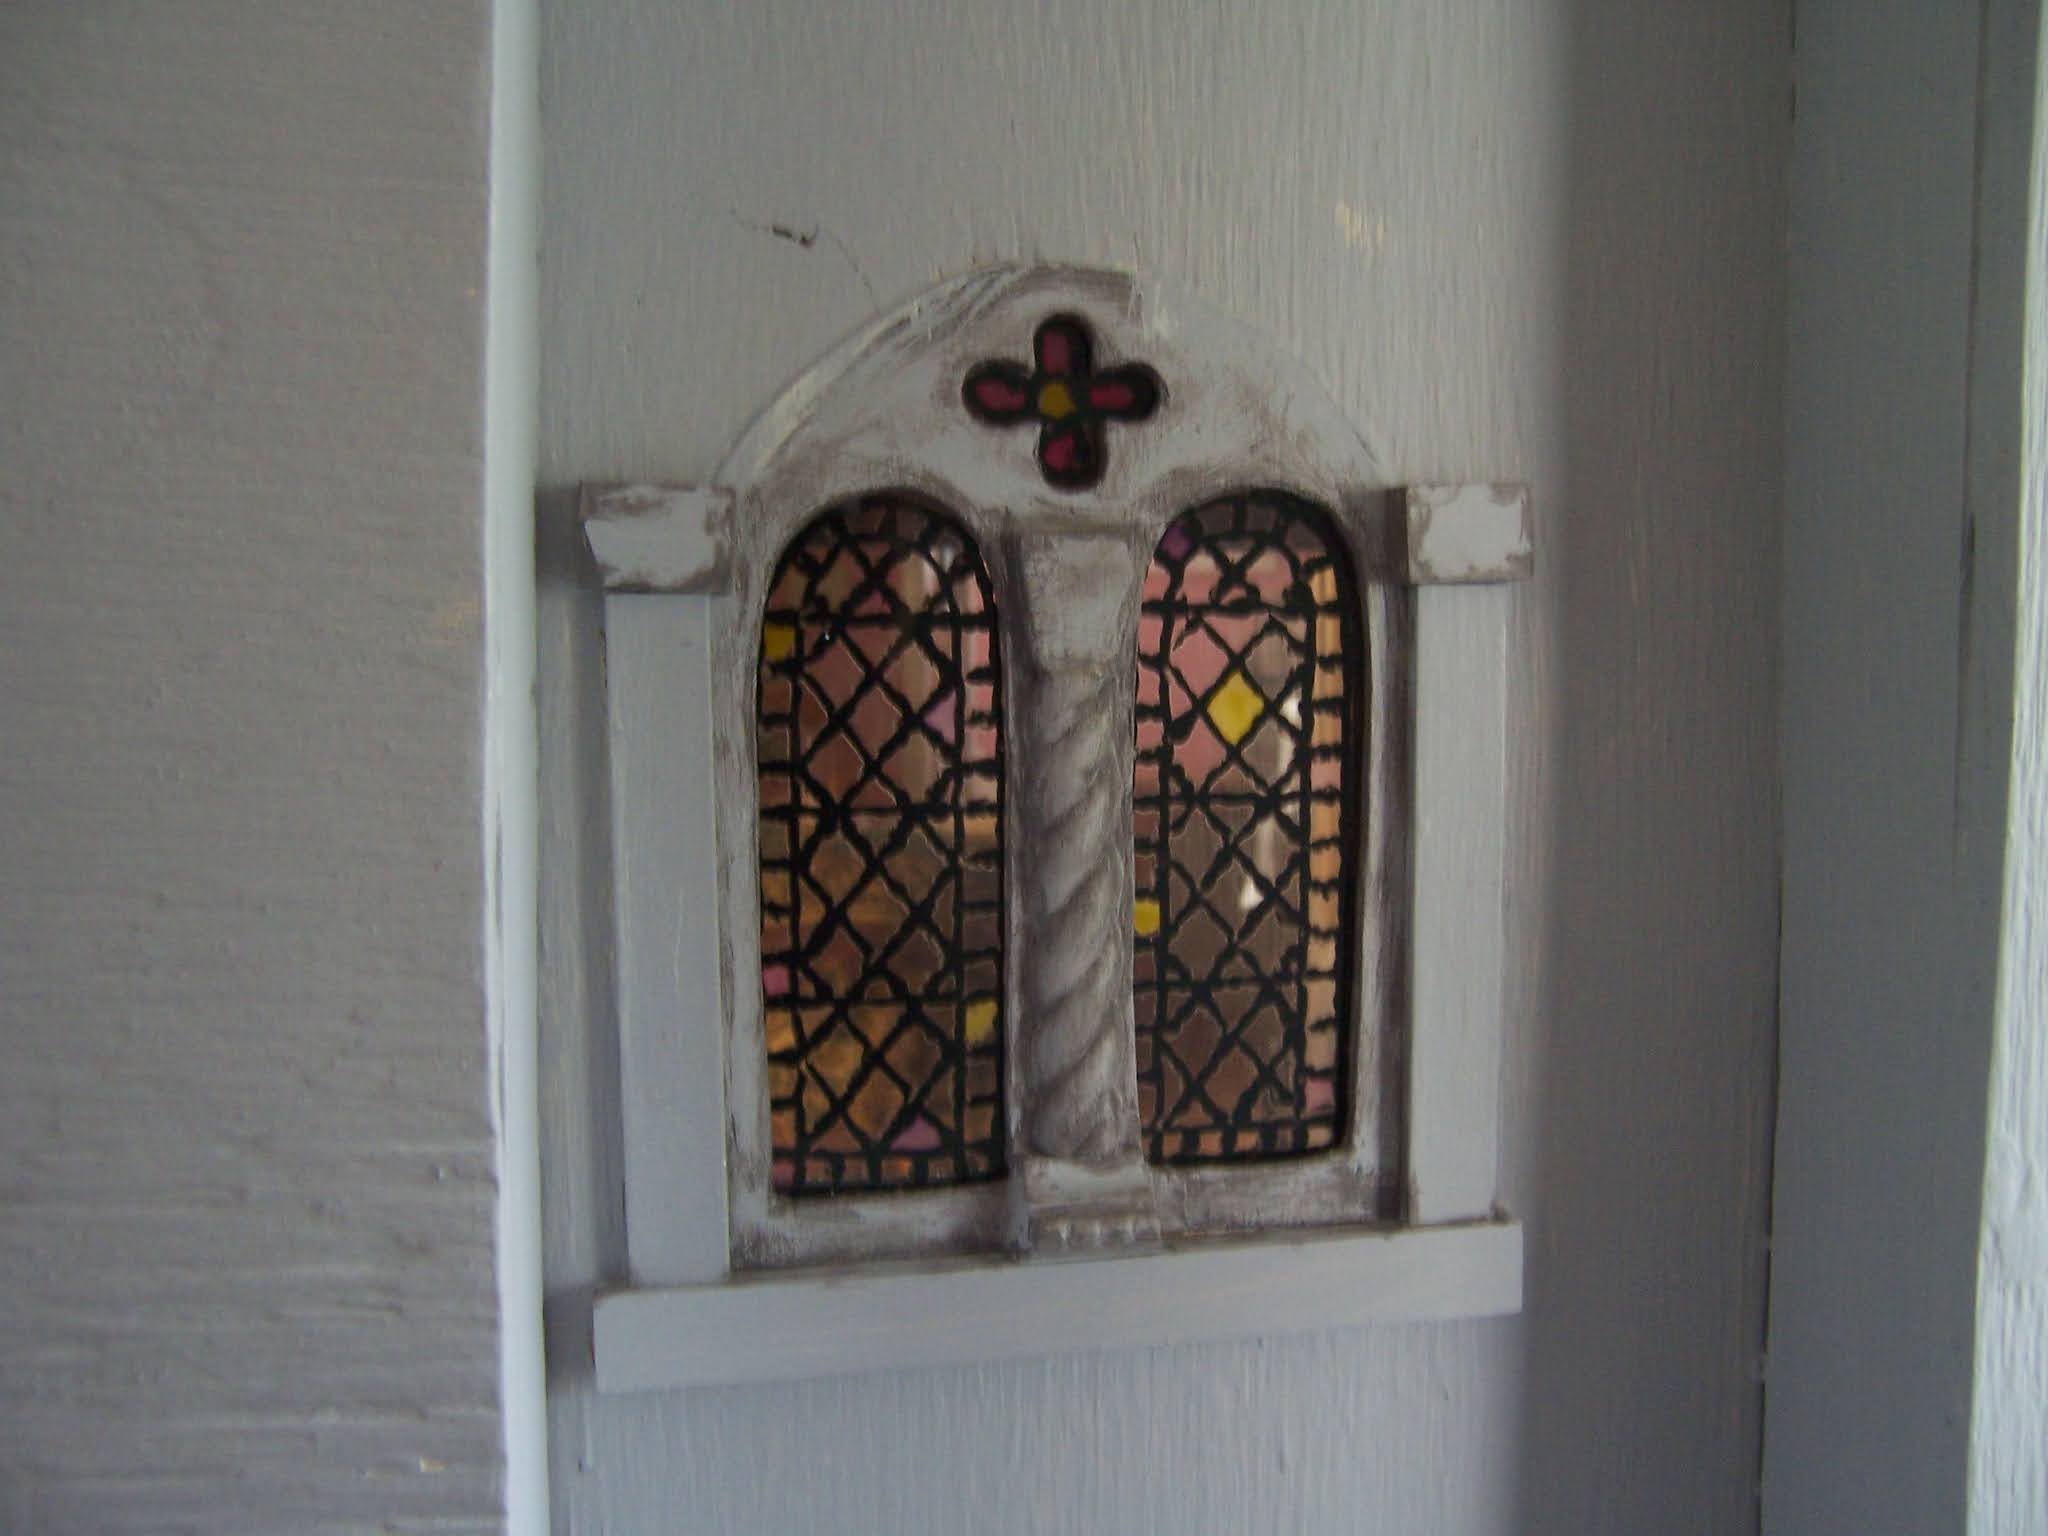
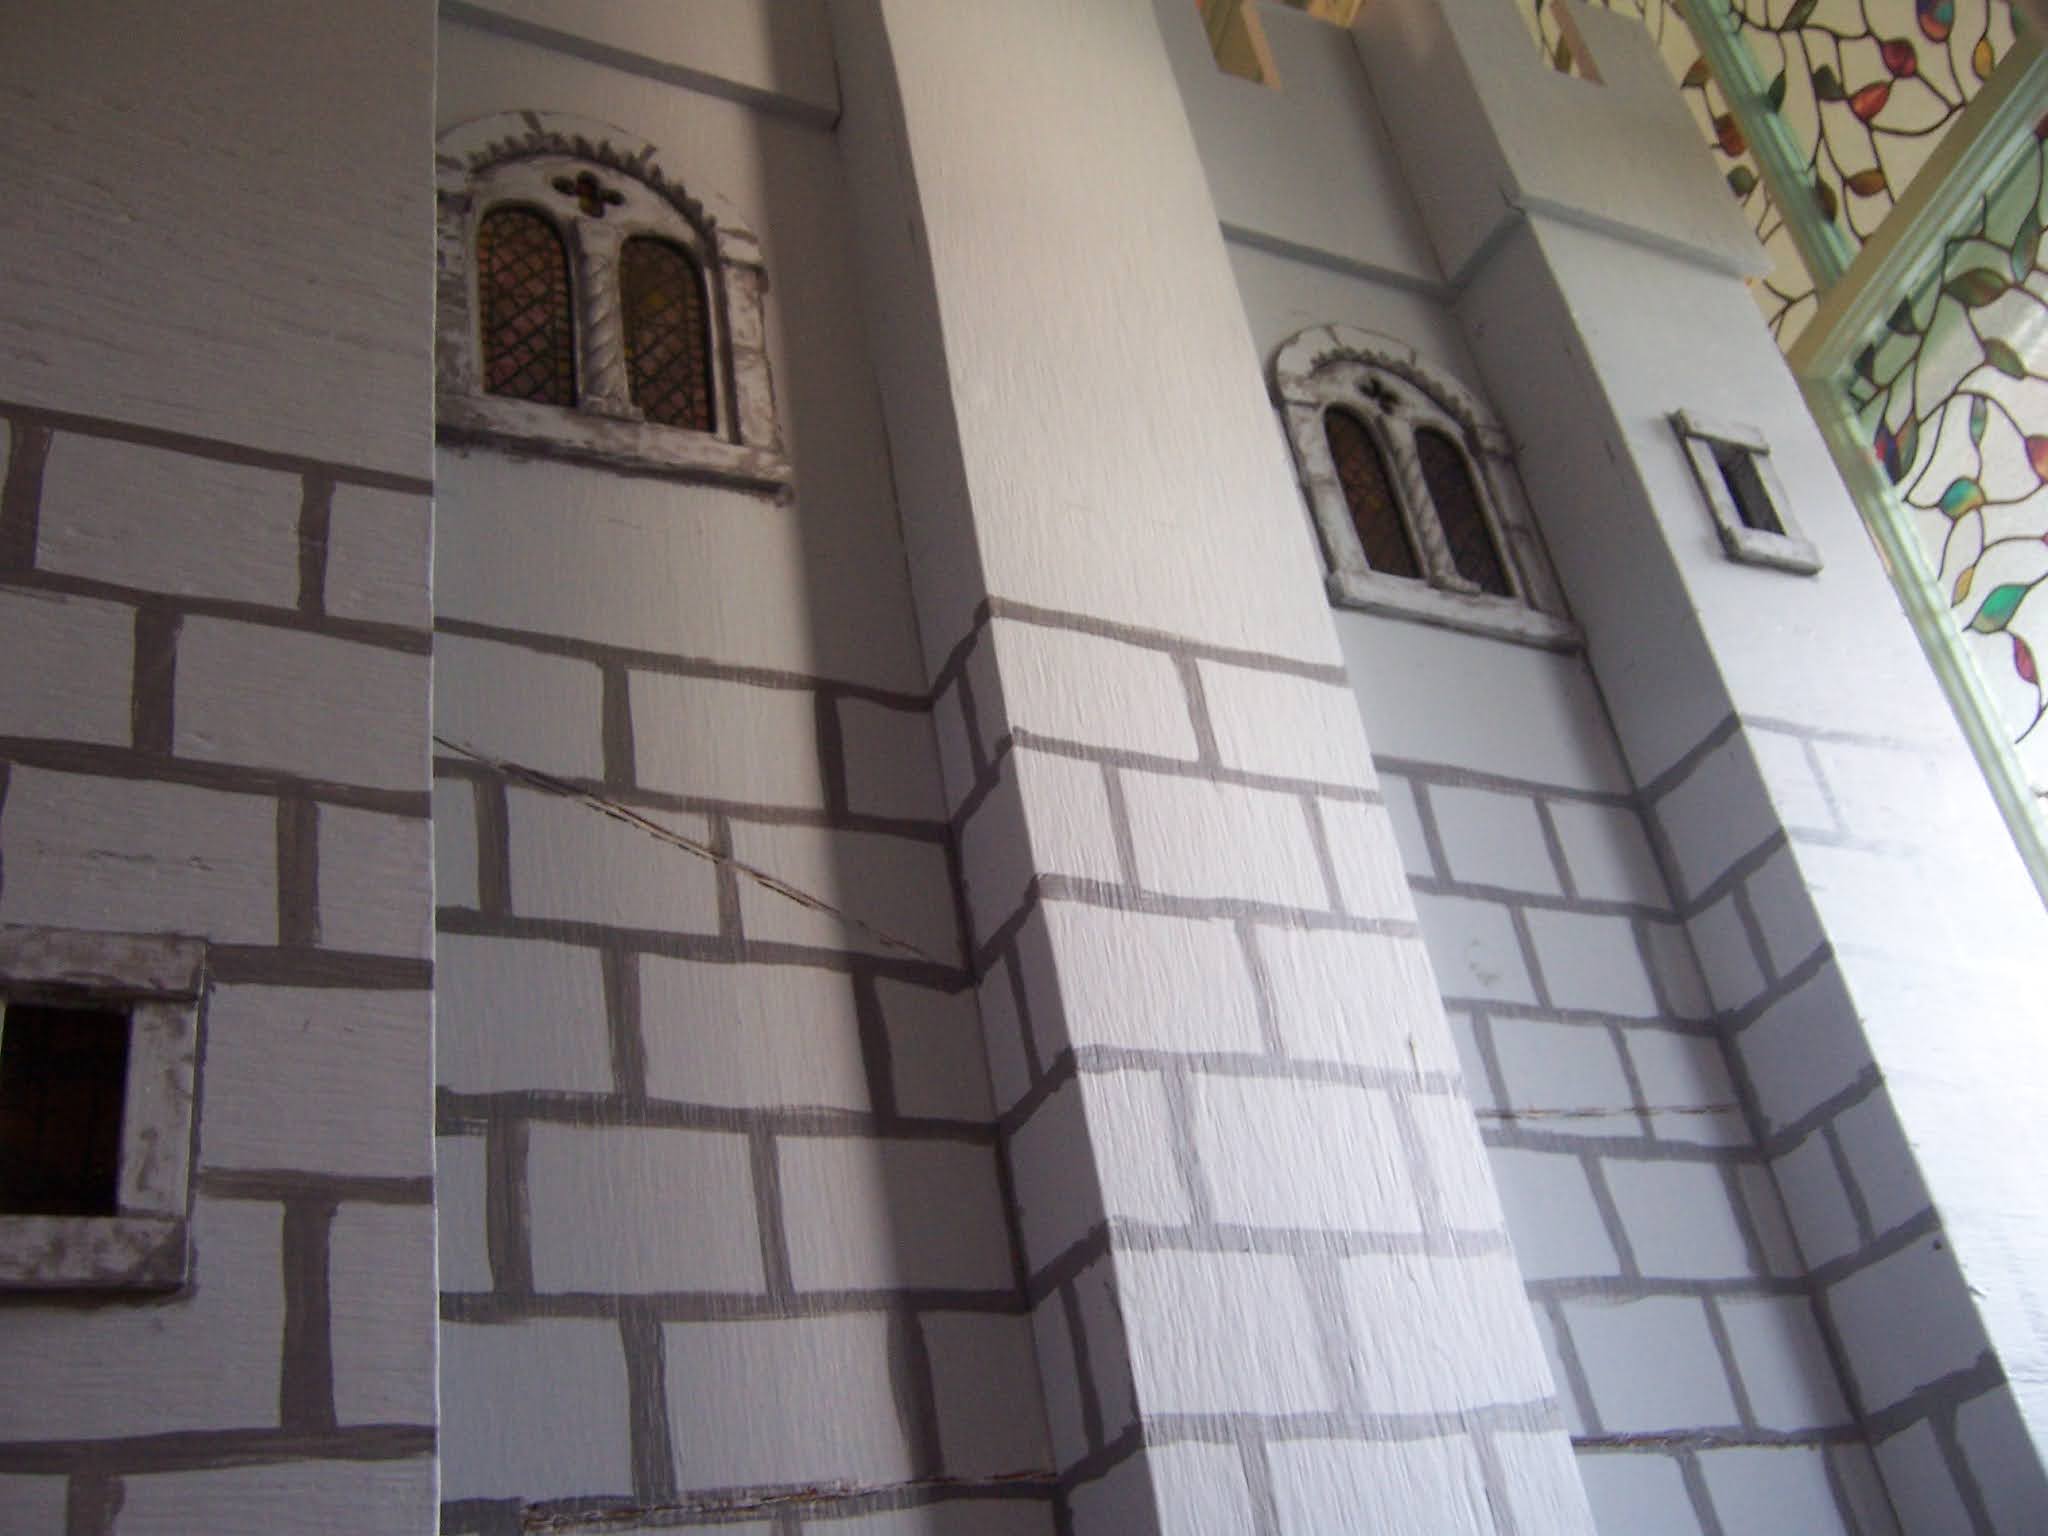
When I began this Castle, Dear Readers, all those years ago  (in 2010...!) with an abundance of Enthusiasm and next to no experience, it quickly became clear to me that the primary materials would have to be very basic. A structure this large would need to be sturdy, and the materials (so much required!) would need to be readily available and not too expensive. Plywood was the obvious choice (the Lovely Old Dollhouse was made of plywood, after all!...) and the "finish" would need to be paint. (Because who could possible use that much "egg carton stones" or paper clay to mimic the stone surface?) And it would be glued and screwed together (and there would need to be plenty of doors with hinges!) Beyond that it was all still a nebulous fantasy of possibilities in my brain. I had not decided about floors and windows and ceilings... and even the staircases were "figured out" after the framework was cut and assembled. But from the very beginning, I have relied on paint to produce the illusion of a large old stone castle! And just the two colors of gray that I already had in my "supplies" from other painting in my RL home. And I confess, I have not done a huge amount of "fretting" over the accuracy of the illusion... the shade of each stone has not been pondered very deeply. I have relied on a very theatrical "slap-dash" paint style. It is supposed to be like the back-drop in a play... you don't notice it once you accept the illusion it presents. All of that is a little easier to accept when looking at the interior. The exterior might be a different matter! In the above picture you can see the back side with the gray paint and the beginnings of "stone" trim around the windows. Having got this far while the Castle is all pulled apart, I didn't want to turn it back to the wall without completing it to a point. The windows had to be trimmed.... or it might never get done!

It is particularly difficult to make the illusion 
of thick stone walls when dealing with a plywood structure.
In a real Norman castle, the windows would be
 deep set with minimal ornate details.
But I wanted the arched windows to have
 a carved "toothed" edge typical of the era.


Using scraps of the 3/8th inch plywood, 
I cut out the arch to fit the shape of the window arch...
 none of which are exactly symmetrical 
because I cut them by hand..... all those years ago!


It took quite a bit of work to carve these teeth... 
the plywood is rather tough!


Because this is the back side...
 which will almost never be seen...
 I can feel free to try out the ideas 
and not worry as much about it being perfect.
I think it looks close enough to what I am envisioning...
It will work!


And the other windows on the back needed their trim too... 
and it needed to get painted to look like "rocks"...


And the arched windows needed their trim painted
 to look more like "stone"...


Here it is just started... 
the "mortar" lines will be added last.


And yes, I have decided to paint the "rocks" on the back of the castle!
Which starts by laying out the courses in the dark gray paint.
I got three rows done on a fairly even pattern... 
but the next row began to get off... 
and I needed to get out the measuring tape
 and be more disciplined! 


And I needed to get the vertical edges lined up
 before I had done too many courses.... 
to be sure it would look okay... 
and be spaced in a realistic way.
Once again, I am not sweating about the small irregularities.
 The "stones" will be slightly uneven here and there
 as they were in the early castles.


And yes, this was a surprisingly time consuming process!


The courses become a little  smaller the higher they are.
This will help the Castle appear more balanced, and not top heavy.


And the arched window stone has been painted and glued in place.
It will get more details later.


Of course, It is not done yet.
I have not "stoned" the crenelations yet! 
And I have not even begun to paint the "rock" details...
But Oh, my!, Dear Readers,
The Illusion is starting to grow!
Such is the wonderful Power of Paint!


Monday, October 5, 2020

License To Crenellate....


 Castle Fortifications Continued....

I always Hope, Dear Readers, when I have a week of Vacation, that I will be able to make a decent, noticeable amount of progress on one or another of my many mini building projects. And I can happily report that on my recent week off I was able to pull out my big saws and Finally, cut the Crenelations for the roof tops of my Castle! This required a fair amount of cutting cardboard mock-ups to test the different sizes of and numbers of and spacing of the crenelations. Math was only part of it... they needed to look right... not too wide not too small... and I think I got it right. Above you can see the first Tower with the crenelations attached on the three sides. They are screwed firmly to the framework of the structure. They are unconvincingly "thin" as just the plywood... and eventually I will probably add foamcore to thicken them up without adding too much weight. But that is a long way down the road. 

 
Here you can see a closer view....
I have had to leave the front sections "removable"
in part because I will want to have easy access to the space,
 and in part because the top rooms are not built yet 
and I will need to be able to remove the ceilings and the fronts...
 for however long this takes me to finish!
 
Slitherwing has not been making this easy!

I had to pull the sections of the Castle apart from one another
 in order to be able to access the back sides.


Here you can see I have started on the crenelations 
for the back of the Great Hall Section.
(Some of you will notice my New cordless drill...)


Here you can see I had to make some complicated pieces
 for the sections on top of the "buttresses" where the privies are located
 at the back of the Castle Great Hall.


This is a closer view... we never get to see the back of the Castle!
(It hangs at the edge of the cliffs above the ocean....)
 
And here I am testing the crenelations for the front of the Great Hall.
They had to have a complicated set of
 "temporary" attachers (ie hooks and eyes)
to keep them from falling off.
 
This construction process took days and days.
But I was determined to not give up 
before they were all cut and fitted!
 

And it always amazes me the difference it makes
 to have the "front" panel attached!


It looks so much taller.....


Seriously grander.....


Even Forbidding!
As a Castle should be.


I have to stand on my chair to even reach the top!
Finally, Dear Readers, it really looks like a Castle.
I am so glad the Castle Lord got permission to Crenelate...
And I had the time to make it happen!


Thursday, July 1, 2010

Castles In The Ether

I Think This One Must Be For Nina


I have been a medievalist for as long as I can remember. The earliest pictures I remember drawing were of castles. I was five. My parents gave us large pads of newsprint drawing paper and crayons for Christmas and I can still clearly remember the huge black castle I drew. It had crenellated towers on each end and a peaked central hall with a large stained glass window and a drawbridge for entrance. How I knew what a castle should look like at that early age is a mystery to me. I also seem to have been born wanting to illuminate manuscripts. I now own more than forty books of medieval illuminated manuscript reproductions. I can't remember ever seeing a real medieval illuminated manuscript or even a printed replica before I was in my twenties. But when I made a book in a crafts class in Junior High School, I found myself painting the borders just as if I already knew how to illuminate a manuscript! And of course, the pictures I painted included castles and dragons and typical medieval images. (I think I must have been a monk in another lifetime!)


Here is a picture of a portion of one of those illuminated borders I painted when I was sixteen. And here is another page in that same book, painted when I was fifteen. Note the castles.


So It should surprise no-one that I would daydream of maybe "someday" building a dollhouse castle. But it was certainly way down on the list past re-building the Lovely Old Dollhouse. After all, castles were just fantasy life while the Lovely Old Dollhouse was very real and waiting for my attention. As you all know by now, I was well under way re-building the Lovely Old Dollhouse when I accidentally fell into the internet land of Blogdom! And what a wonderful surprise that was! (My life will never be the same again!) One blog led to another and then another and so on.....without end! I discovered gorgeously built dollhouses and fabulously creative builders making everything from hobbit houses to fairy cottages, from Victorian to Modern, from mice to witches and wizards! I already knew about Colleen Moore's Fairy Castle (I have a book on it!) and I knew about Queen Mary's Dollhouse, and had seen some pictures of Titania's Palace, but I was amazed to see The Hogwarts Castles being created by miniature enthusiasts. The more I saw of other people's creations, the more I wanted to make one for myself! Occasionally I even started sketches and made lists of the rooms my castle would need to have. But I was already very busy with the Lovely Old Dollhouse. And my house itself is NOT very big. I thought the castle would have to wait.


But then one day I stumbled on the Tudor and Medieval Castle Dollhouse Blog. I was google-ing pictures of medieval castle great halls.....just to have a look at what was out there.......and when I clicked on one of the pictures it brought me to this DIVINE little (grand!) dollhouse version of a medieval great hall. I was ENCHANTED! I read every post from beginning to end and returned to it day after day looking for updates.......and then something just clicked in my mind, like a switch going on. I just HAD to build MY castle dollhouse! I thought if everybody else was doing it, why couldn't I? I was completely captivated by the tiny medieval style floor tiles she had made for her tower, and just knew I had to start my own! And her plan was so simple and straightforward.......and very similar to the sketches I had been idly making.......it was a SIGN!


So, with amazing alacrity (for me) I drew up the plans, bought the plywood and constructed the shells for my castle dollhouse. I shamelessly "borrowed" from Nina's plans. I argued with myself about the dimensions for about a day and a half... but the larger size won. My rationale was that it would stand next to my Lovely Old Dollhouse - which is NOT small - and it would need to look like a castle next to that.......


So here you can see the shell of one of the towers....I start with the dungeon on the lowest level, then there is the chapel, above that will be the solar and at the top the lady's chamber. The other tower (not shown here) will have the stables on the lowest level, the main entrance guard room above that, then the Lord's library and at the top, the Lord's chamber. (Actually, at the very top will be an extension to house the wizard's chamber - not yet built)


And here is a view of the great hall section of the castle. Below the great hall are the kitchens and the storage rooms - the buttry and the pannetry.


Ken is checking out the new Real Estate - planning to take out an extended lease....


Here you can see the beginnings of the stairway from the dungeon/kitchen level up to the main hall level. I have painted faux stone walls rather than try to make a more three-dimensional textured wall surface. I'm still not sure if I will regret this short-cut - but I was having trouble imagining collecting enough egg-cartons to make ALL the walls stone textured.......let alone attach them all.....


Here is a view of the stairs to the hall with the floor of the chapel removed so you see down to the dungeon level. I made the floor level staggered so the dungeon has a ceiling height of 10 inches while the chapel ceiling is 14 inches high.


In the back corner of the dungeon level is the hidden Postern door - it goes up through a trap door in the floor of the Monk's cell off of the Chapel - so there is a hidden escape route......


Here is a view in through the Postern door - before the door was attached - you can see the spiral stone stairs.........


Here you can see the dungeon wall in place - the inner dungeon cell through the door on the back wall (the postern door is concealed from this view). You can see the door into the stairway in place, but not yet painted. Also, here you can see the beginnings of the arched ribbing for the vaulted ceiling I am building on all the lowest levels.


Here you can see the corrugated cardboard inserted between the ribbing to simulate stone vaulting. It looks a whole lot more convincing once I have it painted......but I leave that for another post. Having VAULTED precipitously into the world of building a dollhouse castle, I have gradually become aware of how HUGE this project is! It only makes me all the more awed by the speed and clarity of Nina's progress on her own Castle. So Thank you Nina, for providing the inspiration for this castle....as well as giving so many fine instructional tutorials...many of which I will be trying out here on MY castle. Of course, I am still having trouble deciding just exactly what era I am making it.....possibly older and more rustic than the Tudor period......very Very VERY Medieval! ( I have all those old books of illuminations for inspiration after all.......)


There ARE Castles In The Ether!