
A Stitch Here... A Stitch There...
It Has been a while, Dear Readers, since I showed you progress on the many petit-point projects I have under way. Above is the mini Christmas stocking kit I started on the "extra day" of my recent travels. I was so worn out once I got home that tackling big projects was beyond me. So I pulled out the little stocking and just added a few stitches from time to time. These stockings are quite small and the stitches add up quickly!

Before too many days had passed I was seeing great progress!

The background is supposed to be "pink" for a girl...
but it is such a pale shade of pink it almost doesn't look pink!
And as I began to recover my energy
and look around at all my waiting projects....
(a few too many perhaps?)
I realized that I was so close to completing the
William Morris carpet that I should just get it done!

All I needed to do was finish the border background
and bind the edges all around.

Sorry about the darkish picture......
But you can see that the stitching is finished!

Here you can see it has been removed from the frame
and I have begun to bind the edges.
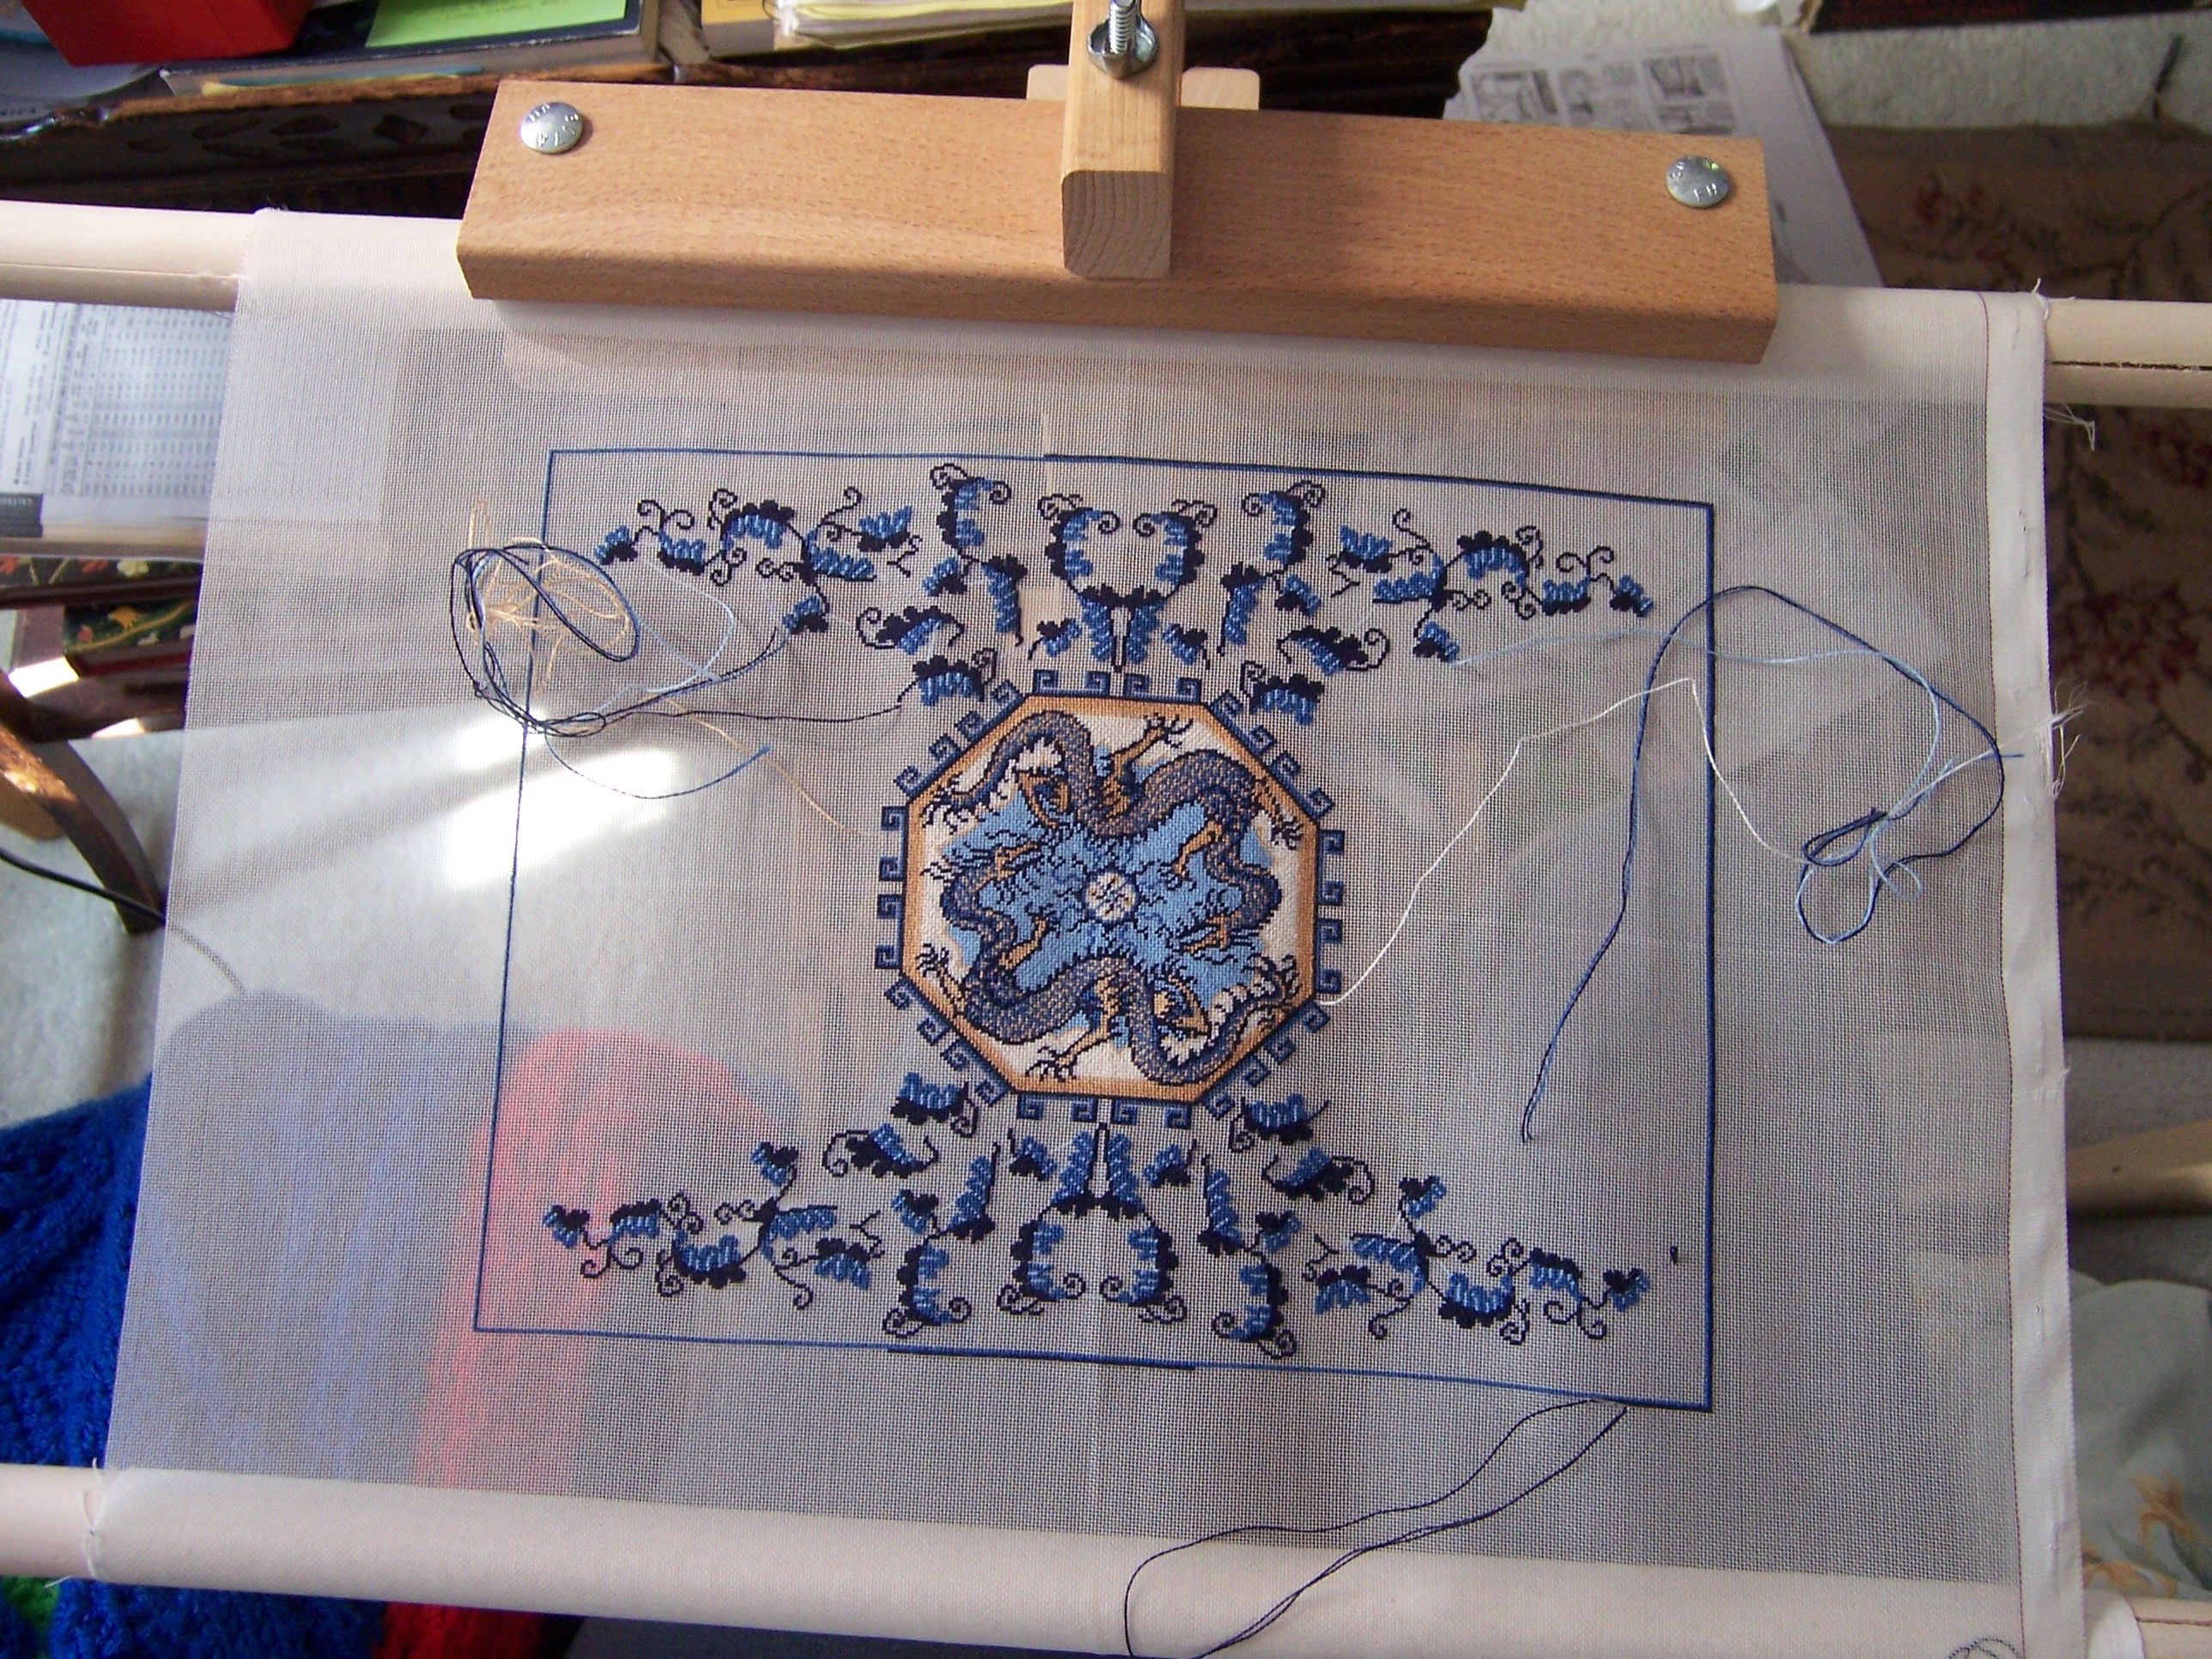
And as for the Dragon Carpet, Dear Readers,
I had reached a difficult place and hadn't done much....

I had completed most of the leafy vine sections
that I was sure I would use as the original chart placed them.
You might remember that the original was very different...
(no dragons for starters!)

The central medallion was way too small....
so I designed the Dragons for the middle...
But on either side of the center there is a
"golden" figure of something I can't quite decipher.
Is it supposed to be a pineapple...?
A Turtle...?
I just am reluctant to continue with this part of the design!
It needs a makeover....
Which I am starting to attempt to design....
You will be the first to see it when I have it figured out!
But meanwhile, the border needs to be worked on...
and this frame is too small to do that comfortably....
But, Hey, I just took the other carpet off the bigger frame....

Here are the two frames stacked for comparison.
It doesn't look like much of a difference....
But more space is more space...
so I stretched this in the bigger frame.

Just look at all that extra room!
(Sorry it is a little blurry...)
I put the frame in the stand and got to work!
Up until this point I had used the smaller frame like a hoop
just holding it in my lap which was a bit awkward.
as well as the redesigned side sections.
We shall see how it goes!
Meanwhile, I have finished the little stocking kit.....

I'll add it to the collection of stockings waiting for that step!
So you can see, Dear Readers,
a stitch Here and a stitch There
adds up to a whole lot of
stitches in Time!


