Showing posts with label Lord's Bed Chamber Floor. Show all posts

Wednesday, August 31, 2022

Fixing The Floor....


 And Other Details....

I am Happy to tell you, Dear Readers, that fixing the floor of The Lord's Bedchamber was not all that difficult to do. It just required some courage, some time and some better weather! I was able to muster all three last weekend. I decided that I had nothing to lose by simply applying a coat of polyurethane varnish to the entire floor. It already looked damaged so anything I did was unlikely to make it look worse. But first, I did go over the gold roses where they had scraped away with the grout. Then I waited for the weather to become cool enough that I could open all the windows to ventilate the fumes of the polyurethane. Usually I either spray the varnish outside on my porch, or take the items to the cellar to be coated by paintbrush. But in this case, The Castle is way too big to take anywhere! I would need to apply the varnish in place. Late in the evening as the temperature dropped into the 80 degree range I opened all the windows and doors and applied the coat of varnish. Above you can see the floor still wet from the application. I did not pause to take any progress pictures. And then I left it to dry overnight.

And the following morning, I came to see how it looked....
I had used a matte varnish, and my biggest concern
 was that it would leave the tiles looking too "flat" and drab.
But I actually think it has given them just the right amount of smooth patina!
And the grout is not noticeably darker either, which I am glad of.


And it is not obvious where the gold roses were repaired,
 which is also a good thing.


The teal tiles may have lost a little of their Iridescence...
but I suppose we can attribute that to the aging of the tiles....
and I don't suppose anybody would notice
 the lack of something they did not know was supposed to be there...!


So can we call it fixed?
I am calling it fixed and possibly better than before!

And while I was fretting about the floor, Dear Readers, 
I realized I had skipped a necessary step
 that should have been done before I grouted the floor!
And needed to be taken care of now....


The front wall of the room below the Lord's Bedchamber,
 the framework for the opening doors that I call the "proscenium"
 had never been glued in place!
I needed to carefully unscrew the screws and gently pull the wall off
 (where the floor grout had attached itself I had to carefully cut apart)
And then I applied the glue and screwed it back in place!


Of course, you can't tell it's been glued!

 
And then I applied the wood filler over the screw heads....
and will eventually repaint them...
so it is clear that the wall is no longer removable!

And since I was taking care of so many unfinished bits....


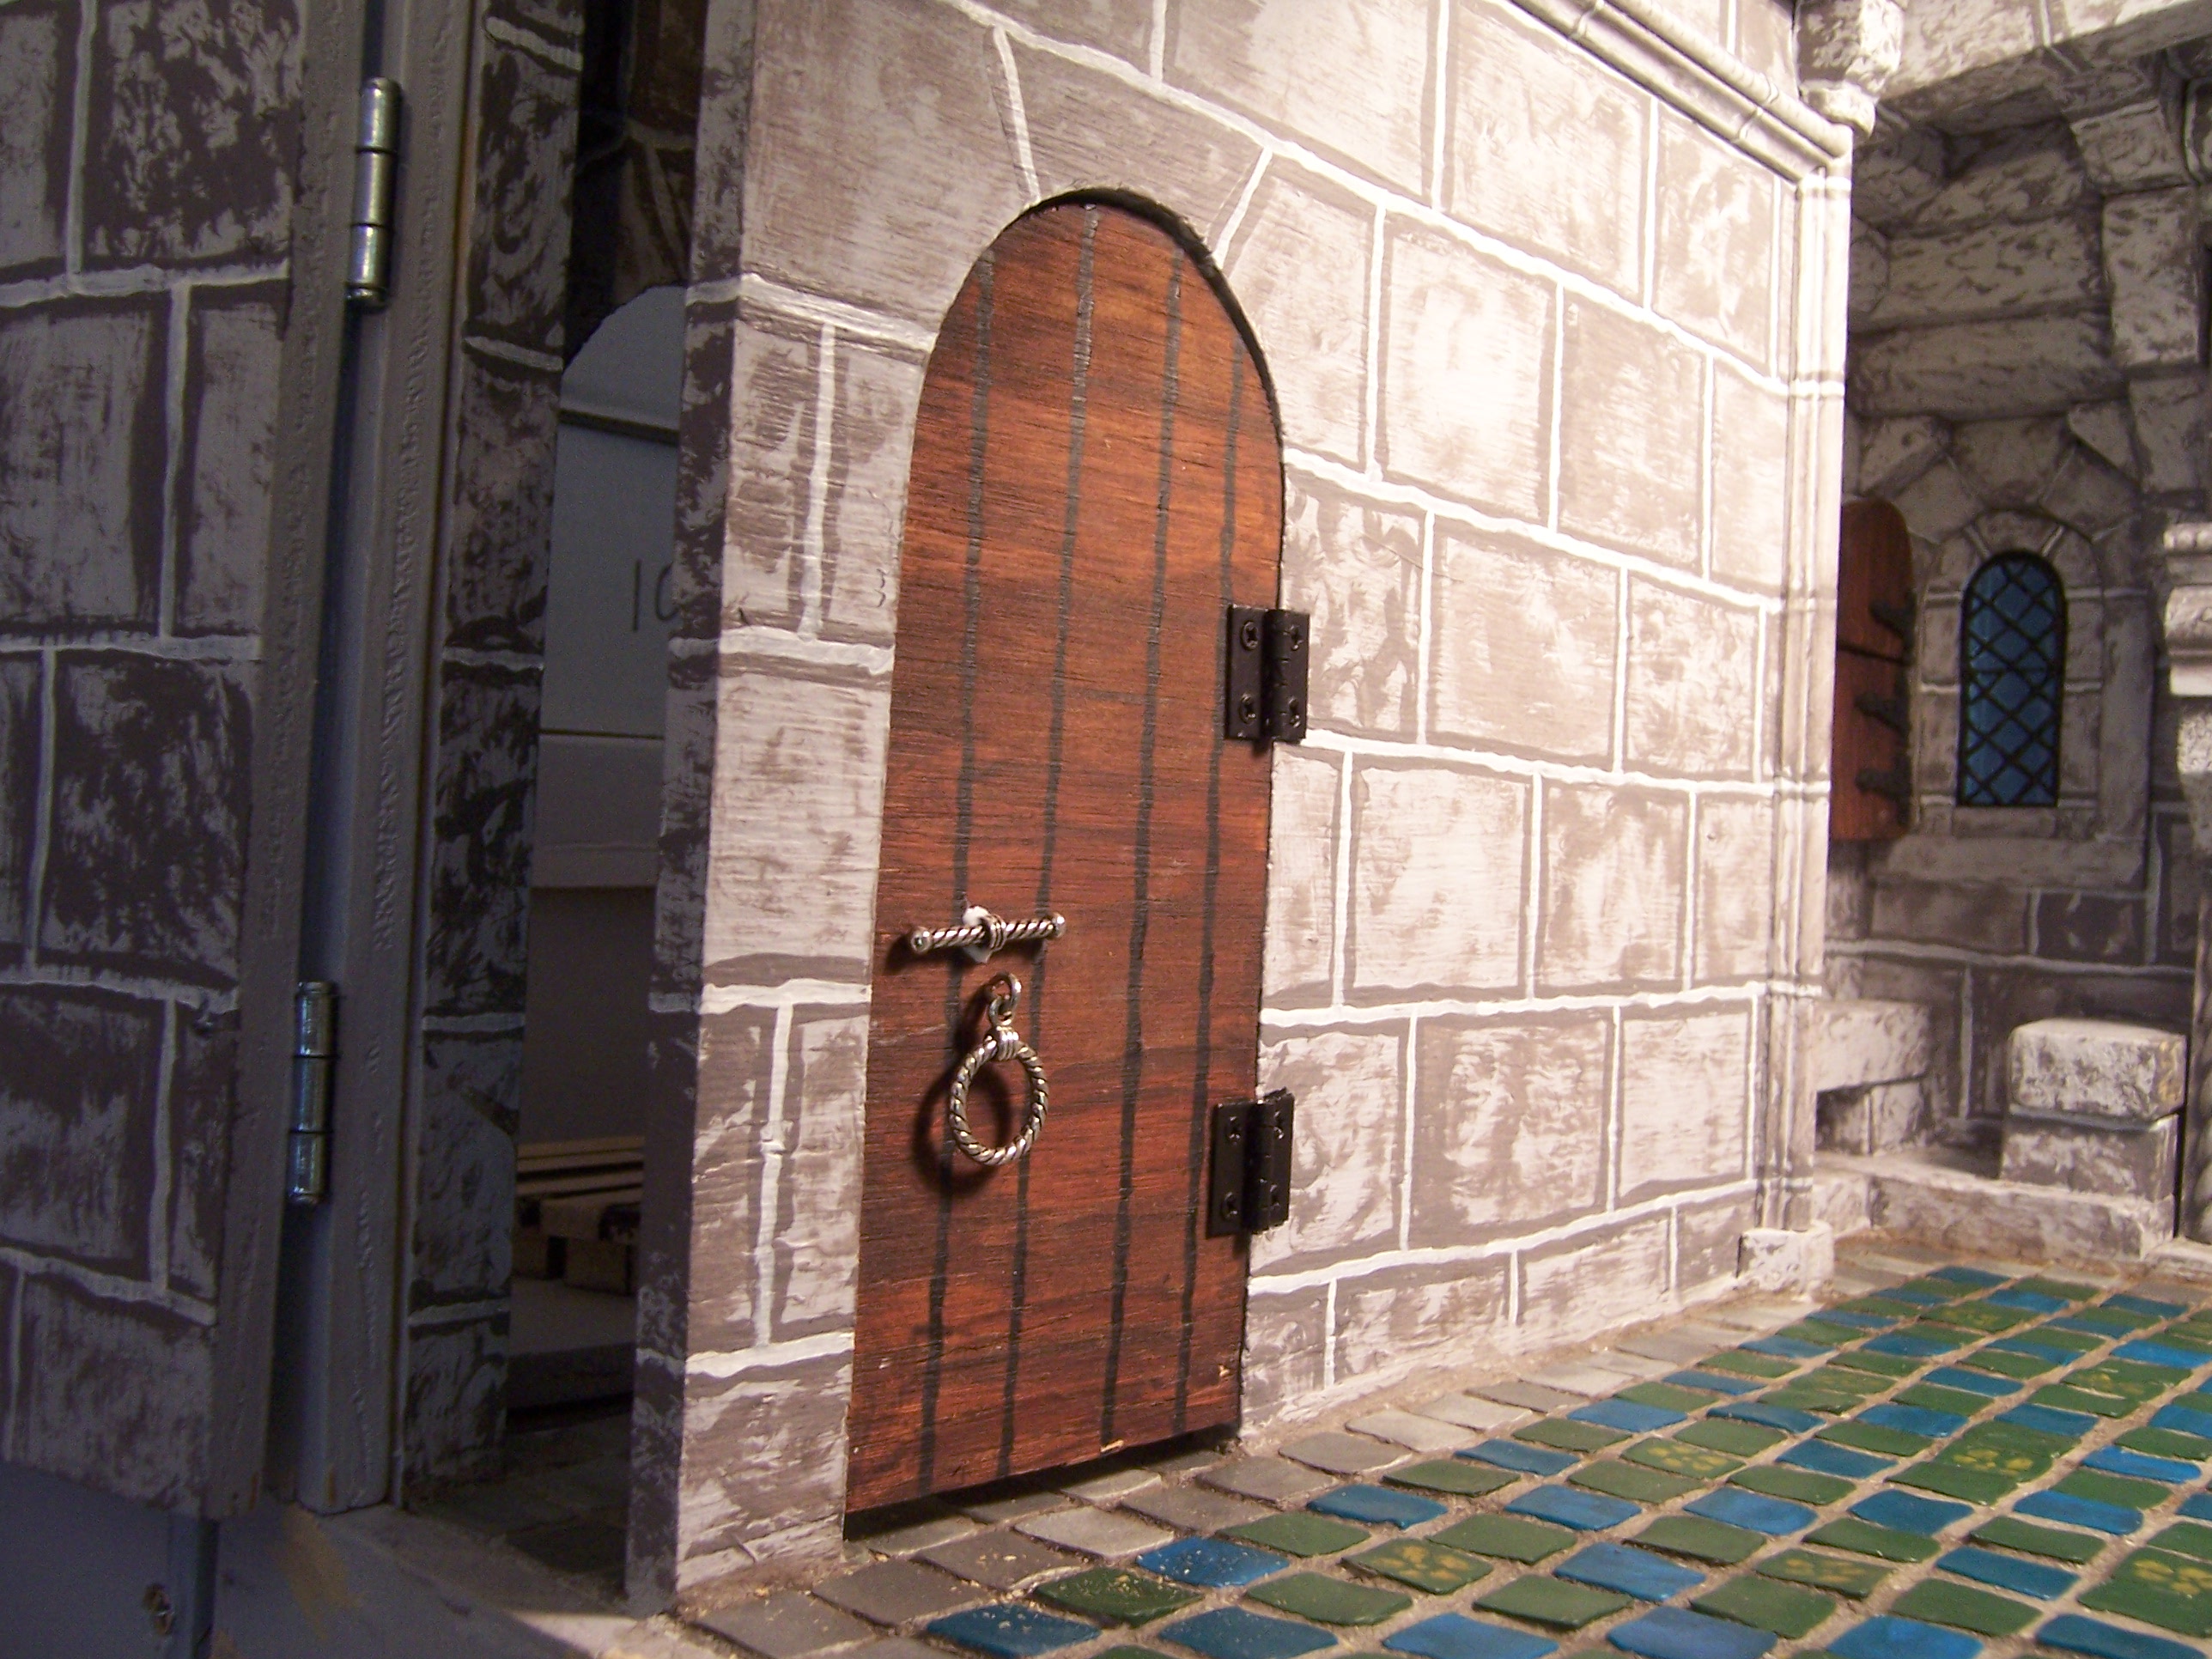
I added the door hardware to the Bedchamber door!
(Yes, I know, I still have not added the "rocks" that surround this door!)


And some huge hinge straps made from sculpey....
Nothing delicate about these!


I painted all the brass hinges on the window shutters black
 so they resemble iron not brass...


And I even got around to hooking up the wiring
 for the fire in the Lord's Bedchamber fireplace!
(It might be hot now, but Winter is not far off...!)

 
 I know it is really hard to see, Dear Readers,
 but I wanted to show you the Bedchamber lit at night...
with only the fire and the two candles...
The Medieval Castle is a dark and moody place...
but I think I can say the floor is fixed!

Tuesday, August 9, 2022

Grout....


 Challenges....

In Spite of a serious Heat Wave (days and days of above 90 degrees temperatures) Dear Readers, I decided that I might as well apply the grout to the Lord's Bed Chamber floor tiles. It would not take too long to do, and I could begin in the early part of the day before it became just too hot to think clearly. Above you can see I got right at it! I am using the pre-mixed grout I have used many times, bought from Hobby Builder's Supply. This time I did not have to wait for months for it to arrive. The basic plan is you smear it on making sure it gets into all the cracks and then before it begins to harden you wipe the extra grout off with a sponge. You have to wipe repeatedly because it doesn't all clear of in one swipe. So you apply it for a while then wipe for a while...

It leaves a film of grout that becomes chalky as it dries,
 so you go over it again with a damp sponge more than once.


I remembered to take some pictures as I went...


You have to not wipe too hard or too soon
 or it just pulls the grout out of the cracks.


You need to keep coming back for a while
 to make sure you have wiped the surface clean.
But as I was making one of these inspections, Dear Readers,
 I noticed an alarming problem!


I noticed that the "varnish" on the tiles had peeled in places!


And on closer inspection I could see it was partly gone from many of the tiles...
 including some of the ones with the painted roses!


Ay-yi-yi! What to do?
I had to just walk away.
It was too hot.
I couldn't think.
I have never had this problem before!

And the following morning... 
(still even hotter than the day before...)
Could I even bear to look....?


I know... you can't see a thing without the spotlight...
but I could tell it had not fixed itself overnight.
I reasoned that I needed to "muddy up" the grout anyway,
 in order to seal it and age it.... this is an old Castle after all...!
If I was going to have to apply more varnish to the entire floor,
 the grout would need to be aged first anyway.


This is another messy task. 
I mix a very watery blend of black and burnt umber acrylic paint,
 and slather it onto the floor with a large-ish paintbrush, 
and quickly wipe the mixture off the tiles
 before it has a chance to dry.
The grout soaks up the paint mixture,
 which is largely water, 
so you can't really tell how dark it will be when it is dry.
You just have to carry on... mix, slather, wipe and repeat.


And I was hoping it would not further alter the partly bare tiles...!
But it had to be done.


Then you have to leave it to dry thoroughly.
And when it is... the next day... or two even...
 because it is too hot and I don't dare look....


Can we see where we stand?
The grout looks fine.....if a little blotchy....
The tiles need a lot of repair.


*Sigh...*


It really does need a lot of repair.


Just when I thought I had tiles and grout all figured out, Dear Readers,
 it appears I have a whole lot more to learn!
Unexpected Challenges.......!


Tuesday, August 2, 2022

The Lord's Bed Chamber Floor...


Tiles....

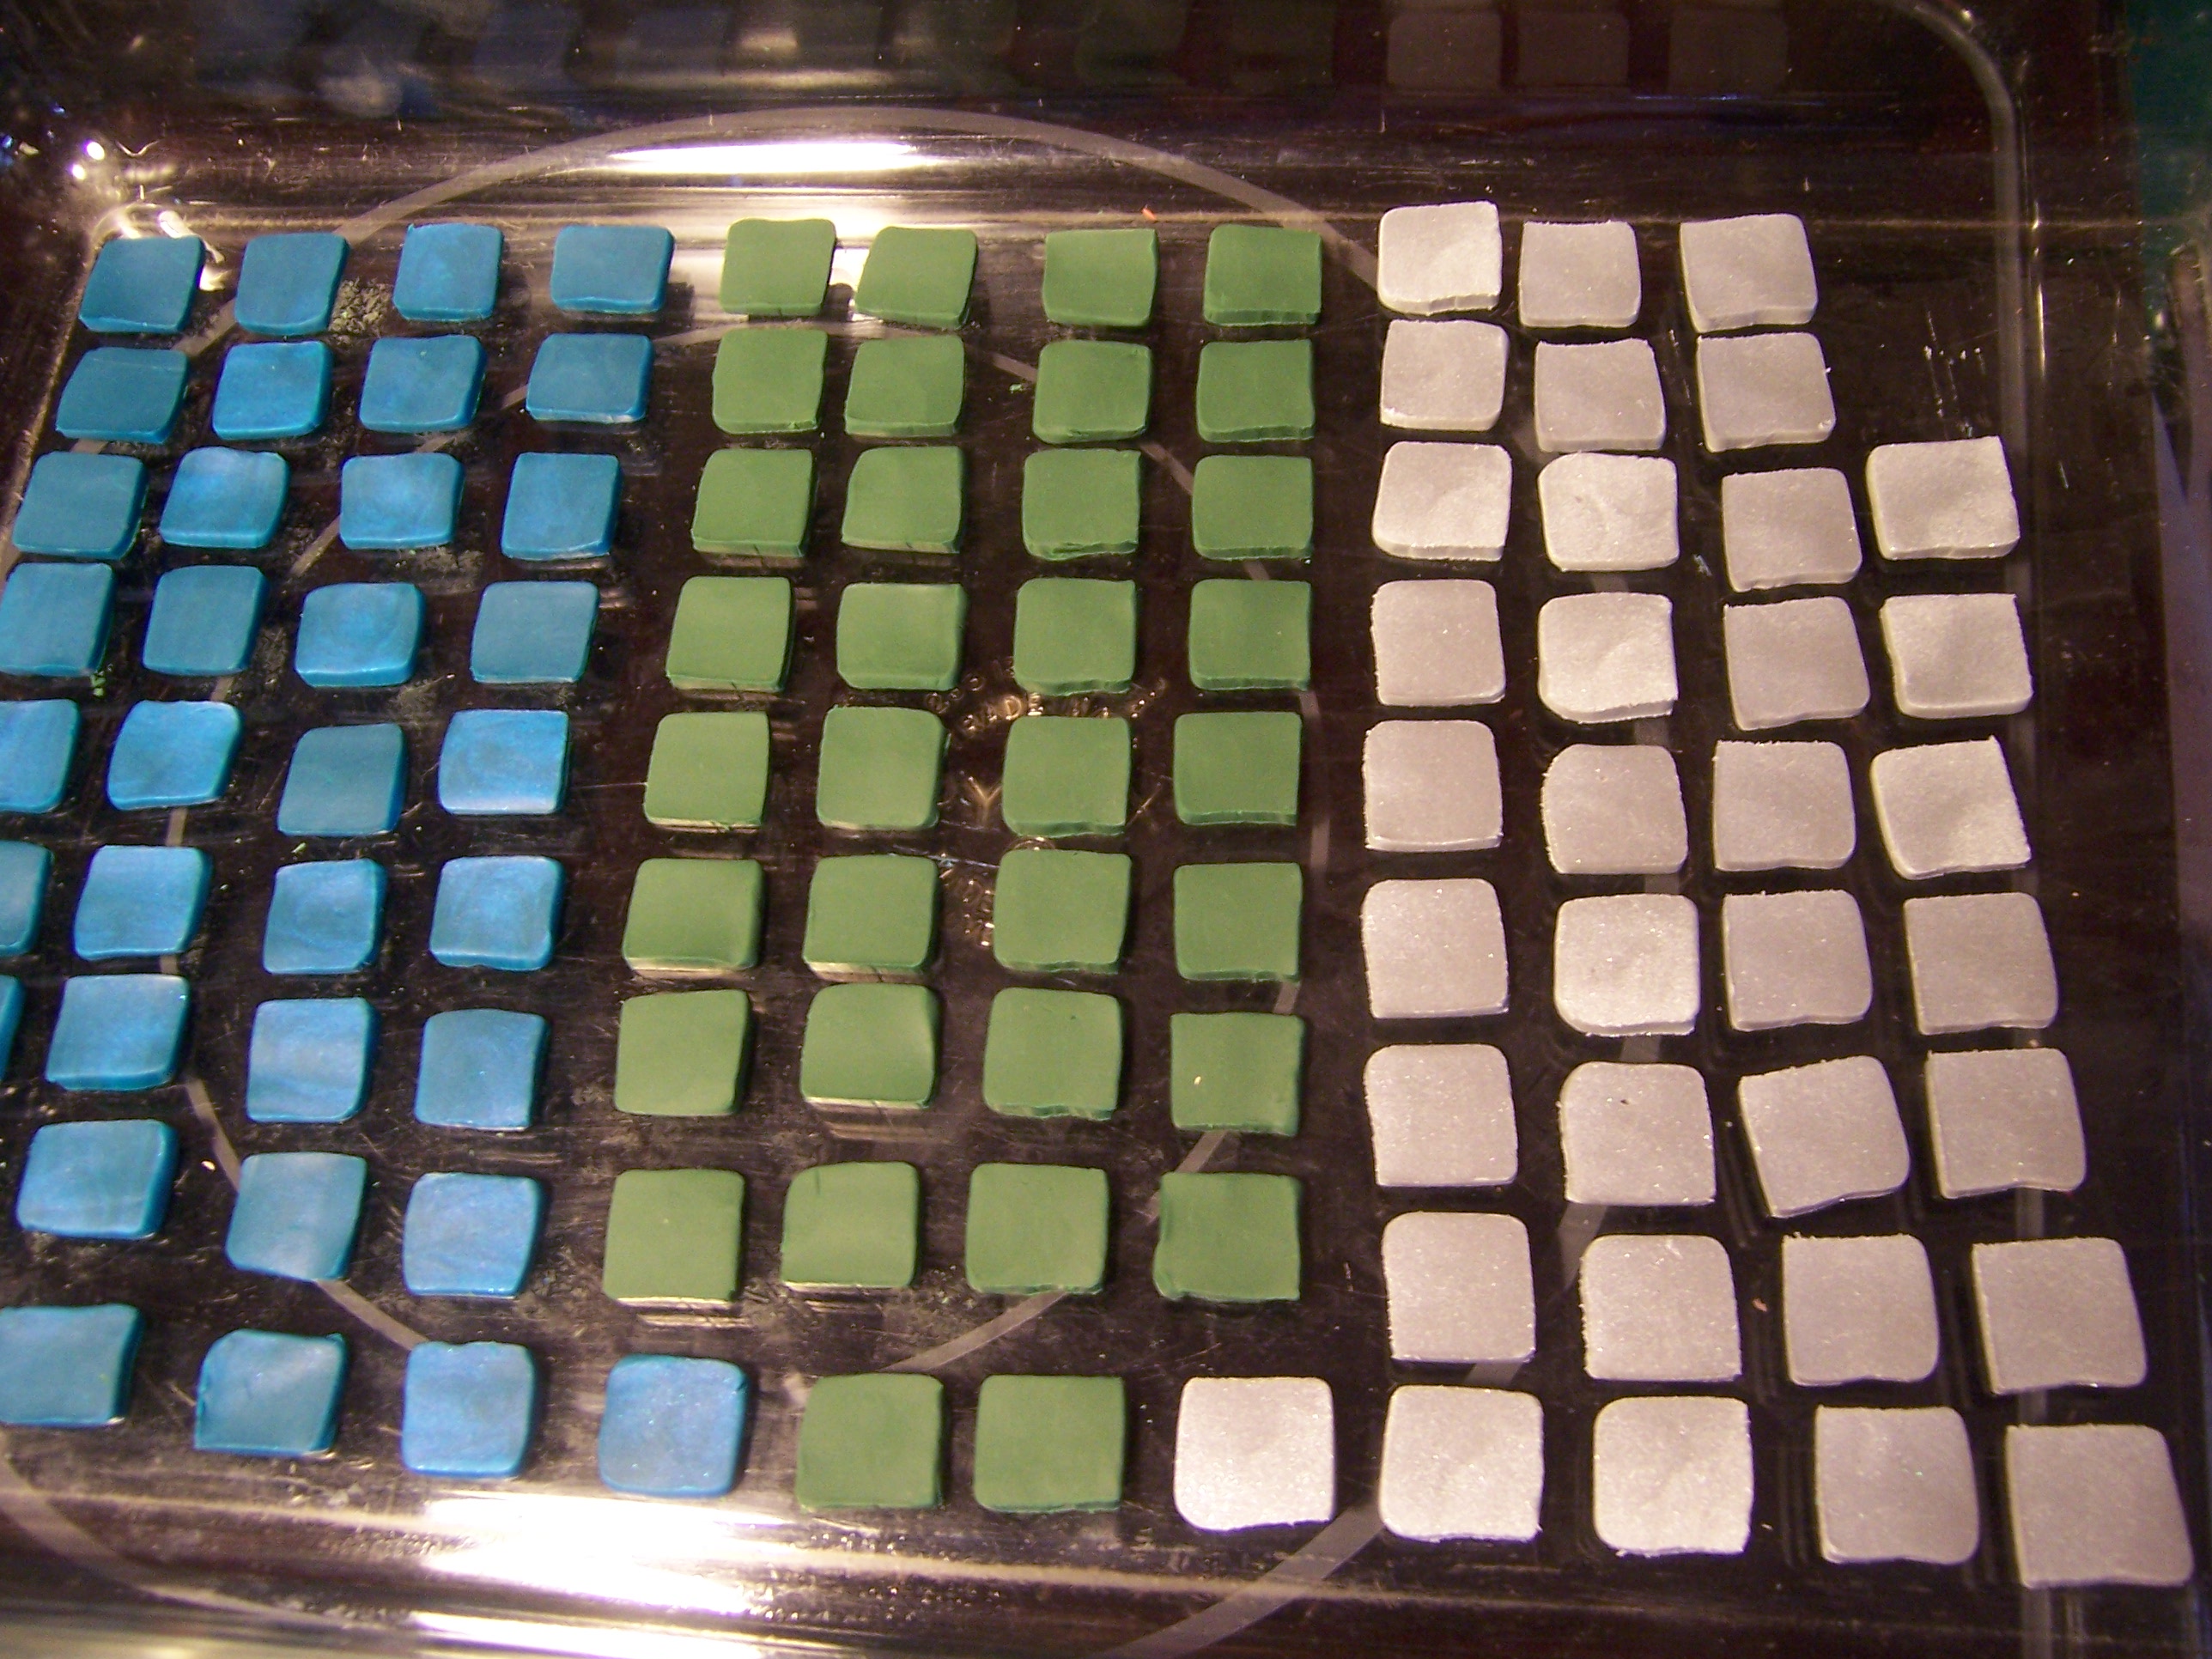
Way back in the Springtime, Dear Readers, as I was contemplating the future flooring for the Lord's Bedchamber, I could only imagine a deep rich agate-esque green tile floor. I was envisioning a forest glade in springtime with dappled sun on green! So I bought sculpey in various green and blue versions, not being sure how they would combine or look when baked. In the above picture you can see the first run of green, teal and silver tiles. The silver are so beautiful and glittery, I couldn't resist. And once the teal ones were baked, they revealed a lovely iridescence too! But how would they look in the dark gray rocky walled chamber? Well, I had to do a sample test run.

Here you can see a batch of the tiles, on a sheet of cardboard....
Slid in on top of all the construction debris....
 just to see if it looks about right...
And I think it is heading in the right direction!
But I needed to design a "pattern" for the colors...
Not just an ordinary checker-board bicolor scheme.
 

And after some experimentation, 
I arrived at a basic green,
 crossed with diagonals of teal,
and bordered in silver.
But it still lacked something of sparkle....
 until I decided to paint a gold rose
 in the center of some of the green tiles.
As if the blossoms were strewn on the forest floor!


Here you can see them from above...
 all laid out for testing the spacing.
The gold roses are in the centers
 of the diamonds formed by the teal tiles.
Sorry, I don't have any pictures of the "before"
 with no painted roses.
As far as I was concerned, 
it looked good enough for a bed chamber!
So all I had to do was glue them all in place!
This is harder, and slower than it sounds!


First, you have to have enough light, and room to manouver,
So I removed the ceiling and propped a lamp in place.
And spent the hot days of the weekend slowly gluing tiles.
In order to keep the pattern correctly laid out,
 I remove several rows of tiles, in order,
 onto a strip of cardboard...


Here I have already glued all the rows
 from the hearth forward to the open section.
Two rows of tiles are on the cardboard.
 I glue the next row in place, 
then slide the remaining row up
 and remove two more rows onto the cardboard,
 keeping them in order as I go.
Then I glue two rows in place...
 slide the third row up and repeat....! 
It took two days...
But it was hot... and I took breaks....!
 

Another view from above.
I left the tiles in the side alcove unglued until the end.
It was harder to reach into that space 
and the tiles needed careful fitting.


And eventually I got right up to the front...


And realized there was a gap where the floor
 should meet the "proscenium" of the room below... but didn't quite!
I needed to add a sliver of floor to keep the grout in place!
Which meant removing the proscenium of the room below....
(good thing it is still just screwed and not yet glued!)


Here it has been removed...
And because I have saved all sorts of those slivers of trimmed plywood.....


I had a decent selection to choose from!


I think this one looks usable...!


There! Now That is satisfaction!!
(Compulsive savers are vindicated again!)


And with the front row of tiles glued in place!


The bed alcove carefully fitted and glued!


And the chapel niche too!
All we need now is the Grout!
 

I don't know about you, Dear Readers,
 but I love how it is looking!
And I can't wait to see how it looks with the grout!