And Other Details....
I am Happy to tell you, Dear Readers, that fixing the floor of The Lord's Bedchamber was not all that difficult to do. It just required some courage, some time and some better weather! I was able to muster all three last weekend. I decided that I had nothing to lose by simply applying a coat of polyurethane varnish to the entire floor. It already looked damaged so anything I did was unlikely to make it look worse. But first, I did go over the gold roses where they had scraped away with the grout. Then I waited for the weather to become cool enough that I could open all the windows to ventilate the fumes of the polyurethane. Usually I either spray the varnish outside on my porch, or take the items to the cellar to be coated by paintbrush. But in this case, The Castle is way too big to take anywhere! I would need to apply the varnish in place. Late in the evening as the temperature dropped into the 80 degree range I opened all the windows and doors and applied the coat of varnish. Above you can see the floor still wet from the application. I did not pause to take any progress pictures. And then I left it to dry overnight.

And the following morning, I came to see how it looked....
I had used a matte varnish, and my biggest concern
was that it would leave the tiles looking too "flat" and drab.
But I actually think it has given them just the right amount of smooth patina!
And the grout is not noticeably darker either, which I am glad of.
And it is not obvious where the gold roses were repaired,
which is also a good thing.
The teal tiles may have lost a little of their Iridescence...
but I suppose we can attribute that to the aging of the tiles....
and I don't suppose anybody would notice
the lack of something they did not know was supposed to be there...!
So can we call it fixed?
I am calling it fixed and possibly better than before!
And while I was fretting about the floor, Dear Readers,
I realized I had skipped a necessary step
that should have been done before I grouted the floor!
And needed to be taken care of now....
The front wall of the room below the Lord's Bedchamber,
the framework for the opening doors that I call the "proscenium"
had never been glued in place!
I needed to carefully unscrew the screws and gently pull the wall off
(where the floor grout had attached itself I had to carefully cut apart)
And then I applied the glue and screwed it back in place!
Of course, you can't tell it's been glued!
And then I applied the wood filler over the screw heads....
and will eventually repaint them...
so it is clear that the wall is no longer removable!
And since I was taking care of so many unfinished bits....
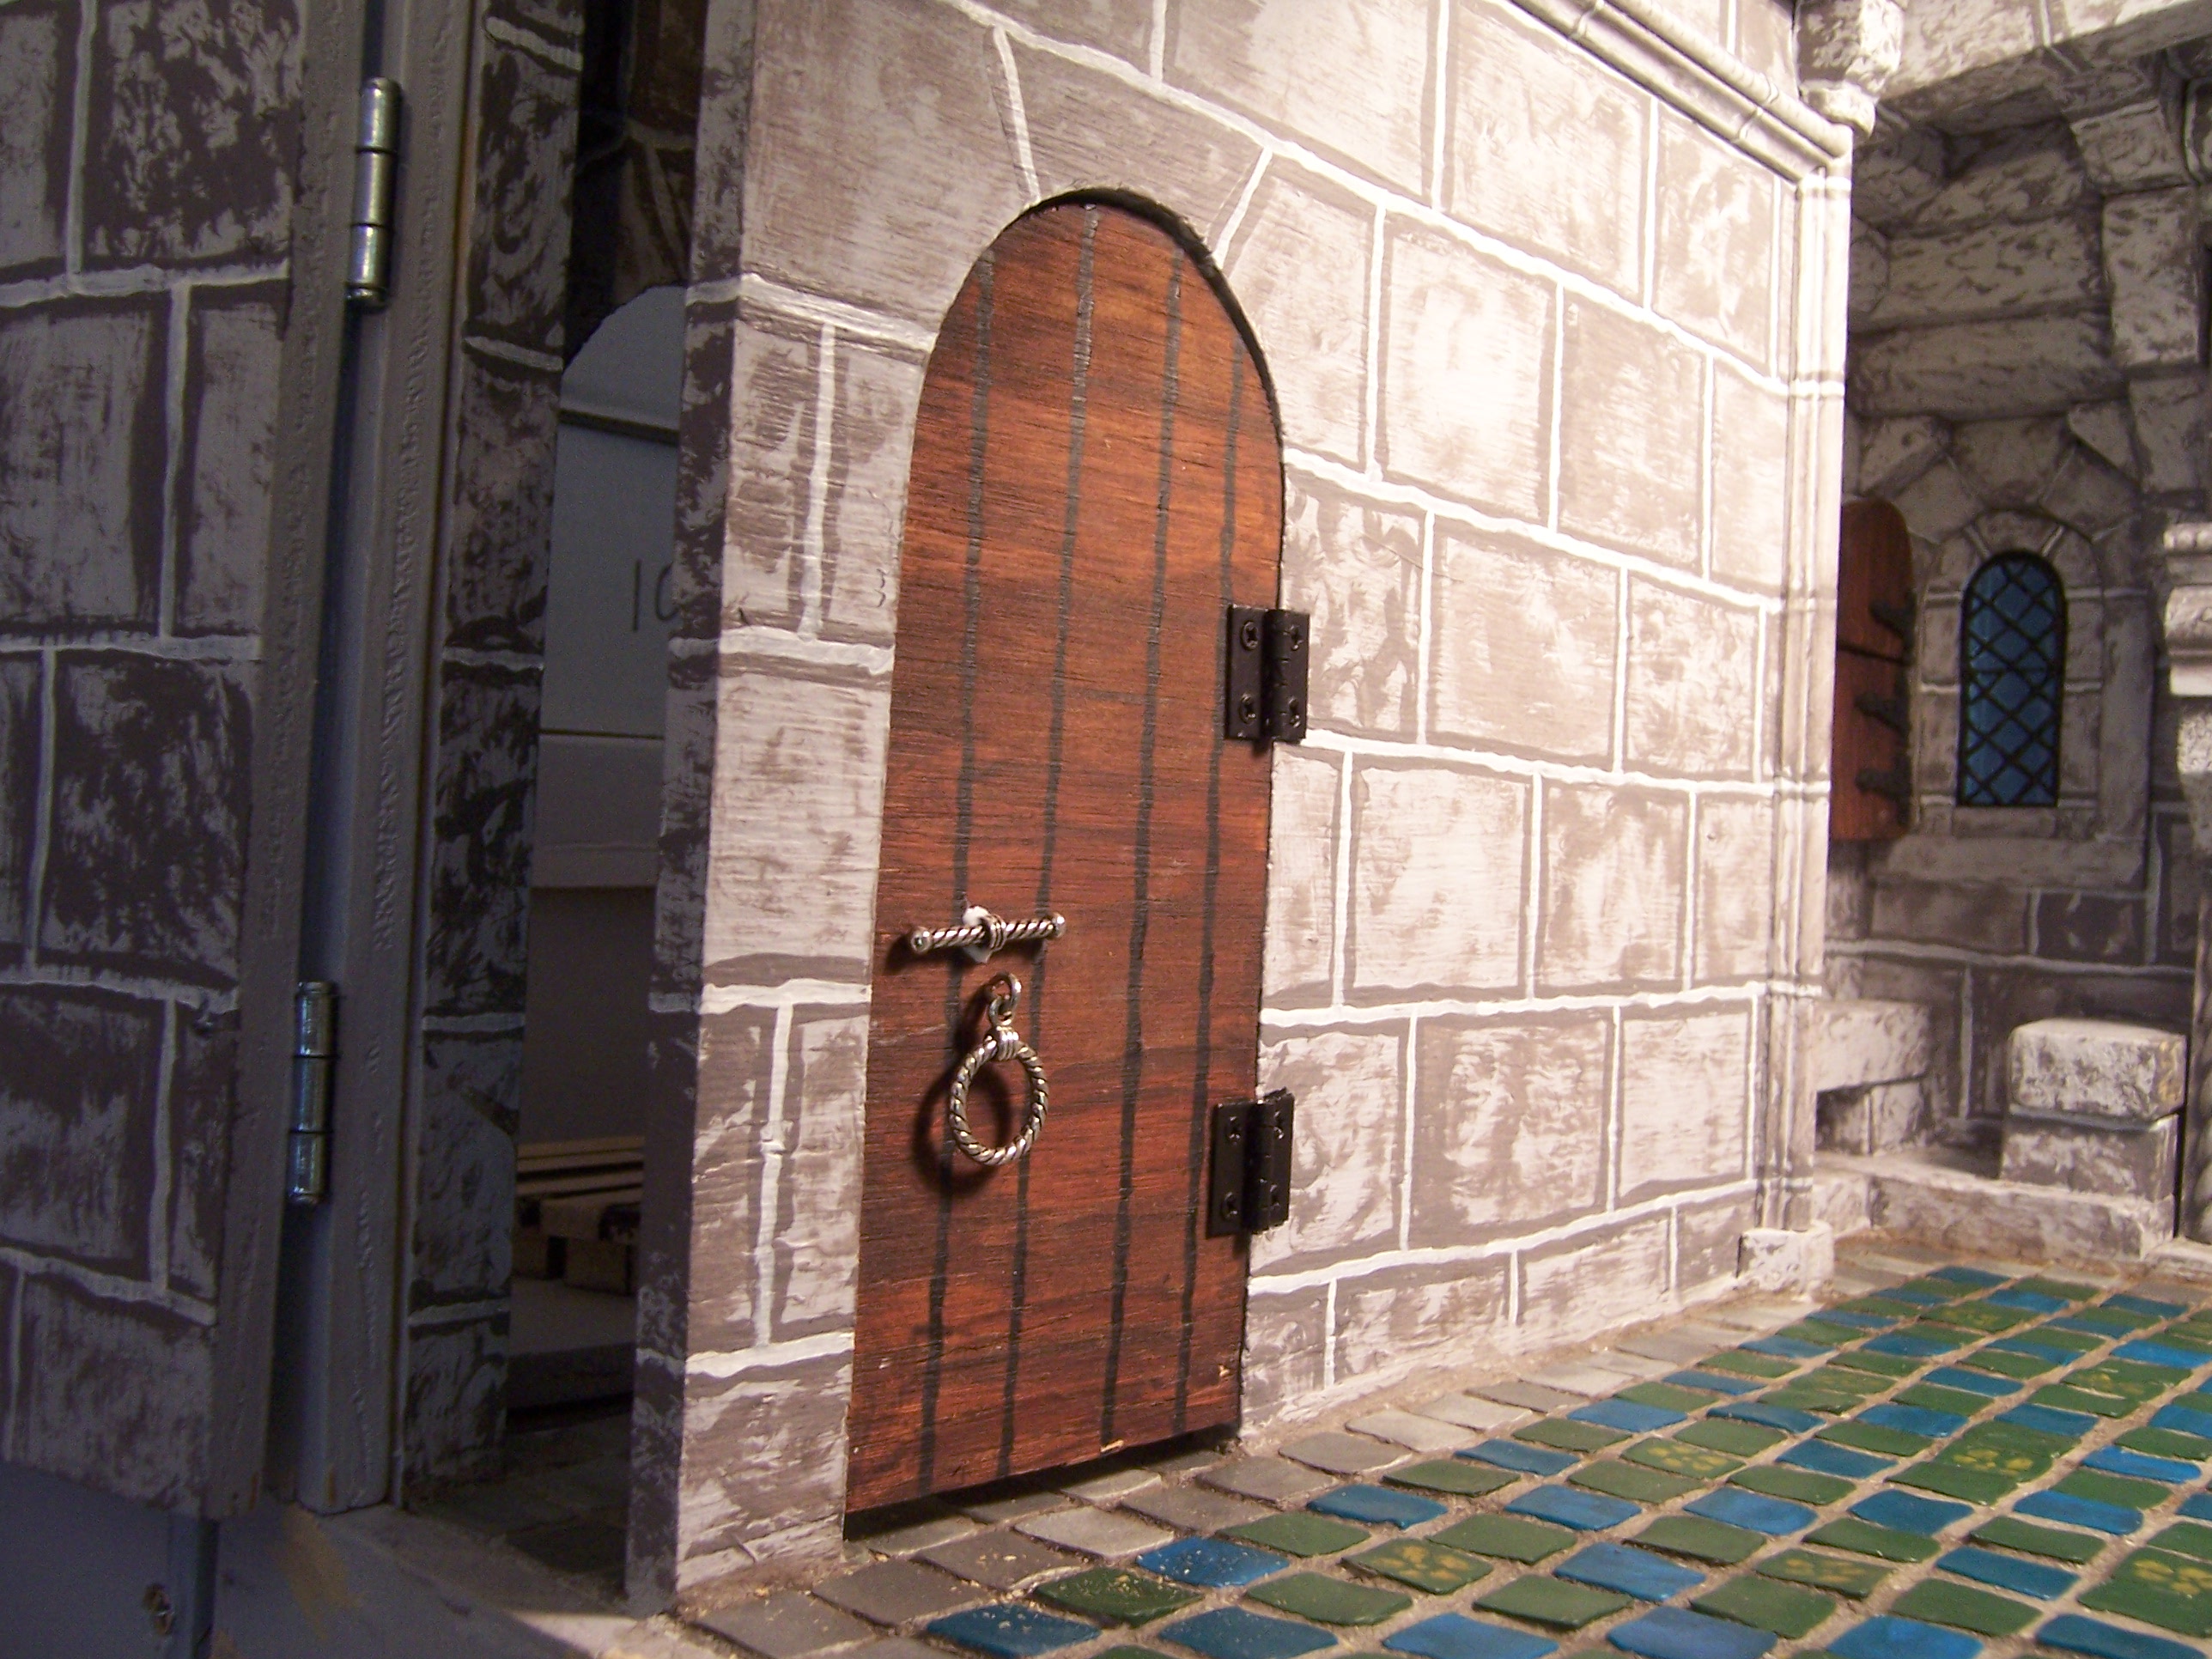
I added the door hardware to the Bedchamber door!
(Yes, I know, I still have not added the "rocks" that surround this door!)
And some huge hinge straps made from sculpey....
Nothing delicate about these!
I painted all the brass hinges on the window shutters black
so they resemble iron not brass...
And I even got around to hooking up the wiring
for the fire in the Lord's Bedchamber fireplace!
(It might be hot now, but Winter is not far off...!)
I know it is really hard to see, Dear Readers,
but I wanted to show you the Bedchamber lit at night...
with only the fire and the two candles...
The Medieval Castle is a dark and moody place...
but I think I can say the floor is fixed!


The floor turned out absolutely beautifully, Betsy! No one would ever know that at one point it was the object of so much consternation! Nice recovery!!! And, you proved yet again, that even when things don't go exactly as planned, you are made of the right amount of bravery and perseverance to figure it out! The firelight/candlelight ambiance is magical, as is the handsome door hardware! Another room in the castle almost done! Give yourself a huge atta girl from me! 💗
ReplyDeleteI love how it looks. You'd never know that it wasn't intended to look exactly as it does. And the hardware of the door is wonderful!
ReplyDeleteI'm so glad to hear you've been able to fix your issues with this floor and the result looks so awesome and beautiful that nobody would ever guess anymore that there had ever been an issue at all. In fact I suppose it even adds to the realism as in an old castle centuries ago floor tiles have not always been as shiny as ones coming directly out of the store. ;O)
ReplyDeleteAnd it's also great to see you caring about details - and even fixing walls. My, this is progress! But most of all I enjoyed the two last pictures showing so much atmosphere. And the last one shows so well how good it was to add the candle at the left side - although it is cut off in the photo it brings a lot of light to this side of the room.
Hugs
Birgit
Your recent labors on the floor and the door, have not been spent in vain Betsy. Your Lord's Bedchamber is looking Fit for A PRINCE!!!
ReplyDelete¡Felicidades has conseguido un precioso suelo!. Me encanta el contraste con el gris de la piedra.
ReplyDelete¡Y con la chimenea encendida es genial!
Super blog
ReplyDeletePlease read my post
ReplyDelete