Showing posts with label Medieval Ladies Tapestry. Show all posts

Wednesday, May 6, 2026

Flowers.... Flowers......


And Still More Flowers.... 

Well, Dear Readers, It is that time of year when we are swept into Flower Season in a great heady rush of blossoms! The Trees, the Shrubs, the Gardens, the very lawns at our feet are bursting abloom and transforming the world from a bleak landscape to a colorful wonderland seemingly overnight! Ahhhh, I do Love springtime! And, of course, here in Blogland it is the season to bring forth the Lilac Shrub in all its Spring flowering glory! It is such a brief season, lasting barely a week or ten days in RL, but I allow it a slightly longer run here in Etherland. There she stands! The ancient lilac beside The Folly porch, scenting the air with that wonderful aroma.... (well, in my imagination, at least!) and filling the hearts of all passersby with Joy! If you wonder why it takes me so long to finish my Dream Landscapes... this is the reason! It is so beautiful, but agonizingly slow to materialize! And now, every year I get to revel once more in the awe of this miniature shrub!

 
We have been experiencing a lot of cloudy days recently,
 but I was able to get pictures of the Lilac in sunlight 
yesterday morning before the clouds moved back in.

 
If you Really need to know about the making of these blossoms.... 
you can read about it in the archived posts for 2018
  (beginning in March) and (ending in October 7) 2019. 
It took a year and a half to make the shrub in four seasonal variations! 
Yes, sometimes it just takes a huge amount of time!


But, oh, it is so satisfying when it is done!
 
But that is not all the flowers I have to share with you this morning. 
I also have been stitching up a "milles fleures" 
 background for the Medieval Lord Tapestry!

 
Some of you might recall the previous Tapestries
 I have stitched in this series, showing the background
 liberally strewn with blossoming greenery. 

 
Here is the original kit picture for reference. 
Because I moved and changed so much of this design, 
I found almost no spot that I could stitch as the kit had specified,
 except for the part to the left of the Lord's head. 
I also had widened the area being stitched from 3 and 3/4 inches 
to 4 and 3/4 inches, so there was really no comparison.
 But I decided that it would be best to use the "flower forms"
 as designed, and just fit them in wherever
 I could in the new design! 
I also tried to keep a similar overall balance 
of pale and darker blossoms and to "sprinkle" 
them in a natural seeming arrangement.

 
Here you can see the "finished" addition
 of the kit designed flowers. 
But some of you might also recall that I had
 added a few more flowers to the 
other pieces of this Medieval series.... 
Lots more in fact!

 
In case you needed a reminder.... 
Here you can see all three of the Tapestry "fragments" 
lined up next to each other for reference.
 The one on the left is the first I stitched
 and I only changed a few details of the headdress
 of the lady to the left and added more flowers, of course. 
The middle one I designed the Lady to the right
 as well as all the background to her right, 
plus the added flowers. 
So you can see why I have to continue
 with this altered background for the Lord's Tapestry!
 
You might have noticed there are no blue's in the Lord's Tapestry 
(other than the midnight blue background) 
and I had added tiny blue flowers to the others. 
I dug around in my archived kits and 
found the threads for the Lady's Tapestry...

 
I keep the remaining threads, needle and charts 
in clear plastic pockets in a binder for just this reason!
 The blue threads and some of the green threads
 I used were all right there!

 
It was just a matter of fitting more flowers
 into the background wherever I could... 
keeping an eye to the color balance too. 
There are also tiny "white" blossoms being added... 
but they are nearly impossible to see until the background is stitched.

 
 Here all the flowers have been added... 
before the background midnight blue is added.

 
Which is quick to follow... 
because we need to see how it will look...!

 
And Oh, how I love what it does to the colors!
 
But not to distract you, Dear Readers, 
I have also been stitching a few "flowers" 
on the Chinese Dragon Carpet too!

 
Now that the daylight is lengthening and the light is stronger, 
I have been working on the Dragon Carpet again. 
It needed the corner motif's redesigned
 from what the original kit specified. 
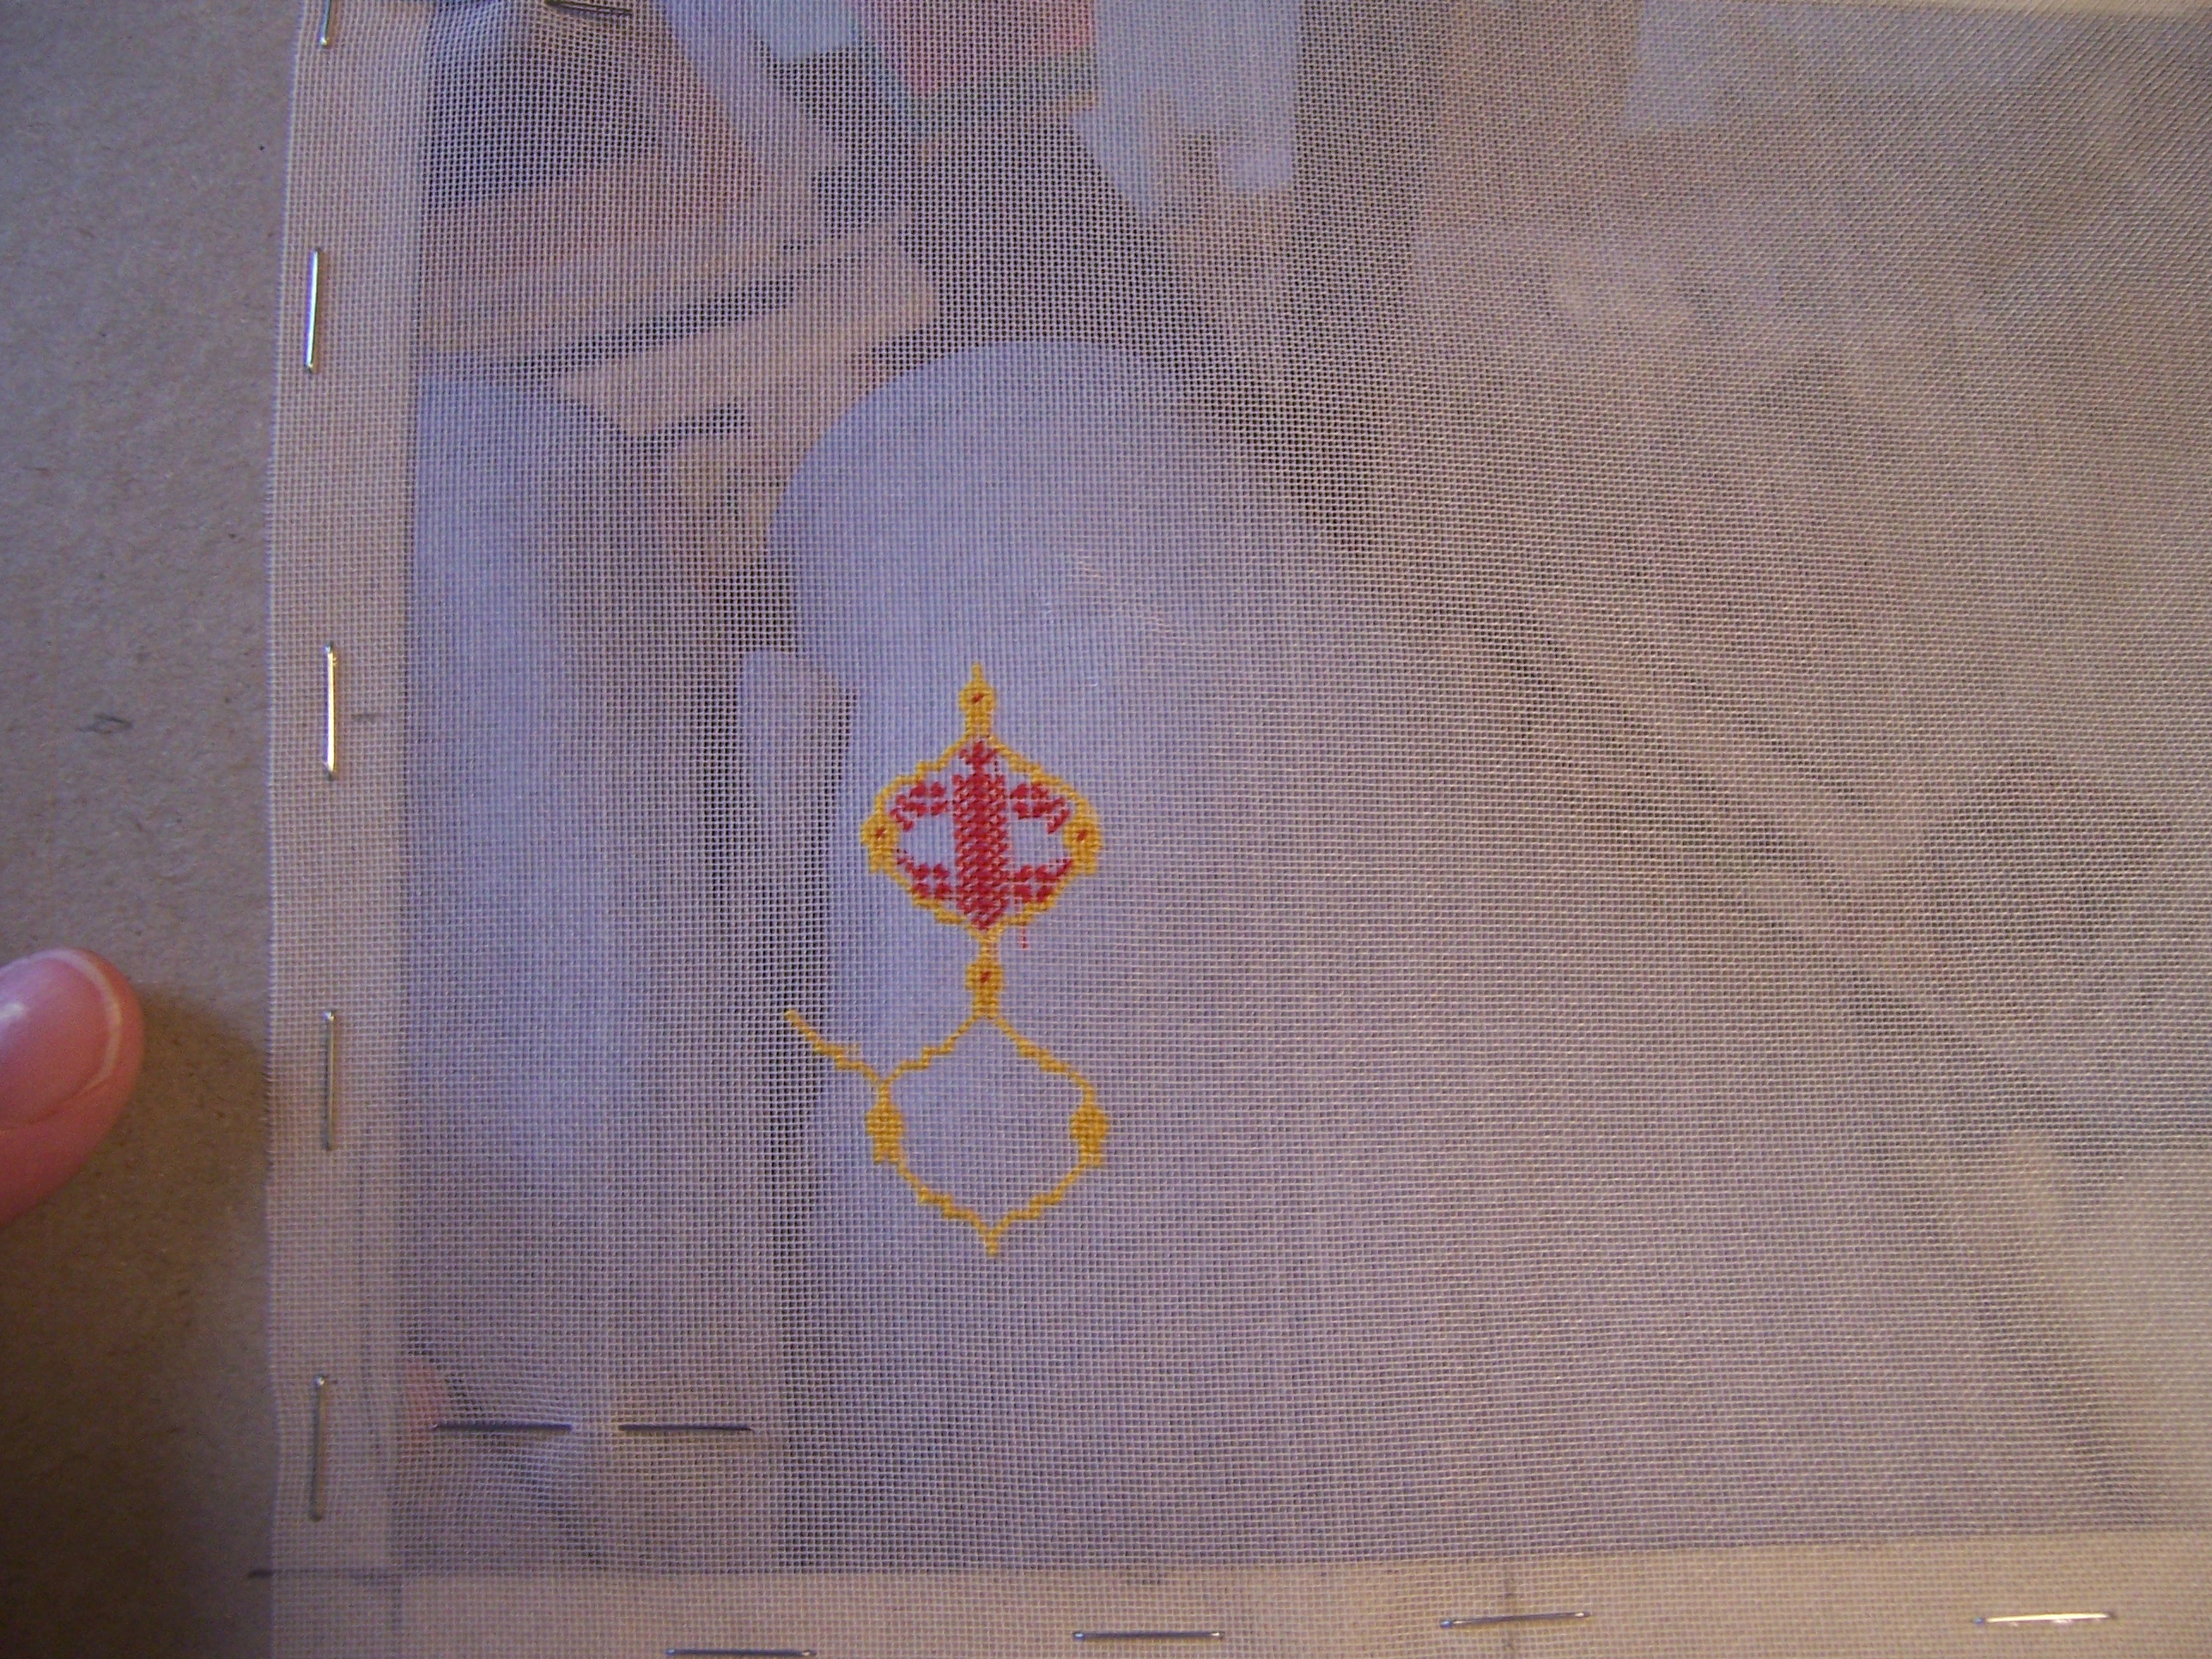
But first I had needed to add all the little "golden blossoms"
 to the chart in the appropriate places. 
Because I had changed this design too,
 I had to alter the position of these blossoms.

 
And I had redesigned the corner motif entirely! 
I wanted to carry the central motif of the sun
 out to the corners, and balanced it with 
additional golden flowers just inside the corner.

 
Here you can see I have added the golden flowers
 to all the corners and the "sunburst" to the outer borders as well. 
Now all I need to do is design the remainder of the borders.... 
and stitch the white background... 
that will take a while!
 
Well, Dear Readers, I have been
 Wallowing in fields of blossoms lately,
 stitching Flowers, flowers and still More flowers.... 
and Loving every minute of it!


Tuesday, June 10, 2025

And More Stitching....


No End In Sight....!

I Have been stitching a Lot, Dear Readers, as I find it a soothing activity in these Troubled Times. In the above picture you can see the cushions I have been stitching, and the Unicorn cushion has had the dark red outlining completed. It really makes the image clear, and reveals the places where the design just might have a few problems... like around the beast's tail and the fence... but no matter, those cannot be corrected at this stage of the work! And you can also see the incomplete Wyvern cushion, waiting for new colors of silk threads to arrive... some are on back-order and have a long travel to get here. As you might imagine, it did not take me long to add the red background to the Unicorn cushion. But having made so many in this series, I was neglecting to take progress photos.

Here you can see the Unicorn cushion is nearly complete... only one corner still needing the bright red! Of course, I finished it and neglected to get a good finished photo... because I'm stitching a lot! And the next cushion design (those two spaces need to be cushions...!) was probably going to be another of Candace Bahouth's designs... but I hadn't decided which... and did I have the right threads? Still to be determined. Which left me with a couple of my other not-yet-finished stitching projects, either the Chinese Dragon carpet or the Medieval Cluny Merchant Tapestry.... neither of which had been worked on in months.

You might recall that I was trying to decide which color thread to use in the "golden" border of the Chinese Dragon Carpet in order for the lovely Greek Key pattern to show. The thread included in the kit was so similar in hue that the design was not apparent. I had done several test samples, without being able to decide which would suit the overall design the best... you can see them here along the edge...

And then I realized that in order to really see what they would look like, I had to include the dark blue outlines too. On the one with the navy blue ground it just tones the contrast down a bit, while on the one with the darker blue ground, it visually widens the band and makes the dark blue more powerful. This looks great in isolation... but would create a very strong dark rather than gold feeling to the border! Hmmmm.... still not clear! But the one thing that is clear... is that if I keep stitching the gold... I make progress!


 (Sorry the picture is dark... we are having a lot of dark rainy days again...)

 
Look at all that progress!
 It felt like I would never be done with that pattern... 
but the gold is done! 
And there is plenty of stitching to be done before
 I have to know the color for the background of this border.

But do you even remember the Cluny Merchant tapestry, Dear Readers?

(I will be calling him a Lord, not a Merchant...!) 

 
This is one of Janet Granger's kits for Medieval style Tapestry.
(She has retired and closed her shop)
But I was never happy with the costume for this fellow. 
It was way too Tudor Era and not Medieval enough for me. 
I had already stitched two of her tapestries, the Medieval Ladies,
 and had radically altered one of them. 
It was time to tackle this fellow's costume problems! 

 
Here you can see the original chart 
and what I had stitched already that I was not going to change. 
(After I had un-stitched what I could!) 
The position of the hand and the drape of the sleeve
 needed to be a little different.
 And his under-tunic would not be visible at the neck. 
The collar would be wide and closed.

 
The era I am using is more 1430 than 1500... 
The belt is very low on the waist and the tunic very pleated
 and the sleeves and hat are emphasized and outlandish...

 
I needed to actually chart the new design....

 
Gradually adding the details... coloring in the squares....

And beginning to stitch the changes... the new hand position....
 

 Adding the fur to the collar....
 

 And beginning the hat.... and needing to alter the colors somewhat!
The original greens provided for the kit were too similar in the darker tones...
 
 
 I swapped the mid range one for a more olive green... 
and the lighter one for a more apple green.
 
And started the sleeves...


 Adding more fur on the sleeves....
 

And adding the belt and purse and starting the tunic pleats....
 
And here you can see him placed next to the
 Medieval Ladies Tapestry I stitched a few years ago. 
I have been "assuming" from the start that these tapestries are all 
fragments of a much larger original tapestry.
 The Lord's section is taller than the Ladies one,
 but it will not matter because they will not be in the same room... 
you will never see them side by side. 
And in the Medieval era they did not change the size
 of the figures for proportional reasons, 
but more for the importance of the figure itself.


Here I have finished the fur at the hem of his tunic
 and am working slowly on the pleats.
There is still a long way to go,
 and eventually I will get his horse charted too... 
but first I have to decide the colors for him...
 
Meanwhile, some of the threads I ordered for the Wyvern arrived...
Here I am adding the dark blue to the sky.
The charts for this are not easy to read... 
some of the printed colors are very similar in hue and hard to tell apart.
 Also the colors on the chart are not all close to the real stitched colors. 
When in doubt, I have been relying on the photo of the finished project in the book...
 and that one shows the sky as dark.


Here you can see I have begun to add the mid-range blue to the sky...
and I also stitched much of the bright coral color of the body.
The "fire" he is breathing is gold metallic thread. 
It was very challenging to stitch but it makes a great impact!
Oh, and you can see the completed Unicorn too!
 
So you can see, Dear Readers, 
I have been stitching a Lot...
And there is Still no end in Sight!
 

Monday, September 5, 2022

Stitching Progress....


 And More Stitching Projects....

I had Hoped, Dear Readers, that I would have completed the background stitching on the Ladies Tapestry by now, but other things have intervened and slowed the progress to a crawl. The Too hot weather of the past few weeks did not help, but I also worked on other lagging projects, some of them RL and some of them in the mini homes. We got a break from the extreme heat but didn't get the rain we needed until today. At last it is raining! It might rain all night and into tomorrow! Such a relief after the drought we have endured all summer. Suffice it to say, my attention to mini details has been scattered at best, with nothing finished and little to show. At least, that is how it feels to me, but when I look at the past few weeks I have accomplished a few small things! And I have kept at the stitching as much as possible.

Here you can see the background slowly surrounding the Ladies....


It is SO satisfying to see the dark ground
 bring out the colors of the gowns and the blossoms!

And here you can see that I am nearly finished....


Except that I got distracted by the Next stitching project....
Which will be a Doozey!


Can you even see the stitches....?
This is 40 count silk gauze...!
It is a kit I bought several years ago at the IGMA Show in Hartford,
 but quickly discovered that it was beyond my skill level
 so I put it aside.


It is a kit from Phyllis Stafford, IGMA Fellow
 and embroiderer extrordinaire. 
Sadly, she passed away last spring.
I think the pattern is gorgeous....!


But look at the chart!!!
(This is why I put it away so quickly!)
But now I have much more experience with 40 count stitching,
 and stitching from black and white symbol charts too.
I feel bold and adventurous....!


I jumped right in.... determined to get it started at least!

I use my magnifier for this scale work.....


I really wanted to see how it would look,
 with all the colors for this lozenge in play....
only to discover I had made a counting mistake in the yellow threads....
 way back in the beginning....! Way too late to unstitch!
But it is only a tiny one-stitch mistake that
 might never be noticeable once the carpet is complete.

So I will keep on stitching, Dear Readers, 
making good progress on my Projects!


Monday, August 22, 2022

And More....


 Stitching.....

I Don't know about you, Dear Readers, but I just could not wait to see how the background was going to look on the Medieval Tapestry! I had barely finished posting last week when I pulled out my needle and began with the midnight blue background. You can probably hardly tell in the above picture except that the edge of the Tapestry has become clear in the upper right corner. There were a great many "open stitches" tucked between all the leaves on the tree, and because the dark blue is very close in tone to the dark green, once all those open stitches have been filled with the darker color, the light green leaves really stand out. This is the effect I was hoping for! And it was an easy jump to filling in all the "open stitches" amongst the roses on the trellis.

Again, you can see how the dark background
 makes the lighter colors stand out.
The rose leaves were tricky, being so small.
They are mostly only three stitches,
 and I wanted the lighter color to highlight them.
But the darker color of the leaves are a bit too dark.


Fortunately, the trellis allows them to show a bit better
 than they would if it were just against the background.
(These are design lessons!)


I was quite eager to see how the background made the headdress look,
and I do believe it provides the right amount of contrast.
(What is the point of such an exotic headdress if it doesn't stand out!)


It was another hot weekend in this region, Dear Readers,
 so I didn't manage to get anything done except stitching.
And even that was slow going!


But even though I keep finding places I could have done better....
 more detail on the hound... the rose leaves etc.,
I am loving how it is looking Dear Readers!
There is plenty more stitching still to do,
 which is a good thing, because I Love to stitch!