Showing posts with label Mantelpiece. Show all posts

Tuesday, March 31, 2020

Lighting The Night.....


Why Things Take Longer....

It Was a Beautiful sunny morning on Saturday, Dear Readers, and I had high hopes of installing the Council Chamber fireplace and getting on with the floor grouting. There were just a few tiny details of the fireplace to finish first. Or so I thought. I had even put the first coats of blue (yes, my favorite Blue!) paint on the ceiling and was testing how it looked. Then I remembered that I had dreamed of lights on that castle Mantelpiece, and knew that I was going to have to test this idea before I attached anything! A few weeks ago (you might have noticed) I had attached the "iron" torch brackets to the chamber wall. These were made many years back when I was working on the lighting of the Great Hall... so long ago I am Sure it was the Dark Ages! And there was even one partly constructed "torch light" to try out.....

It was mid afternoon and the day had turned gloomy
 with the threat of rain
 before I had time to test the torch.... 
which was just as well, because it needed gloom
 to be able to see the effect at all.

I needed to find the mini "extension cords" 
to be able to reach the "candle" wires to the
 power strip on the back of the castle....
But as soon as I had one in place
 I could tell I liked this effect!

But is it too "Theatrical"?
It wasn't dark enough to really tell....

So I waited until it was night out.
And late.
I had spent the afternoon in the garden
 uncovering tiny bulbs and was too tired to think straight.
So the following day I realized that I should try
 all the lights that would be in the room before deciding anything.

It was a rainy day, which helped give a feeling
 of how the lights would look on an ordinary day.
(Forgetting that the Castle folk of long ago 
would not have wasted lights in the daytime...)

But they would have lit a fire on a cold damp day... 
so I had to "borrow" the fire from Hardwick Hall's
 unfinished Attic fireplace to test the fire....

And then had to rig up a second "torch" for the other bracket...
 to see if it cast too much light into the room... 
or lit the fireplace well enough that
 the candles on the mantle would be redundant....
But I couldn't really tell... 
because it was still daylight outside.

But if I unplugged the "candles".... 
I could maybe see how it would look if I decided not to use them....
Ahhh... clearly they would be missed!
Just the fire and the two torch lights would not 
be enough light for the Lord's Council Chamber!
 
 
So I baked the candle sockets into some sculpey "candles"
 and glued them into the Mantelpiece.

And a closer shot.
I wanted them tucked behind the Castle Towers 
so they did not glare too brightly... 
pretend they are mostly burnt down!

By now it was night again...
I have spliced extensions on all those wires....
But it was too late to even think of gluing anything in place!

Which was a good thing...
 because by then I had realized that I was going to have to
 build that rear window frame, tucked into that far corner... 
and wouldn't it be a whole lot easier to do 
Before I had glued the fireplace in the way?

So perhaps you can see, Dear Readers, 
while I am lighting the Night
with the meager light of Medieval candles,
Why things just take longer...!


Monday, June 25, 2012

Fitting Pieces

The Salon Taking Shape

Why is Progress always Slower than I think it will be? Well, I will tell you ONE of the Reasons, Dear Readers, is because I can't imagine how many times I will need to Assemble the pieces temporarily, just to check how it is fitting , or how it will look, only to disassemble it all in order to Work on the pieces! I thought it was going to be easier on the "above ground" rooms because the room could take on normal rectangular proportions with four solid walls (or three and an opening side;) and the walls could all be "decorated " while flat and slid easily into place! Well, maybe that would be the case if I didn't insist on having alcoves and vestibules and stairways inside the walls...... all the parts I love the Most because they make the space so interesting...! And then you must realize that I am building it inside a tree.... which means the shape is NOT square... and I am trying to maximize floor space because there is so little.... and then you will see that NOTHING is just neat and square! EVERYTHING needs to be tested and adjusted in place, and None of the pieces are attached so they keep falling over and getting out of place! But in spite of all that I have made some Wonderful progress on the Salon!
To begin with, I painted all the walls in a smoky antique blue that I am very fond of.....

And I also made a niche out of Sculpey for one of the corners of the room....
(This required quite a bit of Fidgety fitting!!!)

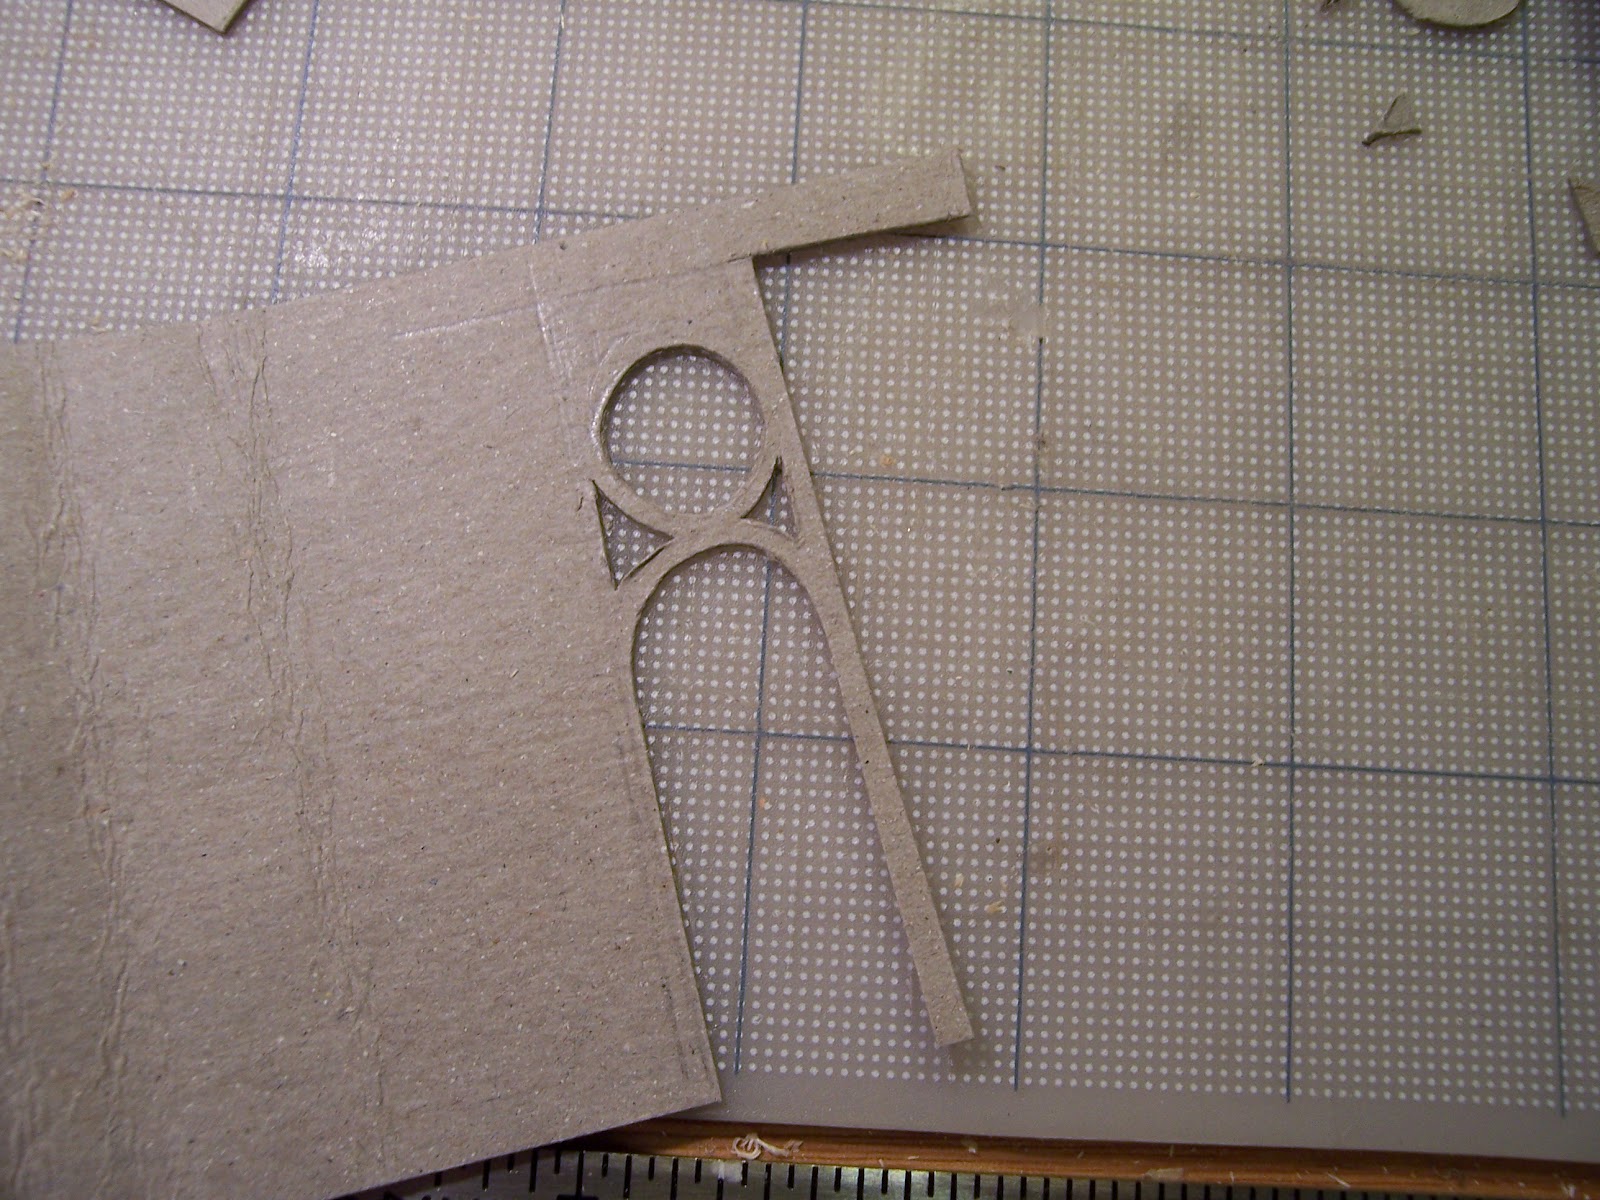
And then I began the long process of cutting the trim out of cardboard in the pattern I wanted for each wall...

For now I am just making the around the door framing.... 
the baseboards and chair rails will be added later when all the walls are assembled....
Here below you can see them all propped in place to see how they will look.... 
(after painting them all in a soft Dove Gray....)
(Can you guess how many times all the pieces fell over...?)

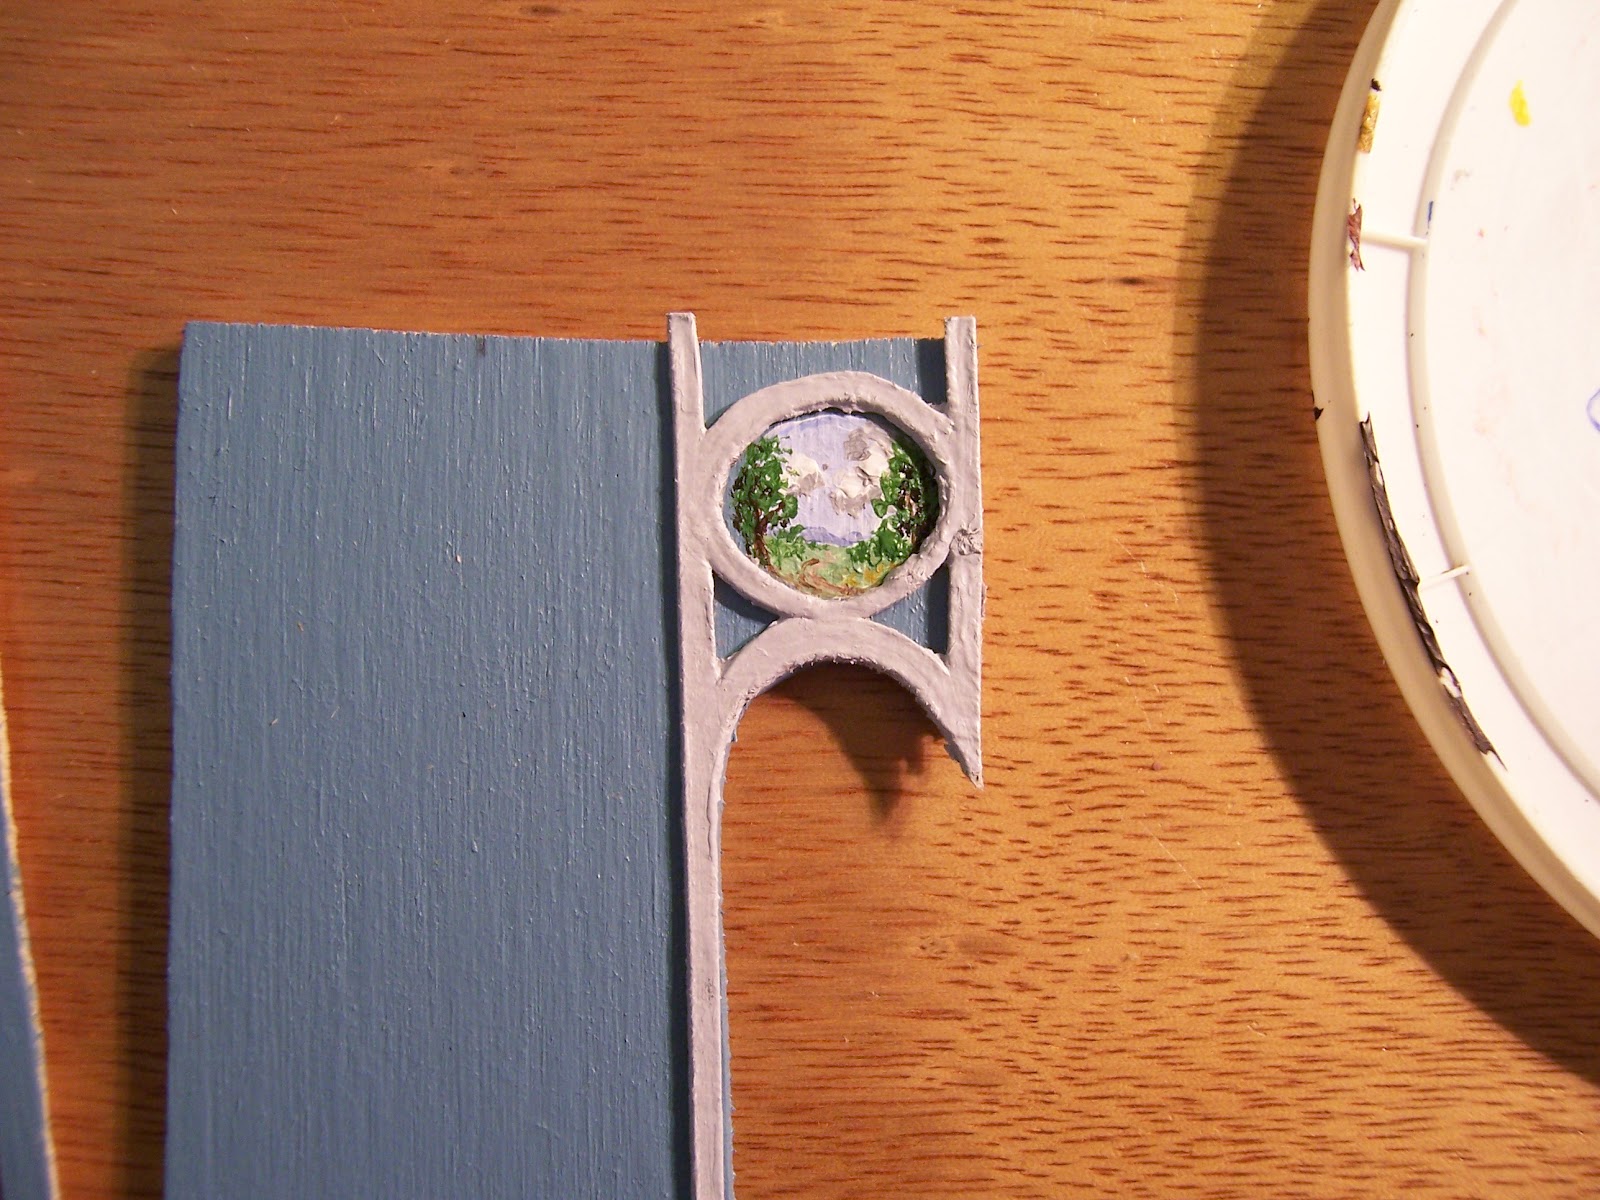
I had decided to make a "Roundel " over each door.... 
so I could paint a tiny scene in each!
Here below you can see the paintings begun.....
 
And here is more detail....
It is supposed to be a bucolic countryside... 
but it is only about one-half an inch in diameter so my technique is a bit rough.....

And here you see it with the framework overlaid....

And here below is another one...
This one has sheep... Can you see them... there on the left...?
No? ...
Well, never mind...... 
I will know they are there and even if no-one ever sees them and says "oh look, sheep!"....
I will not mind!

Here is another one... over the main door... 
I Hope you can all see the Cow and her calf?
(do be sure to poke the pictures to enlarge them... or even better... use the right click and choose open in new tab... then you can zoom in Really close... Scary close!)

And here you can see it with the door trim also temporarily in place...

And here is the fourth little painting....
I hope I don't need to tell you it is the shepherd with his sheep (on the left!) meeting the milkmaid on her way home with the milk.... the cow is not in this picture.....!

And here below you can see the same picture with the delicate gold rope border added.....

Here you can see the Cow painting with it's gold border added too....
The trims have been glued on , but all the walls are still unattached....

Here you can see them all propped together.... 
and I have started to paint the fireplace Mantelpiece...

And here is a closer view..... the better to see all the flaws.....
And you can see the Niche with it's sculpey shaped backing....

 The door needs a "crystal" doorknob......

 I have finished the "marbled" pillars in the mantelpiece....

 And here the niche has been made to fit snugly... 
it required a whole lot of very careful carving away of the excess material on the back side.
I will probably put a statue on a pillar in there.... depending on what I can find that is one inch tall!

 The stairs are not finished... 
but you can see where they lead up to the next floor.....
And here below you can see the whole room framework.....
still not attached but in place for fitting.....

Here below is a view looking down from the top.... 
I have attached the floor and the opening side door!

And here is the view from the side looking down..... 
with the stairs taped in place.... 
none of the walls are attached yet.... 
but we are getting closer!
On the right you can get a glimpse of the vestibule and front door... 
right behind the wire frame support....

And on the left in the alcove you can see there is a problem with the floor which will have to be disguised somehow.... 
I will still need to make all the baseboards and chair rails.... 
for the tiny bits of wall that require them
not to mention the ceiling trim and the ceiling itself....!

But maybe it is almost time to attach the walls?
Could it be that I'm almost done with fitting these pieces?