Tuesday, July 27, 2021

Slow Going....


 It's a Rocky Road....

You Might not notice much difference, Dear Readers, but to me it looks like progress, albeit small and slow progress, is being made on the Castle. To begin with, I have added primer to the front doors of the Great Hall. This was time consuming because we are in a very wet and humid time right now (we have had ten or more inches of rain in the past three weeks!) which makes paint very slow to dry. Add to that the need to not let the doors with their beautiful hinges and recent careful buttressing get out of alignment by disassembling them entirely. I wanted to keep the hinges clean of paint, but keep the same hinges at the same position on the same door section, so I only removed half of the screws at each section in order to paint or primer the wood before reattaching it and then doing the other half. I know this sounds ridiculously complicated.... and it was very time consuming.

Here you can sort of see what I mean... 
the hinges are only removed at one side at a time
 so they essentially keep their exact location on the doors.
And both sides of every panel needed to be primered, then painted.
The interior has been given the first coat of gray paint...
 

It is amazing to me how much difference the paint makes
 in the "illusion" that this is a rocky castle wall!
I am not yet painting the rock details on the exterior, 
because I am not sure what the final surface treatment will be!
But for now, watching the Castle gradually turning Gray
 from the golden wood color is a sure sign of progress!
But the really "Rocky" road I am traveling right now
 is the work on the junction of the Great Hall ceiling with the walls.
I showed you the beginning of my "adjustments" last week.
But to really make progress the ceiling needed to be removed
 and the walls needed to be prepared
 for gluing the new "rock beams" in place.
 

Of course, while I was working on this I took some pictures,
 but they are not very well lit... (All those rainy days....!)
I had to scrape away the textured wall "rock" surface
 I had added originally to the great hall.


Here I am testing the new support beam in place.
As I mentioned last week,
 it covers part of that lovely window detailing...
But there is no way around that! 
When I first made these windows, back in 2011,
I had not planned how the ceiling would connect
 and how deep the arch would need to be.
And now my retrofitting is fiddly at best and really rough in the end.
 

Here is the other side over the Ladies' Gallery.
Of course, the two sides are different .... 
but the windows themselves are close to identical.
I decided to add another "stone support" on the other side of each window.
The first one holds the ceiling arches, 
but this second one will just be to make
 the window appear to be set into the wall more deeply.
 

 Of course, it is nearly impossible to see what I mean 
with out better lighting...


Here I have used the flash,
 but it really erases the  sense of depth
 that shadows produce...


Here is a closer view. It is still far from finished... 
I have a lot more "Rocks" to add....
But the upper edge of the wall is starting to look
 like it is able to support that ceiling...


And if the window surround is not
 as delicate and pretty as before....
 it is probably more authentic... 
crude and roughly cut rocks 
are just holding up a massive ceiling!

So you can see, Dear Readers,
 it is a long and Rocky Road.... 
but Rock by rock, 
I am making good Progress!


Tuesday, July 20, 2021

Castle Great Hall Revisited....


Strengthening Corners High and Low.... 

Some of you, Dear Readers, might Remember last summer's frenzy of strengthening the Castle.... in particular adding trim around all the eaves and doors and windows of the so far completed rooms. And you might remember that I had just begun on the Great Hall when I added the structural cross beam along the upper front where none had been built in the original construction process. And that was as far as I got. The building season had come to a close and there were still several parts of the Great Hall that needed solutions! In particular the eaves just below the vaulted ceiling along the back wall. There was no supporting beam on that side either!

Here you can see what I mean. 
I have turned on the flash so you can see 
all the glaring deficiencies in this construction!
Once I had added the support across the opening side,
 it was even more necessary to strengthen the back side
 where the ceiling would meet the wall.
I had always intended to add a row of 
 "stone" buttressing under the ceiling edge,
 but had not figured out the precise method of attaching these "stones".
The window frames got in the way, for starters, 
and the wall itself is irregular,
 and the ceiling edges were even more irregular....
 It needed solutions!
 

Here you can see one end of the Great Hall with the ceiling removed. 
(I will not firmly attach it until I have completed the painting part....)
You can see there is no "framework" on the back wall
 to support this barrel vaulted ceiling!
(What was I thinking!)
 
And another place that really needed "strengthening"
 was the opening doors on the front wall. 
 

They have those wonderful hinges 
supporting the opening of the bi-fold doors,
 but the plywood warps terribly
 in the ever changing humidity of this region.
At the moment we are terribly humid... 
so the doors have swelled to their less warped shape
 and they close just right.
It is another story in the dry winter air.
(I could not find a picture to show you...)
But all winter I was planning out how to add "buttressing"
 to the inside panels without getting in the way of the windows.
It needed to sort of align with the roof arches... 
(for rational minds like mine!)
Which meant they would not align exactly with the hinged folds.


And after much fiddling and testing
 (a challenge when the interior can't be seen properly 
when the doors are closed!)
 I figured out where the "posts" should go...


Along with a narrower strip that would be attached to the other door panel
 and would cover the "crack" between the door sections when closed.
Believe me, these add a lot of structure to the doors!


The lighting is a little better in this picture.
 You can see that I had to carve away where
 the bracing would bump into the gallery.
 
And somewhere in this "strengthening" process,
 it occurred to me to just add a "beam"
across the back to support the ceiling,
 much like the one across the front,
 although it would be interrupted by the chimney flue....
It would really simplify the juncture of the roof and the wall.


Here you can see I have cut some sections of wood
 for the "stone" beams and am testing them in place.
They obscure the top of the window trim "stones"... 
but I have figured out how to integrate that into the new plan....
(It is still being constructed...)


Here those supports have been painted to resemble stone... 
but are still not glued in place.
There will be more strengthening on all the edges of this ceiling...


And the arch of the barrel vault
 needs to be made more symmetrical...


On both ends of the Great Hall.
Which is difficult to do with the ceiling in place....
And hard to tell what looks right when it is not in place!
And maybe while I am doing that,
 I will Finally finish painting all those Patient Saints!
I can Dream.... Right?

So there you can see, Dear Readers,
 the partially strengthened corners of the
 Great Hall Ceiling and Doors.
It is Progress at last!


Tuesday, July 13, 2021

Completing Corners.....


Carpet and Castle...

Last Week, Dear Readers, I was on vacation (a "stay-cation", we call it because I go nowhere) and I was able to wallow in my many mini projects to my hearts content! I leapt from project to project (while waiting for paint and glue to dry, of course) and managed to solve a whole bunch of technically complicated corners of my incomplete projects. I cannot tell you how satisfying it is to ignore the clock and simply fiddle with the many many possible options until the pieces fit and the problems are solved! At the time it sometimes feels like I am not getting anywhere.... because my attention is on so many small bits and pieces, but when I stand back, a lot of progress has been made! To begin with, I had showed you the carpet with the corner designs completed, but the background not yet done. In the above picture you can see the background dark red color is being added. It didn't take long to finish the background.

All I need to do now is take it out of the frame and bind the edges.
But I think it looks as good as I hoped it would!
And if the dark red color that came with the kit
 is not enough to bind all the edges, 
I have some of that same color
 from a previous kit so I am not worried at all!
 
And because I had the many days of my vacation stretching before me, 
I returned to the Castle, (my biggest unfinished project),
 with the goal of tackling some of those big unfinished corners!
Of course, this requires that I send away all the little people
 who are living there and empty the rooms of the furniture
 that has collected since last summer's marathon of 
"strengthening" all the unfinished corners and edges.
I thought I had finished all the edges
 of the already "completed" rooms...
But I was wrong!
You might recall that I had "strengthened the corner posts
 in the stables and the Guard Room....
but really I had only done the visible back corner of those rooms!


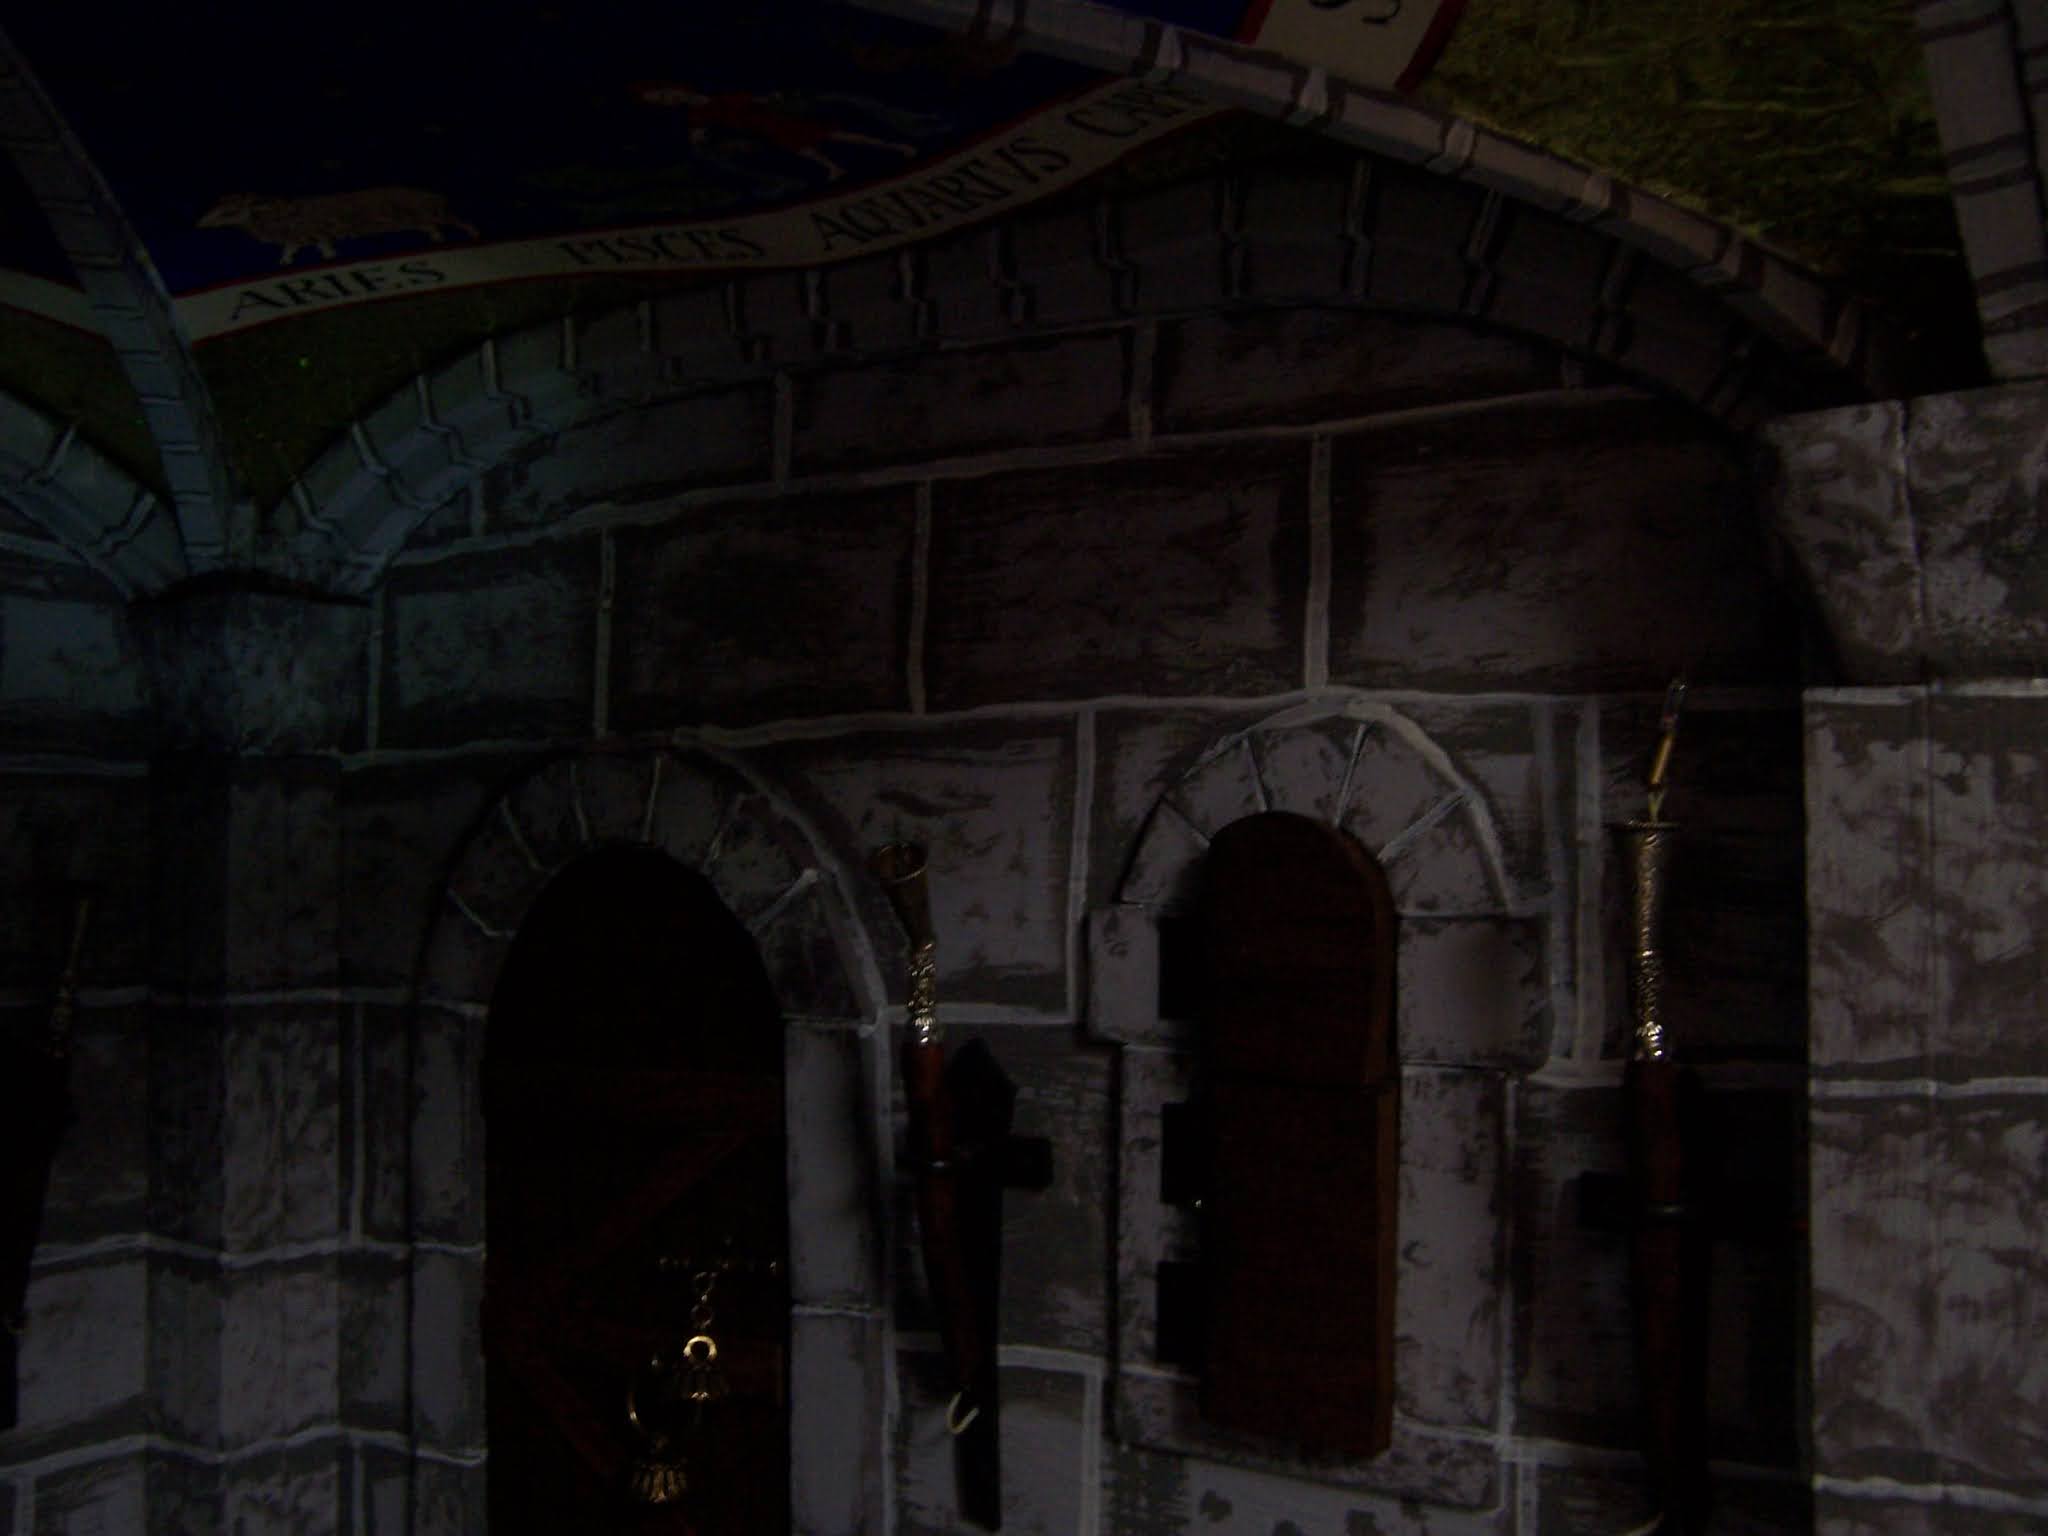
Here you can see the Guard Room's massive back post...
and the one to the front by the door is puny in comparison!
This has bugged me all winter!
 

Part of the problem was I would need to reposition
 the torch lamp and holder bracket
 in order to strengthen the front corner post.
 But the torch light was damaged last year in the building process,
 so it needed fixing anyway. 
I removed it and pried the bracket from the wall.


Here you can see the post is strengthened.
The capital at the top has not been added yet... 
it requires complicated shaping...
 

Here it is being painted.....


(I apologize for the dark photos....)
This is the spot the capital must fit into...
and surround the previous "capital" 
which was never adequate
 to support those arched stones!
 (This bothered me a lot!)


Here you can see it in place!
And now at least it matches the other corner post!


Here, I will shine a little spotlight on the back corner....!
Or better yet... turn on those Castle Lights!


That is more like it!


Much Much Better!!
But it is still not done, Dear Readers...
The front opening doors need the trim added around the opening.
And in particular the "doorstop" piece....


And in this case it needed to be sturdy... at least the central "stop" piece!
I used a small piece of plywood and attached it with glue and a screw!
Then I could add the rest of the regular pieces just using the regular wood and glue.


But you can see how just that one piece 
stops the doors from pushing in beyond the wall.
Which is what you can see happens with the doors to the Lord's Chamber....

Which will eventually need to have the trim and doorstop added.
But first we need to finish the trim and corners of the Stables.
Because, believe it or not, I discovered that there was a crack
 all along the front of the stables ceiling that needed to be covered,
 just like the other sides I did last year.


You can't see this from the front... 
but this door needed the "doorstop" and trim anyway.


And this corner post was mostly "strengthened" last year.... 
complicated by the stall which is attached here.
I added a tiny corner chunk and started the door trim.


Here it is almost completed.
(And no, I didn't send all the little people away...!)
The work in this corner was not too disruptive!


See how neat it looks?


And the trim in the Guard Room mostly done...
I still need to add the part in the closet...

And you can see how nicely the doors line up when they are closed!

Well, Dear Readers, that is not all the "corners" 
I completed on my Vacation... 
but the rest will have to be another post! 
I have been wanting to get this done for years...
And now I have Completed these Corners!

Tuesday, July 6, 2021

Carpet Continued...


 And a Little Distraction...

As You can see, Dear Readers, I have been making great progress on the carpet stitching! I have to confess, I have been more than a little obsessed with figuring out whether or not I had enough threads in the right colors to finish the roses. And there was really only one way of proving it... and that was by stitching all the roses! The above picture proves that, yes, I did! There was not a lot of thread left over in the end, and I had even used some of the "tail ends" I had saved from the first round of stitching the roses according to the charted kit instructions.

This is all that was left of the pinks 
and the darker "green" for the leaves!
(Really a grayish green.)
But the color I was most concerned about...
 the off-white that was the background inside the "cartouches"
was in extremely short supply.
I was certain I would not have enough for all four corner cartouches.


But you can rest assured that I had a back-up supply!
As I was deciding to add to this carpet,
 and was debating the quantity of threads needed,
 I remembered that I had leftover threads from other kits I had completed... 
and some of the threads were the same colors I would need!
In particular, the white was so close a match...
 I could not tell the difference...

The number on this pack is 882...
The number on the carpet white is 881...


But which is which?
 

 This is the third corner with the white background added.


And here they are all four corners completed!
And the red in the scroll-work as well... 
which I was also a little worried about having enough threads!
So now all that is needed is the dark red background filled in... 
and if I run out of those threads, 
the same color is part of that other kit! 
No worries!!
 
But what is the distraction I hear you ask?
Well, Dear Readers, I have the unusual habit
 of painting on my walls...
And I start what will someday be a very elaborate painted mural... 
and then I add to it from time to time... 
and it takes years and years...
 and I have yet to "finish"...
But I felt like adding to my bedroom mural....


Just the small blossoms along the bottom.... 
the bigger trees and shrubs have been there for years now...
(This is just part of one wall...)

It is supposed to be a morning in May....
So all the blossoms are the ones that would be blooming in May...
even though it is now July...
But some of the blossoms I can still pick to see if I have them right...
 
Like this little Johnny jump-up...!
(I apologize for the dark photo... it was a gloomy rainy day)
 

Of course, one can get endlessly lost in the details...
I painted for hours... all weekend....
 
And it still isn't finished.....
 

Not by a long shot.....!
But it is progress!
And not only do I love doing it....
 getting lost in the details....
But it gives me endless pleasure to look at it... 
especially on cold Winter nights...
When one can hardly remember the color green...!
 
So you can see 
I got a little Distracted, Dear Readers, 
but I made progress on some of my 
unfinished projects....
Big and small!