Monday, June 24, 2019

And More Leaves....


Just How Many Did You Say....?

As I was completing the Weekly Blossom, Dear Readers, I was also pondering the process for the leaves of the Summer Lilac shrub.... especially the complicated ones being added to stems already on the bush... and was trying to determine just how much of my Summer was to be consumed by these leaves. And I have to confess that the figures are a bit daunting, and really maybe I just don't want to know how long it will be! But because it is Summer now and the evenings are light so late, I was also working on the Next weekly blossom.... whichever one that may be, and you can see its beginnings below in the box along with a bunch of the little leaflets for the Summer shrub...

Those pairs of leaves glued to little stems, 
all painted and ready to be added to the stems 
that are already attached to the shrub.

And another batch of those Leaflets under way...
Here are thirty, the first batch was around twenty...
And that equals about a quarter of the leaflets 
that need to be made and attached to the stems already on the shrub.
And when All those are done,
 that will equal about one quarter to one third
 of the total leafy stems I need to make. 
 
But meanwhile I needed to finish painting the leaves I had added already...
 they needed the darker green added to the top sides.
Again, this is harder to do than it looks... 
painting onto leaves that wiggle as you paint...
 and trying to avoid getting paint where it didn't belong.

Eventually the top sides were all painted.
And you can get an idea of just how sparse the leaves are!

And painting the little leaf pairs... 
first the strip on tip of the paler green...

Painting the undersides the paler green.....

Then painting the top sides with the darker green, 
leaving the pale stripe in the middle.

And then, Dear Readers, it was time to begin to attach
 all these little leaf pairs to the stems on the shrub.....

This is an example of the stems I finished for my test run.... 
each stem has three leaf pairs added.

The difficulty is that each stem already has one pair
 attached right in the middle of the stem... 
so I need to add these pairs above and below it on the stem..... 
to get the spacing correct in the end.
I am starting with the ones below (closer to the base of the stem)
 which is harder to reach, but will be easier done first
 rather than second, if you see what I mean.

Here, if you look closely, you might see
 that there are now two leaf pairs on the stems
 for about a half of the branches.....
(Yes, I am counting!)
When I have made about Fifty more leaf pairs
 I will attach them to the other half of the stems...
 (Are you confused yet?)
And then I will make another hundred or so of the leaf pairs
 and attach them on the top ends of all the stems...
And then I can resume my "Ten Leafy Branches"
 routine for another eight or ten weeks....
At which point I might be getting near the end of this shrub!
(Did I mention it was daunting...?)

But meanwhile, I have completed the Second weekly blossom
 for the third consecutive week....


(Is it number Sixty-four or number Sixty-five...?)

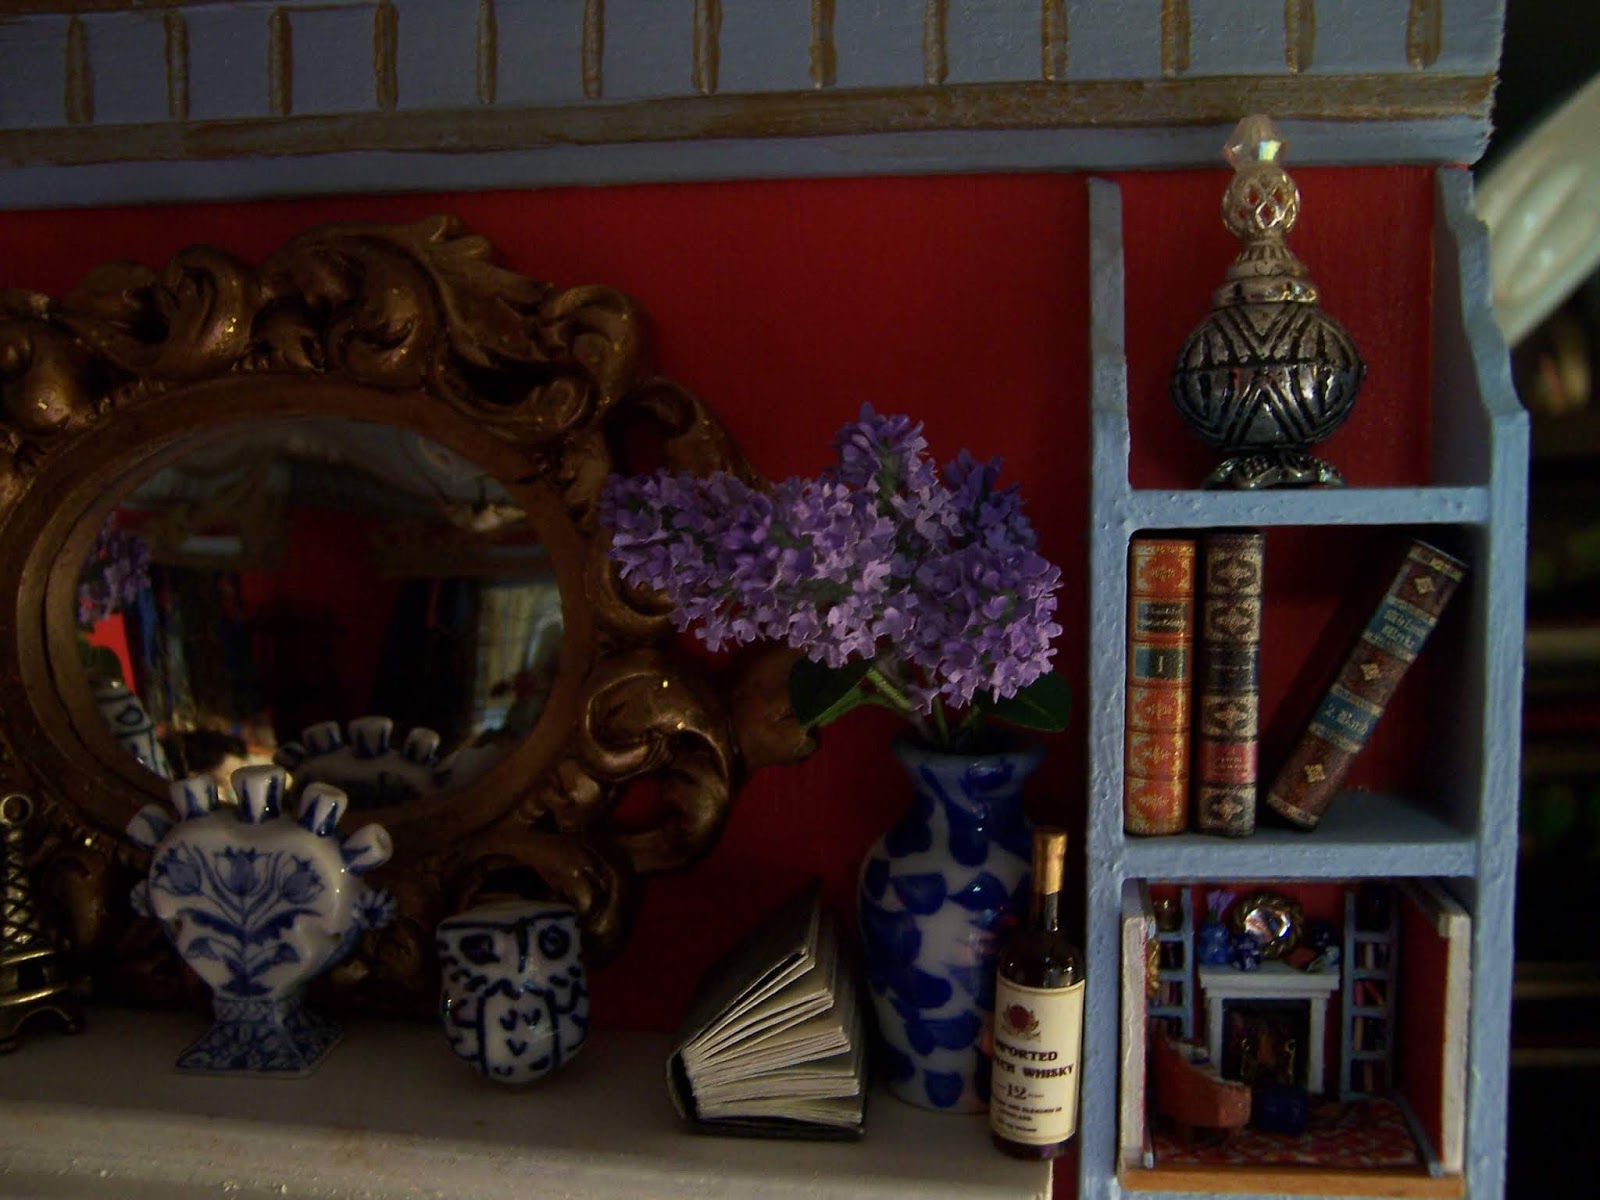
And of course you want to see them in The Folly Parlor...

The fifth one in the vase on the left....
(which kept tipping over and spilling them all out...!)

And the first one in the milk jug 
which will go home to The Lovely Old Dollhouse.
So am I done yet?
Noooo..... not by a Long shot!
 
But Never fear, Dear Readers,
I am not giving up! 
I am concocting a plan....
It doesn't matter how many Leaves there are still to make...
I will be adding a Weekly Leaf Tally to the Plan...
'Cause I'm Really just getting started!
(And Who's counting anyway?)


Monday, June 17, 2019

The Summer Lilac....


Had You Forgotten.....?

While my Lovely Mother was visiting, Dear Readers, and I was adding to the tally of Lilac Blossoms, I was reminded suddenly that the Final Lilac Shrub (did you even remember that there was one still to complete?) was lagging way behind in the completion of all its myriad details. I had thought it would be just a matter of adding all the leaves necessary for a Summer Lilac Shrub. But when I looked at the stems I realized I had not even added the careful ink lines that made such a difference in the appearance of the bark texture! So, on a gloomy rainy day while my Mother was knitting and I was gluing florets to yet another Blossom, I also began to draw all those tiny lines on the stems. Above you can see the completed results... because I forgot to take a "before" picture!

I am not sure if you can see them here....
(It was a gloomy day and the lighting is harsh...)
But there they have been added!

And then I had to add all those lichens....
In likely spots... but trying to copy the bushes that are already done....
In case anyone wanted to point out how I missed
 a spot that had a lichen on the other version!

I am going to wait to add the fungus until
 I am closer to finishing those leaves... 
because the fungus are delicate
 and there are a lot of steps involved with the leaves!
But before I get to the leaves, Dear Readers, 
I must show you the nest!

I hope you will recall that there is a Robin's nest in the lilac branches!
And by now (or certainly by the time we reach full Summer...)
 you must understand that the nestlings have fledged and flown....
Leaving behind a few downy feathers in the twigs!
Can you see them?

Right there on the edge of the nest?
(My winter down coat sheds tiny pieces of goose down
 and they stick in my sweaters...
 just begging to be used for minis!)

Here you can see where I have added the nest to the shrub.
(And I have also started to add leaves....)

Another angle of the nest... perhaps you can spot the Feathers?
Well, even if you can't see them.... 
Yes, I will know they are there!

And as for those leaves, I must admit that they are going to take
 MUCH longer to make than I had thought!
This is primarily because I had gotten a bit ahead of myself
 way back last Summer with making four shrubs all exactly alike,
 before I had figured out exactly how the blossoms 
and leaves would need to be attached.
Remember how I was making all the branches with twigs on the stems?
(I will not mind if you don't remember!)
Well, I realized as I was starting the Blossoming version, 
that the leaves would need to be attached to all those stems
 before I attached all those stems to the branches!
So the Blossoming shrub was fairly easy to make and add leafy stems.
But the Summer Leafy shrub (now being constructed)
 already had dozens and dozens of twigs on those stems...
 and each twig would need a leaf added to it... 
as well as more leafy twigs.... and then more leafy stems.
There was no way around it...
 so I started to add leaves to those twigs... 

Here I have added leaves to about two thirds of the twigs.

And all the twigs are now "leafed".... 
but the branches have nowhere near enough leaves...
But before we add any more leaves.... these ones must be painted.
 Because it is hard enough to reach through the branches
 and not get green paint on the stems while they are spaced apart.

First I paint the paler green stripe down the top side of all the leaves.
Later this will be mostly covered with the darker green, leaving a thin stripe.
But next I realized I also should have painted the twigs green...
Because they are integral to the leaves... which are green.

Maybe you can see the difference here?
Some of the twigs are green and some are still gray.
(When I have added the rest of the leaves on green twigs,
 it will be apparent that they all needed to be green!)


Here is a closer view...
I know, it is hard to see the difference.
Once that was done, I could paint 
the undersides of the leaves the lighter green....

I had to hold the shrub upside-down, 
and found it easiest to paint the farthest ones first.

Here the undersides are all painted.
But that is as far as I got over the weekend.
 I did not have time to get to the darker green
 on the top sides of the leaves.

Another view of the feathered nest.....!

But I imagine, Dear Readers,
 what you really want to see is the Weekly Blossom....

Well, here is the Blossom number Sixty-something and.....
the beginning of the Sixty-something plus one!

Yes, I completed two blossoms in a week again!
(I had extra time off from work with my Mother here!)

The first one is added to the vase on The Folly mantel...

And the second one too!

Can it be that I am nearly done with the Blossoms?

Well, Dear Readers, whether I like it or not,
I have not forgotten The Summer Lilac...
And I still have a Long way to go making leaves...
It might take me All Summer!


Monday, June 10, 2019

The Weekly Blossom.... Take Two!


And A Few Little Things.....

Yes, Dear Readers, it is Yet another Blossom, even though it looks just like all the ones to come before! It is either Blossom number Fifty-nine, or Blossom number Sixty.... depending on how we are counting, if you remember the dispersed Christmas Blossom, already so long past! I was late getting started this week due to the vagaries of the Visiting Schedules, and was afraid I might not get it done. But there it is! And I was so pleased with myself for making the extra push to get caught up while my Dear Mother was at her Reunions, that I decided to see whether I could complete a second one in just a single day!

And Lo And Behold... There it is!
(This did require some resting of the eyes and fingers.....
 and lots of glue and paint drying...)
At least I now know it can be done!

But I also took some time to Catalog
 my new purchases from The Sturbridge Fair....

I found this lovely Antique Tall Chest of Drawers... 
(made in the 70's)


A printed on cloth Oriental style carpet....

An ornately framed "Grandma Moses" painting....
(I am fond of her work!)

A Couple of beautiful "Books of Hours".... 
as well as a pair of unfinished wooden tables.

A couple of Framed antique photos...

And The most Adorable, as well as unusual, 
Elephant Teapot I have ever seen!

And A Christmas-y Cottage Teapot...
Because, well... Tea and Christmas
 are two of my Favorite Things!

Plus an Amazing covered ceramic butter dish!

An Elegant Footed bowl...

And a Pair of Oriental Urns....

Another picture of the Kitty...

More food made by TwinHeart.....
 the most amazing food I've ever seen!

Including a pair of Deli Wrapped Pita bread sandwiches to go... 
wrapped as I stood there!!

Impossibly perfect scallions, and a gorgeous carving knife....
And those oranges can be peeled and the sections pulled apart!!!
You really have to see it to believe it!

Another Lovely Fashion doll by "Angel's Children"

And an adorable black Angel child....
Because, I confess, there is a new project brewing!
 
A whole Bunch of Bunnies.....
because they're better that way!

A selection of tiny ribbons and laces.....
For decorating tiny gowns....

A pair of Antique lace doilies....
(Because I really haven't forgotten The Cupboard House...)

A Wonderful selection of books and magazines from years gone by....

A Mini "Dollhouse Kit" still in the box!

An unusual Nautical Plate....

A Porcelain baby doll.... 
and some interesting beaded cloth.....

A quarter scale woven carpet.....
(Yes, The Tree House is calling too!)

And some "Cranberry Glass" plates....
Just Because....!

Many of these little Treasures were from collections
 that were being sold after the owner had died...
I pawed through a lot of bins!
 
But I think, Dear Readers,
 that what you really want to see
 are the lilac blossoms in the bouquet...

There are now five blossoms in the one vase.
 I think it will look better once I have added
 some more leaves to the stems.

And yes, it is hard to see them....
 it is rainy and gloomy here again!

So there you have it Dear Readers,
The Weekly Blossom, take Two!.....
And A  whole bunch of little Treasures!