Showing posts with label Petit-point Pillows. Show all posts

Monday, November 18, 2024

Stitching Update...


Petit-point Variations...

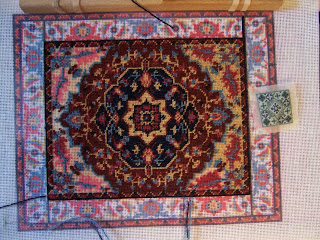
Well, Dear Readers, Time has been Flying along and progress has been made on some of my various stitching projects since I last posted about them, but it has not been the sort of progress I had hoped for! The last I showed you the Chinese Dragon Carpet, I had just transferred it to a larger frame the better to be able to stitch the border areas. I am still not sure about my planned changes for the middle section, so I am starting to work on the borders now that I can access them. You can see above that I have been adding the gold to one side. But you might not be able to see the delicate pattern it makes!

Here is a closer view showing the Chinese version of a "key" pattern.
It snakes back and forth on itself making an 
interlocking positive and negative shape.
In order to see this pattern, there has to be enough contrast
 between the two colors for the shapes to be distinct.
This kit has you use the two gold thread colors 
that are so close in hue as to be
 almost indistinguishable from each other!
I wasn't sure this would work,
 and this size hole count is so small 
you really can't unstitch anything.
 So I did a couple of test patterns first.


I figured that if I was going to spend so much time
 carefully stitching this intricate pattern.... 
I was going to want it to be noticeable!
You can see the two test samples above.
The top one uses the colors recommended in the kit.
Even close up and looking to see a pattern,
 I can't tell what it is. It just looks slightly messy.
The lower test is done with the darker gold from the kit
 and a lighter one from my thread stash... 
the closest I could come to the gold color range but a good bit lighter.
Still, I can barely see that there is a pattern, let alone what it is.
I am on the verge of deciding to use the same white
 that the rest of the background will be.
But before I do that, I will go shopping 
and see if I can find a lighter gold.
Meanwhile I am stitching the darker gold
 in the border pattern... it is a slow process!
And the last time I showed you my stitching projects, Dear Readers, 
I had just finished the William Morris carpet.


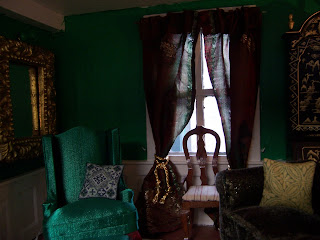
Here you can see it in Sally May's and Chip's Dining room!
(With the flash so you can see it at all.)
As some of you will know, Sally May's and Chip's house
 is the slowest to get the improvements... 
Chip is so busy and so much needs to be done!
But Sally May's Mother-in-law saw the carpet
 in a used furniture shop and "snagged it" for Sally May. 
Blanche knows Sally May's fondness for pink... 
and well, the carpet does have some pink in it!
And heck, it fits in the room!

As for the rest of the petit-point projects, 
I had also just started to work on another of Janet Granger's kits,
 the last in the Medieval Tapestry series... "The Cluny Lord".
(By the way, I have just found out she has closed her shop and retired.)


This is what the Lord is supposed to look like.
And those of you who have been following this blog for a while
 might remember the other versions in this series I stitched a few years ago,
 making a few changes to the original kit designs along the way.
 The chief changes were making the clothes look
 more "ancient", Medieval rather than Tudor in design.


As with the previous Medieval Tepestry kit,
 I wanted to add a few more details to the design
 so I started the stitching off to one side of the cloth, 
leaving room to add figures of my own design,
 making the overall Tapestry larger. 
Why waste good cloth, Right?


But I had not gone very far before I admitted 
I was going to have to re-design the costume 
a bit more thoroughly than I had supposed. 
The Tudor style just would Not do! 
He needs a more Medieval hat.... 
the belt is too high....
 the cloth pleats are not distinct enough.... 
and so on!
So.... I have to work out a new chart 
for this like I did for the last one.... 
You can read about it in earlier posts!

But if you know me at all, Dear Readers,
 you will know there is always stitching to be done... 
and I had a brand new project just waiting for me to get started....


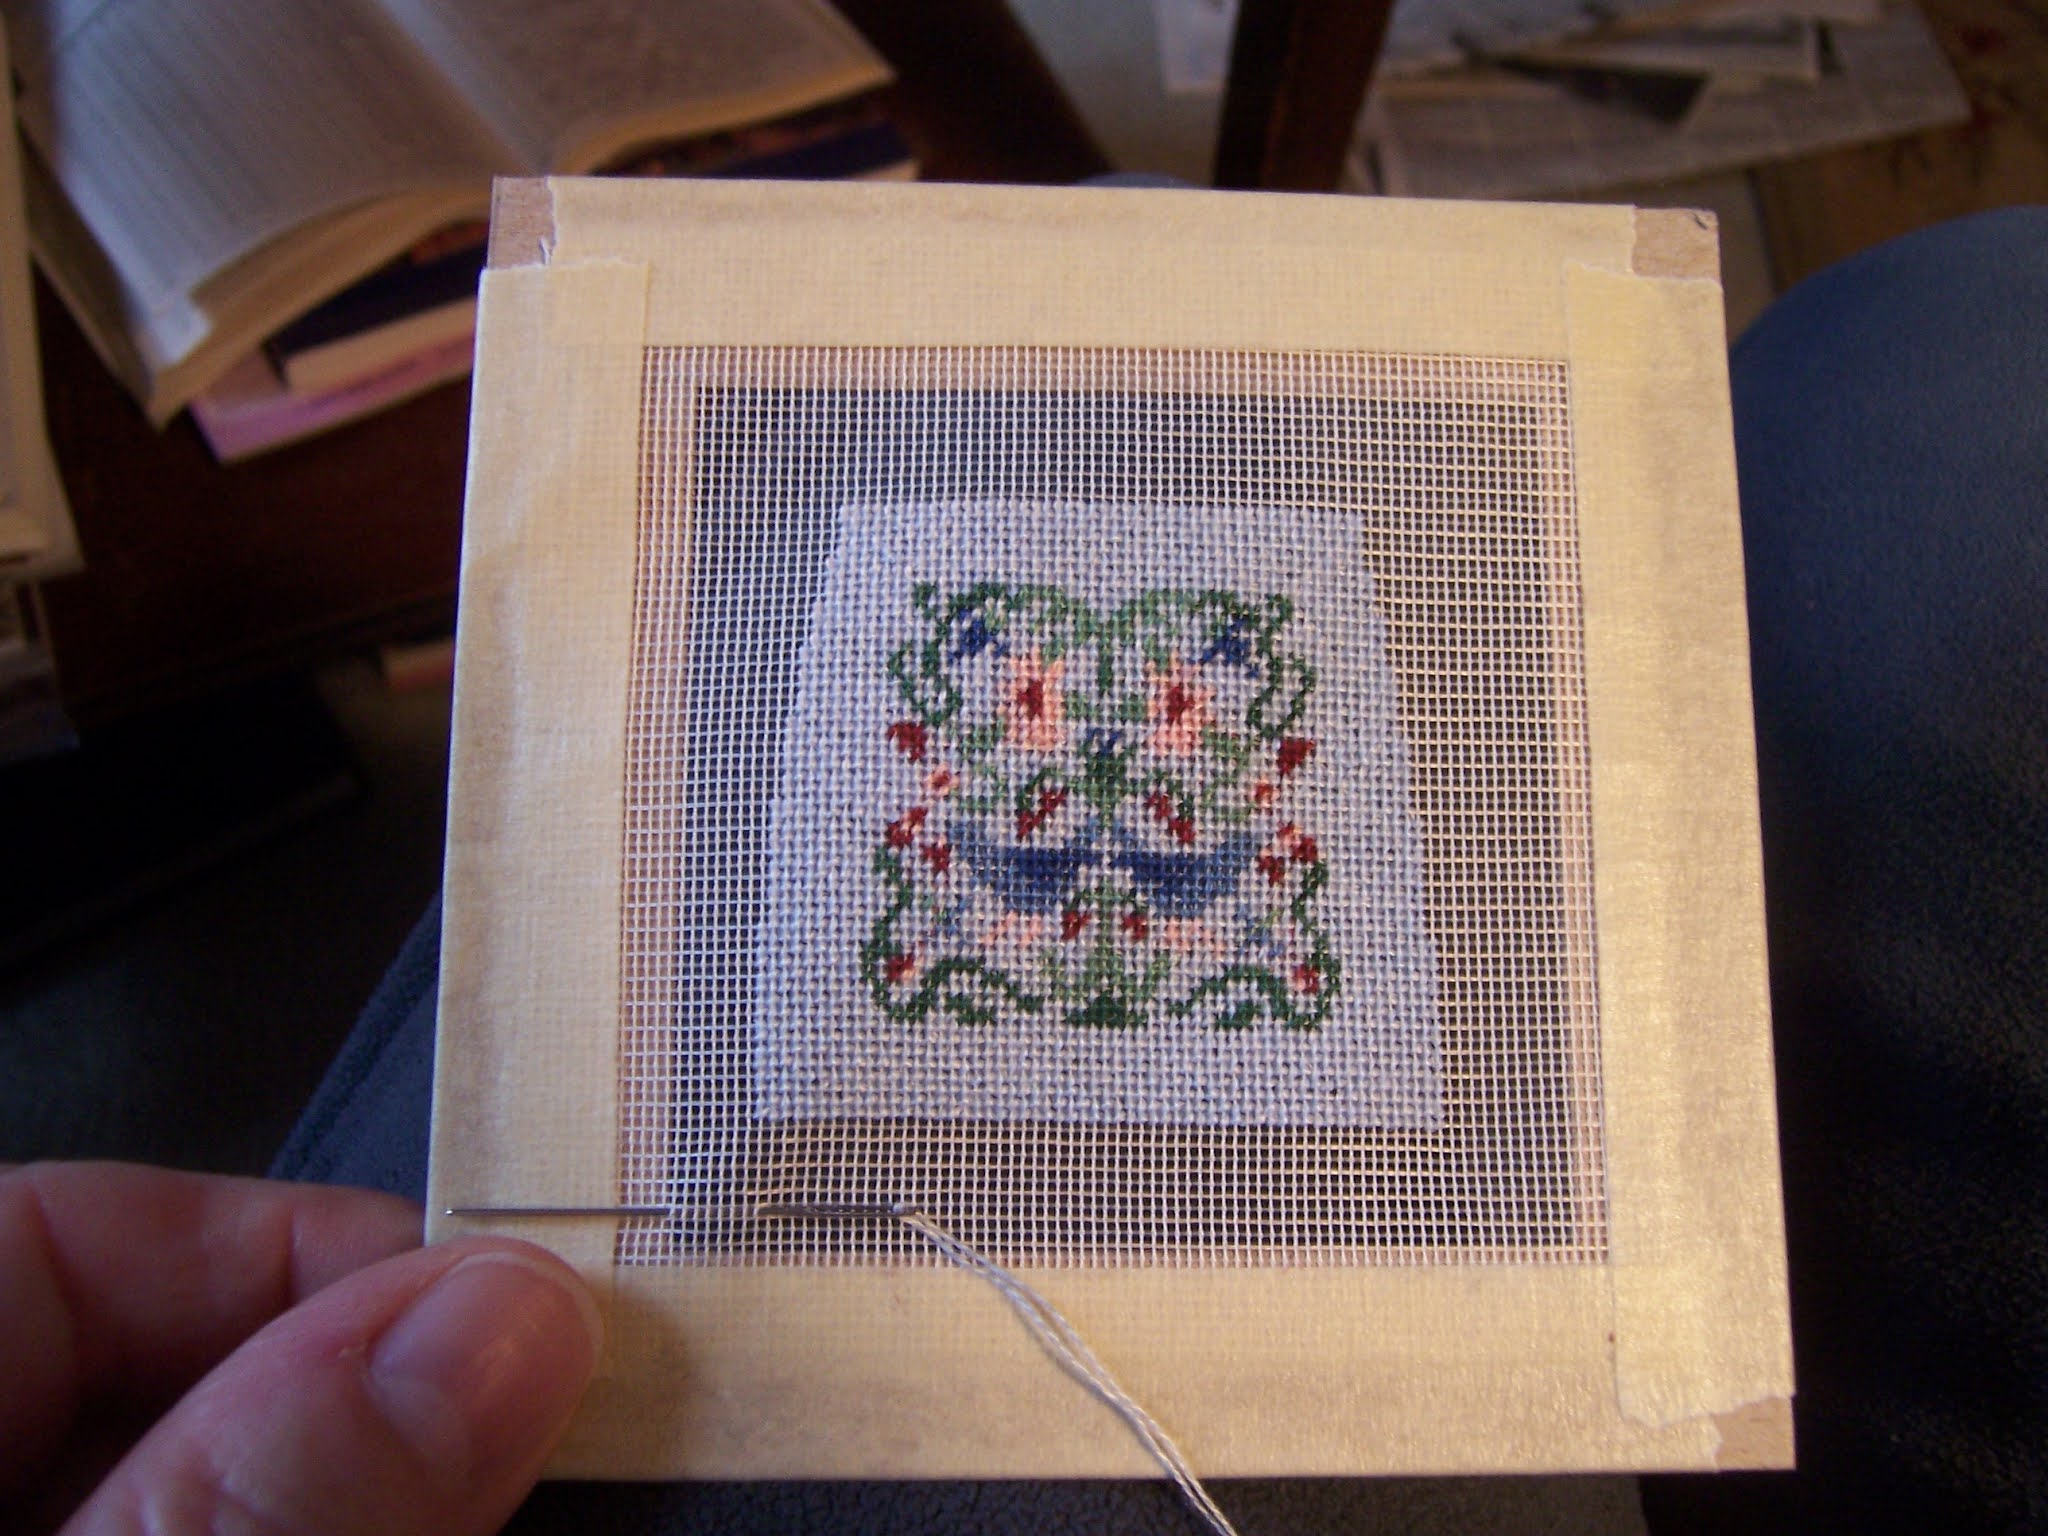
These are tiny little kits that Mary Corbet of "Needle 'n Thread" blog
 designed to be small jewelry pins or scissor fobs.
 They are stitched on 48 count silk and each one 
finished is only 1 and 1/4 inch across!
I bought the kits last summer and have eagerly started stitching...


I am amazed at just how much more difficult this size is to stitch!


I started with the flowers... 
but wanted to see how the cat would look...


The threads are silk... Soie de Paris and Soie de Gobelins 
and the colors are luscious.
The beasts are inspired by the "Mille Fuille" tapestries
 of the Late Middle Ages.


I use a magnifier and need very good lighting
 to be able to see where exactly I am putting my needle!
I can't quite imagine stitching anything on a higher count cloth!


Here I have begun to work the background.
 First you outline all the flowers and beast with the darker red.
Eventually I will fill all the remaining ground with the bright red.
 

 If you look carefully you will see there are lots of gaps still to be filled.


Of course, I have to change things.... 
I am going to make them into pillows for the Doll houses!


All I have to do is add stuff to the corners...
Here I am adding a small wren and some flowers to the Cat pillow.
I am actually needing to make the charts
 so I can be sure what color I am putting where... 
it is really easy to miss a stitch at this scale!
 
So you can see Dear Readers,
 I am making Progress with my stitching projects...
Just making Variations everywhere!


Monday, January 10, 2022

Finishing Things....


The Christmas Card and More...

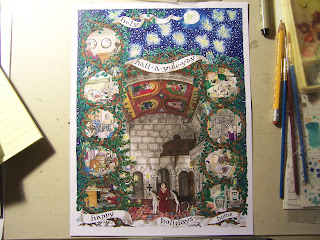
Well, Here it is, Dear Readers, the Christmas Card at last! You might not be too surprised at the subject matter.... but the perspective, or point of view, might not look familiar! It is one that I noticed while I had the Castle pulled all apart to paint the back side last summer. The only way to see this view when the Castle sections are standing together, is to stick your head all the way inside the Guard Room and crane your neck to the left and look into the Great Hall through the "entrance" doors.... as if you were a tiny person walking into the room. Even a camera put in through the doorway has a hard time getting a good picture of this perspective! But being a Dreamer who is clearly obsessed with this Medieval experience.... I want to feel like I am walking into this Grand Medieval Hall with the soaring ceiling painted with portraits of Saints! And thus we have this rendition. I did finish the drawing on January 2nd, but could not get it printed for several more days because the Covid surge has caused many local businesses to be drastically under-staffed. I am sure you have all experienced this, and certainly, a late Card needing printing is not an emergency! As for the other "finished" items I referred to in my header.... there are not many! I have stitched many tiny items in the past two years, and the minute the stitching was done on each, I started another one, leaving the "finishing" for later!

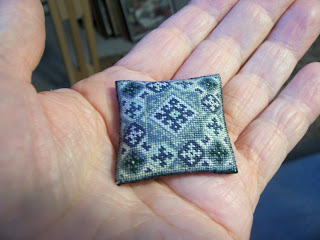
Remember this cushion?
I finally decided I needed to actually finish it!


Here it is with the carpet for size reference.
The carpet is on 18 count canvas cloth,
 the cushion is on 40 count silk!


The backing is a faux suede in dark blue.
The stitching together is simply overcast stitches all around
 with a single strand of the floss. No turning required.
I stuffed it with small beads.


Here it is in The Lovely Old Dollhouse living room.
And that is all I have "finished" so far, Dear Readers,
but there is a long list of tiny things waiting their turn.
Perhaps I will get many things finished this year!
 
I hope you are all staying well, Dear Readers,
 and maybe even getting a few mini things finished too!


Tuesday, October 19, 2021

And More Stitching...


Not Much to Show...

I Spent a good part of the weekend, Dear Readers, taking advantage of what little daylight we still have as the days get shorter and shorter, stitching on the petit-point cushion. I was eager to see how the colors would all come together since I had inadvertently switched two of them in the pattern. The pistachio green was supposed to end up being more of an outline color, while the main color of the lozenges (I don't know what they should be called!) was supposed to be the pale gray green, that to me looks much more gray-blue than gray-green. But I was going to have to do quite a bit of stitching before I would be able to judge this change in colors. Firstly, I completed the pistachio green of the lozenges.

Then I forgot to take progress pictures....
until I had nearly completed all the lozenges!


Here they all have been added, 
but the inner colors are not all filled in.
At this point I am adding the palest blue
 which goes in the central medallion... 
can you even see the stitched part?
The color is so similar to the color of the mesh
 that it is really tricky to stitch and not miss stitches!
 
If you look really carefully, you can see
 I have filled in the right half of the
 center medallion with the pale blue ground...


And here the central part is completed with the palest blue.
Only one color has not yet been used...
 and this is the gray-green that was supposed to be
 used for the lozenges around the sides,
which is instead being the outline color.
I know, it is really confusing because my 
chart symbols don't match the color symbols!


And I only got a small part of the outlines done,
because it is challenging to add only one row of stitches
between the already stitched lozenges...
perhaps I should have done the outlines first! 
I have only done the part around the central medallion 
and a little bit of the outlines on the lower left corner.
But I think I am going to like the way it turns out when I am done,
 even though I will have to wait for daylight to do any stitching.

And that's all I have to show, Dear Readers, 
just a Little bit More stitching!


Wednesday, October 13, 2021

Petit-point Kits...


 Old and New...

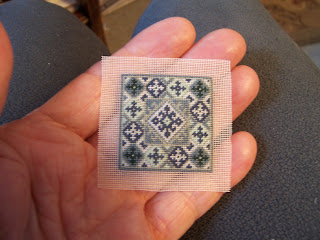
Some of you, Dear Readers, will recognize the completed piece of stitching in the above picture, which is the fourth seat of this pattern that I have completed! I have yet to start building the chairs themselves, a lovely set of Chippendale style dining chairs that came with the stitching kits. I will be making them all at the same time, so I need to clear some space on my messy worktable. But meanwhile, I was unable to resist the lure of starting another stitching project, and what better one than the smaller of my recent purchases at the Guild Show? The silk is 40 count, so it is on the fine side, but it was already stretched into a card frame and ready to begin right away.

Sorry about the dark photo... it was a gloomy day!
You can see right away the small size I am working with,
 and fortunately the instructions are large!
I was also very pleased that they came with both 
the symbols and the colors for the pattern
 printed on the same page.
So far in my stitching (being a relative newcomer to the art)
 I have only stitched from color printed charts.
But recently I have come across some kits
 that only have the symbols on the chart... 
and it seems daunting to my unaccustomed eyes!
Of course, these are older kits from the days before
 color printing was at everyone's fingertips!
So I was merrily stitching along on the new cushion
and making good progress...
as you can see below.... when I noticed a problem...


I had glanced again at the picture on the front of the kit
(which is a little blurry...)


And I thought it was odd that I wasn't seeing the pale pistachio green
 that I had been stitching in the part of the pattern where I thought it should be!

I checked my chart...


And I examined the threads....


There was only one thread on the group that could pass 
for the color I thought I was supposed to use... 
(because I was only paying attention to the color, not the symbols!)
And that was the light green there in the middle of the threads.
But when I looked at it's symbol... the "carat" on the green color
 and then looked at the chart again...
 

That "carat" symbol was nowhere to be found on the chart! 
It took me a long time to puzzle this out, Dear Readers!
The "light pistachio green" that I can see on the kit photo
 appears on the chart as very pale green with a circle symbol in it. 
It forms the outline of most of the designs...
But it has no corresponding color and symbol
 in the threads that came with the kit!
Somewhere in all this muddle I had to find a solution!
And eventually I decided that the stitching is too fine 
and I had already done too much with the "wrong" color
 to even consider un-stitching it all.


And besides, I sort of thought I would like the pattern better
 with the green in the lozenges the way it was on the chart 
rather than the lighter gray-blue color that appeared in the kit photo.
So we shall see how it looks once I am a little further along in the stitching!
And I really might have to find another small project
 to practice stitching that only has the symbols to go by.
I tend to see only the color in the chart!

But rest assured, Dear Readers,
I will be stitching Petit-point kits,
both Old and New
For years to come!

Tuesday, May 4, 2021

Nothing Got Done....


 But Cushions.... And Slippers...

I Can hardly believe it, Dear Readers, but I had a visit with my Sister for the first time in over a year! We have both been vaccinated now, and she was visiting her grandchildren who only live a couple of hours from here, so I borrowed her for a weekend overnight visit! Needless to say no minis got "worked on" but a whole lot of visiting happened and a fair amount of reviewing the mini worlds! And since Birgit has received her little cushions, I can show you the two I kept. Above is the whole project just finished with the stitching. I wanted to use as much of the silk gauze as I could manage, so I tucked the cushions into the corners, and filled the gaps with tiny slippers.  I have shown you one of the pairs of slippers already, and now I have also started to assemble another pair.

Here you can see one of them part way done. 
The lining has been added and the heel stitched together. 
Now the sole gets sewn on.
The sole is cut from an artificial suede cloth
 which you can see there in the bottom corner. 
(These are upholstery fabric samples I was given years ago.)

You will have to wait to see the pair....
They are not all finished.
But I had assembled the cushions a week or two ago....


Here is one of them with the pom-pom trim attached
 but the cushion not stuffed yet.

And the other one, before the pom-pom edging is attached.
I might have shown pictures of stitching this one a while ago.


Here they are both finished.


Here it is in The Cloud Palace...


And testing the look in Sally May's living room chair....
(I don't know where these belong yet!)

So you see, Dear Readers,
 there really is nothing new to show...
But partly finished Slippers
 and Pom-pom trimmed Cushions.

Monday, April 11, 2016

Not Much To Show...


Tiny Progress.... Or The Fabric of Life...

There really is not much to show you this week, Dear Readers, because it was the first weekend of Garden Season, and I needed to get outside and clean last year's dead leaves off the flower beds in my RL Garden! But that doesn't mean there is Nothing to show... because I did manage to work on a couple of Tiny things! The first is the petitpoint cushion in the Tree Of Life pattern from Janet Granger. I know, you are saying I showed you that last week... but that was the one made from her kit! As with the first cushion, there were leftover threads, and I decided to make another one using the 28 count canvas I had, which does make a slightly smaller cushion. You can see it in the photo above, nearly finished... and nearly at the point where I RAN OUT of the thread supplied with the kit for the background! We All know how Impossible it is to match the color of different batches of thread, even when we know the brand and the name of the color... neither of which I knew! But I decided to dig in my embroidery basket and see if I could come up with something close... and then I would "explain" the color change with a story about an Old Pillow that had tea spilled or some such tale! I found a skein of ivory floss.... but the skein no longer had it's color and number label, (I have had these embroidery threads for at least thirty five years!!!) but it looked to be a close match with the ivory supplied with Janet's kit... so I finished the stitching.....


And I don't know about you, Dear Readers, 
but I CANNOT tell where the new thread begins!!!
Can you imagine how unlikely it seems 
that I would have the Perfect threads for so many years?
So this is the second in the Tree Of Life cushions... 
all I need to do now is the backing and stuffing.
I do Love this pattern!
And because I am now having so much fun with the needlepoint kits, 
I needed to start another one right away!

Fortunately, I had another of Janet Granger's kits ready to sew....
This is a "sampler" done on 32 count canvas with a single strand of floss,
 so it is another step smaller than the cushions, 
even the 28 count ones I made.
(I used my magnifying glass!)

It is relatively quick to stitch, and as with real "samplers" 
the background is not stitched.
(And I only made one notable mistake!)

It is designed to be an "antique" with the stitching date of 1806.
I think it is quite charming,
 and like many things in the mini world,
 I have Always wanted to make one!
The kit even comes with a frame... 
I will have to show you when I get that step done!

I have a few more of Janet's kits ready to sew, 
I have bought some of her smaller count projects....
 I will be sure to show you as I get them done. 
I am now a confirmed petit-point addict.... 
when I finish one project, 
I need to start the next one right away!
(Even if it means running out of the right threads 
or using a different count fabric!)

And the last Tiny thing I worked on a Tiny bit, Dear Readers, 
was the settee for the Tiny Room-box!

I had already made the seat part last week....
But I have not been able to find the right fabric to use as upholstery!

Yes, I know you can barely see the pattern in this light.....

And then I thought I should add the legs now, 
even though they would be delicate 
and might make it harder to add the fabric later....

Just the tips of toothpicks, 3/32nds of an inch long.... 
but I think they are too tall and will need to be trimmed.

And with the legs painted too....

Isn't it Adorable?
But I am still not settled on the fabric to use...

This is the same fabric as the carpet in the roombox...
And I think it makes the seat disappear when it is put in the roombox.
Which defeats the point entirely!

So I have not decided whether to use it of not.....
I still might change one or both of the fabrics....
And because it is so Tiny, and so Incomplete....
I didn't take any pictures of it IN the roombox to show you!
Just this picture.
None of these belong together...
And they come from such diverse sources....
Old Threads and new.... 
Fabric from my former mother-in-law....
Kits from overseas and cardboard from work....
Coffee stirrers and toothpicks....
Somehow, Dear Readers, 
These Tiny Things become the Fabric of My Life!