Tuesday, June 30, 2020

Ditto.....


Doing It Ten Times Over.....

I Feel Like I am Repeating Myself lately, Dear Readers, doing the same few things over and over, making little mistakes and doing it again. I hope you will not find my repetition boring to see! The stitching on the Cottage Tea Cozy is a good example of this problem. You can see I had made some good progress on the back side of the Cottage. I was working the colors in the same way I did for the front, starting with the roof and the door and window framework. This makes total sense to me and was going just fine!

Here I have filled in most of the window with the curtains.

And started to add the greenery.....
Which is when I made the discovery
 that I had counted wrong when I placed the window frame....
It is one stitch too close to the side wall!
And it is way too late to un-stitch all that work.
I decided that the best I could do was to 
"Fudge" the rest of the plantings....
 
In particular... those blue Delphiniums by the door...
There would need to be more spires... 
so I added a couple of lavender ones.
I still might add another plant between it 
and the little purple one under the window....

Here you can see what the pattern requires....
I actually think I like my Delphinium better this way!
But I won't tell you how many times
 I had to unstitch this design!

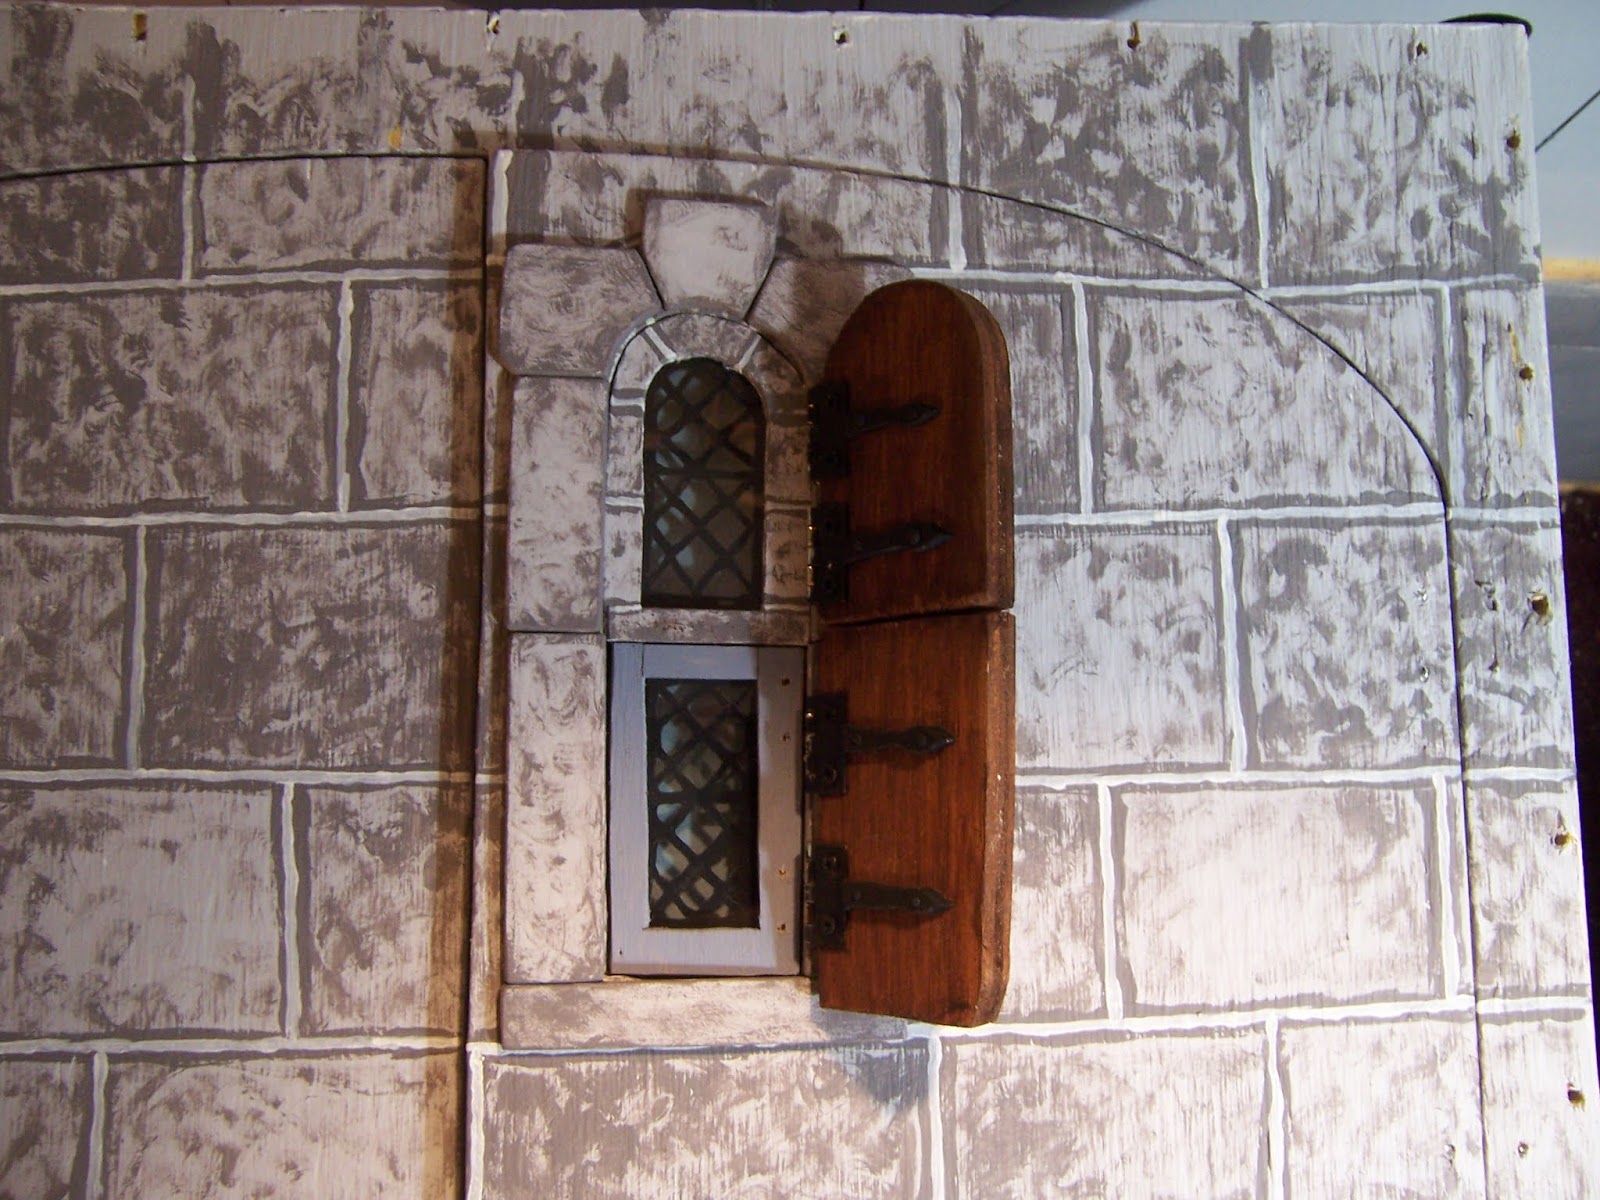
Ditto for the Castle Window and Door Frames.......

I know it is dark.....(Castles are always dark!)
But I promised you I would add that stone to the arch over the stairs...
It took a lot of fitting... cutting ... measuring.... trying again!
But I think I got it right at last.

And last week I didn't even have the heart to point out 
the missing sliver of "stone" over this door... there in the corner!
Yes, it took a lot of cutting and doing over!
 
And I couldn't wait to get started on the window frames....

Here is the one on the far wall with the shutters removed... 
Just so you can see what needs improving.

Here I have added the easy bottom stones....
(Why did All the windows and doors have to be arched?)
Well... I know why... it is a stronger structure... 
and they look beautiful.....

Here I have added a couple of the arch stones on either side....
It just isn't working to try to cut the "key" stone
 until all the others are in place.

It does need to fit precisely.... 
and the layers of paint added do change the placement of each "stone"
 just enough to throw the whole arch off....
So it just takes longer!
I had hoped to get all the window frames for this room done in one weekend....
I got one and one half finished.

The easy stones on the side window are attached.

And the shutters are re-attached to the far window!
Don't they look just right?
(I know... you can barely see.... it was late...
 I was tired of doing them over and over again!)
I'll get the lights re-attached so you can see in there!
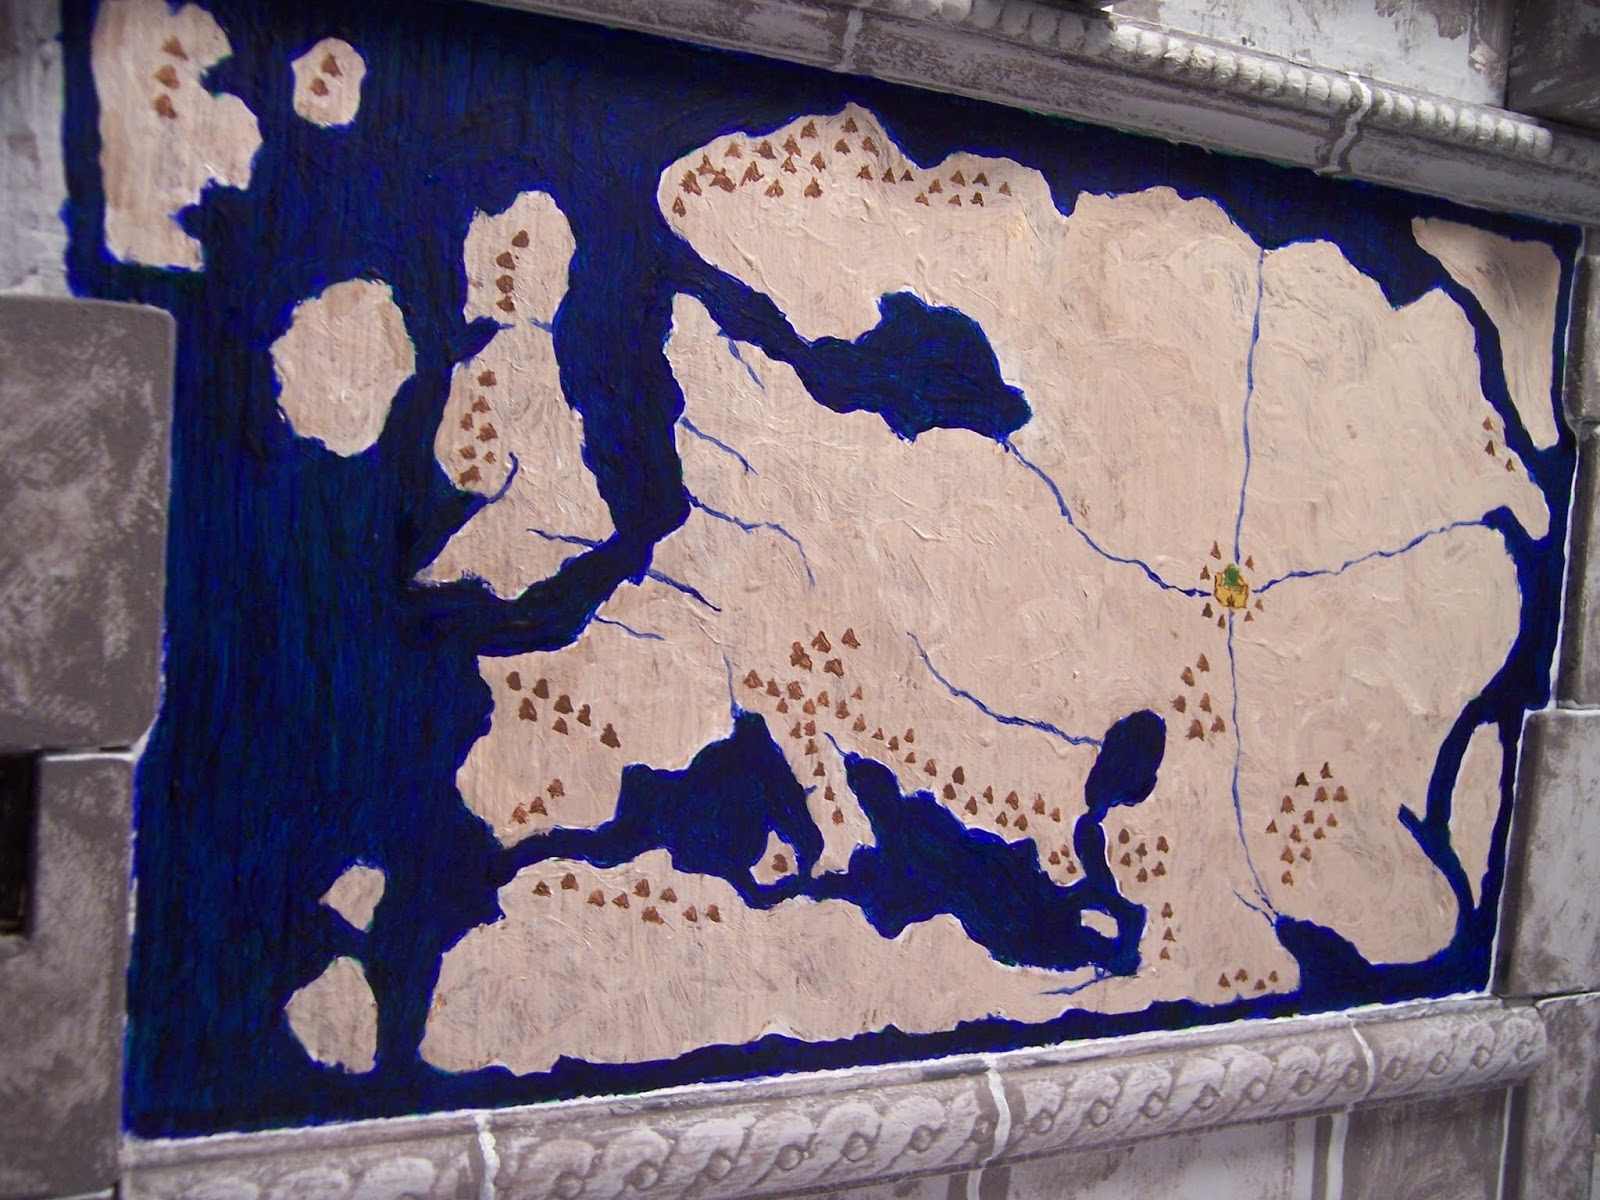
And the Map?
No... I made no progress at all!
Rather than hurry and have to do it all over again...
I'll take my time and do it Right the First Time!
 
So I hope you don't mind, Dear Readers, 
if my Posts become a bit repetitive....
Fixing those doors and windows will take a while
While I am Doing it Ten Times Over!


Tuesday, June 23, 2020

Summertime....


Tiny Updates.... Not A Lot of Progress...

Summer Arrived on Saturday, Dear Readers, and it was Time to put away the Blossoming Lilac Shrub and return to the plain old Leafy Summer Lilac Shrub. I am not sure that Gabrielle and Will noticed at all! I had intended by now, for sure, to have accomplished the mossy ground around the lilac Shrub(s), but it is still not even started. I need to find the right "mossy material" and learn how to apply it... and I am not about to experiment on these shrub(s) that took more than a year to make! So it has not been done. But I don't think Will and Gabrielle are thinking about it at all! They are enjoying each other's company so much, they do not even notice the World around them!

On a sunny Summer morning it is a lovely spot to sit!
And eventually there will be moss... 
and the rest of the Vinca will cover the ground.
(I can Dream... right?)

I did manage to make some small progress
 on the stitching of the Tea Cosy Cottage...

I didn't take many progress pictures.....
Here the front is almost done.

Here I am beginning the back side.
I really like that the two sides are quite different!
 
And over in the Castle, I have made
 more stones for more door surrounds....
 
This time it is in the Guard Room... 
a room which was "finished" years ago! 
But all the doors and windows need those stone details...
I started on the one to the left of the Great Hall Door
 (which already has grand stonework).
I tried to get a "system" of patterns for the stones
 so I could produce them in bulk...
But the doorways are a bit inconsistent.

You probably can't see it in this dark photo,
 but the stones over the door to the stairs have a gap...
One of the ones I had cut and painted 
didn't fit right when I was gluing them on...
It was getting late and dark.... 
I pulled the miscreant off and left a gap
 to be filled when I have the patience
 to reach into the space and fit a "rock" to the gap.

The stones over the Main Door fit better....
 but only because I carefully fit them as I cut them.
This door is wider than most of them
 so it needed special fitting anyway.
And then I will need to do the window surrounds... 
which will help make the shutters fit better too!
I have not yet counted all the doors and windows
 which need this stonework upgraded.
This project may take a while...!

And the Map... 
you are wondering if there is Progress at all?
I will let you be the Judge....

This is how it looked on Midsummer Morn....
(I know it is hard to see the details at all!)

And when next I took a picture....
Some things had changed....

(Certainly the Mountains have grown...)
And Castles have sprung up ....

Wait.... could that possibly be Aachen... there in the foothills?
And maybe even Grandson and Gruyeres?
Well.... maybe it is hard to tell for sure....
But we can Dream... can't we?
So you see, Dear Readers,
How small the progress has been...
But the Dreaming...
Aahhh.....
Midsummer Dreams
 Are like no others!


Tuesday, June 16, 2020

A Little Bit of This.... A Little Bit of That.....


All Over The Map.....

You Might recall, Dear Readers, that I started to do some petit-point embroidery projects during the times of day I was normally in my car on the way to work. Those hours add up fast and I have accomplished a lot during my "commute" times! Above you can see the stitching completed on the little footstool in the Tree of Life design by Janet Granger. I love this design and had a lot of fun stitching it! But it only took a couple of weeks start to finish.... well, I have not assembled it yet, so it is not finished. But I was so enjoying the stitching process, I had to start another of her kits right away.

This is a mini handbag from the "Jazz Era"
and it took me even less time... I didn't even take progress pictures!
Of course, I have not sewn it together yet...
But the stitching is done. 
And yes, I found myself in need of starting another of Janet's kits...

This time a Tea Cosy in the shape of a cottage.

Which is coming along rather quickly!
And lest I forget to show you the progress on assembling the footstool...

The kit includes the bare wood pieces to finish and assemble.
 The feet are supposed to be gently rounded by sanding them.
 I had just started this when I realized it might be fun
 to make them "ball and claw" feet instead!
You can see the beginnings of my carving above.

I was quite happy with my efforts!

And promptly carved the other three to match!

I stained the pieces before gluing them.... 
and have not yet given them a coat of varnish.
Which is why the footstool has not yet been "finished"!
But that was already a couple of weeks ago.... 
and since then I have been building those "Rocky" window frames...

And rather than bore you with all the steps, 
I will just show you the completed window for the outer door wall...

And with the shutters finished too!
The outer side of the wall has yet to be completed, 
but this finishes the windows for The Lord's Council Chamber!
Ah, but you are wondering about the Map....
The Map is Slow going Dear Readers, 
because I don't know what I am doing!

This is how it looked when you last saw it....
So Bare!
And yet, I keep needing to remind myself
 to think like a Medieval Traveler...

I started by placing the "known" details.... 
the mountains that nobody disputes
 and the location of Paradise
 which was at the Center of the World.....
Although that was beginning to be
 moved farther from the known lands.
And the Four Rivers that flow from Paradise....
 dividing the continents....
But I got them wrong and had to do them over....

Perhaps this is better...?
And a few sailing ships had to ply the seas....
(just under-painted in white to make the colors true...)
Oh, did you want to see them closer.... 
pretend you are a bird....?
(Go ahead, poke the pictures to zoom in...!)

And more.....
More ships... a sea monster or two....
More mountains....
Each so carefully positioned....
And if you are wondering why, for once, 
you can see so well in my pictures....


I had to rig a clamp lamp overhead
 in order to be able to see what I was painting on the wall!

Now the ships have their hulls painted too.
And this little bit has taken Days of dithering!

But I must be Brave and just forge ahead....
There have to be castles....
 in the places where castles were known to be!
Rome, Paris, London, Palermo, Jerusalem, Constantinople,....
 every time you turn around there is somewhere else
 that needs a castle or a walled city....

And they need their details inked so carefully!
This is sometime around 1200 AD.... 
I cannot be more precise about the year...
Castles were the up-and-coming thing....
 The Crusades were nearly over...
The Battle ground would be on the Home Turf,
 not the Foreign Lands...
Castles were being built everywhere...


Ghent, Edinburgh, Avignon, Cardiff, Norwich.....
And the knowledge of the World had changed....

People Traveled to the ends of the earth... 
and came back again....
Marco Polo wrote his tales....
Fez, Lisbon, Dublin, Barcelona....

More Mountains.... More Rivers.....
Camels of the Deserts.... 
Elephants of the Indies...
And yes... Somewhere there Be Dragons!
But we haven't found them yet, Dear Readers,
And this exploration is a Long way from done.... 
because I really don't know where I am going...
But you can be sure I will be wandering all over the map!

Monday, June 8, 2020

Back-Tracking.....


Progress..... Step by Step.... Stone by Stone...

It usually doesn't feel like Progress, Dear Readers, to go back over your work and undo parts of it in the hopes that going a different way will get you the desired results. But we all have had to make those choices from time to time. In the case of my Medieval Wall Map it was easy for me to decide that the initial color layer was not right. It needed to be toned way down and made to seem less like "real earth" colors and more like a blank canvas outline. You must remember that I am making this up as I go along and I am trying NOT to copy real maps or real known Medieval maps with any accuracy. It didn't take long to paint over the land shapes with a beige wash. I wanted to get the oceans color in place before I went further with the land, so I painted them blue, ultramarine blue.

It is a lovely bright blue!

This is just the first coat. 
And I am sure that I have mentioned before
 that paint is often quite translucent (a great thing!)
 and needs careful layering to make it look right.

And of course, we have to stand back from time to time
 and look at the effect on the whole room.
 
And especially taking into account the floor tiles.
(Hard to do on a gloomy day!)

And while I was redoing parts of the map, Dear Readers,
 I was also re-doing the "stone" surrounds
 for the windows in the Council Chamber.
 This required undoing the shutters for starters.

You can see the light shining right through those
 screw holes for the shutter hinges!
 I made sure of this because I would need to drill through 
from the outside to correctly position the shutters
 on the new "stone-work" once it was glued in place.

Here the new stonework is being slowly added.
The top stones are the hardest to shape correctly..... 
they require a lot of cutting and sanding and testing the fit.

And while paint was drying on the "stones"
 (which needed to be painted with three colors before they could be attached)
 I was adding more color layers to the oceans on the map.
 Here I am adding thalo green (a very translucent foresty green).

Here you can see that it covers the blue but doesn't hide the blue.

And by the time I have completed the window stonework
 and re-attached the shutters, it is late and dark.
 (At this time of year that means quite late!)
But you can see what an awesome difference it makes!

I had to use my spotlight to show the details!
Here with the top shutter closed..... 
the shutters "fit" more snugly into the window frame this way
 because the window itself is set back from the surface.

Here with both the shutters closed.
It just looks So much better than before!

And the Map and the floor in "candle-light"....
Impossible to tell if the colors are right.... 
but I already know they are not.

On a gloomy morning it is hard to tell..... 
So I work on the other window "stones" 
while I debate the color strategy for the map.

I "Undid" this window as well.... 
even re-fitting the hinges on the lower opening frame
 to recess the extra 3degrees of slant for the hinge plates!
This was challenging.... but now was the opportunity to get it right!

The plywood is difficult to work on its end grain
 (which happens to be the direction it is aligned on this wall).

And here I am adding the stonework frame.... 
gluing with my trusty clamp!

Here the stonework is all attached.
You can see how it recesses the window.

And with the shutters reattached....

I just Love how it looks!

And see how snugly the shutter fits against the stonework?
I did not have to adjust this in the slightest!

And with the bottom closed too.
It looks snug and safe!

As for the paint colors on the Map.... 
I decided to add another layer of the blue over the green....


Just to tone down the green and unify the blue....
I know it is a subtle difference.... 
here partly done.
I was worried it would darken the blue too much... 
but decided I needed to give it a try. 
I could always paint it over and start again if I didn't like it.....

Here you can see it closer.... 
the lower left has not been over-painted yet, the upper left has.

Here it all has been over-painted with the blue.
(Once again it is late and dark!)

And here you can see the map with more light.

And that is as far as I got, Dear Readers,
Back-tracking stone by stone and step by step,
I think I made Great Progress!