Updates and Details...
Some of you, Dear Readers, might Recall the little Christmas Tree Skirt I stitched a few years ago. Yes, it has already been two years since I "completed" this lovely little project, a kit from Janet Granger. The instructions tell you to apply a layer of glue to the back side of the outer edge and then simply cut the mesh close to the stitching. This is because a turned under hem would be bulky and difficult to do neatly in a circular shape. As you know, I did not follow the instructions anyway.... and had become carried away by adding tiny Reindeer, snowmen (and snowdeer) and Elves and Santa and Mrs. Claus and their dog "Soot" to the village around this skirt. But I did, initially use the suggested method of finishing the border. But I was not happy with how it looked, and had always wanted to add trim to the edge.... lace.... or something! Well, I recently decided to tackle some of these lingering incomplete projects and pulled out the Tree Skirt. How hard could it be to add a stitched "binding" to the outer edge? Well, it wasn't difficult, precisely, but it took along time! You see the beginning above.

It was slow going!
I still had thread left from the kit and pulled it out.
I used two strands instead of one to cover the trimmed mesh.
I stitched over at least one thread, sometimes two
deep in order to anchor it well enough.
Where the mesh is cut diagonally across the grid
the threads don't hold as securely.
And the thread tends to grab on those cut ends....
I did a lot of stitching while talking with my son who was visiting.
And here you can see the binding completed!
But I had always wanted to add the "snowball" trim
that I had also used on the little cushions I made.
This was even more time consuming!
You have to align the thread carefully around
each little "snowball" or it doesn't keep it's shape.
So while we had a big old snowstorm outside in RL,
I was carefully adding the snowball trim to the Tree Skirt.
It was very heavy wet spring snow.
But we were happily indoors drinking tea and coffee
and eating bagels and chocolate and talking....
and stitching too!
That was already a couple of weeks ago!
Here the trim is almost all added....
Now the Tree Skirt looks the way I hoped it would!
And while I was finishing old projects,
Dear Readers, I thought I would just keep going...
Do you even remember this project?
It is another of Janet Granger's lovely Tea Cosies.
When I was stitching it I had inadvertently made
the rear window too close to the side, leaving too much space in the middle.
In order to fix it I needed to add more flowers next to the door...
so I added spires of lavender delphinium between the blue ones.
I do think it turned out well!
But I needed to finally stitch the cosy together!
I forgot to take pictures until it was mostly done.
I thought it needed a "handle" at the top...
so I added a couple of beads that resemble a chimney!
Gosh it's cute!
And that isn't all I've done.....
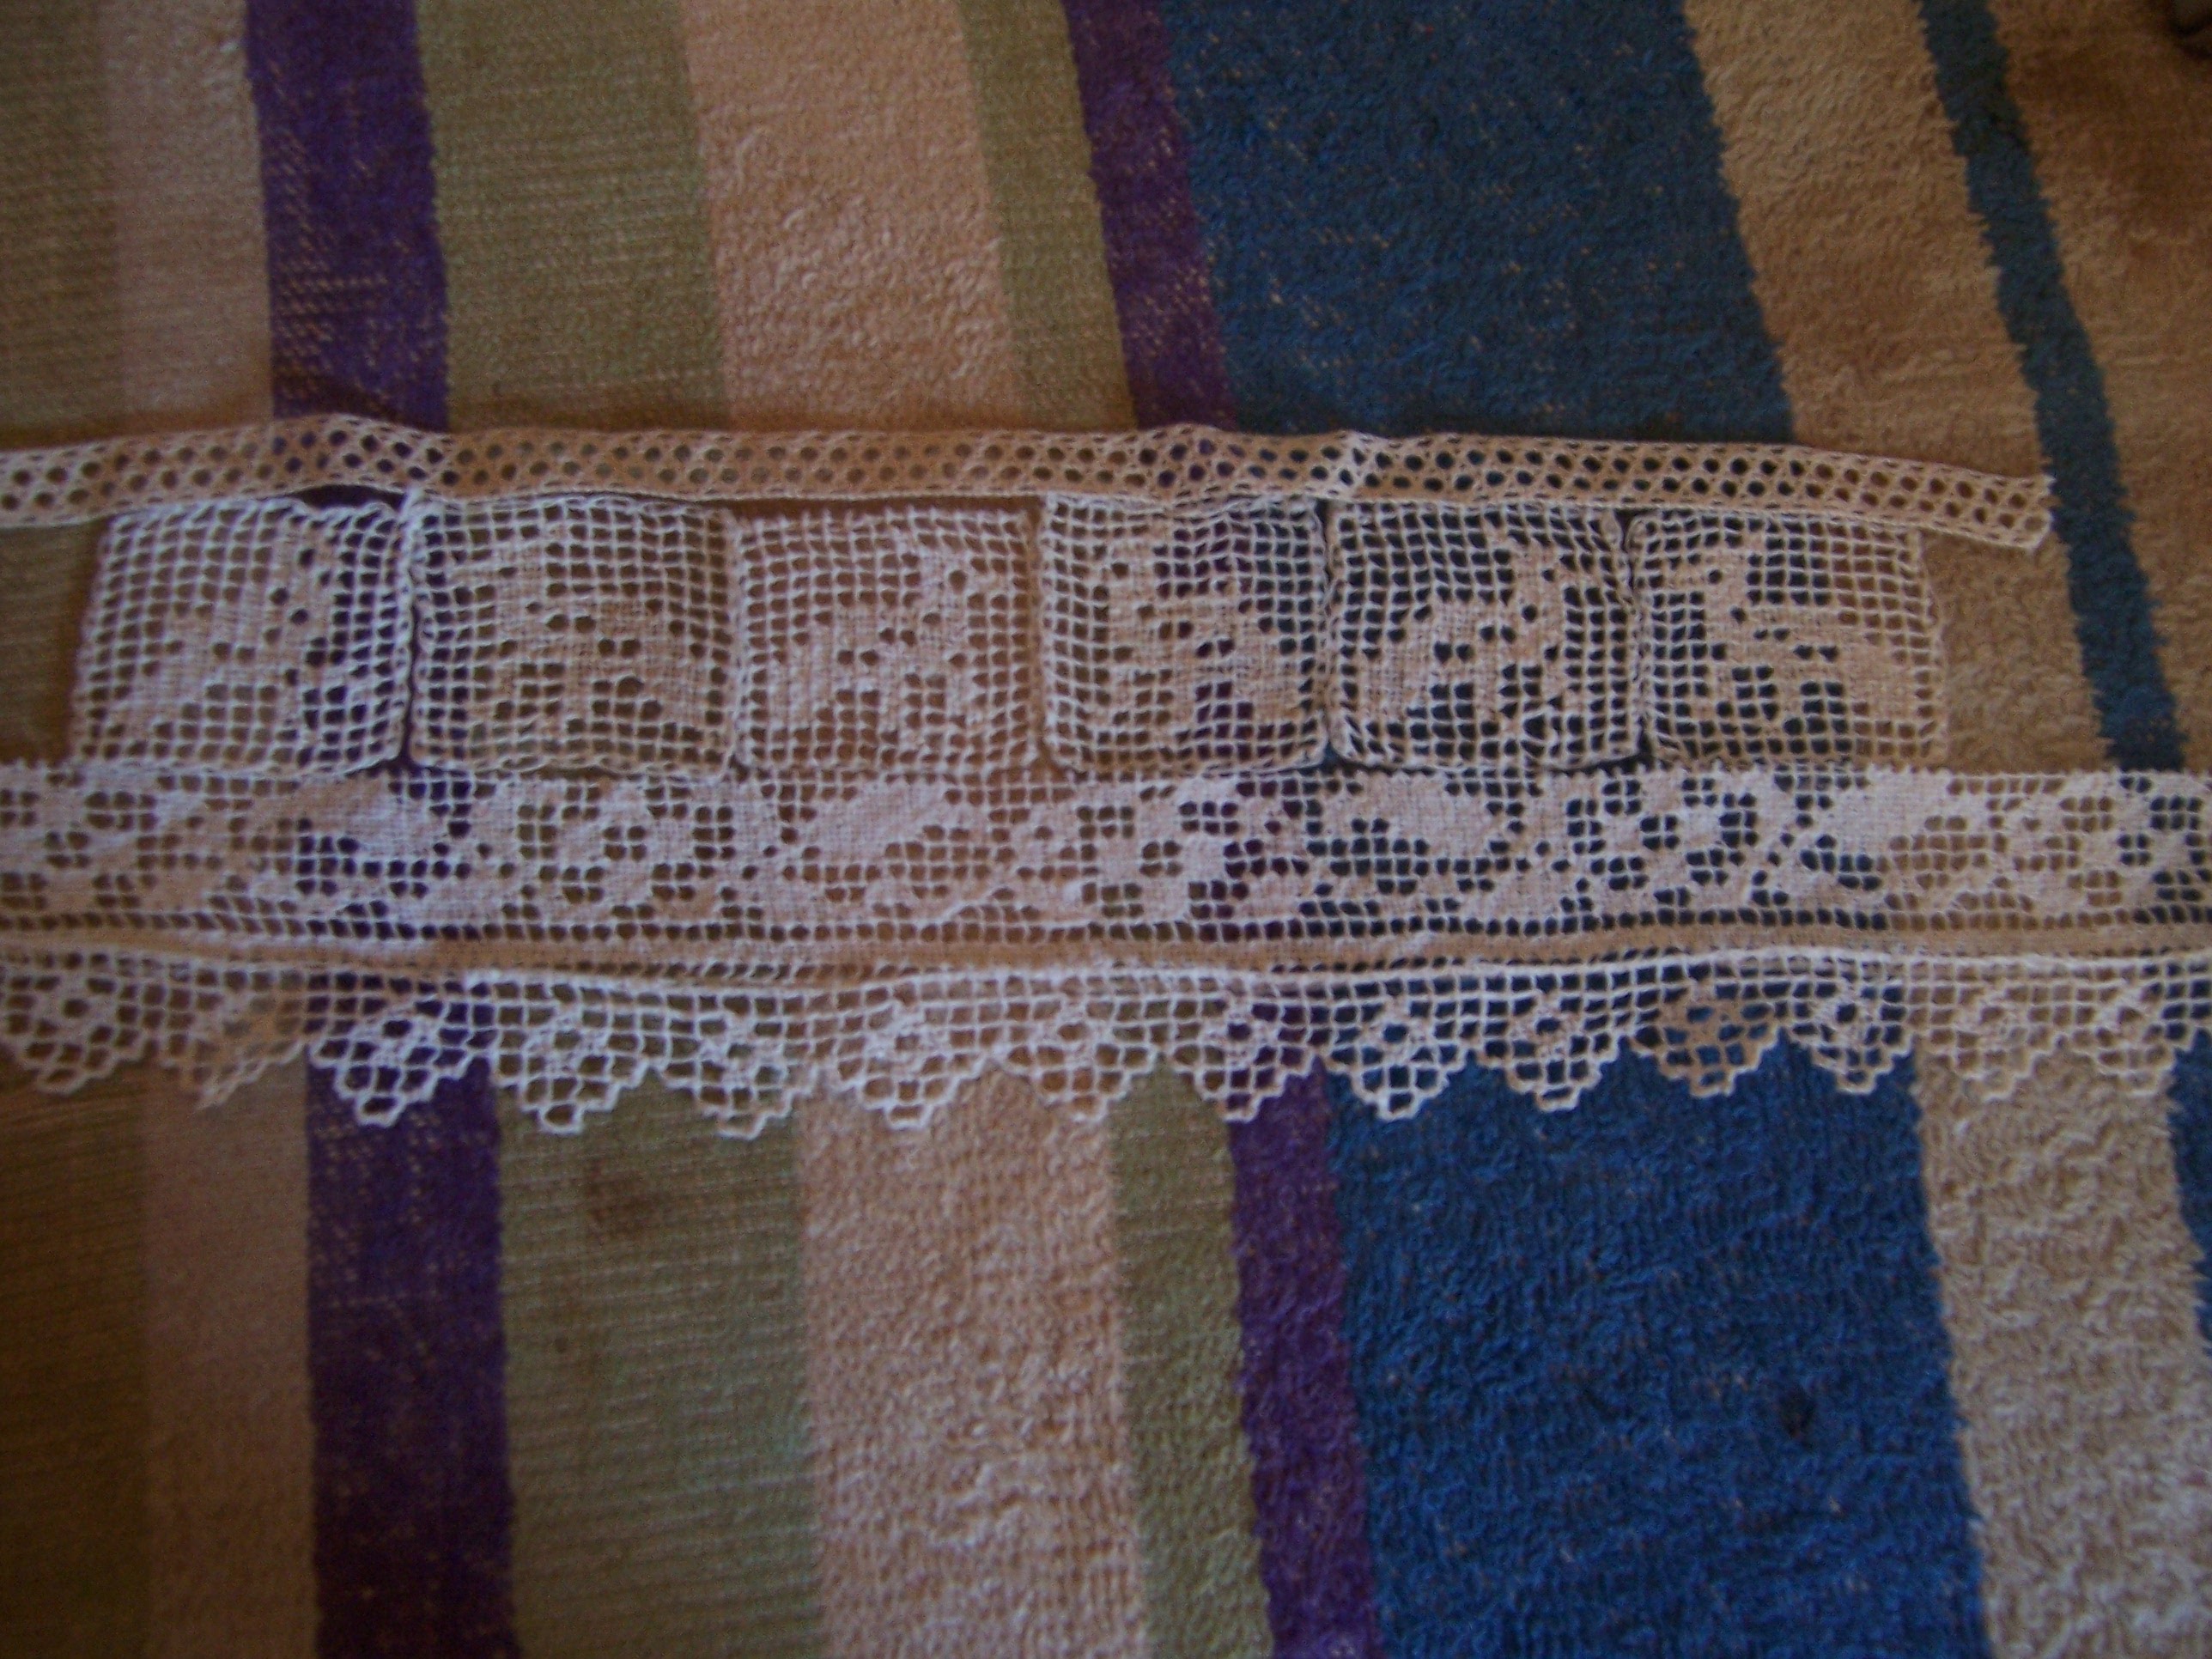
I wanted some lace "cafe curtains"
for the window seat of the Dollmaker's Studio.
Here I am playing with possible pieces
to stitch together into a lace curtain.
I have had these cute little hand made lace figures ....
birds, I think, for so long I can't remember where or when I got them.
There aren't enough for anything a large as a table cloth or bedspread...
but perhaps enough for a small curtain?
Maybe something like this?
It took quite a bit of very careful stitching to join all those pieces.
I didn't want to cover very much of the window....
just enough to suggest a little privacy.
Of course, you know me....
I needed to have curtain rings and a curtain rod....
And here I am trying to see how it looks from the outside...
there is too much reflection...!
Maybe if I turn the lights on...?
(The ceiling is still not in place...)
And from the inside....
I think we can get a sense of how it will look.
I think it is perfect!
(But everything is still not attached!)
So there you have it, Dear Readers,
Some long overdue updates
and a whole lot of stitching details!