How Do You Know Where You Are.... Going...?
I Hope you will not mind, Dear Readers, if I take you on a bit of a Ramble while I show you what I have been working on recently in the Lord's Council Chamber in my Castle Dollhouse. Above you can see the Chamber as it has recently developed, and I am sure some of you would think it is nearly finished. It has the fireplace, the floor, the glass windows and the ceiling is even showing the base colors of blue paint. But Alas, the longer I look at all those details, the more there is another detail that stands out in my mind as a step Not taken when it should have been! I am referring to the lack of three-dimensional stonework around the windows and doors. The What? I hear you ask. Well, let me show you what I mean...
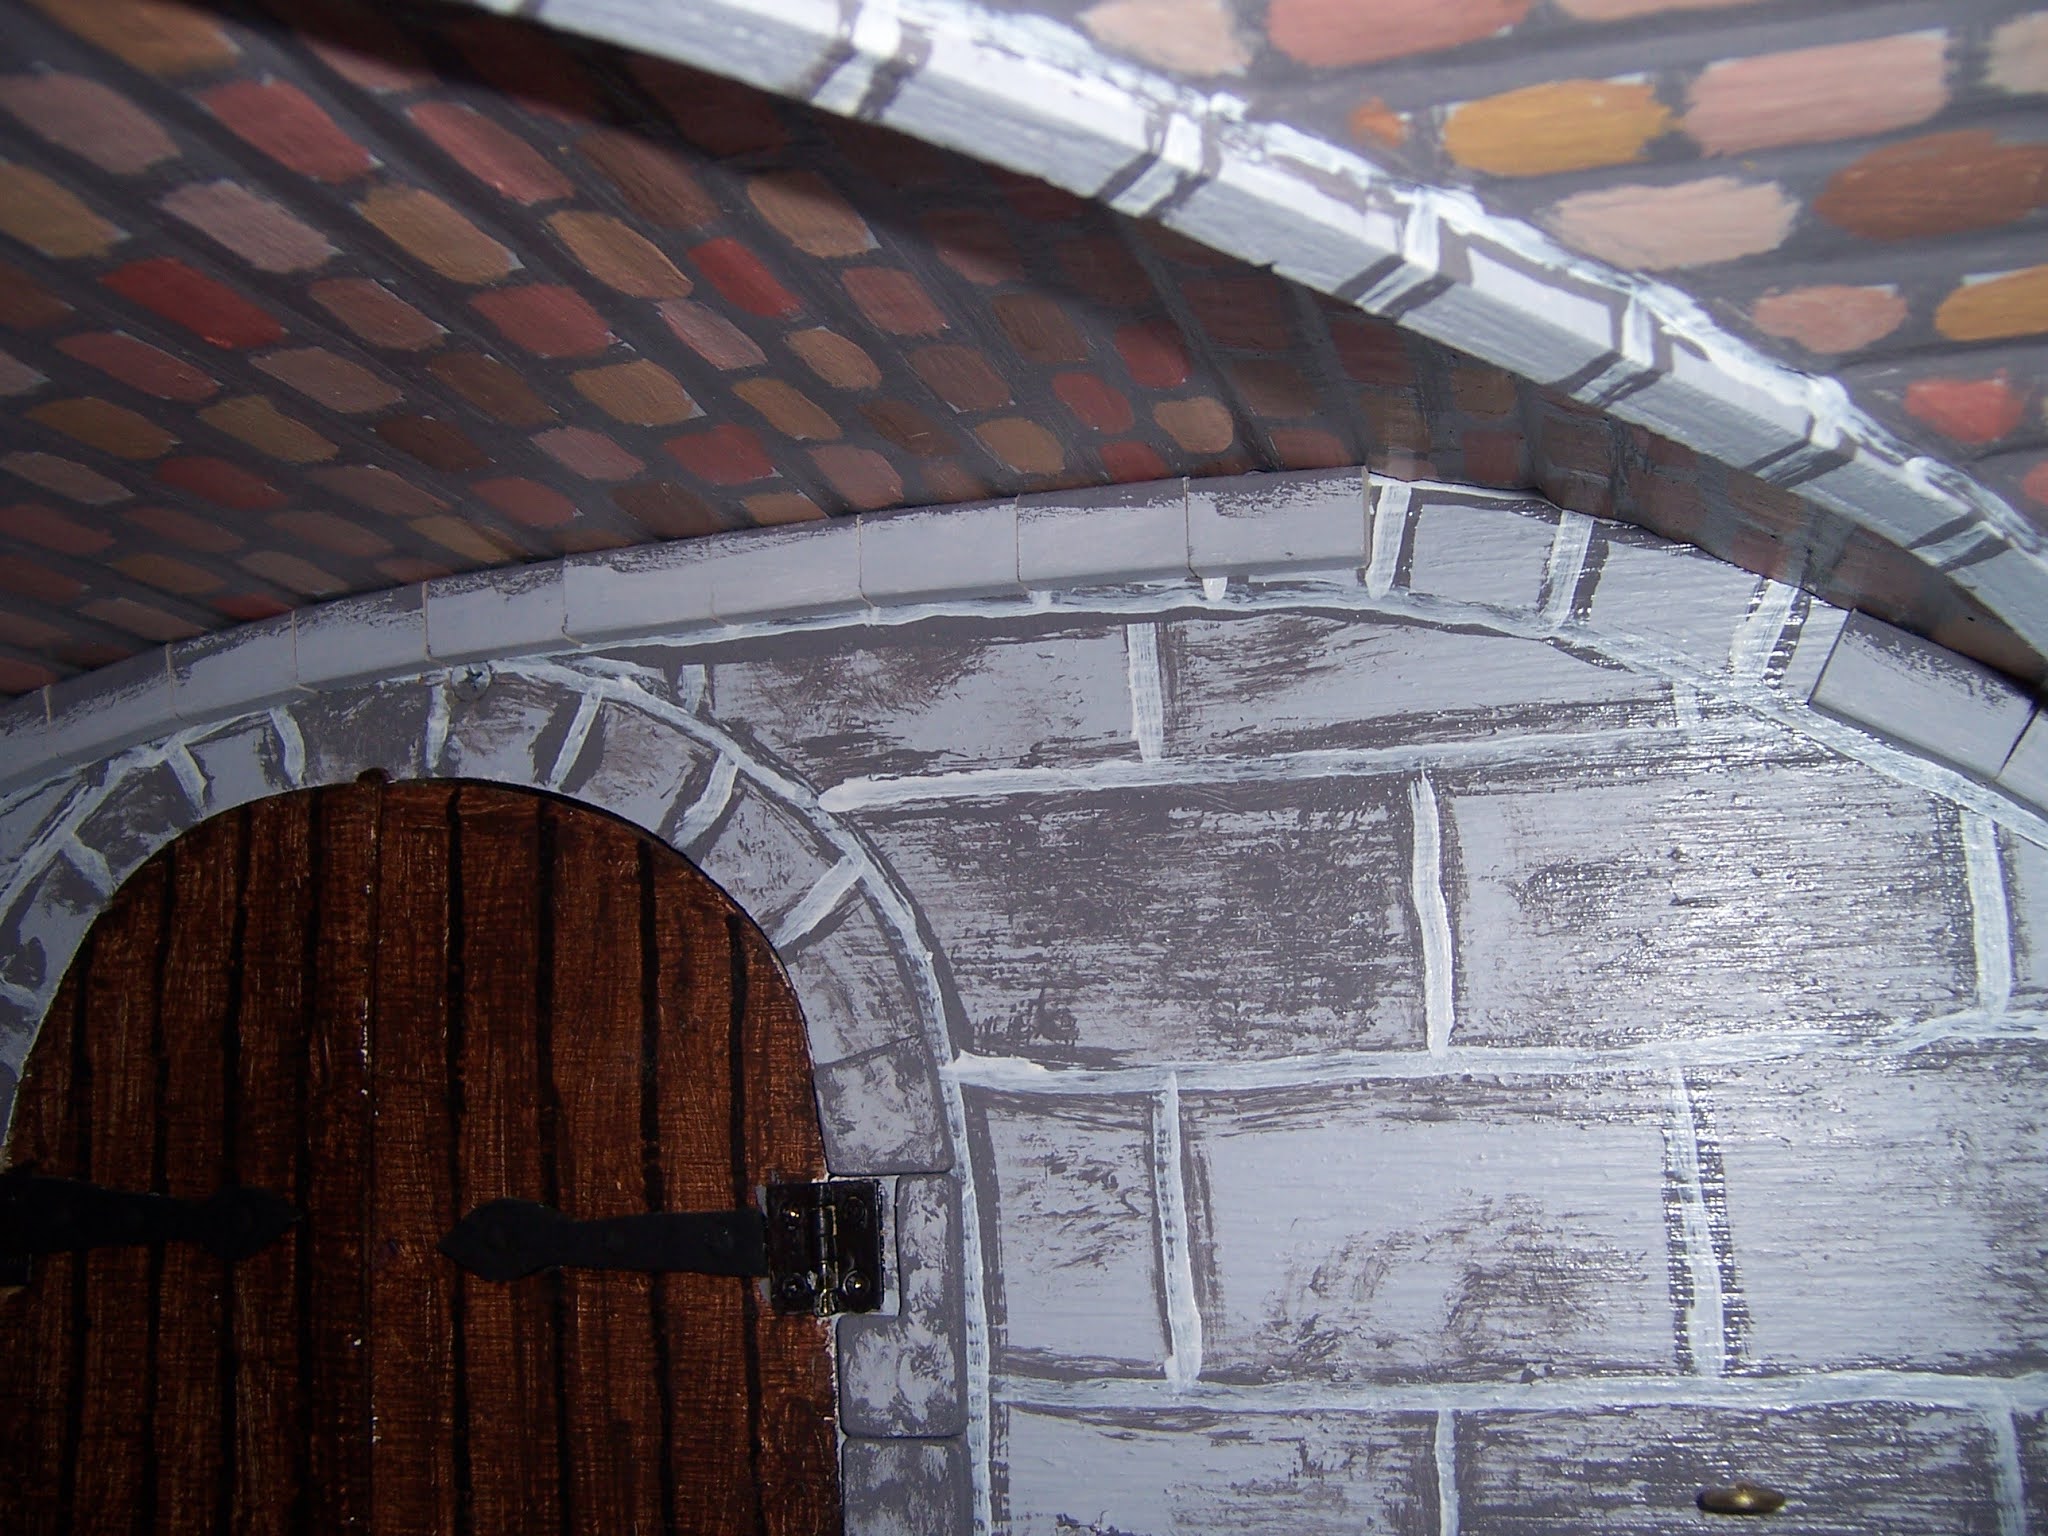
Here you can see that the door surround in the Lord's Council Chamber
has only "faux painted" stones to frame it.
While in the Great Hall, all the door frames and window frames
have a three dimensional "stone" framework,
which you can (sort of) see in the above picture.
(I apologize for the dark photo!)
When I started building the Castle all those years ago,
I hurried past a couple of these steps...
because they use a great deal of time.
And it has bothered me ever since!
(But do you have any idea how many window and
door frames we are talking about...?)
Now that I am working on the Lord's Council Chamber,
it stands out too much to ignore....
or rather, it doesn't "stand out" enough!
I decided that it is not too late to correct this oversight...
especially in the Lord's Council Chamber,
while I am still "building" all the details.
It requires the slow process of cutting and fitting the "stones"
and painting them individually before gluing them to the wall.
I was having difficulty finding wood stock of the right dimensions...
not too thick, but wide enough to make good big "stones" ....
I realized that I have many old paint stirring sticks
that have a great dimension....
Here I have started to add them around the doors.... can you see them?
I know it is subtle... but it does make a difference!
It is slow going.... but I am sure it will be worth it in the end!
And along with the framework surrounding the doors
(and eventually the windows too)
I have also added a "carved stone" rail across the middle of the wall,
which will frame the painting....
Which will cover most of this wall....!
"What on Earth could she be thinking... ?" you are wondering.
Well, Dear Readers, I am so glad you asked!
Because many many years ago
when I was traveling in Europe
as a college student, I stumbled across
the Gallery of Maps in The Vatican.
I was completely unprepared...
had not known they were there...
and I've never really recovered!
I have always loved maps.... and Oh My what amazing Maps!
And of course, when designing my own Castle....
I thought "shouldn't my Little Castle
have some Approximation of such maps adorning its walls?"
It is taking many coats of primer to whiten the wall
sufficiently to cover the "stones".
And there needs to be an upper framework added as well....
here being braced while the glue dries.
And while I am slowly adding the stones that will frame this painting,
I am pondering the problem of the Map itself....
Those maps in the Gallery in the Vatican
were painted in the late Fifteenth Century....
the very end of the Middle Ages...
And a Medieval Map was a very different thing!
I know this.
And This Castle is supposed to be an Early Medieval Castle.
So Exactly what sort of Map will be on this wall...?
Ahhh.... that is where the Adventure starts!
It is much harder than one imagines to "unlearn"
the perspective that is currently known....
To try to see the World as it was seen
when nobody could really see it all...
I will fail over and over as I try.....
But sometimes you just have to jump in and start....
Please don't judge this beginning too harshly, Dear Readers,
because it will undoubtedly change....
As I try to find my way...
mapping a World that has never been...
and probably never will be....
I have no Map to show me the way....
How do You know where you Are..?
How do you know where you are Going...?