Showing posts with label Teeny Tiny Books. Show all posts

Wednesday, September 23, 2020

Fall Is In The Air.....


 A Taste of Halloween....

Not Very long ago, Dear Readers, I bought a bunch of little kits from Robin Betterley Miniatures. Specifically, a whole bunch of her Teeny Weeny Secret Books. They are hollow "books" which pull out and have tiny scenes inside them. Many of them are based on a Holiday Theme, and as we are approaching the Halloween Season, indeed we could even be already In the Halloween Season, I decided to put together one of these tiny projects. You can see above the beginnings of construction. In theory it is very simple and straight forward to make. A box like a drawer slides into a "case" which has the book cover information applied. I only made a half dozen mistakes in the initial assembly. Clearly I wasn't paying attention to which side of what went with what side of whatever! Eventually, after some serious un-gluing and doing over, I got it right!

I painted it a burnt sienna color
 and then applied the decorative printed papers.


First the cover art.
 
 And then the interior art.
This angle shows the left hand side...


And then the right hand side.
Please ignore the lumber "scrap yard" in the back-ground!


The kit comes with all the little "twiddley bits" to make the interior scene...
 including a cutout of a Witch's silhouette.
But I thought it needed something more....
So I added an old Crone....
And gave her glitter eyes...
Which do shine in the right light!


I might have gotten a bit carried away... 
I wanted the cauldron to sit on glowing coals....
(More glitter in red and copper.... but so hard to photograph!)
And a crooked stick for stirring the Brew....
And smoke rising from the pot.... 
(My own additions.... not included in the kit.)


Can you see it in this picture?


Or here...?
The brew is green and overflowing 
and has copper glitter mixed in too...


Here I am gluing the Crone in place.
The space is really very small... 
so I had to carve off part of the Kit Witch...


I had to glue her to the back side...
(I am not sure she wants any part of this toxic brew!)
So I still had room for the pumpkins.....


I don't know why...
 but I wanted one of them to still be on the vine...


I had to keep checking to see that it would fit inside the cover....
And see if we can see the glitter...


And with the pumpkins inside too....
It is full to the brim!
I have nothing more to add, Dear Readers,
Except to say that this is a Little Taste of Autumn....
And to wonder what you've got "cooking"?


Monday, December 18, 2017

Another Teeny-Tiny Tree.....


Lost In The Details Again...

Some of you, Dear Readers, might be aware that this is the time of the year that I am trying to draw my Annual Christmas Card, a process that always takes me longer than I think it should, and that I have been doing for more years than I care to mention! It is a tradition that I can't bring myself to ignore because the drawing always includes images of my life during the past year, and has become a bit of a Journal of the Family through the years. (If you wish to see previous years' versions, they are listed in my side bar under "Christmas Card"!) So It is currently on my drawing table, being carefully worked on in all my spare moments... or almost all of them! I will admit that it will be Late again this year, in spite of my early start and my best intentions! Part of the problem might have to do with the Incomplete nature of The Secret Christmas House kit which I have been working on much of this year! One might suppose that this House would be included in this year's card..... if it were only finished enough to draw it correctly...! So which should I do first.... draw the card with an unfinished "Christmas House" or finish the House and draw the card Later.... possibly much much later? Well, while we ponder that question endlessly, I will confess that On a recent "Snow Day" while I was home from work because of a snowstorm, I decided to see if I could make one of those Tiny little additional pieces for the Secret Christmas House that were not a part of the original kit. I am sure not many people would think there was anything missing from the Dining Room as the kit was designed. In the above picture you can see all the parts in place (temporarily of course) and I have to admit the back right hand corner of the room looks very empty to me! I have been wanting to make a Tiny "carving table" ever since I noticed.... and really ever since I decided that the table needed to have plates and a basket of rolls and possibly a platter with a roast on it.... Where would the roast fit? So I started to build a Tiny carving table.....

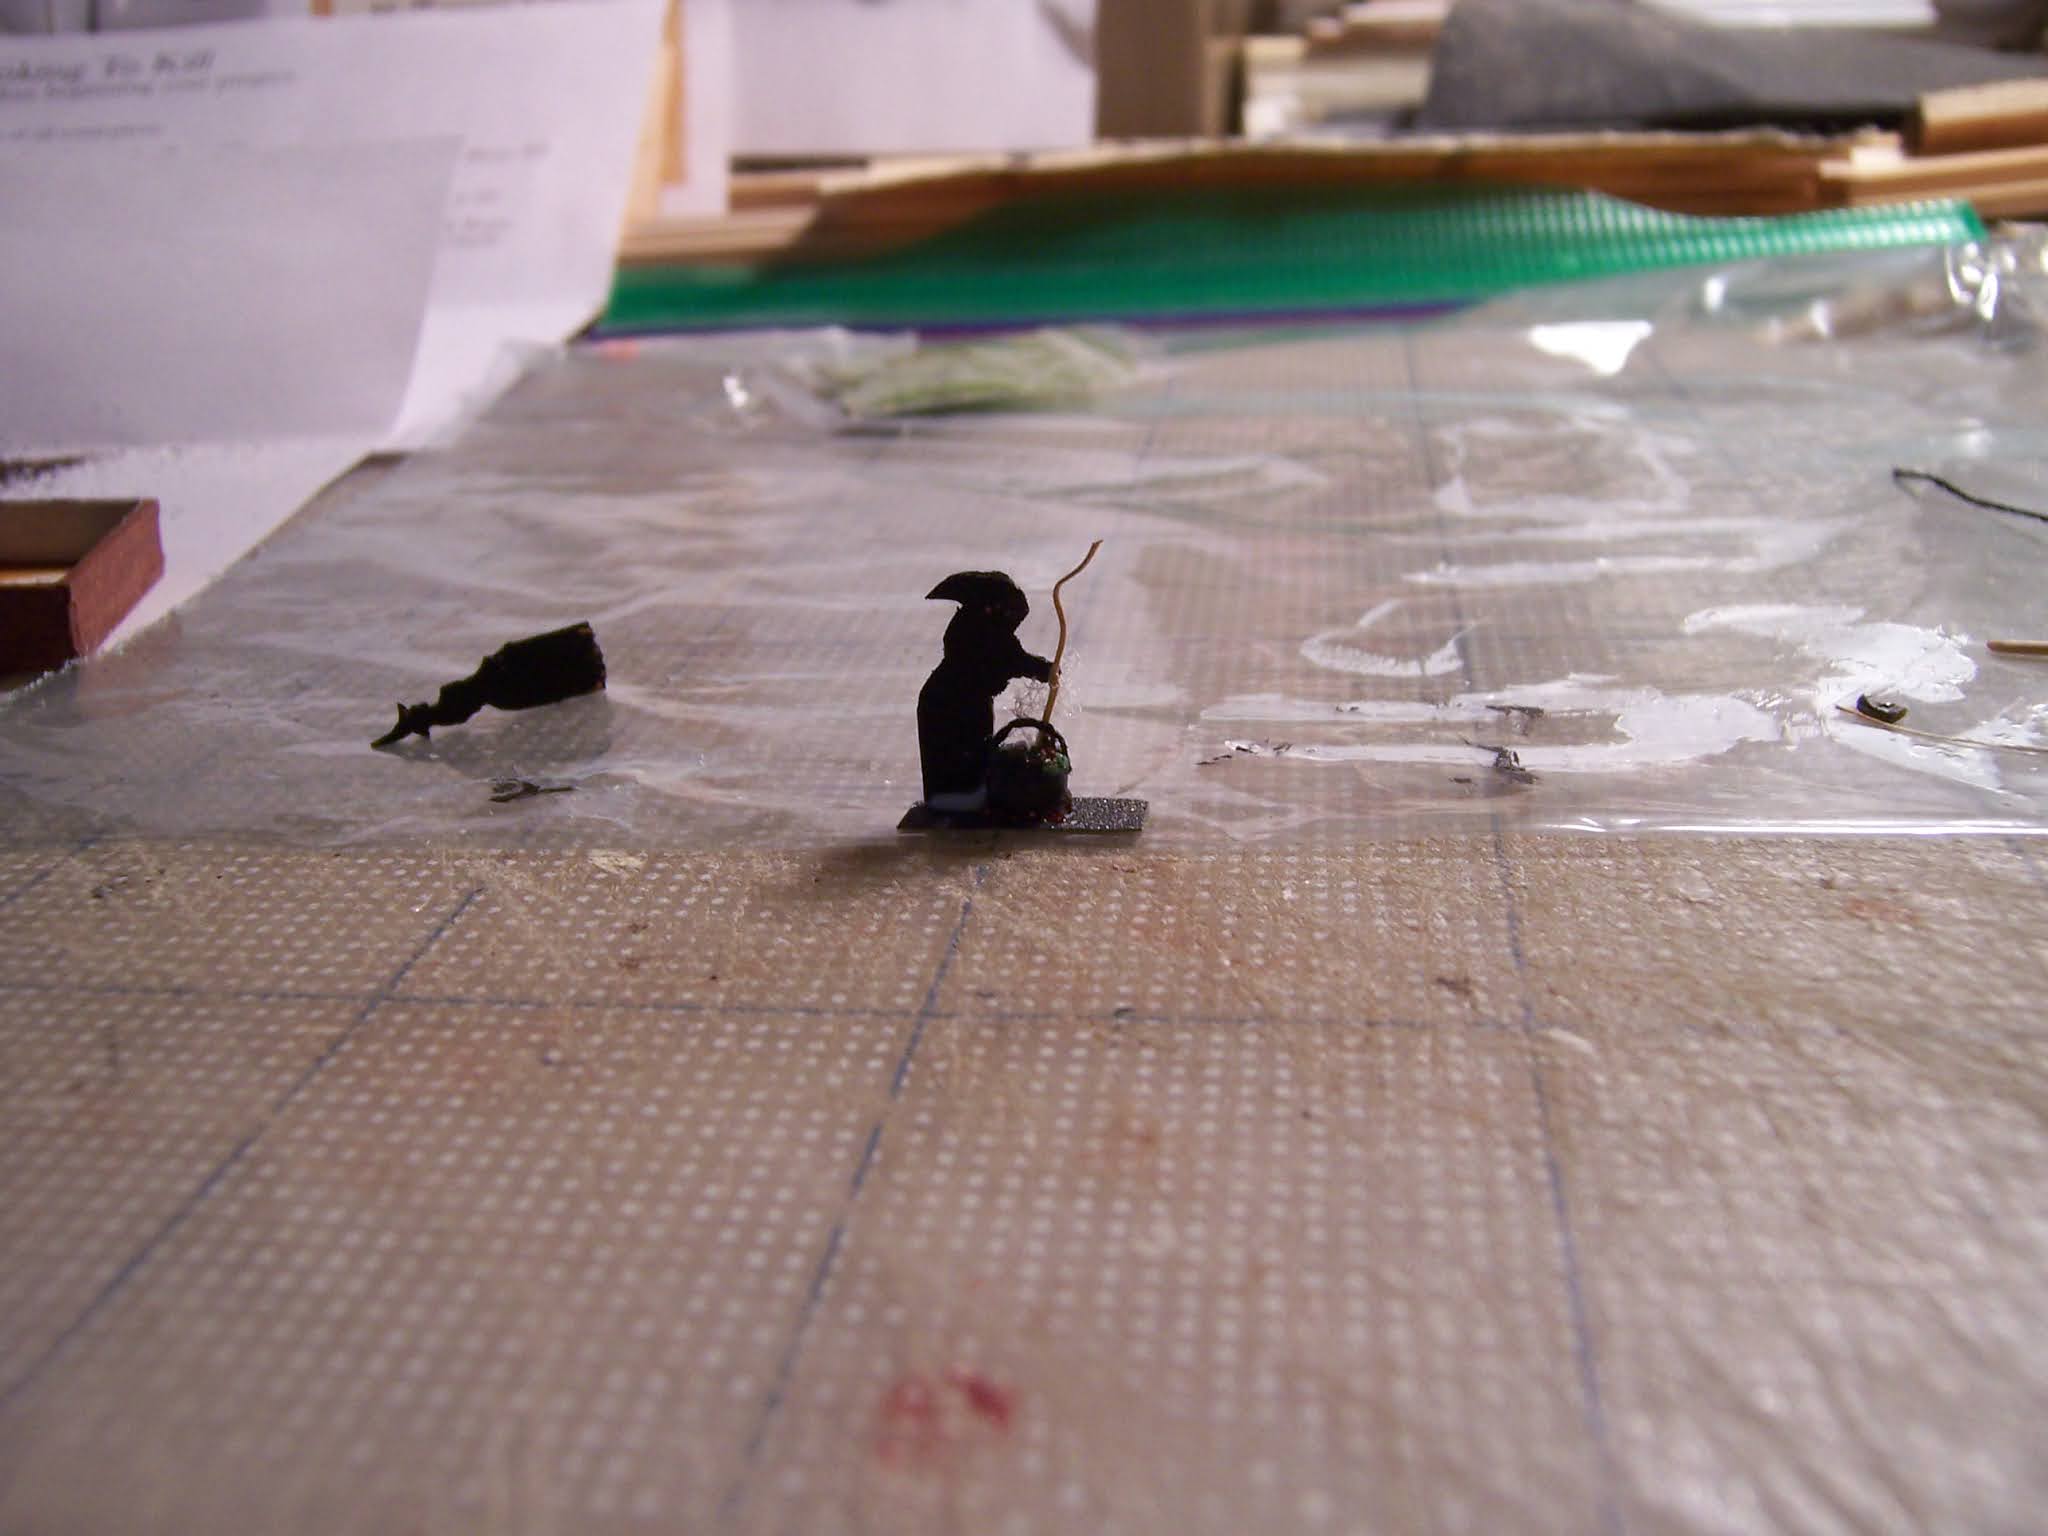
From toothpicks and cardboard....
You will have to be patient here... it really looks rough...

And I wanted it to have wheels.... 
so it could be rolled in from the kitchen....

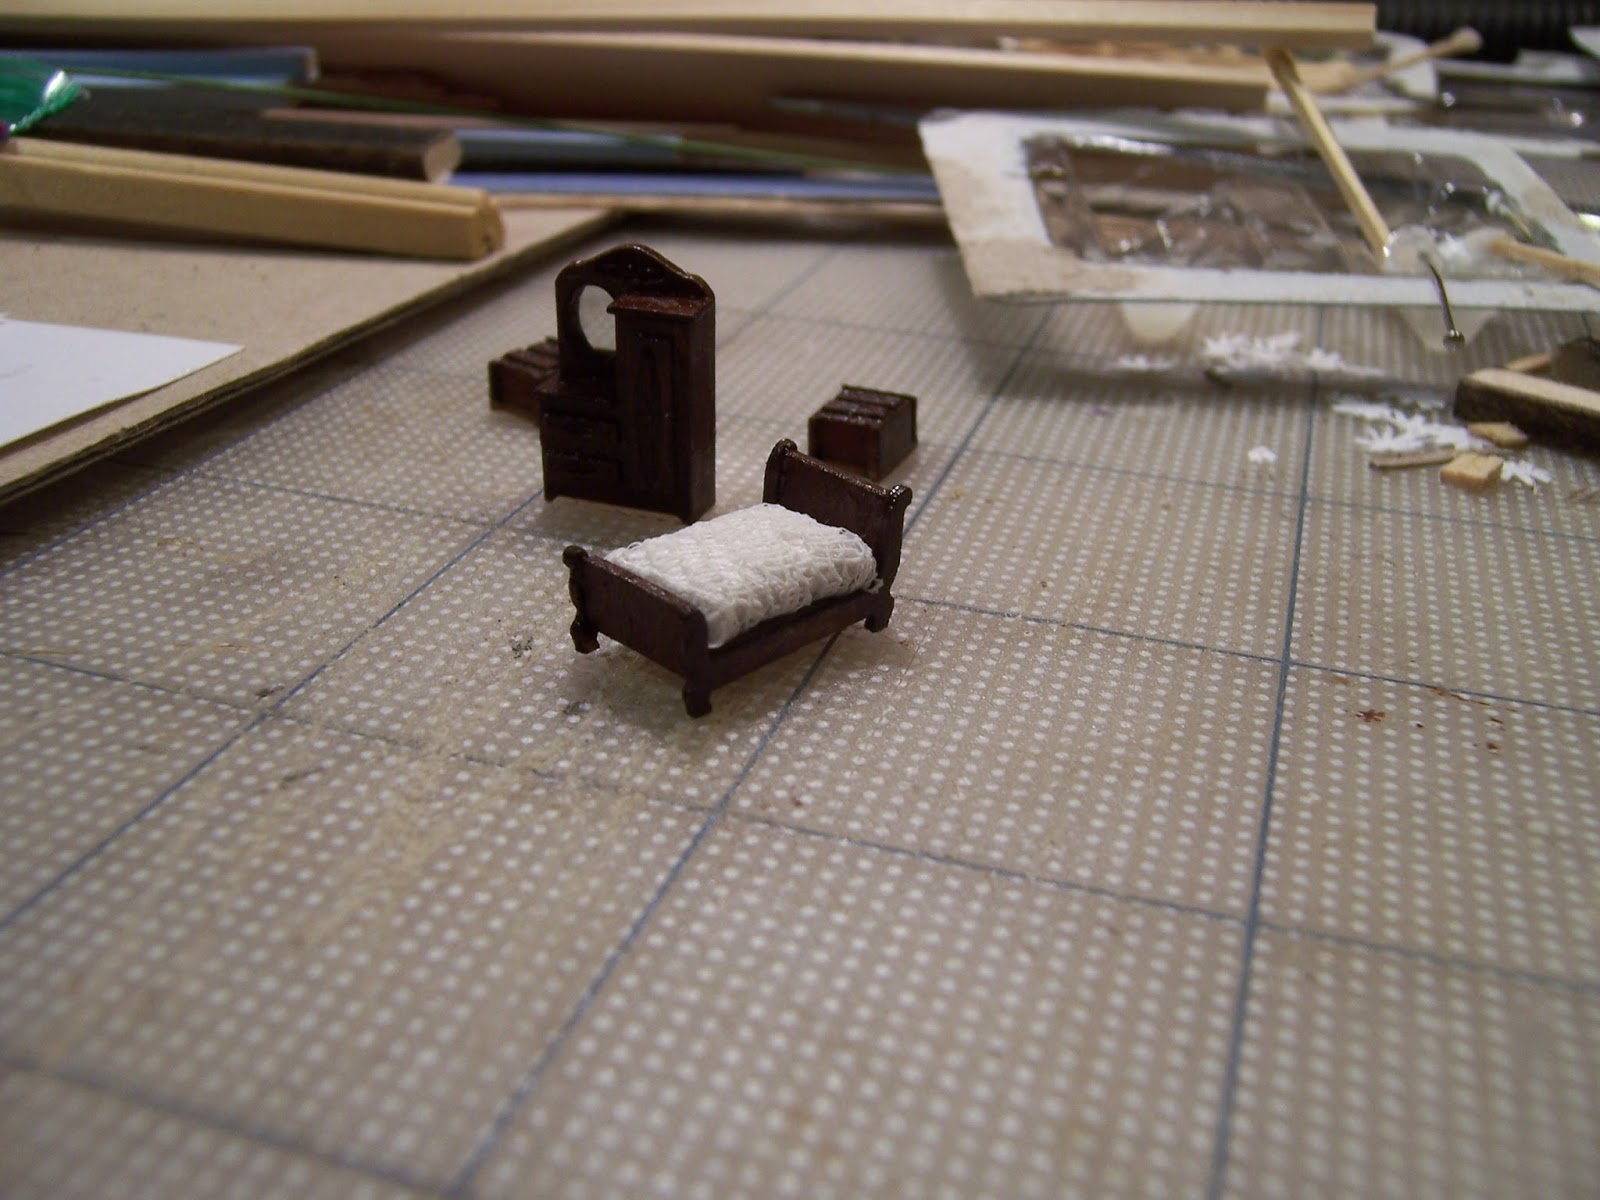
It looks a little better with a coat of paint!

And then we have to test it in place in the Dining Room 
to see how it fits..... with the covered platter too!
(It took me ages to find the piece of trim in my stash that had these
 little metal half moon pieces!)

Then I had to add the table to see if it all would fit and still be visible....
But the carving table was not done yet....

It needed a handle for pushing it and a cloth to catch spills!
 
And then I Know you will think I am just procrastinating, Dear Readers,
 when I should be just getting on with the Christmas Card... 
on this Snow Day...
But there was another Little something that I thought I needed
 that wasn't part of the kit...
 and might not take me too long to make....

I thought the Library needed a ladder... 
(How else was one supposed to reach the books on the top shelves?)
I made it from cardboard. 
I know, it looks rather crude.

It was actually a lot harder than I thought it would be 
to make it appear even and level and well spaced...! 
(Don't look too closely!)

Then I decided it needed to be shorter.... 
so it wouldn't overwhelm the library! 
I trimmed a step off the top.

Here I am testing the arrangement in the Library...
Well, it is a small room!
And then I decided the ladder really needed 
to have some Christmas decoration....

So I made another Teeny Tiny Christmas tree to sit on top!
But by now it was night and the snow was deep outside....
 
 Had I really spent all day on just these two little pieces? 
(Well, I did make Some progress on the Christmas card... 
but I can't show you that!)


Here I am testing the carving table in the Dining Room again.
But I couldn't even finish gluing these pieces into the House
 because there were still a few missing details...!
(Which I couldn't get to until the weekend.)
I thought there should be a carving knife and fork on the table...
 
I hope you can see them here....
 
I know... you can barely see them on the table, 
tucked under the edge of the huge platter.
But yes, I will know they are there!

And finally, it is time to glue the Dining Room furnishings in place!
The carving table goes first at the back of the room.

And then the two chairs on the far side of the table....
This is harder than you would think... 
they only get tiny dots of glue on those tiny chair feet...!

And while I am waiting for the glue to dry thoroughly on each piece,
 I am also adding a couple of books to the Library...
On the steps of the ladder... 
waiting to be re-shelved after the Holidays!

You can see them here.... 
just colored paper with cardboard for the pages.

And I glued it into the back corner of the Library!

And the Globe too... positioned where it can be seen behind the table....

With the glue still visible on the table legs!

And now the desk chair..... glued in place!

And the Dining Room table too....!

No I have not gone Nuts with the gluing... 
This was so I could glue the chandelier to the ceiling!

See? 

And the last two chairs in the Dining Room!
Oh my! Can we call this room finished?

And the second chair in the Library! 
Is this room done too?
Which brings us to the Parlor, Dear Readers....

Where there are undoubtedly a few details still to add...

Like a firescreen for the fireplace....
(I would not want embers to roll from the fire!)

And now it too is glued in place!

And is it time to try the Christmas Tree in the room?
I assembled the printed paper tree as the instructions say. 
It has "branches" cut from the cone 
that bend out to make a more three dimensional shape.
The kit instructions suggest embellishing the tree 
with more beads and ribbons and glitter... 
but I am thinking there needs to be more than
 just a little "embellishing" done!
O dear.... I wonder where this Tree will take me?
And with so little Time left before Christmas....?
Well, Dear Readers,
 I may have to make one more Teeny Tiny Tree....
And Doubtless, I will get Lost in the Details!
And as for the Christmas Card....?
I'm working on it!

Monday, July 24, 2017

Just a Little Ho Hum.....


Adding the Trimmings.....

After all the Excitement of the Teeny-Tiny books last week, Dear Readers, I have to confess that the furnishings for the next room in the Secret Christmas House seemed a bit unexciting to me. Maybe I was just getting so used to the wonders of the tiny furniture in all it's perfect details, that making another tiny chair or bedside table just wasn't very challenging! Okay, the beautiful Sleigh bed did present some challenges, but really went together very easily! The furnishings for this room are the Sleigh Bed, the tall Victorian Dresser, two bedside tables and the wing chair. Certainly a lovely matching bedroom set!

Here you can see them all assembled prior to staining them.

Here the wooden pieces are painted the brown color 
recommended in the kit instructions.
 The chair will need to be painted as the other wing chairs
 with Many Many coats of paint until it looks "plush"!

Here they are varnished 
and the bed mattress and covers have been added......
and the mirror in the dresser too!

Here the bedside "lamps" made from 
beads supplied in the kit have been added, 
and the pillows on the bed.

Oh, and a lovely red pillow on the bed too!
But is that All?
Well, let's see how they look inside the room....

Hmmm.... it just looks a bit plain to me!
The only "decoration" that is still to be added
 is supposed to be a couple of wrapped "gifts"
one on the dresser and a couple behind the chair. 
Oh, and the chair will have a pillow 
and a "throw" draped over the arm.
Even with those details, 
I think it a teeny bit of a Yawn.
Well, I tell you, Dear Readers, I couldn't leave it so bare!
To begin with, I thought the dresser should have 
a small tray with some perfumes and lotions on it.....

Oh dear, my lighting is not very good... 
You can probably barely see them!

Here, maybe this is a little better.....
I made the "mirrored tray" by cutting an oval out of the corner
 scrap left over from the mirror provided in the kit.
Then I added the tiniest beads I could find in my old collection....

Here... can you see it now?
(Go ahead and poke the pictures to enlarge them!)
I think this is much more fun than just a wrapped gift...
And I just can't imagine a Lady's dresser without these bottles!
And while I was adding tiny beads....
I thought the bedside table should have an old alarm clock....

Can you even see it there!
Does it even look like an alarm clock?
Well, I am pretending it does!

Perhaps we should test them inside the room....
I think they add a wonderful layer of "realism"!
And since I have been thinking so much about teeny-tiny books...

Well, I had to make one for the other bedside table!
Because, surely the Lady of the house might like to read in bed.
But truly, Dear Readers, I could not leave the bed alone either....
because I could not imagine that all the rush of preparing for Christmas 
wouldn't leave the bed covered in wrapping paper and partly wrapped gifts.....

I had to make some scissors out of wire....
Can you see them there?
I know... they are really Huge!
(perhaps they are the kitchen shears!)

And I had to add some thread for ribbon draped on the floor.....
And then we need to see how it looks in the room....

Can you see it at all?
Oh and the unfinished chair too....

Just imagine a lacy throw over the chair
(when it is painted)
and a few wrapped gifts hidden in the corner behind the chair....
And who knows.... maybe even a footstool and some slippers....
Or a shopping bag with gifts inside....!
As you can see, Dear Readers, 
this room was just a little too Ho-hum, 
So I have been adding all the little trimmings!