Showing posts with label Tree House. Show all posts

Wednesday, October 15, 2025

Tree House Nursery...


Looking Up... 

Every Now and Then, Dear Readers, I have to stand back and take a good look at the Tree House project in relation to its close neighbor, The Folly. It is so easy to get absorbed into the minutiae of building the current room or current door or current ceiling and forget that it all needs to work together with the Original Property! It has gradually grown tall... nearly to the height at which it Must Stop before it outgrows the land it stands upon. Yes, there will be one more floor... the Attic level which will be mostly a "Studio" and "Storage" place. And the inevitable upper branches of the tree itself, of course. But I constantly need to rein myself in and keep the spaces "realistic" at least in terms of how a tree should be shaped. That said, every time I do step back, I notice another small detail that needs attending to! In my haste all those years ago, (I freely admit I have been "winging it") there were many parts I just didn't have all figured out... so I just rushed on by and left them for later. Much later! Chief among these tasks were designing the method for keeping the opening wall doors closed. 


The Tree House leans gracefully out over the little brook (intentionally!) and thus the front wall is slanted and all those doors just love to open all by them selves! A couple were fitted closely enough to the opening that friction held them shut... but for the most part, not. And at some point along the way... I don't remember when, I decided magnets were the method... but how and where the magnets would be placed was already a problem of afterthought... no, not even tiny magnets could be inset into the doors... because they would have to meet the walls too. I came up with a method after much thought... and that is to put the magnets near the opening and a wire loop on the door itself which could then be bent to touch the magnet for closure. The wire loops will eventually be disguised as stubs of branches so they look "natural" sticking off the tree trunk. You can see in the above picture, the closer wire for the Kitchen door has finally been attached. And I slowly added closers to most of the so far completed doors, some of them requiring much fidgeting and finagling. In particular, the Little Loo and the Dressing Room were quite the challenge!

 
There was so little room for the magnet
 and it needed to work for both doors. 
The wire positioning was hard to figure out....
 but I got it done!

 
Believe me, this has been a long time coming! 
And while I was thinking of doors and closings,
 I decided it was time to get the doorknobs on
 the Nursery and Nanny's Room doors.

 
These are made using a large-ish clear bead,
 I am not sure of the size, and a small brass nail. 
I pre-drill a fine hole and add glue 
and push the nail in with my pliers. 

 
And the reverse side...
 because these little doors do open and close!
 When they are open you need to be able 
to see the doorknob on the other side.

 
Of course, The Nursery level is still
 too incomplete to attach the closers... 
the walls are still not attached,
 only the hinged opening wall doors are in place.

 
But when all the walls are carefully propped in position 
and the ceiling (The Attic floor) is temporarily removed,
 we can get a great bird's eye view of the two room's layout. 
 
And while I had the ceiling removed,
 I figured it was the right time to stain and paint it
 in preparation for the eventual top floor construction,
 which even now has to be taken into consideration
 as we complete the Nursery level.
 Everything is so connected!

 
And if you know me at all,
 you can probably predict what happened next... 
a blue sky appeared...


and clouds formed around the edges ....
and then the cherubs arrived.... 

 
But wait.... 
those looks distinctly like little rodents.....!
 As well they should in a house inhabited by Rats! 
 
And in the middle of the night I realized
 I had painted them from the wrong direction!
 The Nanny's Room opens on the side of the Tree....

 
The angle was all wrong for the Cherub-ratling
 on the side opposite the door 
as you can see when testing in place.

 
 I needed to get my viewing angle right!


Here you can see the adjusted Cherub-ratling.

 
And while I was doing the ceilings, Dear Readers,
 I wanted to test the Nursery ceiling... 
how would it look if I added the leafy paper to the ceiling too?
 And constructed a "trellis" of branches....??

 
I liked the look right away,
 so I added the same paper scraps
 to this ceiling as are on the walls.

 
In fact, I love the way it looks... 
even before we build the trellis part! 
And while I am finishing the papering... 
I realize that the inner side 
of the outer opening wall frame 
still needs attention!

 
 Both the Nanny's Room and the Nursery frames
 needed the matchstick paneling added.

 
And I started adding the trellis structure..... 
more of that rope twist that looks a lot like woody vines or saplings.... 
along the coving of the ceiling and the corners of the walls.

 
And the bunkbeds wall too.

 
And here this opening side door frame is also papered. 
This is not technically necessary... 
the only way it could be seen once the ceiling gets attached
 is from the bunkbeds windows....
But I will know it is there!

 
This is the interior view with the outer opening door closed...
the frame will be firmly attached to the tree
 and you will not be able to see this view.... 
but the Ratlings will! 
I think it makes the bed-nook so much cozier!
 
And that is as far as I got, Dear Readers, 
Opening and closing doors 
and dreaming about ceilings... 
But I think things in the Tree House Nursery
 are finally Looking Up!


Tuesday, October 15, 2019

Hmmmm... Where Was I........ Going....


The Folly Garden.... Just Begun....

I Suppose I should Not be Surprised, Dear Readers, at the depths of my feelings of disorientation now that I don't have my Lilac Shrub Project to guide my every choice. But I am feeling as though I really have not even Looked at my other Dollhouses for Months..... or even years! How could that be when they are right there.... filling every nook and corner of my house? Well, I am sure you can imagine the Temptation I was fighting every week when I needed to just make another blossom first... or the leaves... the endless leaves.... so I refused to even think about all the other projects which were languishing while I focused on the Lilacs. Really, it was necessary.... I do get distracted.... none of my projects are "finished".... not even close! And the Folly Garden itself is really only just begun!

In case you have forgotten, or never heard in the first place, 
the Lilac is just the mainstay of the "Formal" side of the Garden.
To the right of the porch is the "Wild" Garden....
 which is anchored on the far corner by the Tree House... 
and a small stream running past its roots....
and less formal plantings in the "seasonal pod"
 on the right side of the porch. 
Do you even Remember The Tree House?
No, I didn't abandon it.....
It is still waiting... partly done....
I got distracted by things like Gypsy Caravans, Brick paths, 
lilac bushes..... and a Story or Two....

I suppose if you don't remember The Tree House, Dear Readers, 
I will have to do an entire Post to catch you up....

As far as I got..... years ago.... 
it stands six "stories" tall (the rooms are approximately quarter scale)
 tucked very close to The Folly and it is the home to The Rats....
 well.... I will have to do a post..... there is too much to tell for now....
It looks very strange in its unfinished form... 
eventually the outer surface will be tree-like 
and there will even be some branches.... 
with Leaves..... Seasonal leaves......
There is still a Loooong way to go!

The entrance to the Tree House is tucked into the roots of the Tree.....
But there are hinged access doors all up the side of the Tree...
And there will be a gentle stream flowing along the side of the property at its roots.....
Well... we can Dream... Right?

But Meanwhile.... On Sunday I caught the Sun....

Clearly Pointing me to have a Look
 into the windows of The Castle Chapel....
 
Where Father Alban waits Patiently for Inspiration to Strike.....

How Long has he been Waiting....?

Does it even Matter?
He will be ready when Inspiration comes....!
 
And across the room... Hardwick Hall
 stands it all its neglected chaos....


The parts and pieces dropped in mid-project....

Potions left unguarded....

And Dragons nesting in the bed.......
Something will have to be done!
 
But I, Dear Readers, Feel rather like the Little Dreamer.....

Who we last saw looking into the windows
 of the Secret Christmas House.....
And She could Not pull herself away....!
Is she still Lost in those Dreams?
Well, Dear Readers, I will leave you here...
Wondering...
As I am Wondering... Where Was I Going...?
And Which Project will Grab me next...? I cannot say....! 
But Rest assured... The Folly Garden is Barely Begun!


Monday, November 12, 2018

Revisiting......


More Stems and Twigs.....

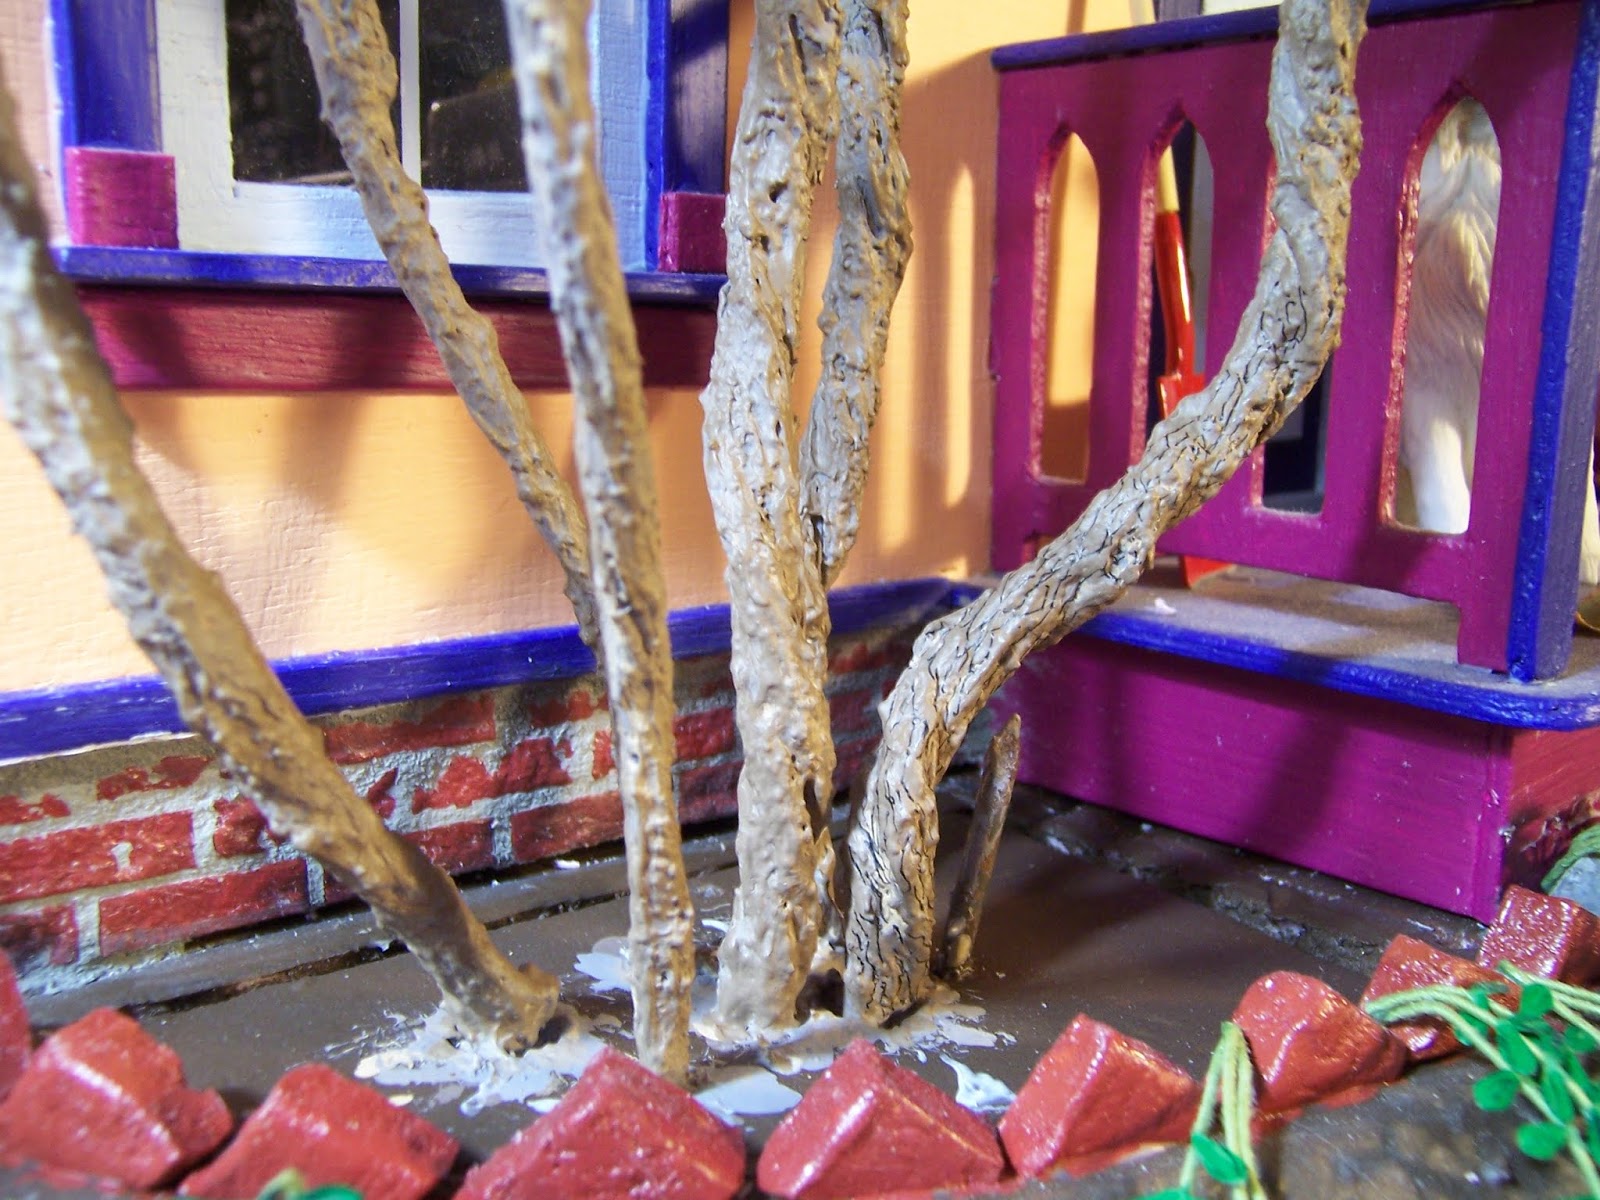
You will think I have done Nothing at all, Dear Readers, from looking at the pictures of the stems of the Lilac shrubs, but I assure you that I have spent the weekend adding layer upon layer of paint to those shrubs! The point of the four shrubs is to make them look like the same shrub.... in different seasons... so I needed to duplicate the same paint layers I had used on the first one! That one was somewhat experimental, but the truth is, each layer of paint that is added makes for a more realistic end result. This is because the bark on a shrub (or tree) is never really just one color. It is many many colors, seen in different light  and shadows and blending to form an "impression" of "bark color". Most people see this as brown... but upon close inspection it is usually a very grayish brown sometimes with a more tan hue and sometimes with a red or black hue.... which is challenging to duplicate! But I was repeating what I had already done on the first shrub... which was to start with a dark gray layer that would be visible in any "crevices" in the bark once lighter colors had been layered over it. Above you can see one of the shrubs part-way done.

The next layer went to the opposite extreme... 
almost the color of bare exposed wood... 
but it adds to the depth you see when other colors
 are added over it and not every bit is covered completely.

The third layer tries to close in on the "color"
 people think they are seeing when they look at bark...
 a drab brownish gray..... again leaving
 highlights of the previous layers visible in spots....

And the next layer is a darker more brown less gray layer....
really just brushing on highlights over the other layers,
 not trying to cover it completely at all.

Which I did for all the rest of the shrubs! 
Now at least they are all at the same layer of color depth!
 I am sure I will continue to add layers...
 I don't think it is completely right yet... 
but it is getting closer!
And at the same time I need to add the color to the rest of the twigs... 
which so far have only been painted on one of the shrubs! 
And in between all those layers of paint...
 
 
 I did complete blossom number Thirty-two!

And in the box with the ever growing
 group of double blossom stems!
(Remember there are already four blossoms attached to the shrub..!)
 
And because it seems so boring to just show layers of paint....
I will share with you Dear Readers, 
a rare peek into the Tree House....
because the sun came to play for a minute or two on Saturday morning...!
 (You have no idea how rare a thing this has been this year!)
 
 
Do you even remember the Tree House? 
Standing so patiently beside The Folly.... 
on the Other side from the lilac shrub and the Glass House.....
It is the home of the Rats... 
it is approximately one-quarter scale (1:48)

At the very bottom, nestled in the ground between the roots is the Kitchen....
(I have not built anything on this project since 2014....!
 But it is still not finished at all...)

The next floor up is the salon.....
Since the leaves are off the RL trees
 the sun is shining way into my workroom
for a few minutes early in the morning....

Sorry about the reflections....
 I needed to snap the pictures 
in a hurry before the sun ran away....

The next floor up is the Library.....
 where so many items have fallen on the floor....

Nobody has been in to tidy up in quite a while....

I do love this room....!

And the bedroom on the next floor.....
( Oh!.... There is somebody home! 
So sorry for intruding...! 
It is rather early to be visiting!)

And the floor above... the Bath Chamber.....

With the most beautiful Tub in the world....!
All these rooms are lit with LED's....
 and the entire Tree is just a Tree beside The Folly....
I have not had the Time or the Focus 
to work on the next rooms in this project...
 perhaps when I am done with the Lilac Shrubs, 
I will know better how to finish the Tree!

So I will keep working away at the Lilac Shrubs, Dear Readers, 
In the hopes that I will be mastering techniques
 that will be useful on so many other
of my unfinished projects!
Because Someday I will be 
Revisiting the Tree House... 
to make Twigs and Stems again!