Details And Distractions...
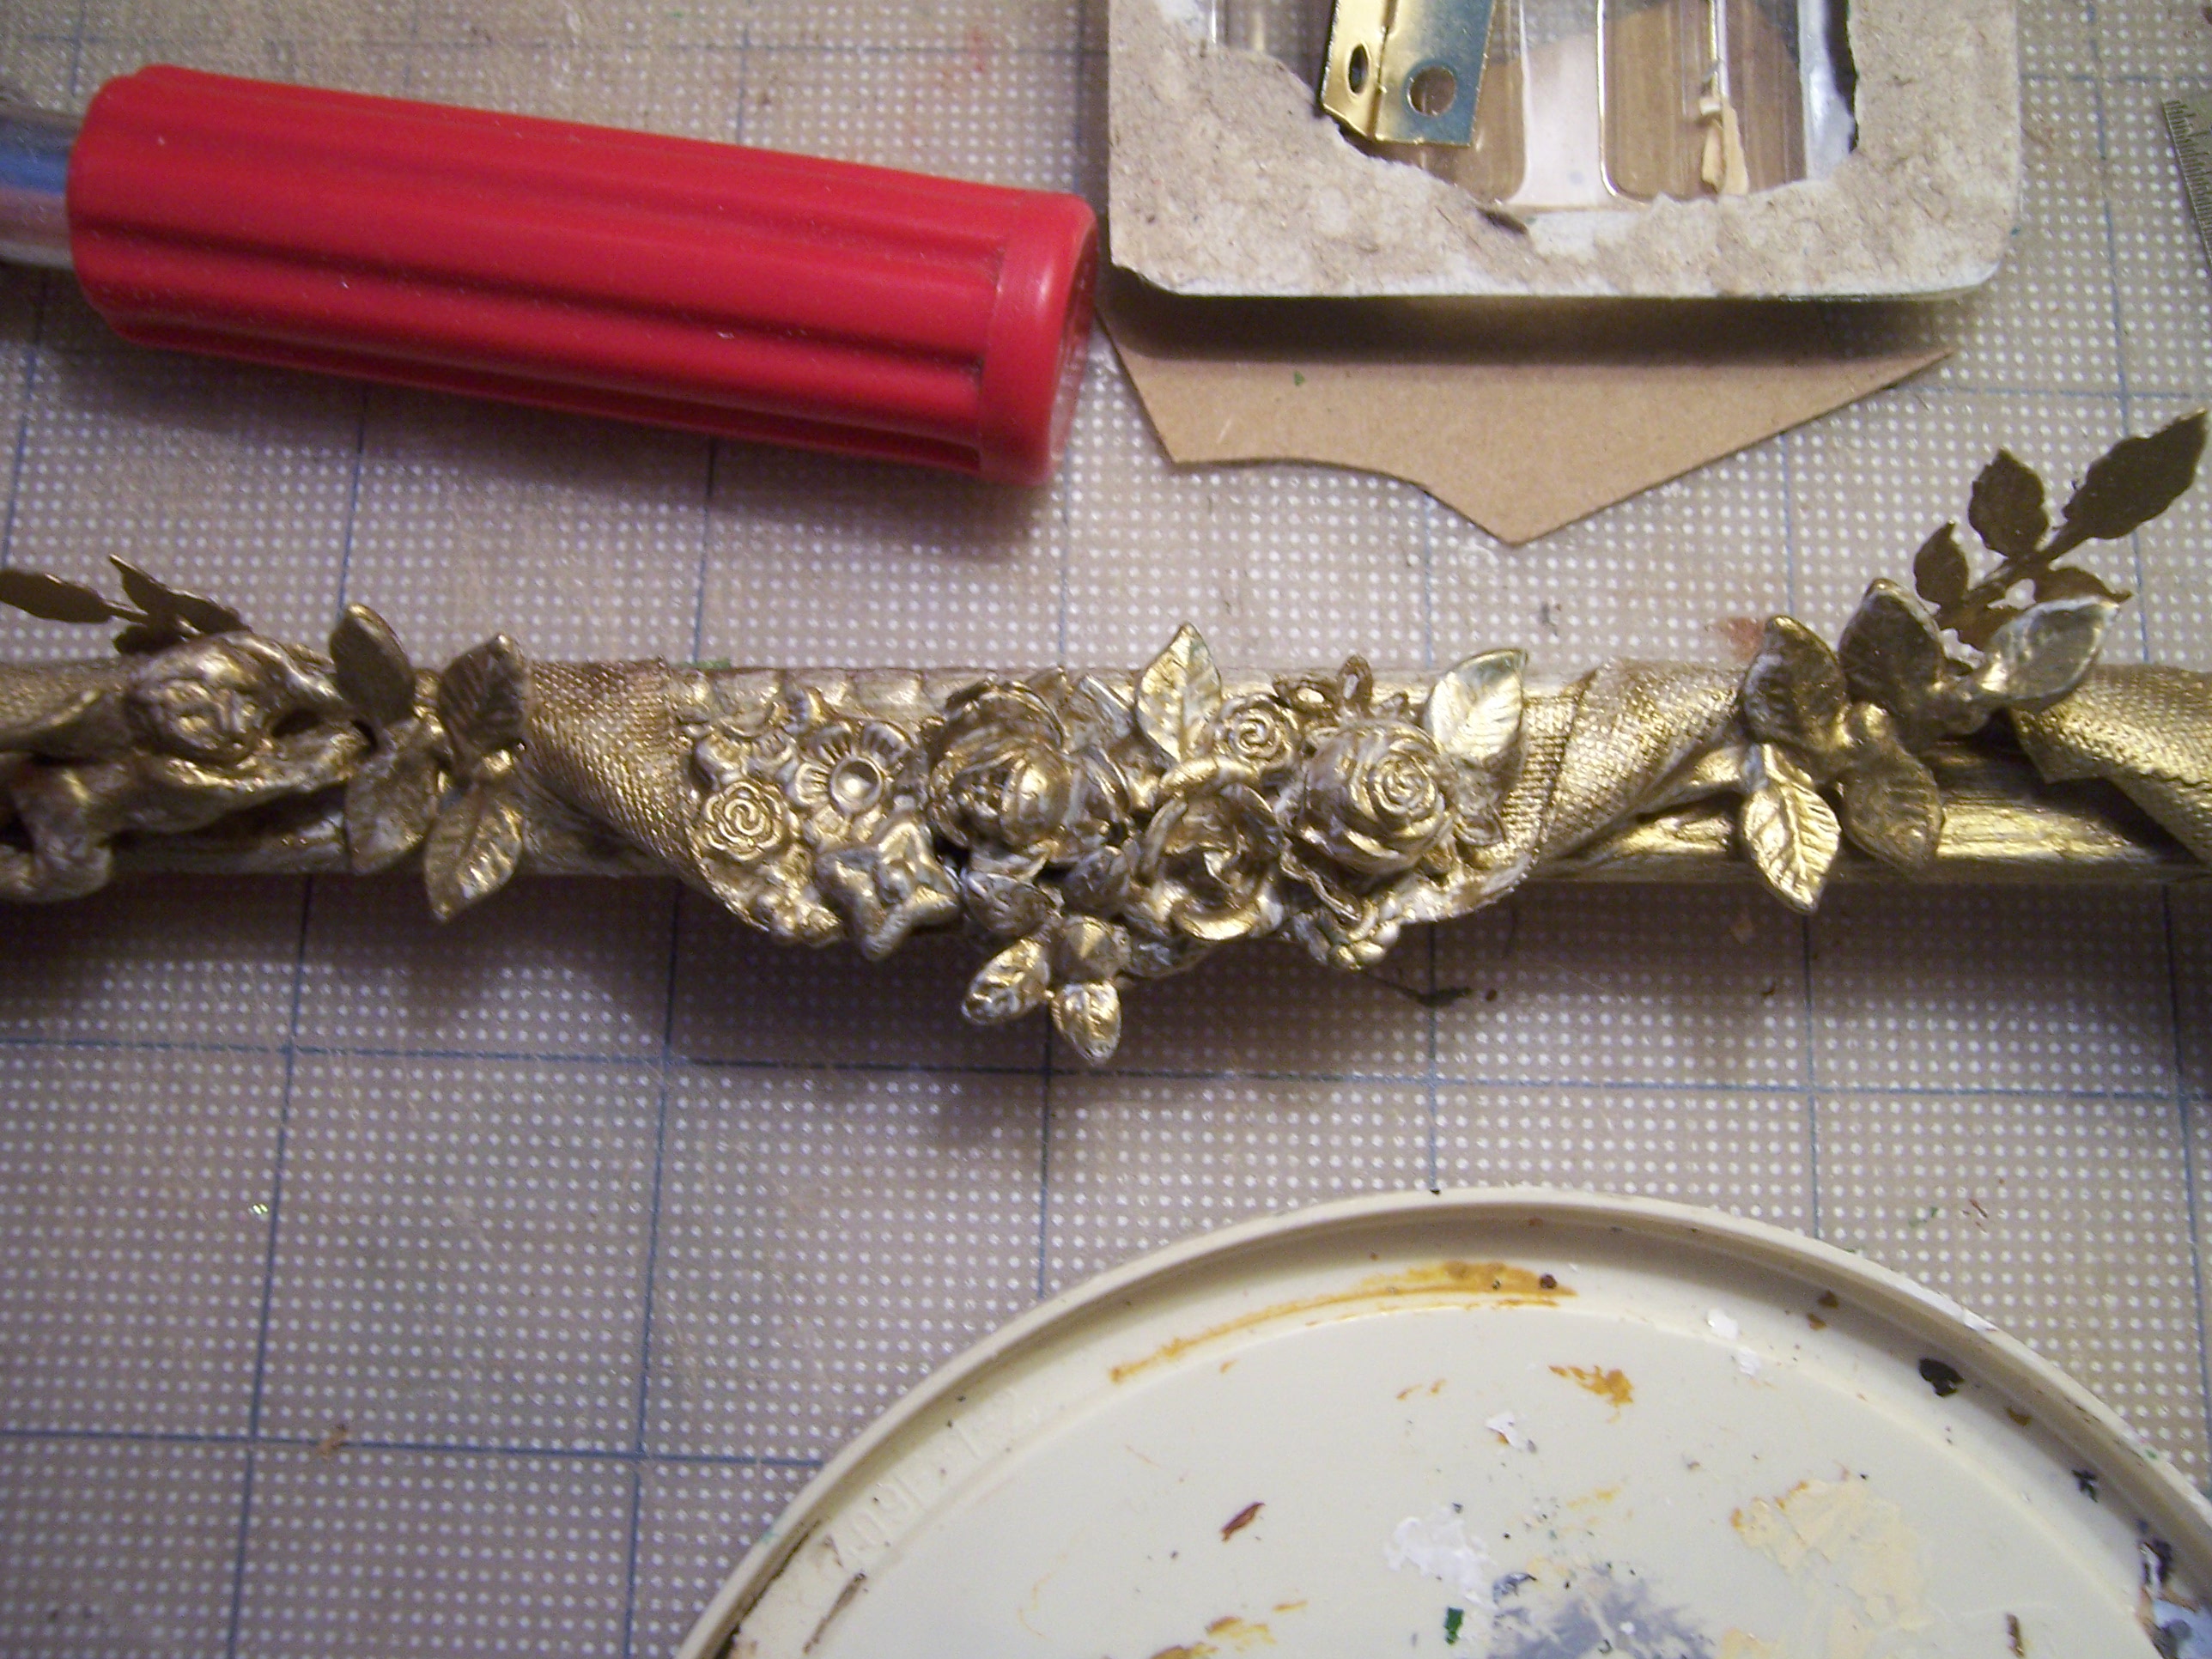
I Hope you won't mind, Dear Readers, that I have a Lot of details to show you this week! And even though I am now Retired and (in theory) have all the time in the World for minis, it hasn't exactly worked out that way! My younger son came East for two weeks and has been back and forth between my house and his Dad's (an hour away) so there has been more than a usual amount of distraction! It was absolutely Wonderful to have such a long visit with him, the first here since covid shut travel down in 2020! We talked and talked and ate and ate and consumed pots of tea (me) and coffee (him) and he helped me get some necessary projects accomplished too. Tonight he is headed back to Alaska. So here I am trying to put a sense of organization into the many little things I did during the past two weeks. For starters, I decided to grapple with the "difficulties" I was having with the Gilded trim for the ceiling of The Doll Maker's Studio. You can see a lovely picture of one section partly painted in the above picture.

Here you can see it really really close up,
and if you look carefully you will see all the "white" spots
where the gold paint has not quite covered over the primer.
And even where it has covered, it still needs several more coats of paint.
I did lots and lots of painting!
This section is the long side that you don't ever see
unless you are looking in the windows.
And if you look carefully on the left end you will see a little cherub...
One of the troubles I had with this trim, from the very beginning,
was that I wanted cherubs in the trim and couldn't find any that would work!
So I decided (at least two years ago)
that I would have to try to make my own from sculpey.
This little guy was among the first of my attempts,
but I thought he was too small.
So I made some others, and I didn't exactly like them either!
But if you know me, you will understand that I couldn't just throw them away!
(These guys take on a life of their own!)
I dithered and debated forever....
and eventually decided I had to try to make them work.
But here I must show you that I did get the second curtain made
and here I am testing it with the first one.
And if you look closely at the gilded trim right above it
you will see some very "blobby" parts amongst the swags.
I'm sorry I don't have better pictures....
but there is a cherub sort of wrapped in the ribbon swag...
he has a rather homely face
and his wings had to not bump into the ceiling...
(which is removed here).
And on the other side of this trim is the other fellow...
but he is facing toward the wall so his fanny is what you see...
along with his wings and the back of his head.
I decided that people would probably be too busy
looking at the window seat to notice them up above.
They also needed lots of touch up with the painting.
I will try to get better shots of them...
they are kind of cute in their own way...
But first I have to show you the corner piece of trim
that needed to be adjusted....
Here you can see I am trying to make the final piece of "corner trim"
fit into the corner properly and meet up at all the other sections correctly.
And you might recall me mentioning that
the curtain rod needs to lift out of one of the hook eyes
so the curtains can be removed.
But this corner trim was preventing the rod from lifting out!
Darn!
Here the corner piece has been pulled out
(none of the trim pieces are glued in place so far!)
and I have taken my pliers to the pieces at the bottom and pulled them apart!
There is the evidence of my destruction!
With a great deal of taking it out and putting it back again,
I was able to figure out where exactly the trim needed to stop.
And meanwhile, Dear Readers, between visits with my son,
I had also decided to add the electrical outlet to the back corner of this room....
Here I have run the outlet through the wall
and need to get it hooked up to test the wires before I glue it down.
I have been endlessly debating the lighting for this room.
The chief light source is the chandelier in the middle of the room.
There is also the battery operated lamp that came with
the original kit and will sit on the work table.
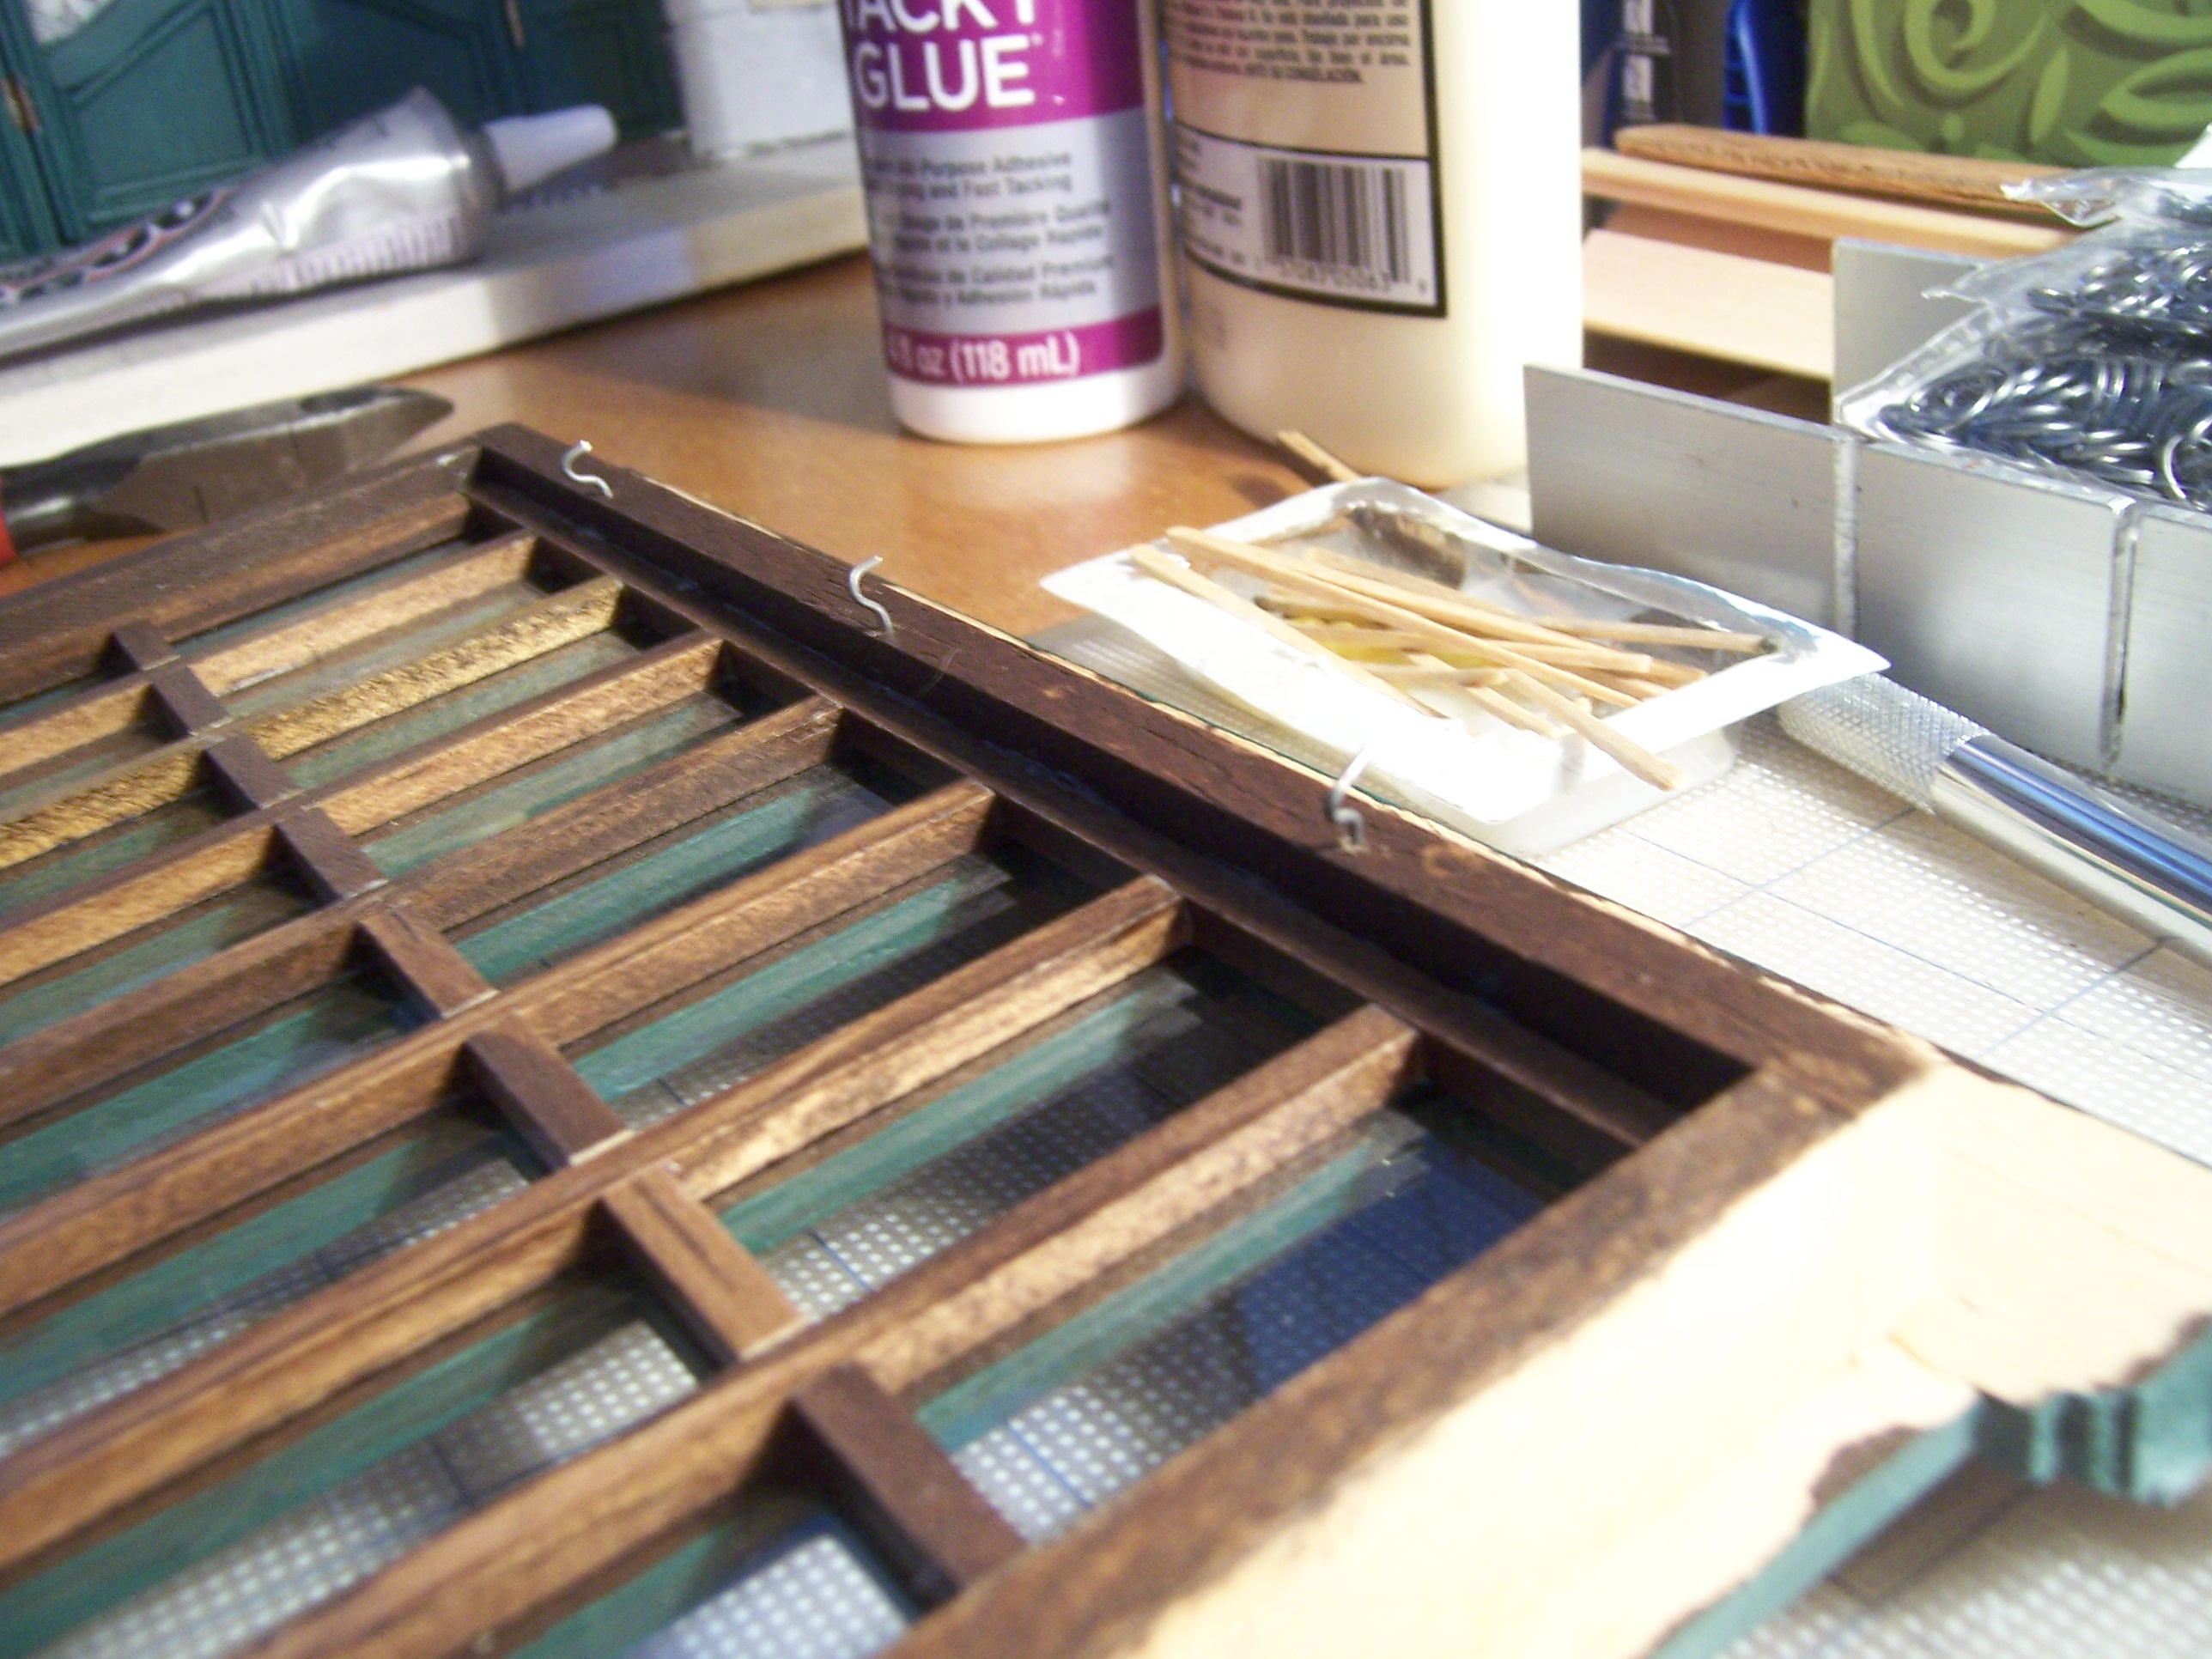
I have always thought the front window would look lovely
with a string of Christmas lights
rather than anything as bright as sconces.
I needed to test my theory!
Outlet works! Check!
But in order to hang the lights there would need to be hooks....
Made out of wire and poked into the wood frame.
And testing the lights in the window....
And with the curtains.... I think it will look just lovely!
And meanwhile, I have repaired the corner trim....
And repainted it....
I don't know why I sweated so much over this corner...
it is absolutely Not visible!
But, yes, I will know it is there!
And more layers of paint....
you have to look from every angle....
and I'm sure there will still be "missed spots"
when it is too late to fix it.
Okay, so maybe here is a better view of the cherub...
can you see him there sort of swathed in the ribbon?
He is supposed to be trying to hang the garland on the ceiling....
And the other one... carrying the other end of the garland...
can you see his wings and fanny?
Well, never mind....
I will know they are there
and I am glad I included them after all!
There was still more painting to do...
And here's the first little cherub...
I'm glad there was room for him too!
Here's the last view of all the trim sections together....
And the last view of the walls without the trim.....!
Yes, I started to glue it in place!
One side at a time, but adding the next section
before the glue was dry so it could be adjusted if necessary...
And with the ceiling in place (temporarily)
the morning sun is reflecting off the floor
(protected by a sheet of paper)...
And with the paper out of the way....
I just have one small adjustment to make
on the trim for the opening side wall....
the piece you will hardly ever see...
so it has not yet been glued down.
And the ceiling is still removable....
but not for long!
So, In spite of a lot of Distraction, Dear Readers,
I have managed to complete a lot of little details
and made a whole lot of Progress!