Showing posts with label Castle Tower Windows. Show all posts

Friday, October 2, 2026

And More Windows.....


Details, Details.....

While I was working on the back side of the Ladies' Tower, Dear Readers, it seemed to only make sense that I also complete the one remaining window on the Tower back side while I was accessing that part of the structure! Who knows how long it will take me to "get to" the final upper Bed Chamber... but at least I was certain of the window placement and the construction needed. So I began right away as you can see in the above picture... the boring part of building the frame. I will not bore you with all the steps taken.... but since this is my construction archive, I feel the need to record the progress made, however skip-de-doodle it is!

 
Here you can see the entire Ladies' Tower exterior with the flash for reference.
 The lowest windows are the Chapel windows flanking the altar,
 the two on the next level up are the ones I just recently made for the Ladies' Solar,
 and I am determined to make their exterior rock trimming too
 before I turn the Tower back to the wall!

 
And here you can sort of see the Ladies' Solar window
 before the exterior trim is begun.
 (Sorry about the dark photos.... yeah, I forget
 how little light there is in my house)
 but the chief thing I wanted you to notice is 
that the larger window opening that was filled in
 will be "honored" in the trim construction. 
The story is that the "glazing" of the windows 
was long after the construction of the Tower itself, 
so the already finished opening would have had trim
 and then been partially filled in when the glazing happened. 
Gazing is, after all, very very expensive!

 
The base of the window trim will span 
the original opening as you can see here.

 
And because I am racing along, 
following the already well established styles.... 
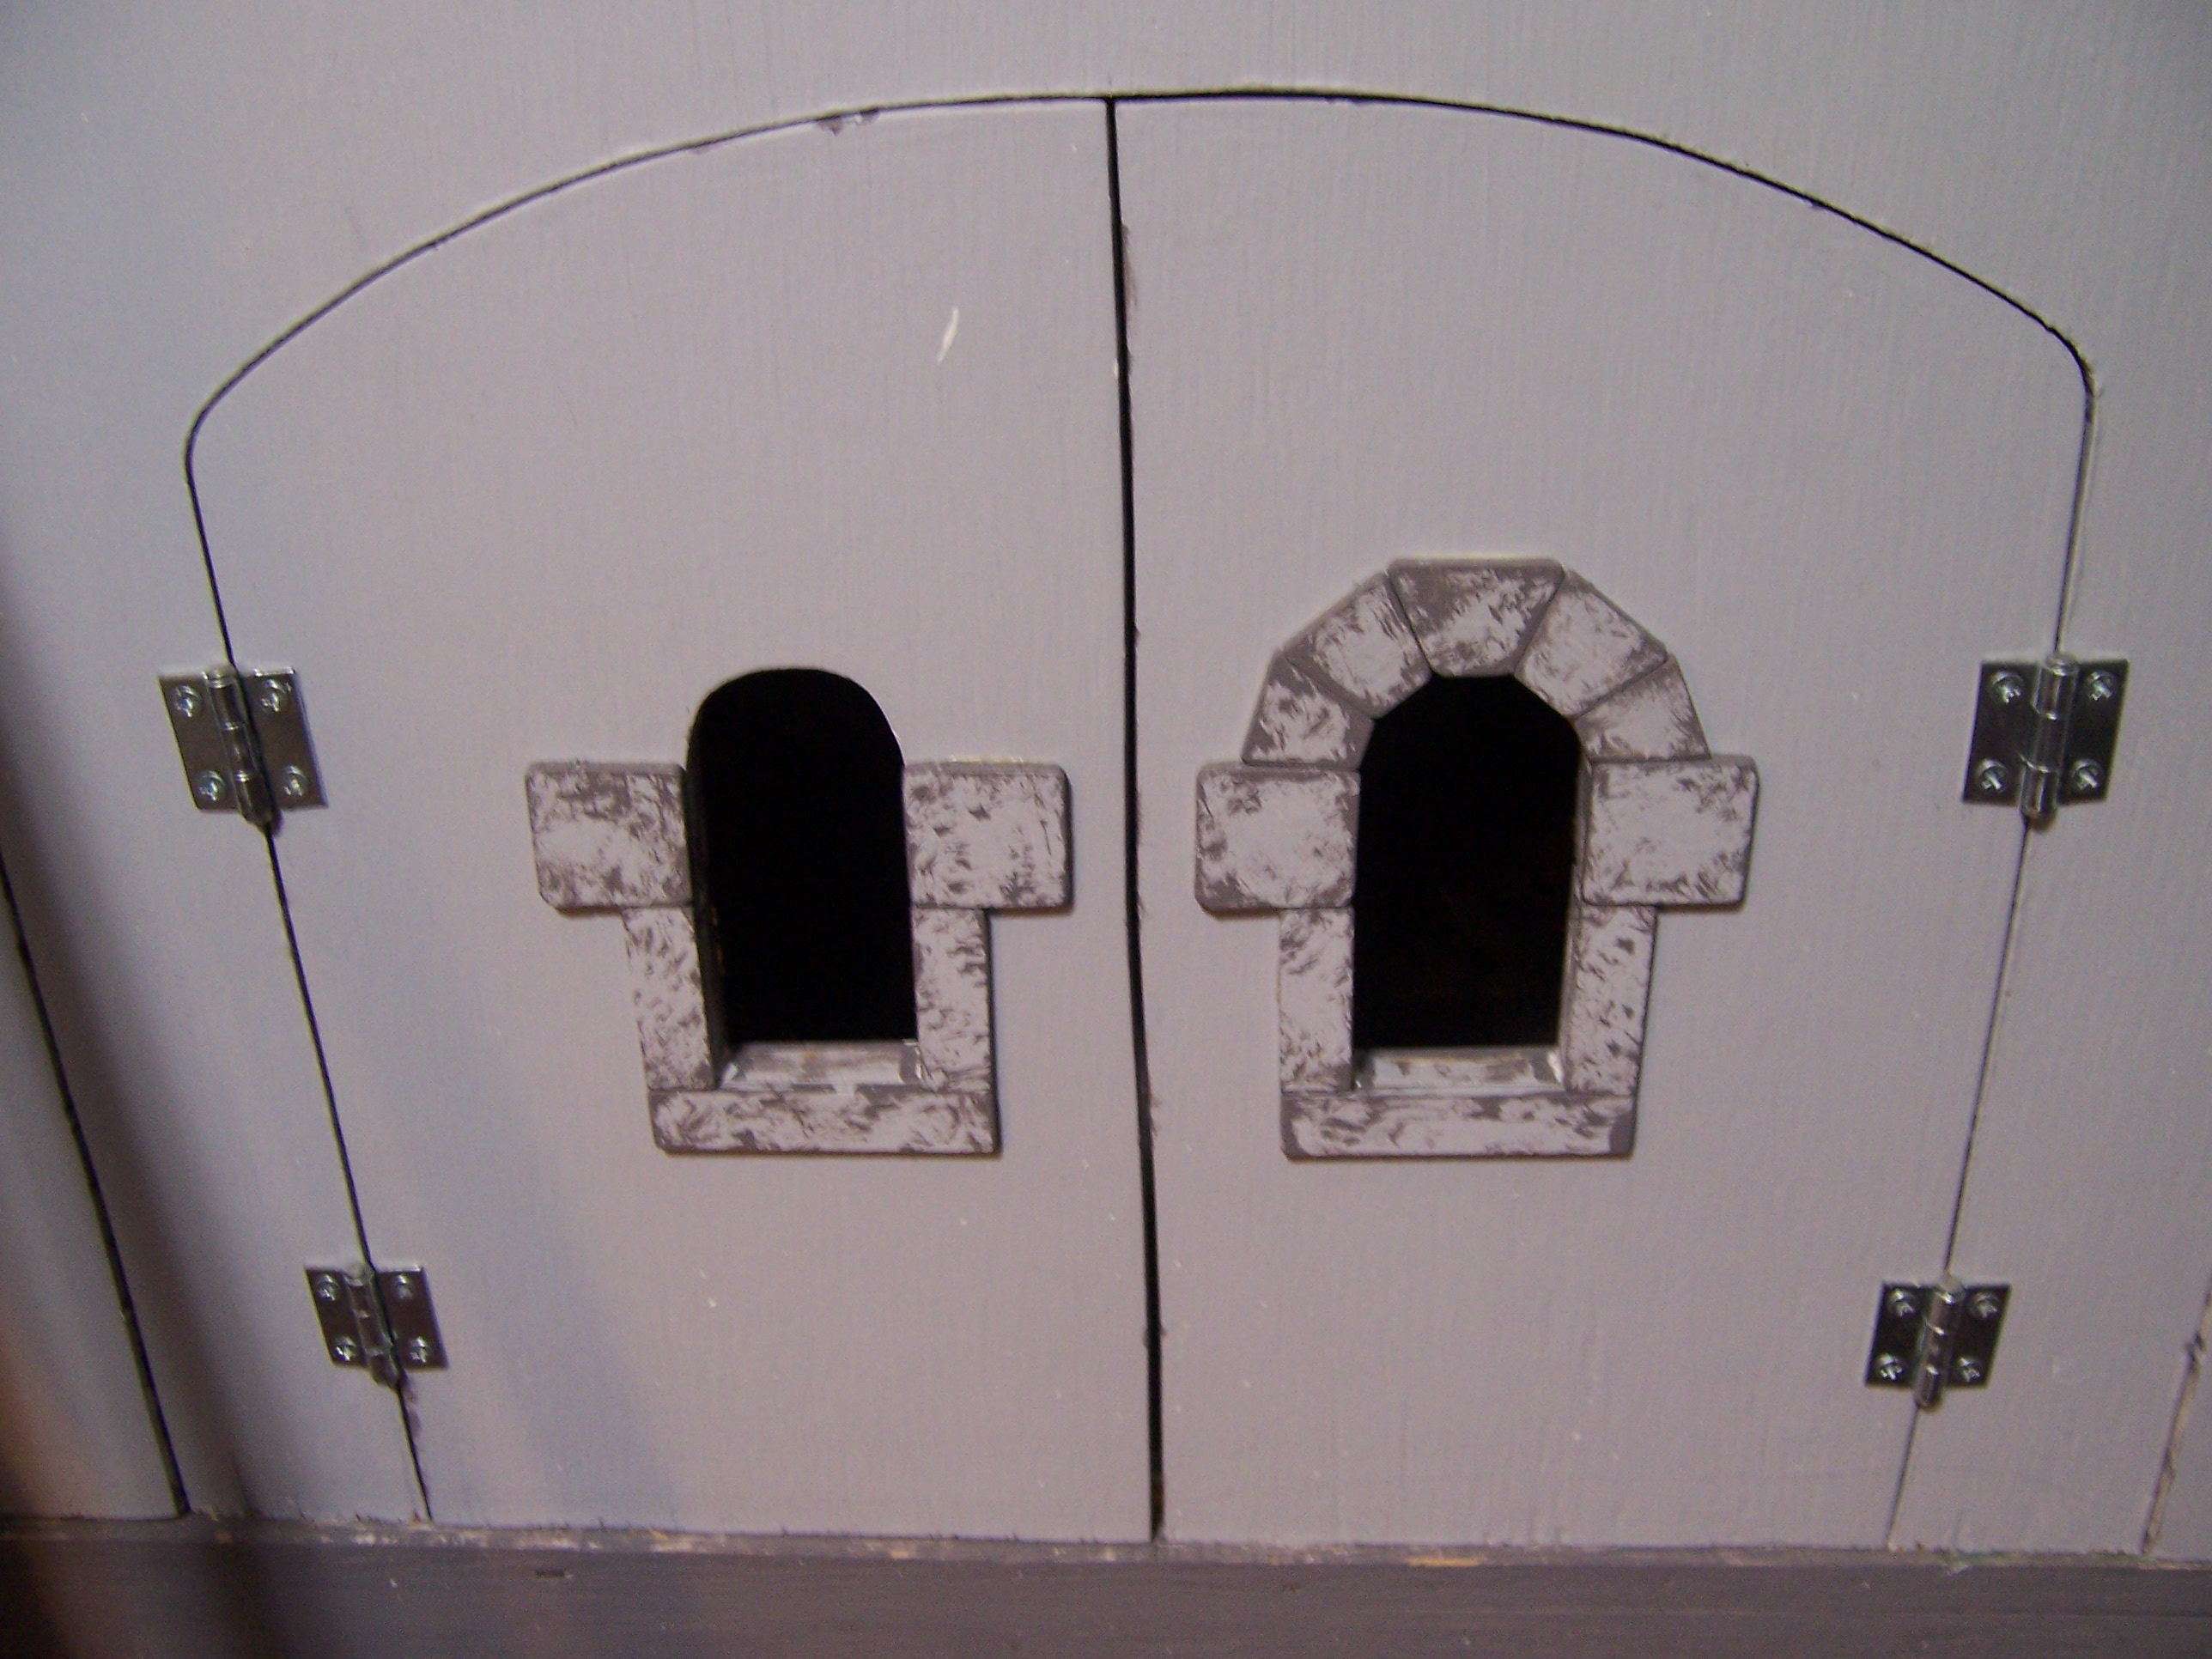
here you can see both openings mostly completed.
 Only missing the saw-toothed arch and the central capitals.

 
And here you can see the central capitals have been added! 
These particular capitals are made from
 the laaast small fragments of a particular wooden trim
 that I bought, quite a few years back, at the local big box store....
 and have not been able to find a similar profile since.
 (I hate it when things "disappear" out of the marketplace
 due to changing fashions.... fancy trim..? 
who wants that?.... well, I did.... just a small piece.....) 
So here they are... on the back side of the Tower wall.... 
the Last ornate capitals.... 
hardly ever visible to anyone...
 but I will know they are there!

 
Meanwhile the last upper window frame
 is getting constructed step by step.

 
And the lower two needed their saw-toothed arches cut....

 
Cut... primed.... painted.....
 waiting for the paint to dry between each step.......

 
Here the trim is all glued in place and 
the grout lines are painted on the left window... 
not yet on the right one.....
you can see the subtle difference it makes...
 

And on the right one too.
 
And meanwhile I have raced ahead 
with the glass for the upper window...

 
And glued it in place too! 
It only needs the window crossbar.... 
and trims....
 

 Like so.....
 
And here you see the trims nearly finished too!


Which just leaves one more saw-toothed window arch....


 And attached.
Well, that was quick! 
 
 
And once again, the exterior view of that back wall... 
with the flash.... 
can we call it just about finished? 
Well, finished enough to turn to the other side....
 

 The interior of that top room has a long ways to go!
 

 "cause we're just getting started with the Ladies' Solar!
 
 And yeah... 
I still have to get caught up
 with that still not primed end wall....
which needs the wiring channels.... 
and the box for the plug strip... 
and the postern gate.... 
 
Well, Dear Readers, a ton of details
 are still needed on this Castle Tower. 
But that just means I get to keep on making them! 
Oh I do love Details! 


Monday, June 10, 2024

And Then.....


There Is The Castle... 

Always The Castle, Dear Readers, that Huge half-finished Behemoth that looms over my Little Worlds, still incomplete thirteen or is it fourteen years into the project. And it is never far from my mind even as I assiduously apply my attention to other demanding projects... for how else will They get finished? And somehow, over the years, I have come to think of Summer as "Castle Building Time", and I eagerly begin to plan this year's tasks... always with the awareness that I will not get anywhere near as far as I hope I will. But did you ever know of a Castle that did not take a long time to build? Even "mini" Castles apparently hold to this requirement. So here we are, on the Threshold of Summer, and I cannot wait to get going on building, starting up where I left off last Fall.... the Lord's Tower windows all need the frames built for the exterior. And this will Finally begin to define the Front Facade of the entire Castle! How I have pondered this! 

As usual, I am torn between the accurate
 Historical portrayal of a Castle,
 and my well known love of intricate details....
This is designed to be a thirteenth century Castle,
 well before the gothic excesses of the later designs.
It is supposed to be a very old, Norman style
 with simple arched windows.
And yet, even in those times
 the arches over the doorways
 were quite elaborately carved, 
and so were the window frames
 especially on the upper windows.


And as always with this Castle, the place to start is at the bottom...
The Stables window, the only one in the Stables, is small and simple.
I copied on the exterior the same treatment
 I had given it on the interior when
 I was "rocking the trim" several summers ago!
And the same process was used for the Guard Room... 
Copy what was done on the interior.


And while I was doing the basic simple windows
 I started on the Kitchen ones too. 
All the windows on the lowest level are alike.


The Dungeon window too.
Alas, I have already neglected to complete
 the arch stones for this before racing ahead
 with the more interesting upper windows!
 

I apologize for the dark photo.... lots of dreary days lately...
This is the beginning of the trim for The Lord's Council Chamber window.
And again, I copied the trim I already had used last Fall on the side of the Tower.


Here you can see the Stables and Guard Room windows finished.
They are your basic simple Norman window design.
When the Tower front is painted (which I eagerly anticipate!)
 they will just look like tiny window openings.


Here the Kitchen windows are getting their arch stones.


And here I have completed the Lord's Council Chamber window.


And it opens to let the Summer breezes flow!


Here you can see I have made good progress
 on the Lord's Bedchamber windows too!
But I confess, Dear Readers, what really has my attention
 is the Windows for The Great Hall!


That row of Clerestory windows has been calling to me!
They need the frames built and the glass cut and leaded....
how hard would that be?
It will be the same process as all the glass windows before it...


You make a paper pattern to fit the opening as closely as possible...
(because all the openings were cut by hand with my saber saw years ago,
 they are all hopelessly irregular in shape...)


Then you cut it in 1/8 inch plywood... 
fitting it as closely as you can.


And another one for the interior side of the same window.
(The wall is 3/8 inch plywood so the glass pane
 will sit neatly between the two frame sections.)


Here you see I have cut the window openings in the frames...
except for the very top part  in the arch... 
that will be a small quatrefoil window which I will drill out later.
 

Then they get a coat of primer...


Here I have drilled the quatrefoil window....


And you can see that both the inner and
 outer frame have the quatrefoil window cut.


And the first frame has the gray base paint...
Time to start the second one!


And the third window under way....


And the fourth window as well!


Drilling the quatrefoil windows is quite tricky.
In order to prevent splitting the wood, 
I start with a small drill bit and drill each of four holes.
I gradually increase the bit size up to 1/4 inch.
At that point the holes almost intersect
 and I cut away the last pieces of wood with the exacto knife.


It is important that the two layers have the holes in the same place
so I have to adjust the shape if a hole is a little off. 
This I do with my small round wood file.
I start to compare the layers as soon as
 the holes are big enough to see through.


And the fourth one cut too!


I was about to start fitting the glass panes, Dear Readers, 
when I remembered the windows all need
 the bottom frame piece added!


Like this....


And this.....
Only two more to go... 
before I can start to make the leaded glass panes.
Is it any wonder, Dear Readers,
 that even in Miniature 
it take years to build a Castle?


Wednesday, September 13, 2023

Tower Windows....


Details, Dithering Details...

It took me most of another day, Dear Readers, to finish painting the grout lines on the Tower wall and the crenelations. By the time I was done there was no daylight to see by, so I had to use flash to record the completed wall. It sure gives a hint of what the Castle will look like when it is done! I can't tell you how much I look forward to that eventual day! And I have to stand back so far to catch the whole Tower that you also can see the surrounding "neighborhood" and the mess of my workroom. But never mind.... that is what workrooms are for! And you might be forgiven for thinking this part of the Tower was now done, but alas, I still had to design and build all the trim for those Windows. The only one on this wall that had been completed was the trim around the Guard Room window beside the Main Door. And it was a very simple replication of the trim inside the room. But for the upper Chambers I wanted fancier details on the exterior of the Castle Windows. This Castle is meant to be in the early Norman style, and those Castles were very plain in their design. The only places where ornate stonework was used were on the window and door surrounds and on the main arches of the Great Hall and Hearths.

Here you can see I have begun the decorative frame
 for the window of the Lord's Council Chamber.
 I had already established the basic design for the framing
 on the rear wall window. 
It is simple "braided" columns and a "Sawtooth" arch  on the top.


But the rear wall window does not have an opening section,
while the side wall does.
It makes the resulting window frame
 need to be wider and a bit less graceful....


The window grout lines have not been painted yet.
It took me ages of Dithering to settle on this design.
Because in the old Castles the windows
 increased in ornateness the higher up they were.
The council Chamber is not the highest floor!
Would I be able to make a fancier window on the top floor
 and not exceed the simplicity of the styles at that time?
(I dithered a Lot!)
But one thing I was pretty certain about was
 the need for the Saw toothed arches over the windows.
If there can be said to be a defining "Norman Style", that was it!
But they are not that easy to make!


This is one of those annoying places where I have had to compromise
 my sense of "Realism" for this Dollhouse.... the Walls are not thick!
In the Norman Castles the window trim was recessed into the wall thickness.
Alas, on my Dollhouse Castle, it needs to protrude from the wall.
This is 1/4 inch thick plywood, thinner than the Walls,
 but thick enough to allow for the toothed design.
I sort of have to saw and cut and chip the distinctive diamond notches
 along the inside edge of the curved arch.
The saw doesn't always fit inside the tight curve... (at the right angle!)
 and there is no vise clamp to hold it at the right angle to saw.....
(Yes, it is the Middle Ages in my workroom too!)
But I managed to make a suitable approximation of the design.... 
one notch at a time.


Yes, the notches are not all exactly the same.... 
but that is also true of the originals.... 
(I looked closely at some old door frames.)
And I know some of this is boring,
 but there are no off the shelf windows 
for Dollhouse Castles to be bought anywhere!
 I have to make them myself.
And what of the Top floor Windows, Dear Readers?
Well, I dithered even More on those!


For starters, the back wall windows were highly irregular!
You might recall when I was building the Bedchamber,
 I wanted to add the spiral stairs in the inside corner
 and this required that I re-work the windows
 that had already been cut in the walls.
In order to fit under the stairs, 
the window needed to be much smaller.
 And then I wanted to add another that small size
 on the other back corner where no window had been planned.
I decided to make it look like the castle had been "retrofitted"
 and leave the original arched window frame
 where the first hole had been cut and
 "fill it in" to create the smaller window.
It has the notched Arch, but no decorative columns.


And where the window was cut that now had the spiral stairs climb past it, 
I decided there needed to be an arrow slit rather than a window with glass.
But should it have the same fancier treatment
 as the rest of the windows on this floor would have?
I dithered for ages on this!
But I reasoned that the arrow slit was probably also a "retrofit"
 and the original frame would have been fancier like it's neighbor.
And here I needed to make columns,
 similar but a tiny bit fancier 
than the ones on the lower level.
Since I had used the spiral carving on this room's Hearth details,
 I figured it would be appropriate on the window frames too.
But these more delicate "columns" needed
 a stronger base and "capital" piece.... 
it just looked wrong with out them.
And then I was sure it was too much... too ornate.... too unlikely....
But I had already used a similar Column
 on the windows of the Chapel and the Great Hall....
So I decided to just build them and if I hated them later....
 I could always "retrofit" a new design.


Here is the other Bedchamber window with the fancier trim... 
sorry for the dark picture..... it has been really gloomy!
But you can see the fancier capital here.


And with flash.... and the grout lines painted...


And the Tower Stairs window...
(flash is so brutal!)


The Council Chamber and the Bedchamber...


And the full Tower with flash.
I am sure, Dear Readers,
 I will have to "live" with the window frames
 for a while in order to know for sure
 whether I think they are the right frames.
But for now, I've Dithered enough on these Details!