Showing posts with label Rhododendron Leaves. Show all posts

Monday, July 7, 2025

Green.....


Grow the Leaves... Oh!

Can You remember, Dear Readers, about a year ago when I first posted the "Summer Green" Rhododendron shrub at the Folly Garden and wondered if it really had enough leaves to qualify as "finished"? Well, as some of you might realize, I decided it needed quite a few more leaves to really look right as THE evergreen shrub beside the Folly Porch. It is Evergreen, after all, so only steps aside briefly for the Blossoming version which takes a week or so, and for the Snowy winter version which comes and goes quickly only in Winter, so it had better be really worthy of all the rest of those months of viewing! Above you can see the "revised" version, newly "completed".... even though there are probably a few more leafy stems I will add, in particular in the corner by the Tree House. If you can't remember exactly how it looked before.... I have added a photo from Last Year....

 
And I know the lighting is different, 
which makes it really hard to judge.... 
but I also know that the newer version has nearly 400 leaves
 more than last year's version!

 
Here you can see it again... this years (version #3-2) 
from the side of the Garden near the Tree House. 
It definitely looks "denser" to me.... which was the whole point!

 
 The "trick" was to add the "understory leaves" which are
 the previous year's growth still attached to the shrub. 
And believe me, this was tricky to do! 
And very time consuming. 
And as some of you know, last years "green" shrub
 got a coating of "snow" during the Winter 
and is now the "Snowy Winter" version (#2-2)!
 So nothing was wasted after all!

 
And yes, Mr. Gnome is hoping that some of the disruptions
 to his usually quiet neighborhood will be finished for a while.

 
And maybe I can get working on some of my many other
 unfinished projects.... the list is Looooooong!
 
And Speaking of Green, Dear Readers,
 some of the threads I had ordered arrived
 and among them was a blue-green shade
 that I could use in my Astrological Cushions! 

 
The Leo Astrological cushion design
 was asking for four shades of green and one of gold
 for the ground below the Lion.
 The darkest green had arrived a while ago,
 and finally the blue-green arrived.
 Until it did, I did not want to start stitching
 until I could be sure it would work with the rest of the greens.
 As you can see, it does! So I got stitching right away!

 
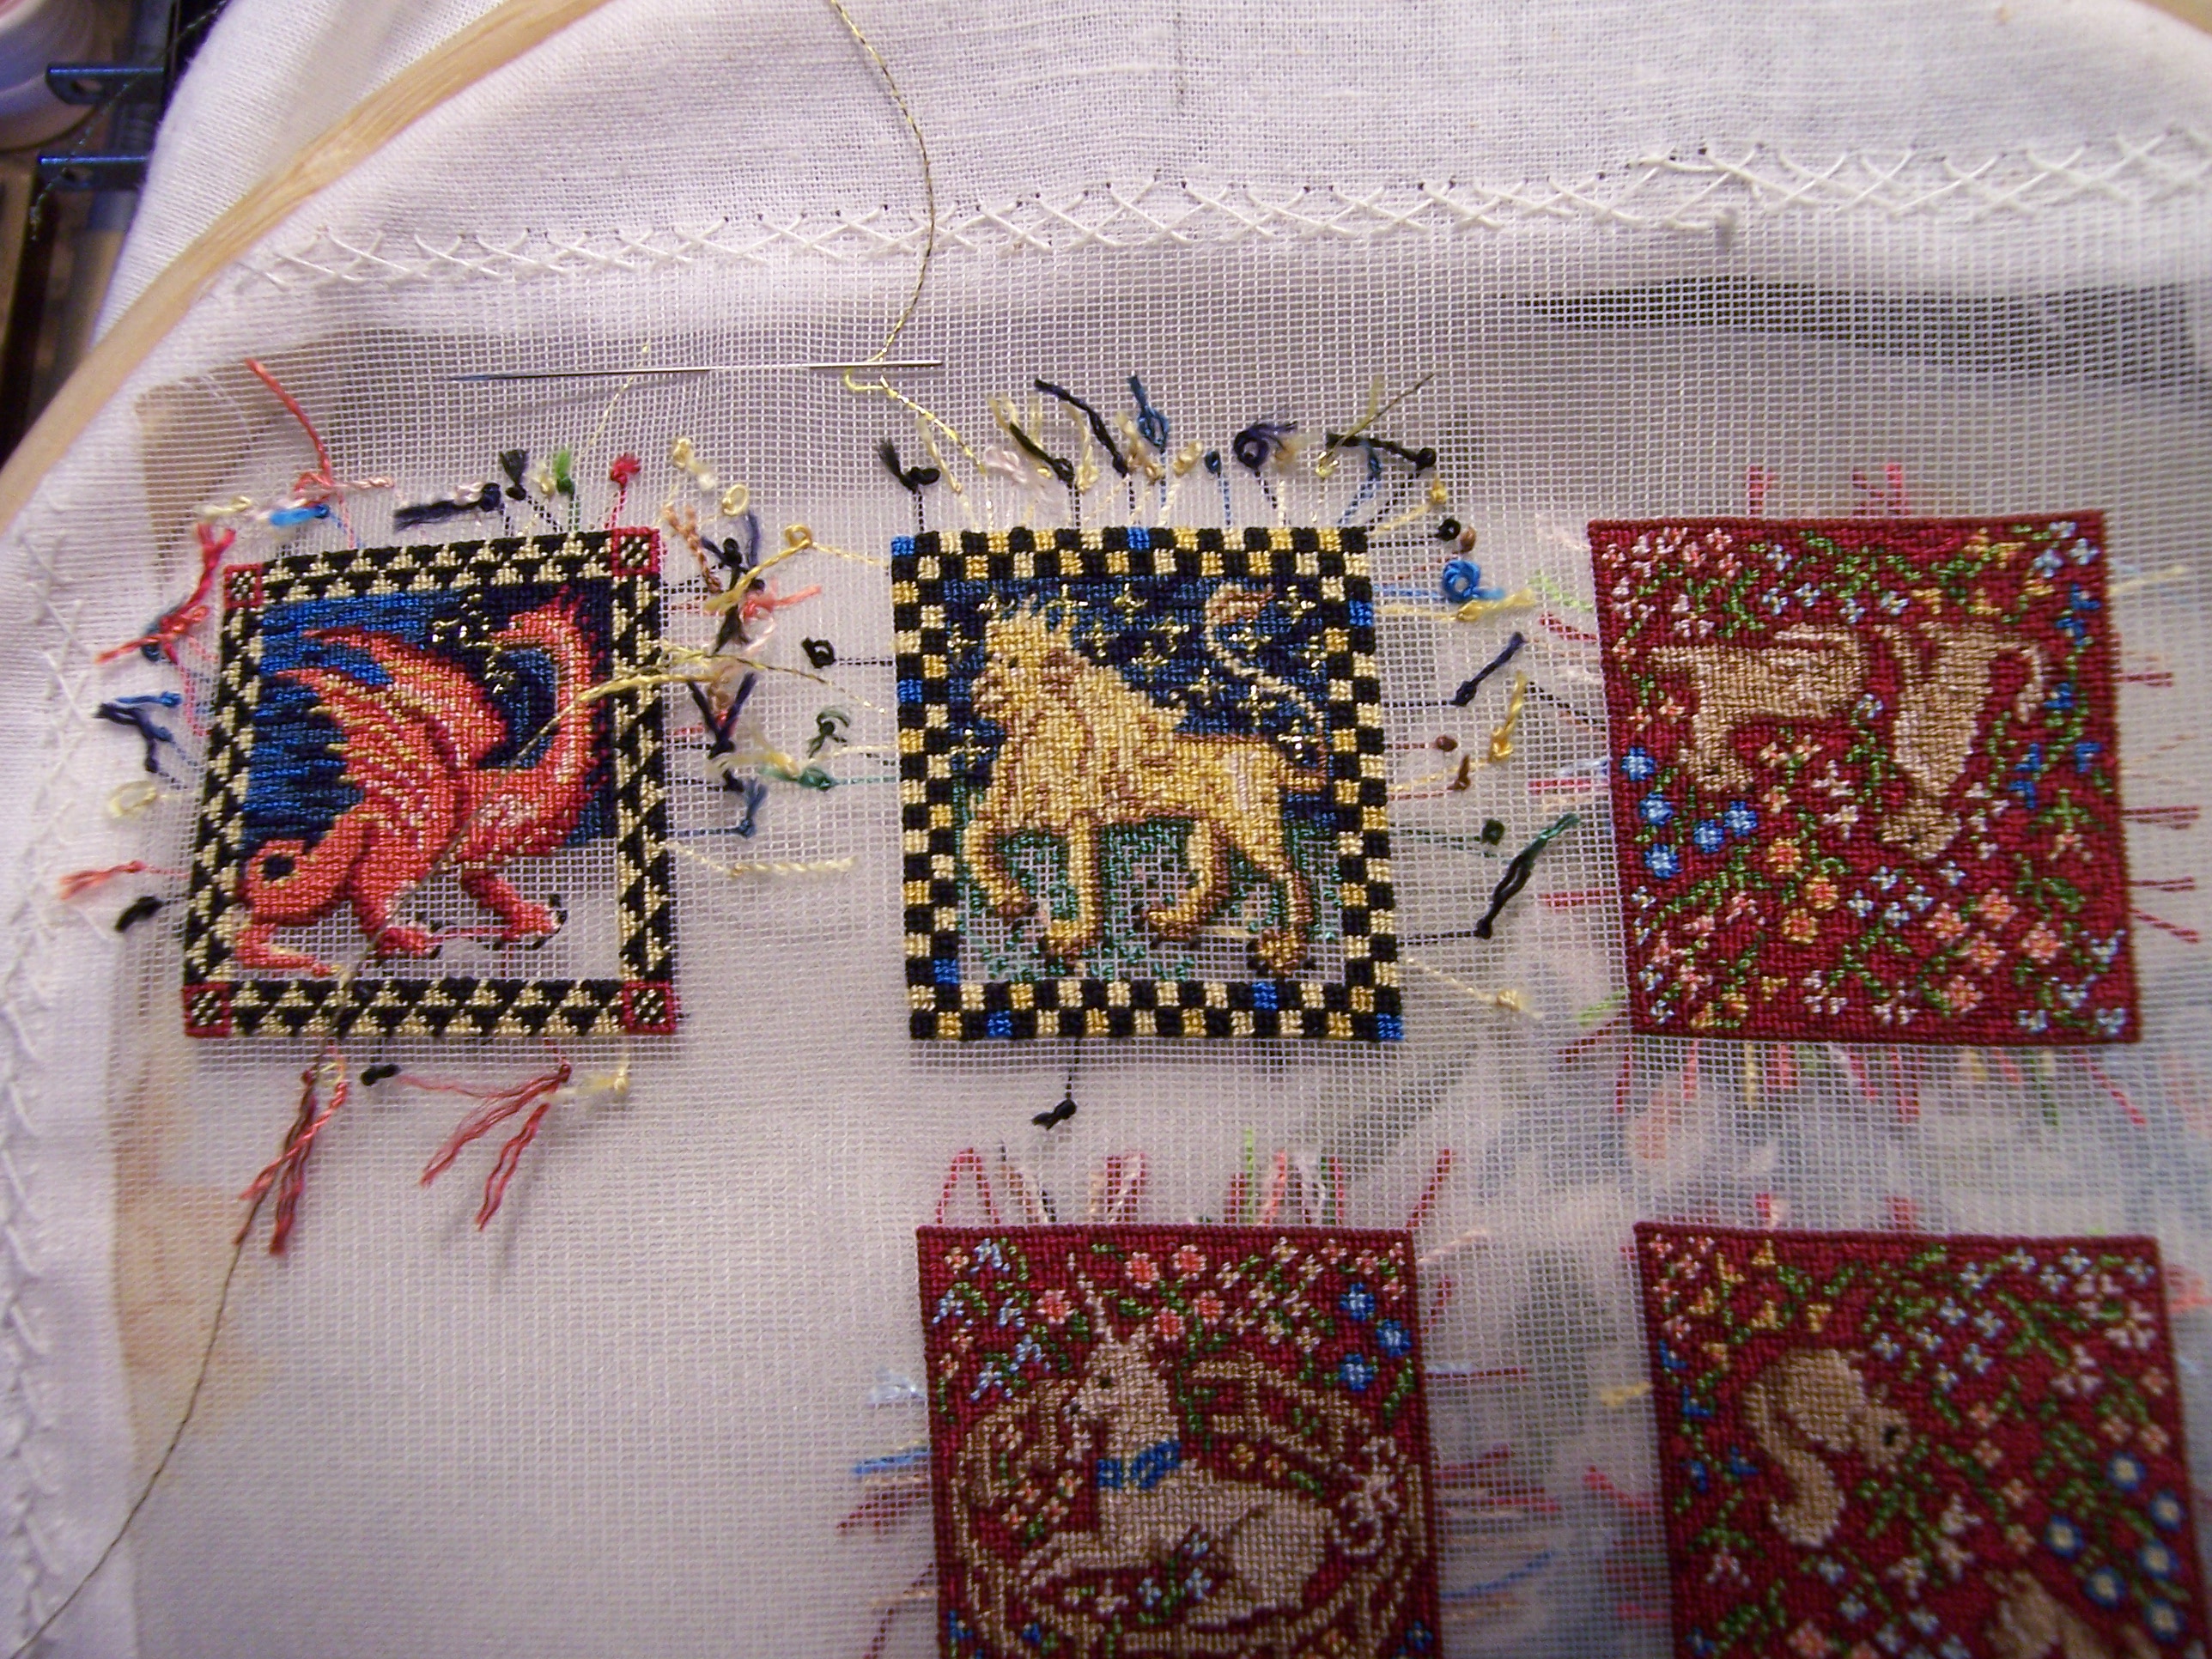
Here you can see the Leo Cushion before starting the greens...
 but with the night sky completed. 
These kits are designed for larger scale, 
so the details are quite intricate for this tiny scale.
 I was not sure the two blue colors would be needed... 
but I have decided they work out okay....
 Just the darkest blue would have been
 too much like the black border squares.
 And once the ground is stitched... it makes beautiful contrast...

 
This is just the first two greens...

 
Here you can see the stitching beside the chart... 
it is sometimes difficult to tell which color the printed square is...
 they are very similar shades.
I start with the colors that are clearest to follow....
 the darkest and the lightest,
 and gradually fill in the more confusing ones.

 
Here I have added the golden wheat color....

 
And here the Leo Cushion stitching is finished!


And because I had also been waiting for
 that blue-green for the Wyvern Cushion... 
I got busy right away with the Green ground. 
This chart only needed the four green shades... 
no golden color is needed.

 
More of the Greens have been added...
 only the last one is still not stitched.

 
And of course, I have started the border for
 the last little Cushion for this piece of mesh....!
 
But I will Leave you here, Dear Readers... 
Wondering what the final cushion will be.... 
because I do have just a few more Leaves to grow
 on the Evergreen Rhododendron Shrub! 


Monday, March 31, 2025

Rhododendron Leaves...


How They Are Growing...

I am sure you will be happy to know, Dear Readers, that I have not abandoned the Rhododendron shrub #2-3 construction! But it is a very slow process. This is the Leafy Green version, for all year 'round display, with no blossoms and no snow to conceal any flaws. Last year when I was constructing the first attempt at this Leafy Green version, I skipped a vital step in my method. I ignored the fact that the RL shrubs, because they are Evergreens, do not shed their leaves before they add the new year's growth. Last year's leaves stay on the shrub, just behind the new growth layer. And sometimes, depending on the growing conditions, those leaves, or some of them, might still be there three years or four years behind the new growth! I can see this progression when I take a careful look at my own RL Large Green Rhododendron shrub!

If you look closely at this photo, you will see a red-brown branch in the upper left corner with two green branches emerging from it. Where they emerge is the leafy collection from the previous years growth, still fully attached and alive. At the the tips of the light green stems you will see the "new" leafy growth with the bud tip. These are now a year old and awaiting the "new growth" to spring from the tips after the blossom is done in May. Sometimes the older leaves will last for four years before they finally drop off. These older leaves are the "under-story" and create the denser appearance of the leaves on the shrub. In last years version of my min shrub, I skipped them.... and regretted it in the end!

Here, you can see I have begun (finally!) to attach the leafy stem clusters to the bottom of the first shrub branch. And in case you didn't remember, these shrubs are complicated.... the branches have grown too long and are bent down with age... so the "new" growth is at the end of the branch, but it hangs to the ground. (Why did I make this so complicated...?.... because this is what has happened to my RL shrub over time... and I find it fascinating!) So the new growth is all happening down at the bottom of the shrub on these branches. I am assuming that each branch has put out two new leaf clusters, but in RL often three or four "new branches" will start. Over time they are usually not all successful and so they dwindle to two, or sometimes only one or none. (There are dead branches back in the undergrowth too.) And in constructing my mini Rhododendron, I have to wait for the glue to dry for each leaf cluster before I can attach the next one to this branch. 

Here you can see I have attached two stem clusters (the new growth) and behind them, where they depart the branch, I have added a few single leaves for the previous year's cluster. And farther up the branch, another leaf representing two years previous leaves. and yes, the leaves are easily knocked off so you must leave them alone til they dry thoroughly before adding any more! (Did I tell you it is a very slow process?)

These are my single leaves to be attached individually wherever appropriate.... it gets pretty challenging to know where another leaf is needed... And in the jars you can see all the "stems" I have already assembled with their leaf clusters... approximately two hundred of them.


Here you can see all the "lowest" branch tips have had their new stems added...  and a few extra under-story leaves too.


And here you can see I have begun to ad the "new growth"stems to the tips of the branches on the next level up the branch.


 And more stems.... this has taken days, Dear Readers, a few stems, a few leaves at a time.


You would not think there was any growth at all!


 But when the morning Sun comes to play, I have hope! It is looking a little more "dense" and realistic! and slowly but surely it is growing!


 I am pretty sure I will have to revisit the "under-story" again and again.


 But it is growing on me! I am liking the more detailed, realistic look. So, no matter how long it takes, Dear Readers, I am doing my best to duplicate the way they grow in RL!


Thursday, July 18, 2024

Summer Rhododendron Shrub....


Green Grow the Leaves.....Oh!

I assume, Dear Readers, that some of you might be wondering whether I was keeping up with making the Summer Rhododendron Shrub. Well, I can assure you that I am on it! No slacking at all! I had calculated after assembling the Blossoming Shrub, that I would need somewhere in the Vicinity of 40 batches of leaves for the Summer Shrub. The Blossoming Shrub had 125 blossoming stems (with leaves) and about another 80 or 90 stems with only leaves. Each stem has about 7 leaves on it (a few have more or less). There are 40 leaves to a batch, so 40 batches makes 1600 individual leaves. At a certain point I decided that I needed to assemble the leafy stems as I made the leaf batches.... one batch of leaves per day for forty days! Yesterday was the completion of the 40th batch! (I took weekends off for the most part.)

Here is the fortieth batch under way....


And here it is completed!


This is the assembly area....


Once each batch of leaves is dry
 I fold the stems and cut them apart 
and collect them in this dish.


Here is the collection of assembled leafy stems
 waiting to be attached to the Shrub...


Here is the daily batch while the glue is drying....
You have to keep them from bumping anything....!

So while I have been busily making
 the leafy stems, Dear Readers,
 I have also been planning the "storage box"
 for the Blossoming Shrub.
And today was the day to get it built!


You might recall that I did the same for the Lilac Shrubs 
so they are protected during their "off seasons"!
Of course, it needed to be labeled!


It was trickier than the lilac boxes because 
the Rhododendron Shrub leans around the corner
 of The Folly Dollhouse and hangs down over the embankment.
I had to construct a support structure
 of a similar shape inside the box 
so the branches that go around the corner
 are not permanently squished!
I used builders foam... 
the same as the base for The Folly Garden itself.


And now the Blossoming Spring Rhododendron Shrub
 is safely tucked away in its own protective box
 until next Spring!

And I am madly assembling the leafy stems onto the Summer Shrub....


I got about twenty more leafy stems glued on today!
That on top of the thirty I had glued on since the beginning of July...
So give or take a week or three and
 the Summer Leafy Rhododendron Shrub
 should be completed!
And then, Dear Readers, 
All I will need to do is make another 40 batches of Leaves
 for the Winter Snowy Rhododendron Shrub.....
'Cause the Rhododendron Shrubs
 are Evergreens... Oh!


Wednesday, March 20, 2024

Leaves...


And More Leaves....

I Hope you will not be Surprised, Dear Readers, to learn that I have been making lots and lots of leaves! I really need to get ahead of the blossoms with the leaf construction, and finally decided that the best way to tackle the project was with small batches. Lots of small batches! It feels so much less daunting to start a batch of forty leaves (20 stems worth) and know that in about an hour and a half, or less if all goes well, I will have a completed batch. I had tried an eighty leaf batch.... which would be enough leaves for the ten blossom clusters per week that I am making.... but completing the eighty leaves took Hours and hours. I can usually fit a batch of forty leaves into my daily blossom routine too. This is piling up the leaves at a great rate! I am using regular copier paper and the "leaf punch" I bought years ago at Michael's. You can see it in the picture above.

And I am cutting the leaves from the stem, 
but am maximizing the length of each leaf
 by cutting diagonally across the stem.
 One of the great things about this leaf punch is
 that the leaves are not all exactly the same size,
 which is how they are naturally on my RL shrub.
I get five leaves per punch, eight punches per batch.


I glue a leaf on one end of the stems
 (using the cut-off wires from the blossom making)
 and once I have glued twenty stems,
 I add the leaf to the other end.


This might seem silly since the leaves will be cut apart
 before attaching to the blossom clusters,
 but it really makes handling the leaves for painting much easier.
 The wire is long enough to hold and not get paint on your hands
 as would happen if I tried to make the stems short first.


I paint the undersides of one leaf, 
(using a mixture of chromium green, cadmium yellow
 and white artist's acrylic paint)
 and by the time I have done all twenty on one end of the stems,
 the first is dry and ready to be held while I paint the other end.


And by the time all the undersides are painted, 
the first is dry enough to paint the top side....


You might notice that I am first painting a stripe down the center
 using the same color as the underside of the leaves,
 first one end and then the other as before...


This is so that once I have painted the top color, 
I will not have to add a very very narrow stripe for the center vein...
 
Here you can see I am mixing the color for the top side of the leaves,
(a mix of chromium green and mars black acrylic artists paint)
and comparing it to my sample chart.
It is very easy to mix it too dark, 
because the paint darkens as it dries.
 

When painting the top side,
 I carefully paint one side of the leaf,
 as straight as possible stem to tip,
 

And then equally carefully, paint the other side,
 leaving a very thin stripe showing the underside color.
Then I let them dry....


before doing the same with the other end.


Here are the completed forty leaves!
All that remains is to fold the stems and cut them apart....


And attach them to the blossom clusters!
I am starting with seven leaves per blossom cluster...


And so far I have managed to keep up
 with adding the leaves on the new blossom clusters...
on the left (in the "new Day mug") you can see
 the ten blossom clusters from last summer
 that still don't have any leaves attached.
But I now have enough leaves to get cracking on that too!
And today I made the blossom clusters number 85 and 86....
they just need to have their leaves added too!

So you can see, Dear Readers,
 I have figured out that to make the leaves
In relatively small batches 
means I am making more Leaves... 
and More leaves....
And more leaves....!