Monday, January 26, 2015

Lights for the Willowcrest


And Shadows...

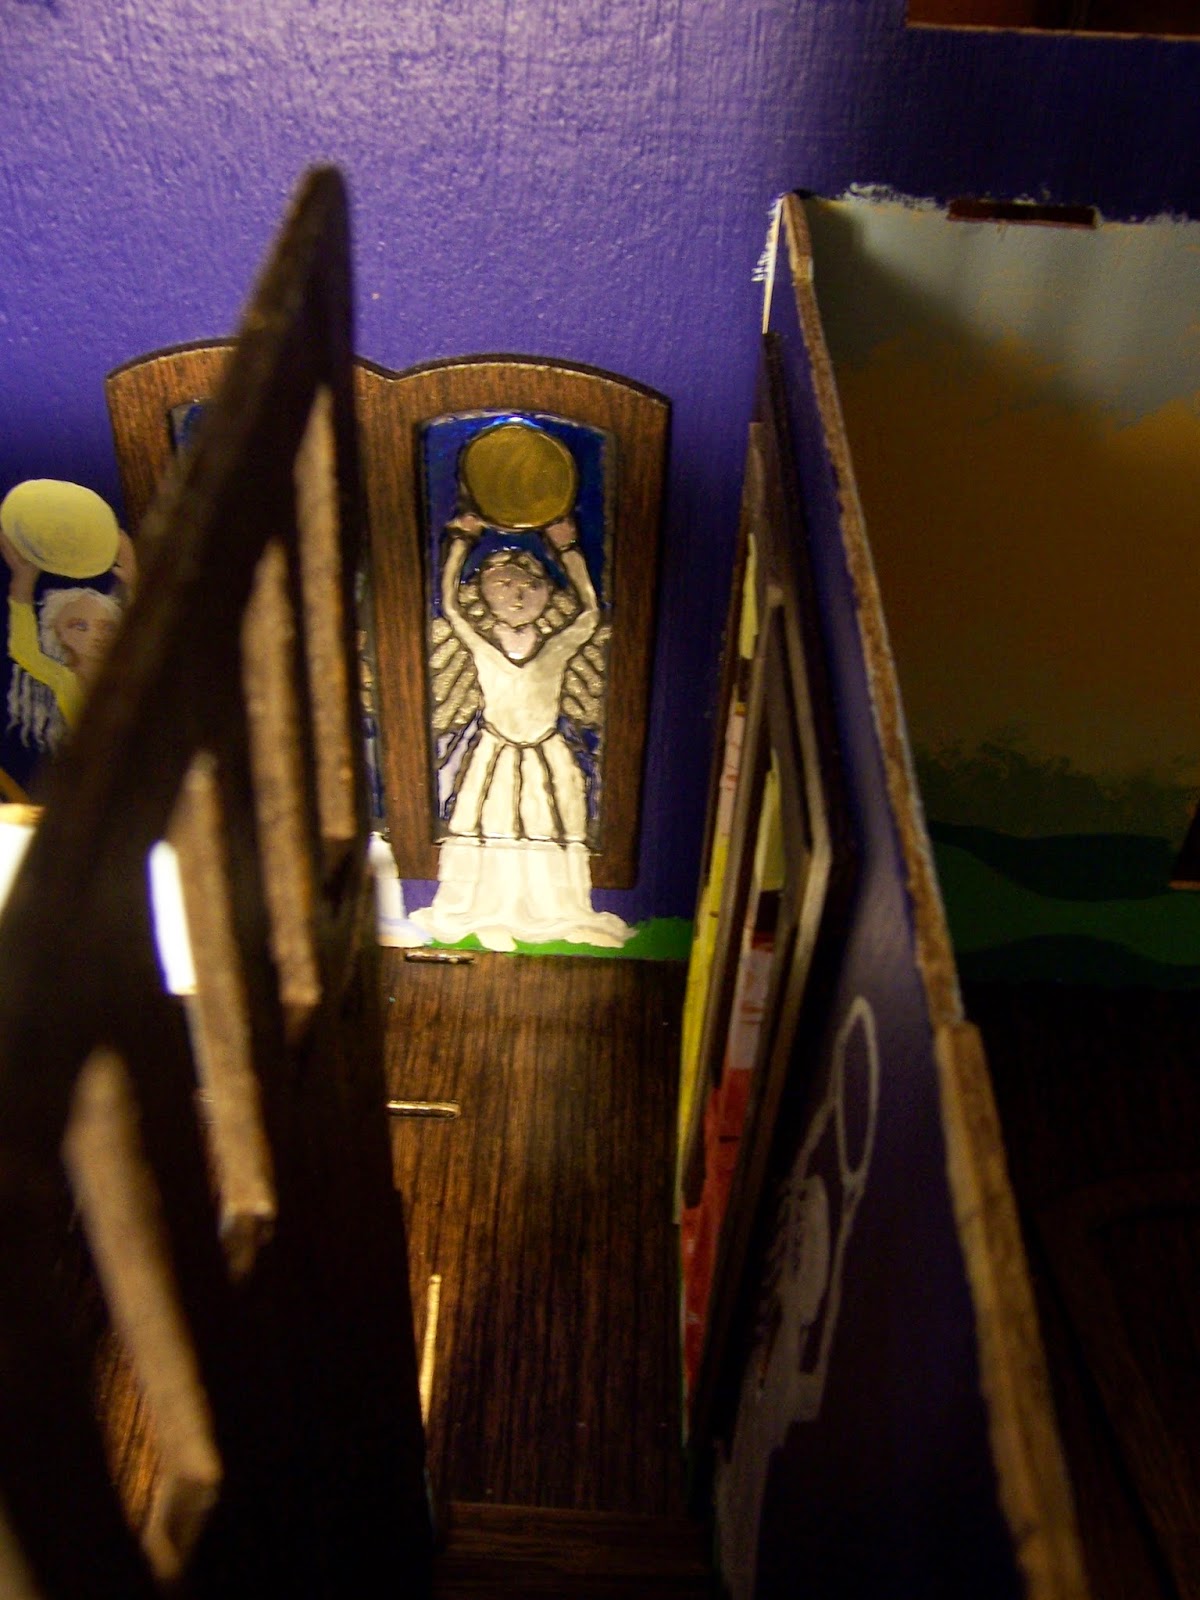
I am certain that I have mentioned, Dear Readers, that I intended to add lights to this project. And if any of you have ever worked with one of these kits, you will know that the walls are very thin, and therefore difficult to hide wires inside! But I considered it essential that we have a lamp to cast a little bit of  light into that nearly impossible to see hallway.... and so I was determined to find a way to conceal the necessary wires.  The above picture shows you the staircase with the side wall removed. I have not yet glued it in place, because I would be unable to get the lamp affixed correctly with the wall in place. And you can see, in silhouette, the ornate wrought iron style lamp I have hung from the hall ceiling....

And if you look carefully in this shot, you can make out the staircase in the light from the now lit lamp..... this time viewed from the other side through the doorway into the parlor. The light works!
I carved a channel in the floor of the upstairs hallway to run the lamp wire over to the dividing wall between the kitchen and the Parlor. I have decided that most of the wires for the lights can be run down this wall to the underside of the house, where they will plug into the power strip. They will be covered over by a false "brick" wall on the kitchen side, which is back to back with the fireplace in the Parlor. And while we are adding the lights to the hallway, I decided to test an idea for the Parlor lights.

I plan to put a pair of sconces above the fireplace, 
but I wanted them to look like they were candles on the branches 
of the trees on either side of the mantel.
So I added some wire to the sconces.... 
and then some sculpey....


And then I needed to make sure the light still worked 
after the baking in the oven part....
Sadly, it didn't. 
So I replaced the bulb and tried again....
And this time it worked! 
So be sure to remember to remove the bulbs from the lamp 
before baking it with the sculpey!

So once I had determined 
that I could embellish the lights this way, Dear Readers,
I got a bit carried away....
After Dreaming about them all night, 
I decided I wanted there to be a mirror over the mantel.
And the very next morning I found a scrap of mirror 
and cut it to fit....

Between the branches of the Trees over the Mantel.....

And I started to make more branches from wire and sculpey....
Shaped to frame the mirror.....

And aligned carefully to fit above the fireplace...
(I did not bake the fireplace, just used it to position the branches)

And here we are testing the fit of the baked branches....
(all held temporarily in place with a little bit of museum wax)
This is, of course, the view which will be hardly visible 
once the house is all built...
because the fireplace wall is slanted away from the open side of the house!

This is more like what you will see when looking into the Parlor 
from the open side of the house.

 But I like to think that there will be a slight view 
from the windows on the front and the side of the house,
So I have decided to make the fireplace at least a little bit realistic
and started to make it look like carved marble....

And I added bricks to the back of the hearth....
and I plan to use this small "Regency Grate"
to hold the coals.
It still needs a lot of details and soot and ashes...
but you can get an idea of the look.

Here we are testing the mantel in place,
And I have added another sculpey branch to the near side of the fireplace.


Here's another view from where the side windows will be....

And with the sconces lit...

I don't know about you, Dear Readers, 
but I think the Tree branches with the lit sconces 
cast a wonderful network of spooky shadows.... 
blurring the edges of real and magical....
Creating an otherworldly atmosphere....
Perfect for this Witchy House!

Monday, January 19, 2015

Planting Seeds....


By The Light of The New Moon.....

I am Starting my Garden at the Very Beginning, Dear Readers, by Planting the seeds! And I could not have been happier than I was to see the recent post by Pepper of MitchyMooMiniatures blog, who not only Created a Beautiful selection of miniature seed packets, but she also Shared the file for others to use! Thank you Pepper! It is Generous Creative bloggers like you who make so many of us less Computer Savvy bloggers very Happy! I had been Longing to make a selection of tiny seed packets.... and so I jumped on her offer to share, and spent Saturday assembling the tiny little gems!

I am still sort of new to printing out files and have no idea how 
to re-size things unless I am following very careful instructions.... 
but I was able to make my printer do a respectable job with these seed packets!

And as you can see if you look closely, 
I wanted my packets to have "seeds" in them!
And what did I use for this, you might ask?
Why "Pepper", of course!!!
I think it gives that extra layer of realism 
to have something inside the tiny packets!

I made them all up... starting with the flowers....
and the tomatoes too, 
because they would be the ones 
that needed to be started indoors....

For which you would need to tear the corners when opening them....

So you could plant them in seed trays......
Indoors in the warmth on a cold Winter's day!

I have not yet made myself a "Vacuum Forming " tool, 
such as the one Pepper showed on an earlier post.... 
where she demonstrates making perfect little seedling "planters".
So I opted instead for the older fashioned single tray model....
made from the plastic packaging that came 
with a recent purchase of miniature doorknobs...

I saw their potential right away, and saved the packaging!

I cut the sections apart, leaving one side 
with a larger lip than the other side....

Then I added a small bead of white craft glue 
around the edge of the one with the larger lip...

Which you can see if you look closely!
And when it dried completely I painted this section black...

It needed several coats, on both sides....

The glue bead made a little edge 
to catch the cover and keep it snug!

Ready to fill with the "dirt" of your choice....
and plant with the tiny seeds.
And what better time for Planting than the New of the Moon....
When the Old Wisdom says the seeds are ready to sprout... 
and the strength of the Growing Moon will aid the new seedlings!

And to that End, I also painted more on the Moon Maidens...

 
The last three Maidens that march up the narrow stairs to the third floor 
were the most difficult of them all!
Above you can see the beginnings of the ones on the stairs.....
but I was not happy with the proportions of the one half way up!
And I realized at this point that I was going to need 
to incorporate the top floor railing into the painted portion of the wall!
I had already stained the other sections of railing, and punched out their "holes"
but now I realized I had overlooked the section on this side of the stairs!
Which was a good thing as I wanted to leave the "gaps" 
filled in order to paint the Maiden at the top!


Once I had located that section of railing 
on the sheets of punch outs for the kit, 
and primed and painted it, 
I could continue with the last two Maidens.
I painted over the middle one in order to fix her proportions 
now that I could see where she would reach onto the railing section.


And started the final Maiden that would represent 
the Dark of the Moon at the top of the stairs.


And before I went too far with the painting, 
I thought to test the fit with the attic floor in place
to see if I had the alignment correct....
And realized it was off by about an eighth of an inch!
(Which you can see if you look closely at the above picture!)

So I painted over the upper sections AGAIN, Dear Readers,
and made sure the alignment was adjusted properly!

And painted the final New Moon Maiden!
Which was just as well, because the latest version is by far the best...

Here she is partly done.....

And here they are completed...
Marching up the attic stairs... 
where they will be almost impossible to see....

Barely glimpsed at the top of the stairs.


But, like the New Moon itself.....
Or the seeds in the packets.....
Or the seeds in the Ground....
We will know they are there!
Isn't it Fitting then, Dear Readers, 
that I am planting the seeds
and Painting the New Moon Maiden....
Right at the Time of the New Moon!

Tuesday, January 13, 2015

Moon Maidens Continued...


And Other Hallway Details....

The Moon is Three Quarters gone, Dear Readers, a Waning Gibbous as I write, so I think it is only fitting that I spent the past weekend painting more on theWaning Moon Maidens in the Hallway of the Willowcrest House kit. I apologize for jumping to this project from the exciting topic of the Conservatory, but I am wrestling with Big Decisions about Landscaping with that one, so I turned instead to the simpler task of painting more Moon Maidens in the progression through the Hall. Some of you might remember that I had gotten as far as the Full Moon maidens at the top of the stairs when the Holiday Season distracted me from the project. The Two maidens at the top of the stairs are painted on the plastic windows and colored with nail polish. But I needed to complete their images below the window on the inside wall. It was not easy to match the color of their gowns to the clear glass paint, which changes with the changing light. As you can see in the closer picture below.

And while I am at it I should show you the exterior view of the windows,
where I have added the leading made from glofer's lead tape.

I decided that I wanted the outside of the windows to have 
the "leaded glass" texture and appearance
that could only be achieved with the lead tape. So I carefully applied it 
following the lines that were already painted... 
but on the other side of the window!
You can see one window done on the above picture, 
compared with the other window with only the paint.
I think I am supposed to paint over this with either 
clear "mod podge" or clear fingernail polish.
But not being sure which method to use, I have done neither.
But the tape part had to be done before the window was glued in place!
I also did the same for the Tree window....

Which you can see here before the outside frame is added....

And with the trim, which you can see here. 
I think it looks pretty good with the window trim, 
painted in that lovely Silver paint I have!
(This is a Witchy house, after all....)

And here you can see the window from the inside....

And you can see I have added stars to the wall mural amongst the tree branches.

And a view of the front door with the leading added to the glass...

You can really see what a difference it makes!

And I added the door knobs too.....
they now come in a lovely bronze look.....
they are very similar to the doorknobs on my real house!

And here are the doors in place with the Silver painted trim!
It only took me about fifty tries to get the doors correctly fitted!
I had to shave the inside edges so they could swing open....  
the kit wants you to glue them in place,
but I insist on my doors being able to open and close!
They would swing freely until they were screwed in place....
a very awkward and difficult job from the inside of the hallway....
and something about the way the screws tightened the frame made the doors bind!
But eventually I got them shaved enough to open and close!

I think they look Marvelously spooky!

And here you can see the front of the house 
with the Moon Maidens window in place....
(Sorry it is so dark!)
I have not yet painted the exterior window trims, 
the color scheme is going to be the dark gray with the shiny silver trim.

But we were talking about the Moon Maidens inside the Hall...
Where they needed to continue past the Full Moon window 
and on up the stairs to the attic.
And in order to do this, 
they needed to march across the doors to the bedroom...

And this requires you to use your Imaginations when viewing them 
from any angle other than straight on!
Because I insisted on my doors having the raised panel look,
so in painting on the doors, I have had to paint over the uneven surface,
and yet try to make them look as normal as possible!

Here you can see I have started the details of their faces.....

And if you look closely you can see what I mean 
about the odd appearance when you see them at an odd angle!

Here you can see how the "parade" goes around the hallway
viewed from above...

And viewed from the bedroom when the door to the hallway is open...
the shadows really emphasize the paneling of the door.

More details and the next Maiden going up the stairs begun....

And the view from the bedroom with both the doors open....

And from farther back....
It will be impossible to see these Maidens 
except when the doors are open....
Or a glimpse through the bathroom doorway....

Where the odd angle emphasizes the distorted features...

And the remaining Maidens march up the very Narrow
staircase to the third floor....

Where it is questionable how visible they will be at all!
But I will know they are there.....
Just like the Waning Moon, Dear Readers,
Gradually swallowed up by the Daytime sky....
hardly visible at all to the naked eye....
Until the Dark of the New Moon.
So the Moon Maidens will Continue, Dear Readers,
Marching through this Hallway, 
and once I have added all the details....
and all the walls are in place,
They will be hardly visible at all!
But I will know they are there!