Showing posts with label Gypsy Wagon Decoration. Show all posts

Friday, June 30, 2023

Roses And Thorns...


Gypsy Wagon Sleeping Nook... Take Two...

Some of you, Dear Readers, might recall the Gypsy Wagons and might, with reason, wonder if they would ever get worked on again, let alone completed. And it would even be reasonable to think that they are so small... what could possibly take so long to finish them? (Yes, "them"; there are two wagons, each with a distinctive decor and history.) And both incomplete! The above picture shows the second wagon, which quickly took on some extra characteristics that made it a bit more complicated (and more interesting!) with its body mostly taken apart. You know almost nothing is glued together yet! This wagon had to have an extra window in the rear wall, and also an entire "menagerie" built onto the back wall. For the goats and chickens, of course!

And these menagerie compartments were desperately dark 
and in need of some "airier" coloring.
So I started with the primer on the interiors.


And of course, while waiting for the primer to dry,
 I decided that now might be the right time to paint 
the underside of the sleeping compartment too!


The sleeping compartment at the rear of the wagons
 is high enough to allow for another sleeping area beneath it,
 like a bunk bed, but enclosed like the upper one.
It is darker and lower, and I assume
 it would be the sleeping space for children.
You might remember the lower area of the first gypsy wagon,
 painted a long time ago (look it up in the blog list at right)
 and you might remember that the Gypsy child, Rowena,
 grew up alone with her father in that wagon.
 But when she became a young woman, 
she had to go live in her Grandmother's wagon instead.
This would now be her sleeping space,
 no longer a child, but not yet grown up.
In the above picture you can see the walls
 were painted pale green a long time ago.
It only remained to decorate them.


Of course, it begins with a soft green grass...
 
And rose bushes.... 
for the sweetness of love...
 

And a white rabbit...
(because Time is passing...)
 

Or three....
(because, Time.... you know, does not stand still)
 

And we mustn't forget the thorns!
Because Life is no longer so simple...


Or the leaves....
To hide among...
 every bunny needs a place of refuge!
 

And surely we want to see what it looks like all together... 
(I apologize for the dark shot... 
a thunderstorm had rolled in...)


Here you can see the flash turned on...


Here you see the compartment wall also in place,
 with the upper and lower spaces and their doors open.


And lest we forget, the menagerie interiors
 have also been painted inside, a lovely sky blue.

But that is not all, Dear Readers, 
you must know that I can't leave a ceiling unpainted...
So the following morning I continued the roses..


onto the underside of the upper bed compartment.
(There is also a pull-out table section, but I painted it too!)


Here the platform is removed while I painted it.


Here you can see it from below with all the walls together, 
as if you are lying under the roses...

And because I was painting things.... 
I decided to (Finally!) finish the painting
 on the walls of the upper compartment too.
What was missing, you ask?
 

Well, really just a couple of owls!
Here I have under-painted the shapes.


Here the Saw-whet Owl is done
(I know, it is a too dark shot!)


And the Common Screech Owl too.

And then I had to sprinkle a few stars across the dark night sky...


And can we see it all together....


Of course, it becomes difficult to see 
and difficult to photograph...


But it is supposed to be the night sky!
And it is getting late again...
And I have been following white rabbits, Dear Readers,
 into thorns and roses...
and listening to the owls
 begin to call in the night sky!

Monday, July 2, 2018

Leaves and Other Little Details....


Looking Closer....

I thought it was Time, Dear Readers, that I experiment with making leaves for my Lilac bush(es) so that I could get a better idea of the work that lay before me for the Summer and Fall versions of my bush. (Remember I am planning to make a bush for each season...!) I have done very little in the way of flower making and plant kit assembling, but I have watched several other bloggers accomplish great things with the making of plants both large and small... so I have hope that I will succeed! Above you can see a sample of my second or third attempt at making a branch with lilac-looking leaves.  The lilac leaves are roughly heart shaped and have one prominent vein down the center of each leaf, with finer veins that are almost unnoticeable to the casual observer, spreading off of the main vein. Here, let me show you.....

This is from the lilac in my yard.... 
and the leaves are set in opposing pairs along the stem, 
every other pair turned at 90 degrees from the previous one... 
thus maximizing exposure to the sun!
For my mini leaves, I had experimented with ways
 of attaching the "hearts" to the stem...
 and decided that I must use wire in order to
 be able to control the position of the leaves along the stem

Maybe you can see the stem with the shorter wires being glued on here...?
I was not being careful about the pictures I was taking.....
 because I was just experimenting...
It is the same process as the "twigged branches"
 I was making for the shrubs to begin with... 
only many more twigs on each branch!
Then I attach the "heart" leaves to each twig.
Then I paint the leaves with my acrylic paints... 
hoping I am coming up with a color
 that is close to the lilac leaves in RL.....
 
Adding the veins down the center of the leaves...

Testing the look with the mini blossoms.....
(adding the crease to the leaves too...)

Then trying to compare the mini with the Real thing.....
My green is a bit too blue... 
but I think that is partly the lighting...
(it doesn't look blue at all indoors!)

Here is a closer shot... and the color even looks closer to the lilac color! 
Clearly, I will have to pursue the color equation more closely!
And how about seeing what it looks like on the mini shrub....?


I think it looks pretty sweet!...
And terribly lonely...!
Look at all those branches.... 
each one needing how many leafy twigs???
No, I have not done the math....
I am simply going to start making them....
 and keep on making them for as long as it takes!
(For two entire shrubs....!)
But the good news is that the leafy twig
 takes nowhere near as long to make as the blossoms do!
(Which really is a big relief!)

And while I was busy sporadically working on
 these leafy twig experiments, Dear Readers,
 I was also adding tiny details to other ongoing projects.
I can't tell you how many times I have cast my eyes
 on the porch of Hardwick Hall and
 noticed the incomplete trim at the base...

In particular the corner where those pesky tabs show....
(I apologize for the dark pictures... 
it has be excruciatingly hot here this weekend (97 degrees F)
 and I have my blinds closed....)

And the view along the front where the tab for the construction shows.....
It was two years ago already that I added
 the lattice panels to the porch... 
(which led me on an interesting migration 
through brick-making to the Folly landscape
 and the Glass House construction...!)
And all along I knew I needed to finish the trim on the porch!
 I even painted a suitable piece of wood trim ages ago!

It was such a simple task to complete it!

And the other pieces too....
So Simple... and so satisfying to have it done!

Now all I need to do is finish the steps... 
and the railings..... and the landscaping....
and we won't even look at the list of what still needs doing here!
 
Because I was also adding a little bit of detail to the Gypsy Wagon...


I wanted to paint the bars of the cages before I attached them...
 but I couldn't decide on the color.
As you can imagine, when these wagons are finished,
 they will have quite a lot of colorful painted trims... 
and I needed to be sure of the colors I planned to use.
I have painted them a lovely sky blue....
 but the lighting in this picture doesn't show that well...
I will have to get better pictures.

And lest you think I am forgetting the lilac blossoms....

I completed blossom number fifteen!

And here it is with all the others...
Maybe I am a quarter of the way through making the blossoms....?
We shall see!

So that is what I accomplished this weekend, Dear Readers,
Lots of looking closer at the Details of the Leaves 
Along with several other little things...
I do Love those details!

.

Monday, June 4, 2018

Scattered....


Where Does The Time Go....?

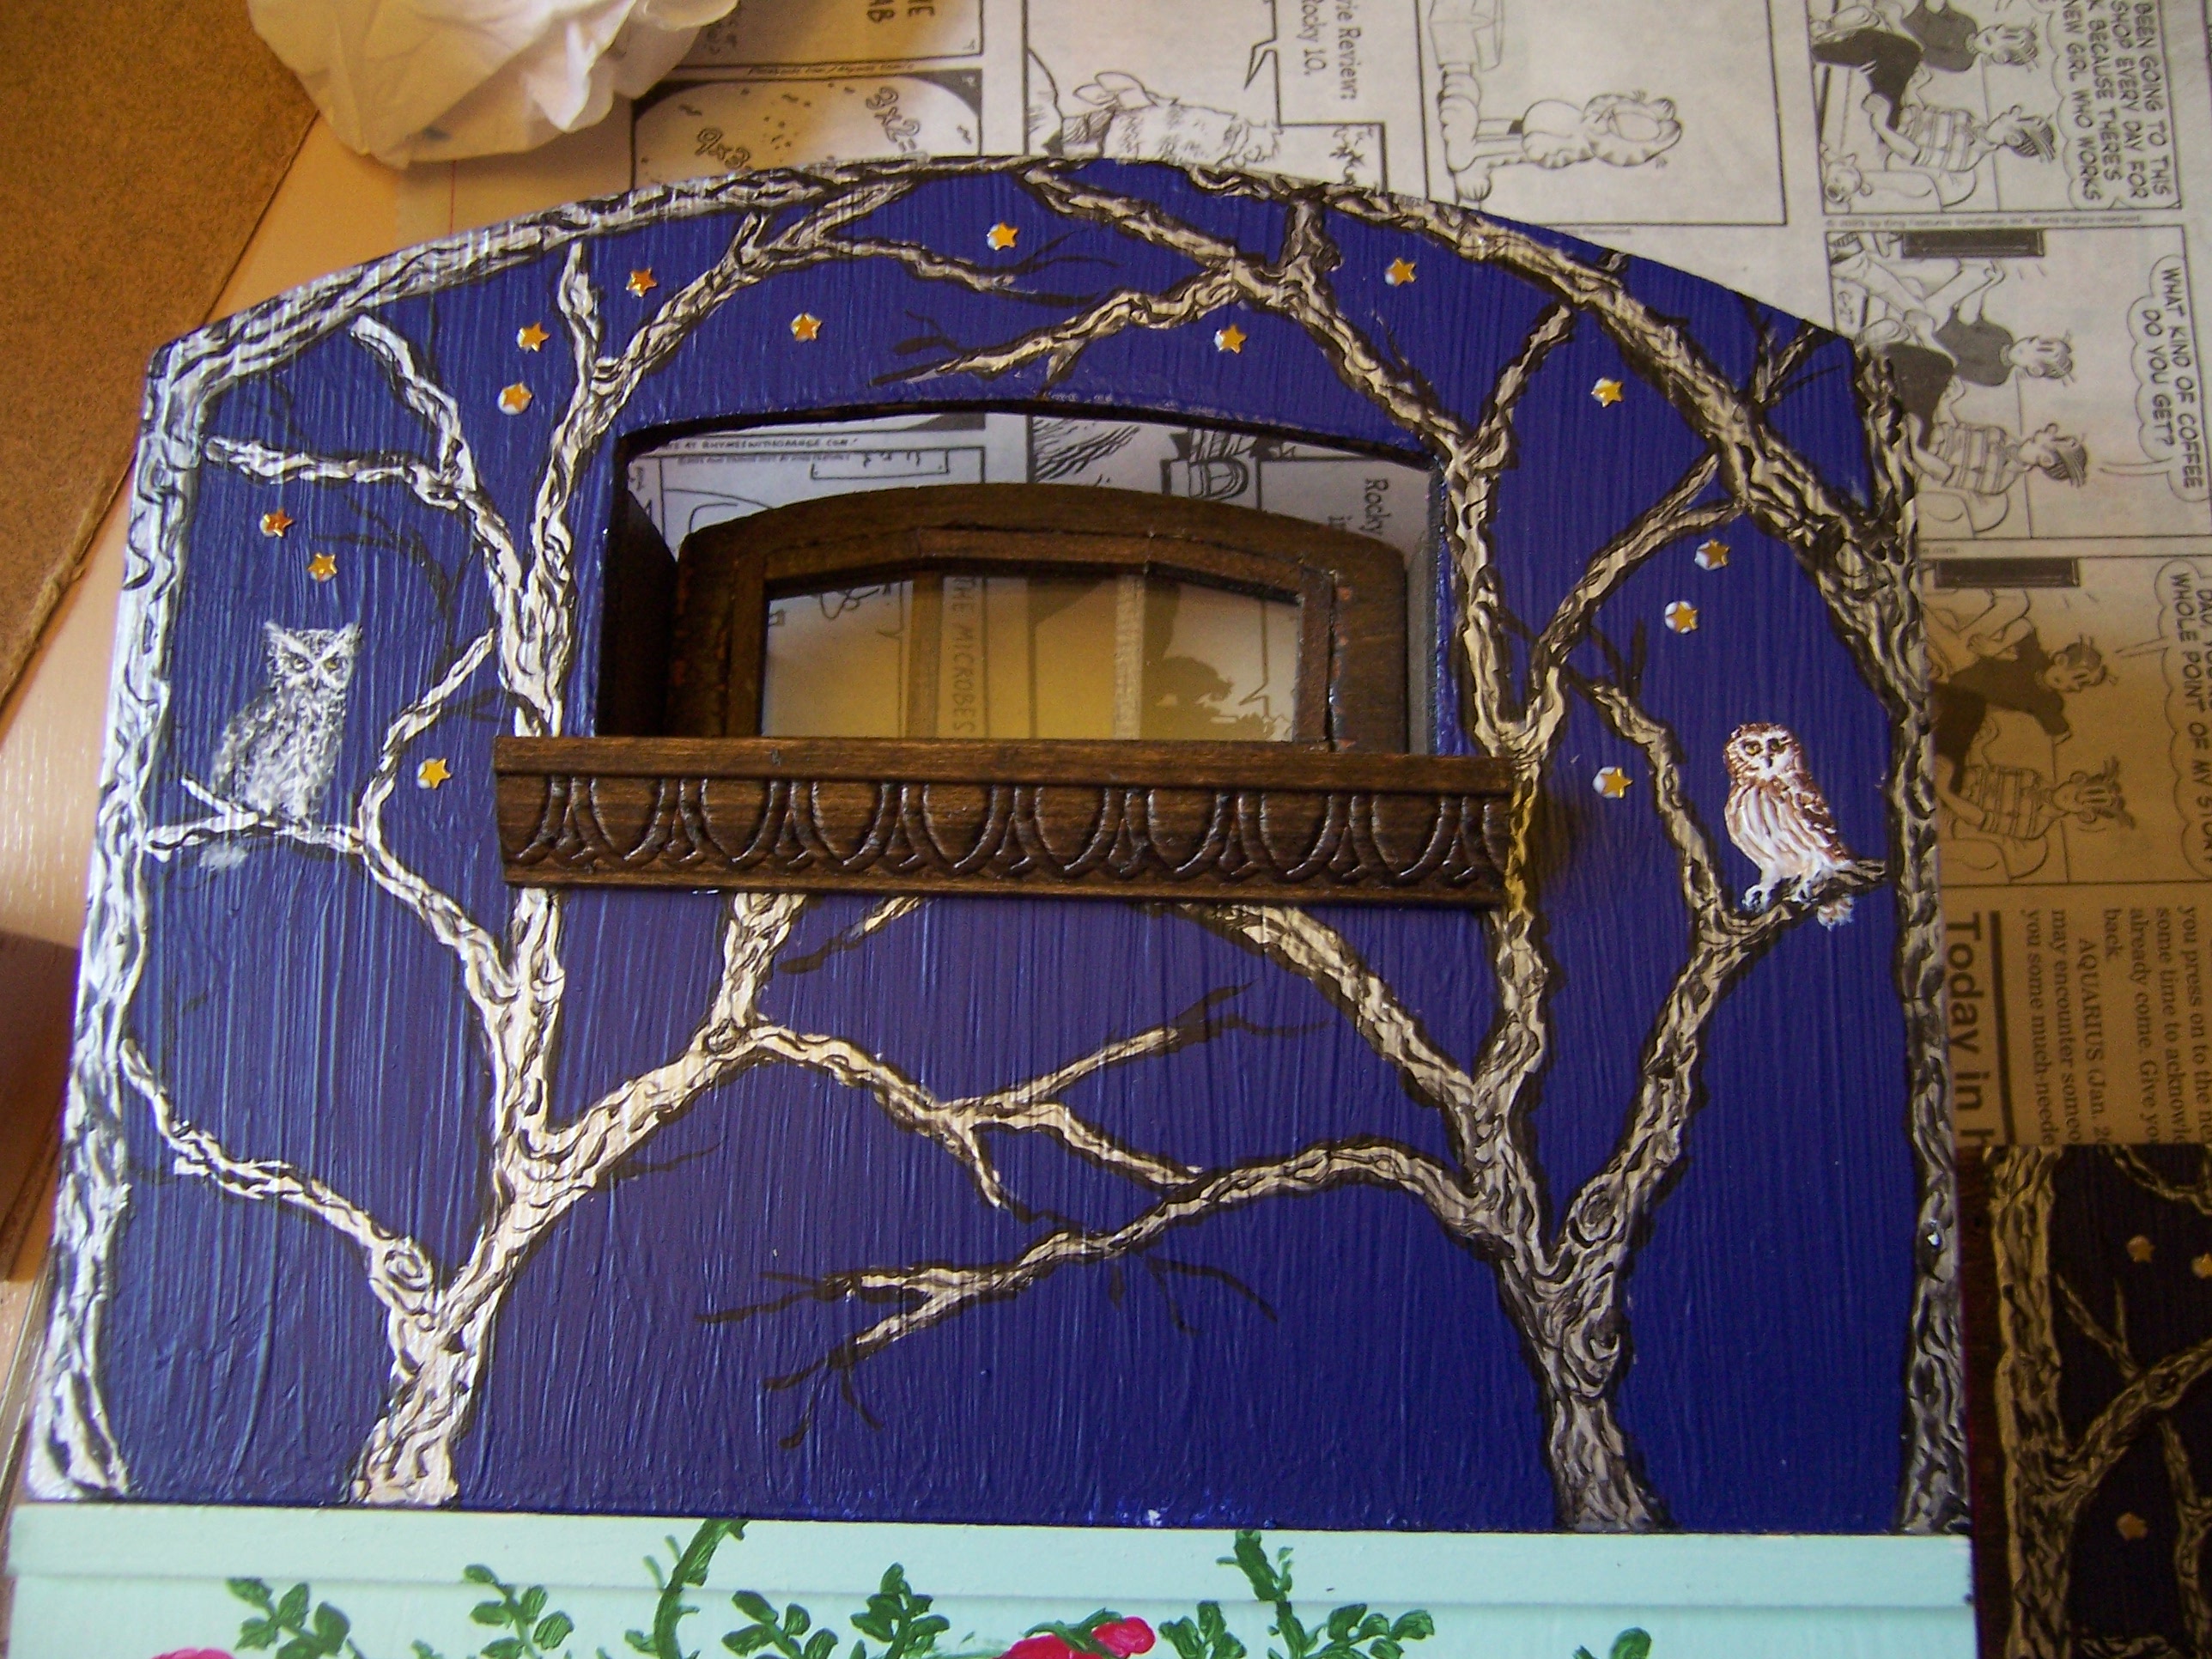
I had a Vacation week, Dear Readers, but when it begins with a Three Day Holiday Weekend, then somehow the rest of the Vacation feels a little shorter than usual! But nonetheless, it allowed me to continue right away with the painting of the doors and the fourth wall of the little sleeping compartment in the Gypsy Wagon. Above you can see the finished painting as it would be viewed from inside the compartment (if there were light enough to see it!) with the doors closed. One more hen and one more bunny have joined the others in the Meadow.

And here is the view from the other side, with the doors open.
But perhaps you want to see it in the wagon....

With a spotlight shining in
 so you can see it on this dark rainy day....!

And a little farther back....
 the bunny is clearly running for shelter
 and the hen is flapping her wings....
But wouldn't you run for shelter
 if your Meadow was suddenly opened wide....?
And because it was still
 the beginning of my week of vacation, 
I decided to continue with
 the interiors of the Gypsy wagons.

Here I am starting on the second wagon interiors...
I have had to build a "painting box" 
to keep my new cat away from the painting
 which is done on my floor.....
 right in the middle of his play-space!
(Actually we've had him for months now
 but he is very very shy and is finally beginning to get friendly!)
So far Dusty has no respect for paint
 and likes to contribute hairs generously!


Here you can see the Fortune Teller's wagon
 will have a lovely pink interior space....
It is called "Hibiscus Petal".....

I love the way it looks with the
 dark brown trim and the raspberry exterior.....
(I know my lighting angle is poor...)

But the real thing I was trying to make some progress on
 with these wagons, Dear Readers,
 was the layout and furniture for the interiors....
As I am sure you can imagine,
 these wagons have to be carefully designed
 to fit everything in! 
And there are some traditionally accepted
 arrangements of the necessary features....
The stove tends to be on the left just inside the door,
 beyond it is the seating area for a table.
In this wagon the area for the stove is very narrow
 due to the placement of the windows.
There are two windows on each side of the wagon,
 one in the sleeping compartment and
 the other midway on the wall of the main area.

The "hearth" area will need to hold a stove
 and will need to have a tile surround
 to keep the hot stove from burning the walls!
I have a small selection of lovely tiles to use.... 
but needed to make the arrangement fit the tiny space.

(Sorry this picture is so dark... I wasn't paying attention
 to the lighting as I fiddled with the construction....)
 I am building a "brick" base for the stove to sit on....
 with an area under for storage of wood...

(Amazing the difference a sunny morning makes...!)
Here you can see my rough progress... 
there will be a cabinet under the window with a sink basin...
and the seat for the table will be right against the compartment wall... 
with a pull-out table tucked under the bed...
There was an amazing amount of cutting
 and sanding and fiddling and cutting again....
And thousands of falling over pieces.....
But I gradually got the basic design worked out... 

And had to adjust it all again to allow for the thickness
 of the cardboard which will hold the tiles.....

And trying to work out the tile arrangement... 
because I have not enough of two different tile patterns.... 
which combined are enough.....

Here I am just testing the tiles for basic size .....

And still wrestling with the design....
I have painted the cardboard white 
where the tiles will be glued...
 I am planning to cut them all apart, 
since there are already pieces cut apart, 
I think they should all be cut apart...
 but the space they fit in is very tight and
 I don't want to lose the lovely designs too much!

The stove base has been painted white with primer...
 I am going to have to add all sorts of layers
 a la Elizabeth of "Studio E" blog 
to make it look like stuccoed brick....!
(Must gather my courage and some materials...!)

Meanwhile, I have also been making
 the same structure for the other wagon....

And forgetting to take pictures of the duplicated efforts.....

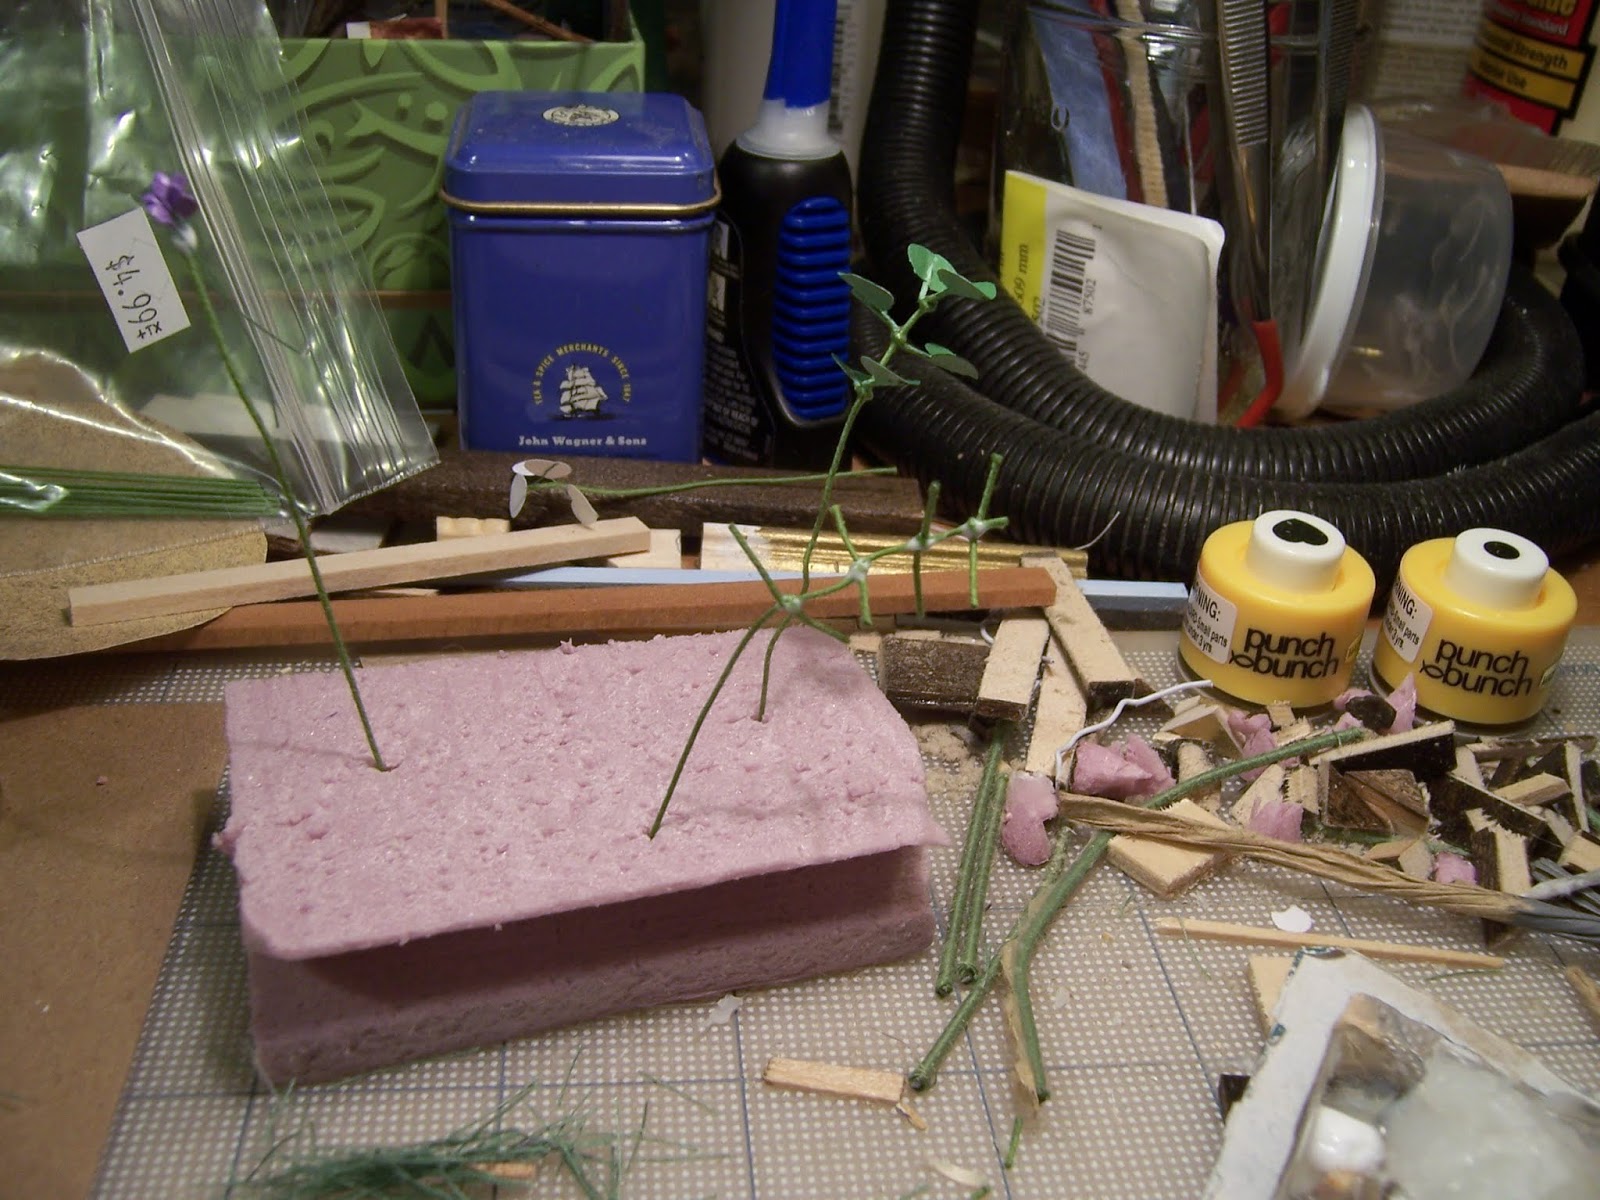
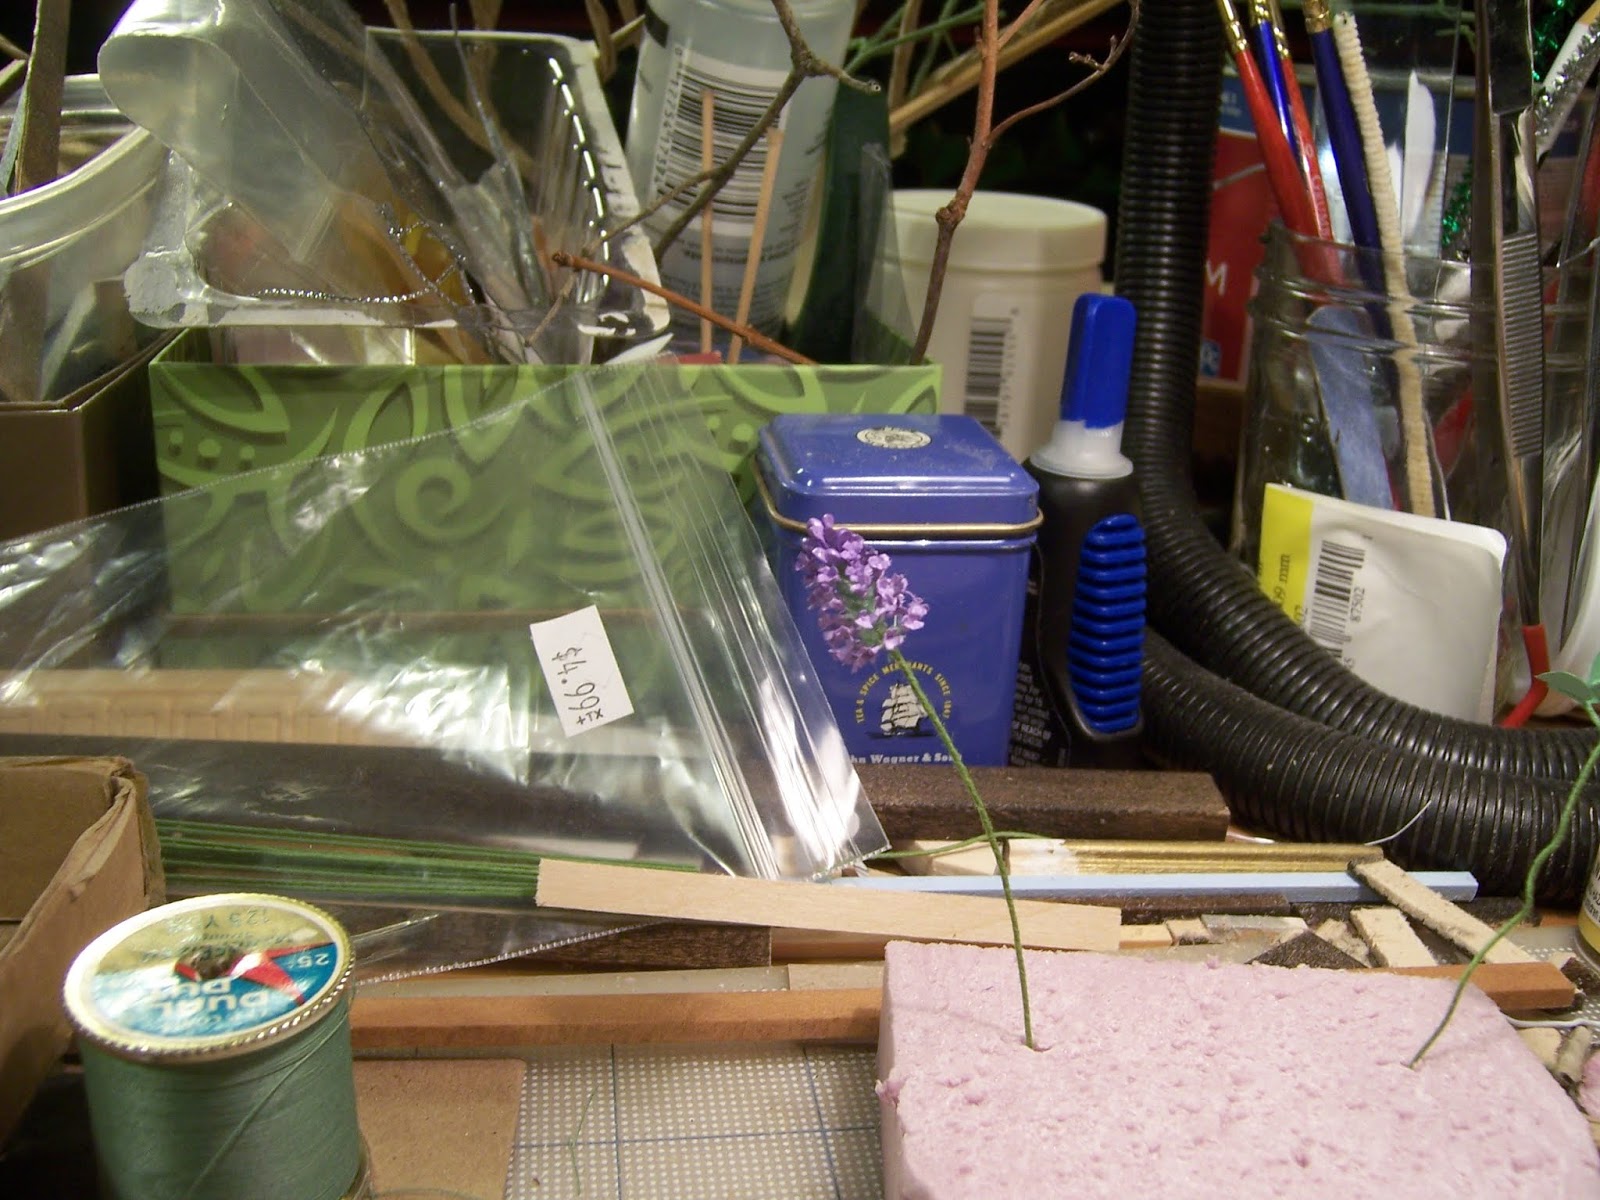
But here you can see my "work table" for these wagons.....
(Yes, I'm a little over-booked and have run out of work space....)

Because I also got all the branches added to the third lilac shrub....!

And added paint and tested the fit of the "cages" 
on the Gypsy Wagon addition...

Added a little more cream background to the petit-point stitching.....

(Did a whole lot of outdoors gardening in my RL Gardens....)
Oh, and went to the Sturbridge Miniatures Fair on Sunday....!!!
(But that will need to wait for another post...!)
 And yes, I did complete Lilac blossom number Eleven...!

And here they are all in the box!


So it was a busy week Dear Readers, 
Filled with minis and much more...
But I just don't know where the Time goes!
And I still feel a bit Scattered.... 
(Which I'm sure you understand, 
has nothing to do with too many projects!)