Showing posts with label Tiny Books. Show all posts

Thursday, April 2, 2026

The Little Picture....


Bows, Boxes Books and Bags....

I Confess, Dear Readers, I have been battling the urge to jump ship from this project and hurry off to the Greater already underway visions that haunt me at night. Specifically, the Tree House and the Castle have been clamoring for my attention. But before I can, in good conscience, put this one aside, I think I need to get it done to a "certain point", namely leaveable without undue risk to the already begun structure! The most important part is completing the Roof (that open to the air section that the kit specifies, but that I believe needs to be covered with the plastic I used on the windows)... but also there is the completion of the "Furniture" for the interior. On the side wall away from the little studio there is a Wall Rack filled with small store items. It holds a little of everything.... printed gift cards, small decorative items, gift boxes, books, boxed kits... even a little Bakery Shop!... (even though it is just a printed on paper structure). And there are certain pieces of wall art... posters and pamphlets that adorn nearly every square inch of space and are amazing in their printed details! You can see this little rack in the above picture with the first Greeting card in its spot. The only change I made in this item was to swap out the thin metal rods for sturdier wooden dowels. The metal rods were too flexible and a bit smaller than the holes at the sides, and I worried they would fall out too easily in the long run. I found a very very thin dowel in my stash.... exactly the diameter of the holes!

 
It seemed it would not take long to assemble
 the tiny items for this rack.....
 some of which you can see above.
 They are a selection of little items you can buy,
 attached to cards. 

 
And a "tea cup" that you make from a grommet glued
 to a decorative jewelry finding for the saucer,
 with a tiny bit of wire glued on for the handle!
 See it there? On top of it's box? 
It really is so clever!

 
Here you can see some of the paper bits glued in place... 
the little Bakery Shop, and more greeting cards.


Of course, at some point I realized that getting the Wall Rack
 glued to the wall required that I add the curtains first!
 "What curtains...?" I hear you ask.
 Those very theatrical red velvet draped swags 
adorning the ceiling divider at the top of the kit..... 
I wasn't even sure I wanted to use them! 
But I had started to assemble them way back
 at the beginning of building the kit.... 
at least so far as to glue the patterns to the back
 of the piece of velvet and cut them out. 
I thought I better at least give them a test
 to see how they looked in place. 
The side pieces are in place above.
 I think the purpose is mostly to hide the 
ugly wiring you can see at the top of the divider. 
But since I hadn't come up with any 
"flash of brilliance better idea", 
I decided to go with the kit recommendations.

 
Here it is with the rest of the swaggy part attached. 
It does, in a way, define the store part of the shop. 
I am sure I will grow fond of it as time goes by.

 
Having positioned the curtains, it only remained to add the 
wall posters to this end wall before gluing the rack in place. 
Some of the art-work for these posters is really beautiful! 
Then it just remained to stock the rest of the shelves... 
including some of the Books I had assembled ages ago...

 
 Like most of the books for this kit,
 they are printed covers glued to blocks of wood. 
I added the detail of painting the page ends white
 as I couldn't "see" them as books with dark brown edges! 
These four are for the shop wall rack... 
and include a couple of "OZ" books in the mix.

 
Here is the rack nearly filled..... 
but it needs the gift boxes.... and they need ribbon bows.... 
And I have been dreading the ribbon bows!

 
I finally convinced myself, Dear Readers, 
to just pull out the ribbon and give it a try! 
(The first couple tries were a disaster... 
but could be easily untied to try again!)
 Eventually I got several successful enough,
 almost small enough bows!
 You can see two on the little studio chair.
 (I had almost decided not to bother with 
bows for this chair... but they are cute! 
They are far more necessary as closures for the gift boxes....

Like so!
 
 
And one for the hanging wall art. 
(A lovely picture of Sleeping Beauty and 
another with a beautiful castle in the countryside!) 
The whole project requires five green and one blue bows... 
what was I afraid of...?
(Well, I did have to use my tweezers and add a drop of glue....)
 
 
Here are more little pictures... 
The Three Bears Family out for a stroll... 
and a Tiny framed print of a little girl 
playing with her dollhouse!
 
So, having mastered the bows.... 
I forged ahead with gluing them all in place....

 
Most of the pictures needed to hang on the front opening wall. 
More poster art for the door and the left side of the wall.... 
I changed the positions a little bit all around 
and then there were only a few more small items
 needed to complete those top shelves.

 
Another little all paper fold-up cottage. 
This is the front view....

 
And this is the back view..... 
Can you see the lady sewing in the window....? 
And the puppy looking out the attic window...? 
(Or is it a little girl...?) 
Which side would you have facing out
 when you glued it to the shelf...?
 (The kit shows the front door only....)

 
I did Not follow the instructions! 
That puppy/girl had to see out... 
and the lady sewing by the window 
is one of my personal best feelings in the world...!
 
 
 Oh, and I finally added the real feather 
to the ink pot on the window sill....
(My winter coat occasionally sheds tiny feathers
of the down filling.... I looked down this morning 
and saw this feather clinging to my pants leg!) 

It seems I wandered all over the kit, Dear Readers, 
and I made good progress, but I didn't finish the roof! 
I was too busy with all those Bows, Boxes, Books and Bags!

Wednesday, June 13, 2018

Are You Going To The Sturbridge Fair.....


Porcelain, Books, Radiators and Toys......

The Sturbridge Miniatures Fair was held on the first Sunday in June, Dear Readers, which was also the final day of my vacation week, and it really was the icing on the cake of a wonderful vacation. It did seem as though it was a little emptier than usual, of both vendors and buyers, which could be a sad result of the ease of internet marketing. I do enjoy being able to see the items I am buying up close and for real, and enjoy the exchanges with the crafts-people and artisans who give so much to this Miniature World! This Fair happens only once a year and I count myself fortunate that it is only a little over an hours drive from where I live. And because my RL world recently has been rather full of visiting relatives and no time for minis, I will share with you some of the Treasures I found at the Fair. The china dishes in the above picture are old and well used, but I think that makes them perfect for the Fortune Teller's Gypsy Wagon! I found quite a few Treasures in the bins of sellers who were clearing out inherited collections.

Like this very Tiny Nativity!
(Because I surely don't already have enough Nativities!)

And a charming basket filled with skeins of yarns.....
 
And a whole selection of metal wares..... 
sconces, old cutlery, a bed warming pan, 
candlestick and candle snuffer, 
and a lovely copper grater!
And then there were the usual (and not so usual) 
commercially available pieces....

An assortment of books...
 most with empty pages but evocative titles.....

And some with a definite destination.....

If I ever get to start building my "Someday" Santa's Workshop......
(No.... don't cringe....!)

And some with gorgeous craftsmanship.....

And fully illustrated pages.....

The Book of Myths and Enchantment Tales......

And the Edmund DuLac Fairy Book.....!
These last two were purchased from
"Art To Play With Hitty"...
a showcase for Hitty artisans.
(I did not know about Hitty dolls, but they seem to be
 carved wooden jointed dolls much like my own Penny Wooden!)

And of course, there were dolls.....

A lovely "antique style" china doll... (a doll's doll)...... 
dressed as if from the mid nineteenth century, 
made by Ethel Hicks.
She is just under two inches tall,
 so she would be a large doll, and is jointed porcelain...

And can be convinced to sit in a chair... sort of... 
those petticoats do get in the way!

Also by Ethel Hicks there were two "Fashion Dolls"
 which caught my eye and had to come home with me.....

Meant to resemble Barbie dolls... 
these are not jointed and are 1 and 1/2 inches tall, porcelain beauties.

The detail work on them is very fine,
 and I'm afraid my photos do not do them justice!

And the most remarkable polymer clay food you will ever see anywhere....
made by Twin Heart (www.twinheart.com)

Every item is realistic in every detail.... 
the cabbages are layered and can be cut open and "shredded".....!
(I will have to practice carefully when I open them!)

The orange can be peeled and the sections separate inside....!
The bagels and breads can be sliced and are textured inside!

This tomato is cut in half.... 
but can be further sliced if desired...!

And the broken egg!!!
What can I say?
It was difficult to choose from her selection.... 
next year I will buy more!

Of course there were the run-of-the-mill regular sorts of kits too....

Some old House of Miniatures kits....

A 1/144th scale Pub kit by Templewood Miniatures....
 and a kit for a Victorian parlor table... 
And I just could Not resist the "Ravenwood"

Robin Betterley's Haunted House kit in 1/144th scale!
(It seems I have No impulse control when it comes to her kits!)
And at the very end, Dear Readers,
 when I thought I had found everything I could ever need... 
I remembered that I had hoped to find
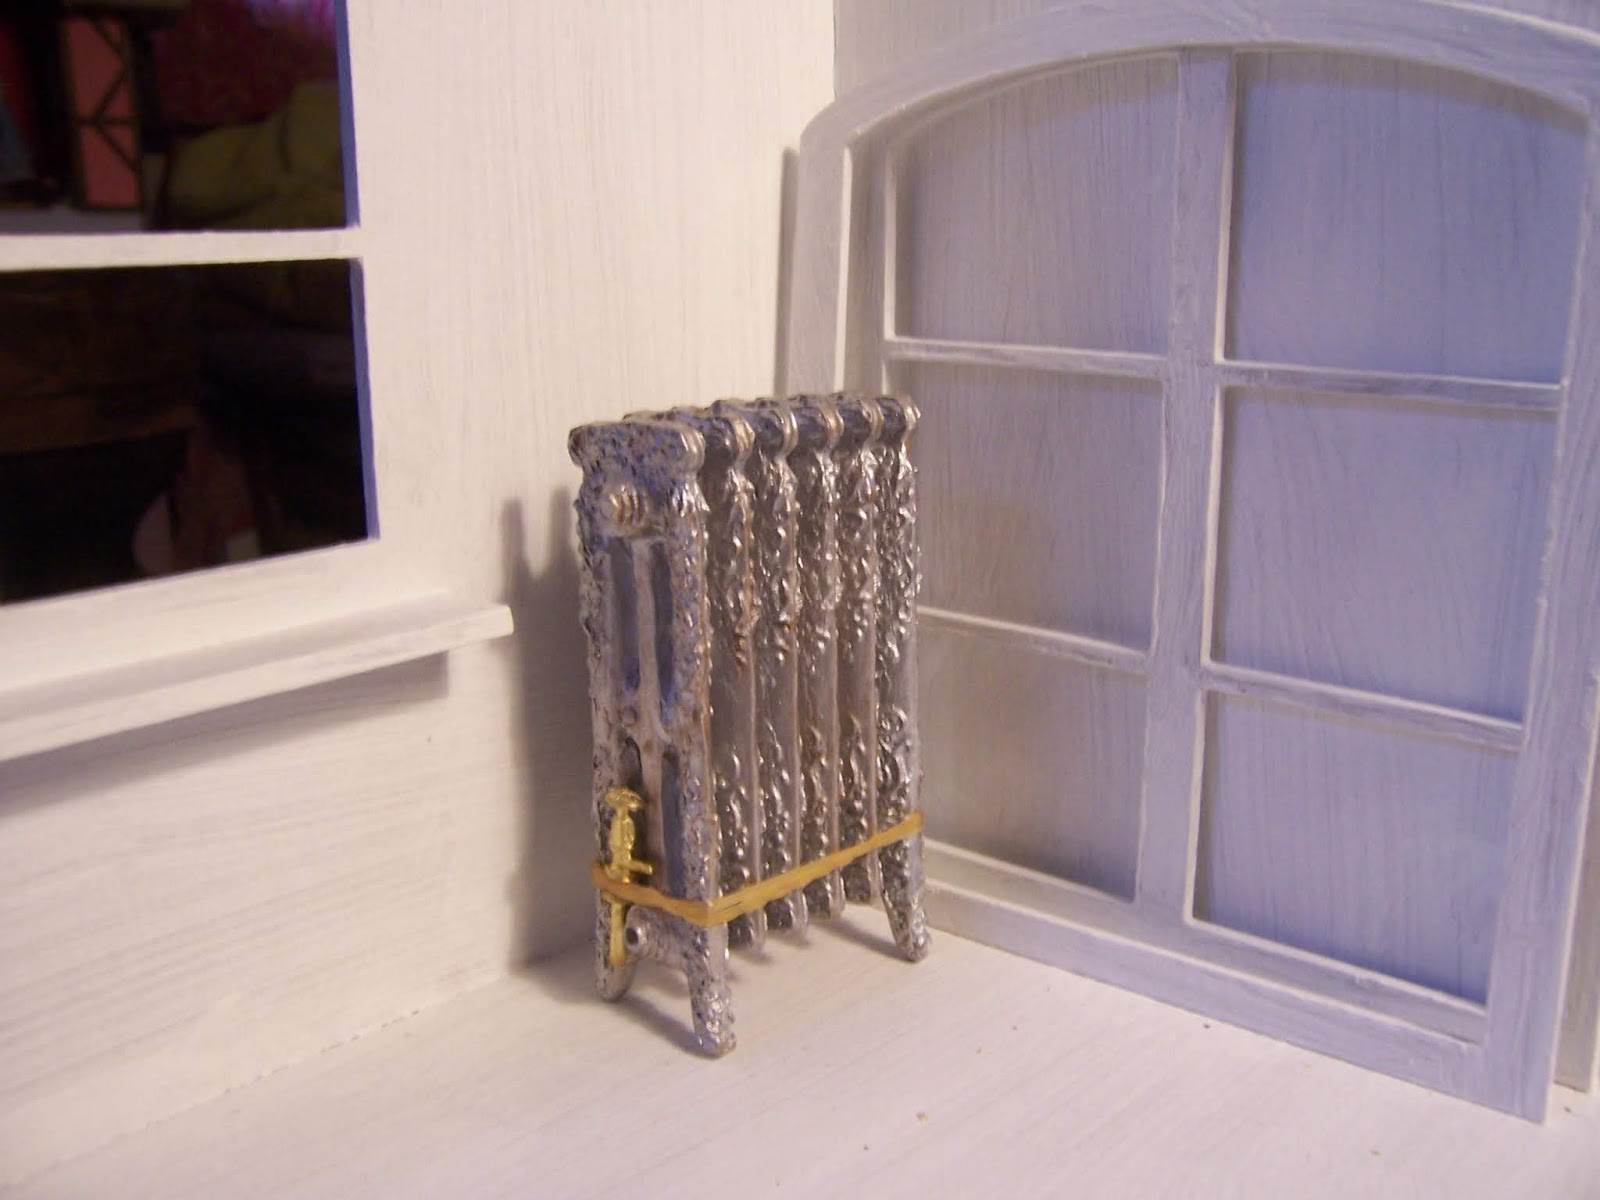
 a couple of those old fashioned radiators (made of resin)

because the Lovely Old Dollhouse is still needing a few...
and I found them among the supplies offered by Aminithing!

And I'm sorry to say I just can't remember 
which vendor sold the tiniest set of "jacks" you ever saw!
I know, my picture does not do them justice....
 I will have to get them out and play a game of Jacks...
 I played a lot when I was young!

Oh, and I almost forgot to show you the twelfth Lilac blossom....!

Lest you think I had slacked off....

In spite of all my last minute guests... 
I completed the twelfth blossom!
( I think I've got a system!)

So Dear Readers, I went to the Sturbridge Fair....
 And I found Porcelain, Books, Radiators and Toys...
And Kits and Food and Trinkets too.....
And I am so glad I could be there!

Tuesday, April 5, 2016

How Small Is Small.....?


Oh, Those Details....!

Believe it or Not, Dear Readers, It looked like that outside my windows all day yesterday... so I stayed home and finished a few small details on some of my many projects, one of which is the "Tree of Life" pillow on the sofa in the above picture! It was a gloomy day and I was feeling a bit "under the weather", so I did not get much done, but fortunately I have all sorts of details to show you from the past week. As you can probably imagine, once I had started on the Tiny Roombox version of The Folly Parlor, it was hard to put it down! What you saw last week was just the merest beginnings! The tiny people were high on my list of things to do.... so I started right in on the First Lady.... (Perhaps her name is "Eve"?)..... she needed to be painted....

So Much "personality" is added once there is a face!
But can you even see her?
(Please remember to poke the pictures for a bigger view!)

And for modesty's sake, I have added a lace petticoat....
(please pretend that it hides anything at all!)
 
And then because I always work on several things at once, 
while glue and paint are drying, 
I also started on the details for the fireplace....

Because a fireplace Must have logs and flames....

And I also painted the surround to resemble black marble, 
like the one in The Folly Parlor!

And I started to make a tiny mirror... 
by painting a metal jewelry chain link gold.....
And gluing on a piece of reflective mylar 
(cut from fancy glittery wrapping paper!)...

But Eve needed some hair, 
and I was having a hard time figuring out how to make it!

My first attempt did not work out, so I pulled it off and started again....
You can see here I have knotted the end of a piece of brown sewing thread....
and I am gluing the knot to the top of her head to form a "bun"....
but I had to be patient and let the glue dry all night and all day....

Before I could add more glue and carefully wrap the thread around her head....

When it was wrapped far enough and dry enough, 
I cut off the tail end of the thread!
(She may not be Perfect.... but she is the First Lady!)
 
The next Tiny little detail that gave me fits was the andirons for the fire!
I kept thinking I needed to use beads... but none were small enough!
Eventually I tried just twisting the finest brass jewelry wire I have....

They are a tiny bit large.... but they work!
You can still see the glue drying in this shot!

And then the Roombox itself Dear Readers, 
still lacked all sorts of architecture....
starting with the crown molding trim.....

 It is just painted cardboard... cut very small....
with gold painted details...

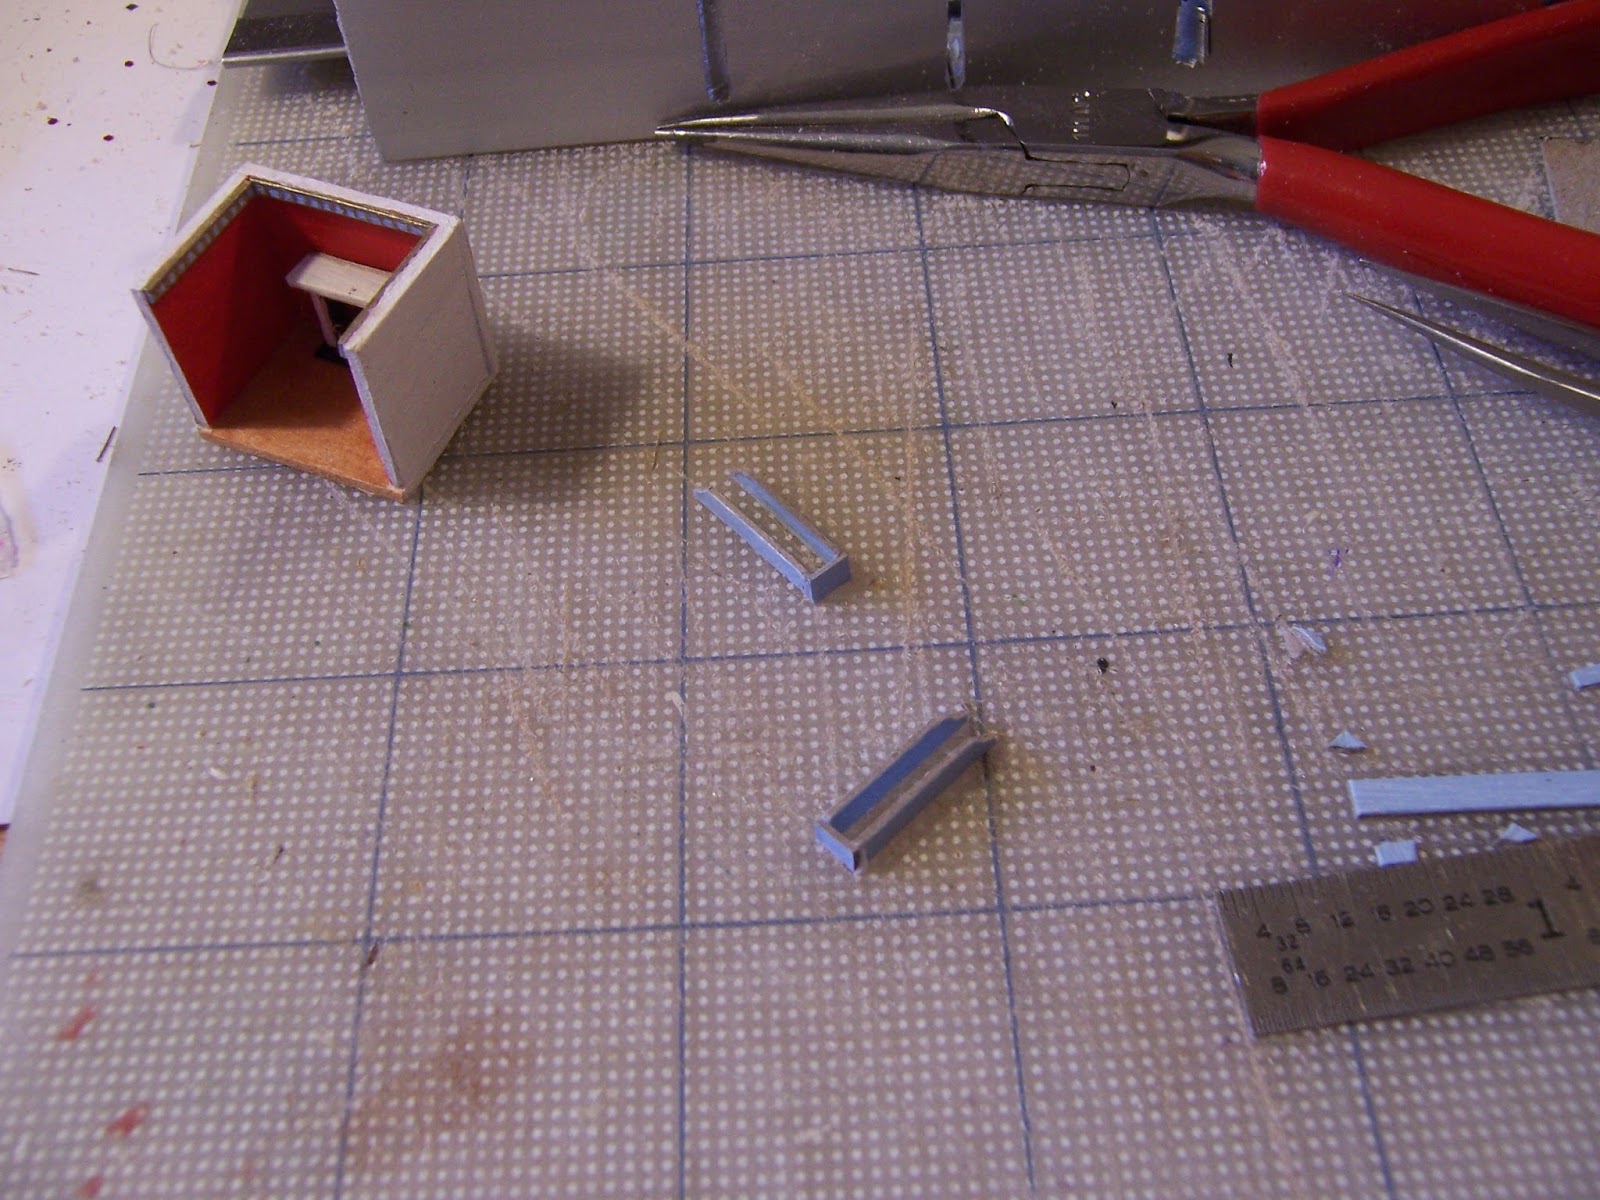
And the bookshelves that flank the fireplace....

Again, just painted cardboard.....

The shelf widths are just 3/32nds of an inch!
And the tiny mirror....

(I "pinched" the jewelry piece a little to make it oval instead of round.....)

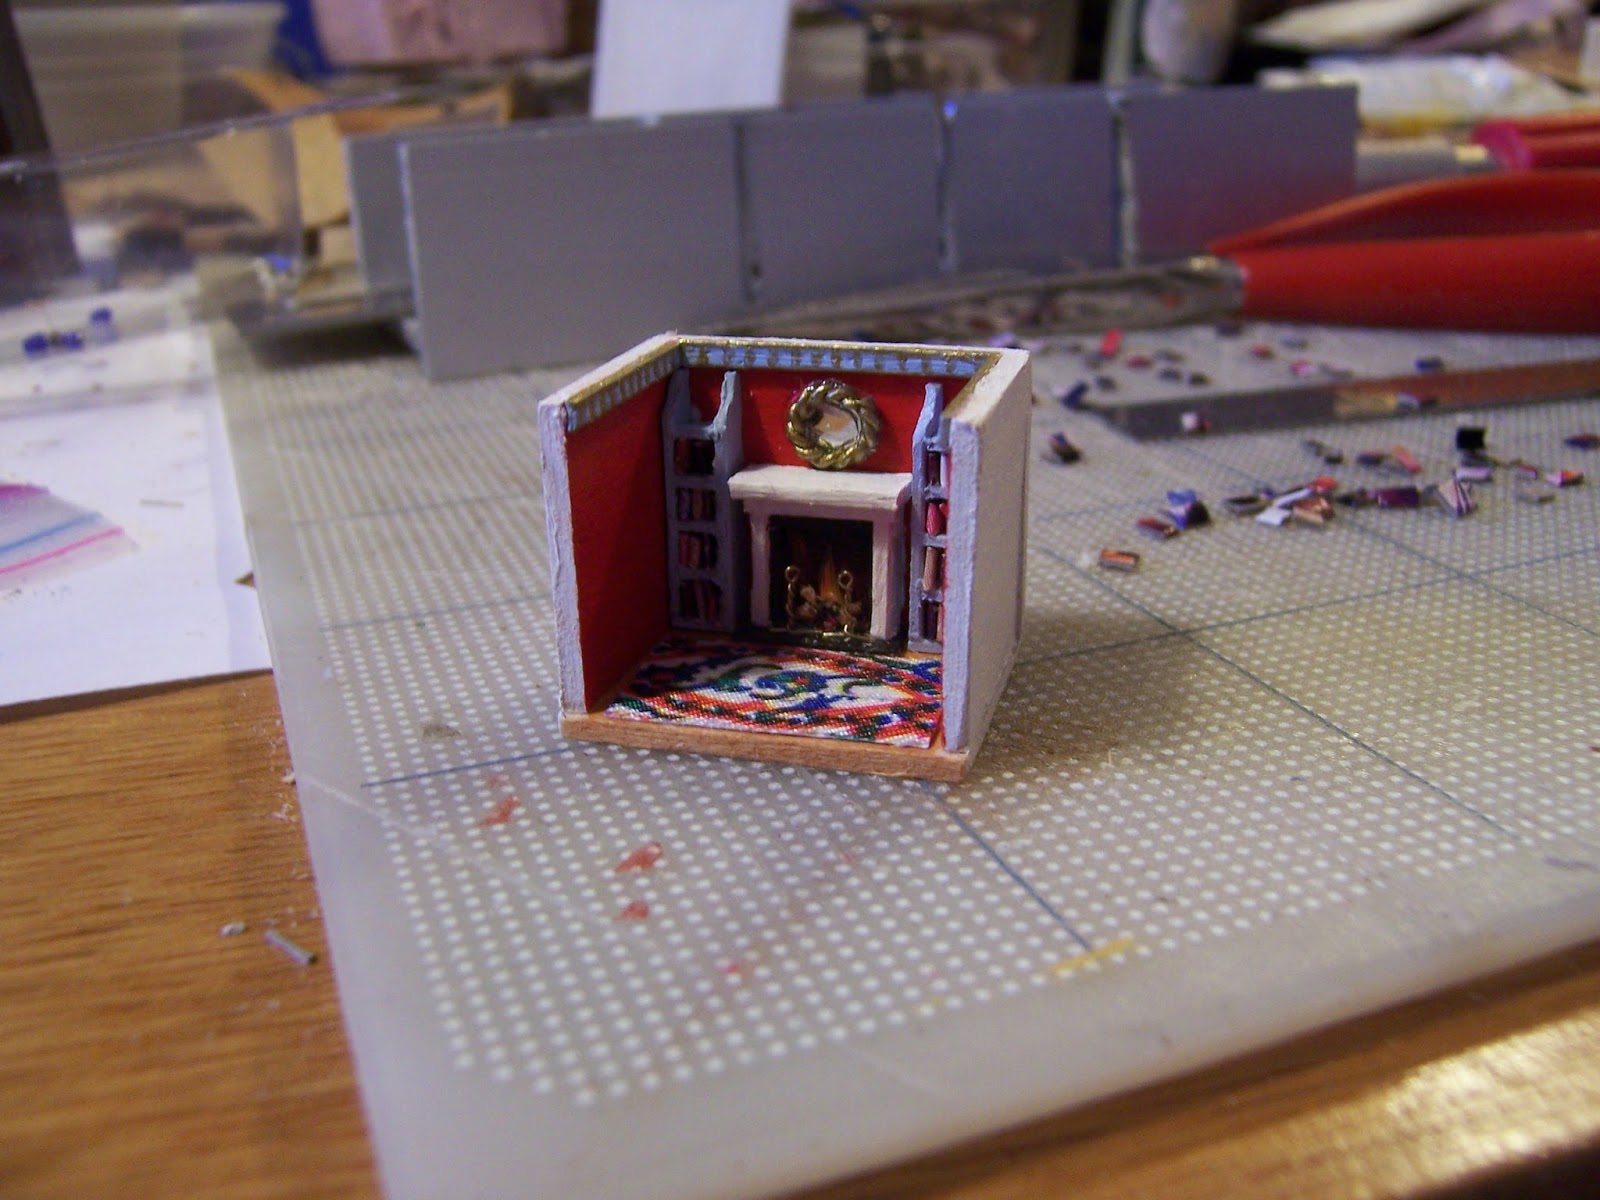
And we must test it all for fit.....

It is starting to look like The Folly Parlor!
(But it is still missing a few small details.....)

Like the ceramics on the mantelpiece.....

Will beads work..... 
if I glue them together and paint them......?
And what about books???
We Must have Books!
 
I cut strips of paper from magazines
 that had interesting color patterns on them...
and glued them around a piece of cardboard .....
cut it into a narrow strip, then sliced it to tiny tiny pieces....
Most of these "books" are too large to fit in the shelves!
But I found enough small ones.....

To fill the shelves... which don't hold many books
 even in The Folly Parlor itself!

Can we even see the books on those shelves???
How about with the ceramics on the mantel....?


(The Folly mantel has even more....)
 
Another ceramic vase and a book on the mantel.....
(and a couple of "vases" on the top shelves of the bookcases too!)
It is Not perfect, Dear Readers... 
the details of the closeup photos 
reveal all the flaws in the painting
 and the rough edges of the bookcases....
 but it is starting to look a lot like The Folly Parlor!

Of course, it is late now, 
and really difficult to get a well lit and in focus picture!

But maybe you want to see it in the bookshelf of The Folly?

Or how about an excruciatingly revealing close-up....?
 
Yes, Dear Readers, it is a bit rough around the edges....
And of course, there are still several missing details to be completed...!
And in order to make those little details..
I keep having to ask just how small is "Small"?

Oh, and did you want to see the "small" snowfall we had...?

Almost five inches fell!
(Not very small at all!)