Showing posts with label Tree House Bedroom. Show all posts

Monday, December 29, 2025

The Smallest.....


 Pagoda Bed...

Well, I don't know about you, Dear Readers, but I could not possibly fail to Try to make a tiny version of that Amazing (if I do say so myself) elaborate Pagoda Bed that I had made for the Tree House Bedroom all those years ago! Do you Remember it? With the striped mattress and the green velveteen blanket (made from a scrap of cloth from a bridesmaid dress I wore as a child!) and those hand embroidered silk bed curtains that took me a couple of years to complete, and the Pagoda Canopy? You will be glad to know that I had gained some confidence in methods for working in this small a scale... (btw I did the math and it is approximately 1/596th scale or a12th of 1/48th scale!) and so I set forth constructing the bedframe from cardboard (approx. 1/8th inch square) and four posts made from the finest florist wire in my stash (I think it is 36gauge cloth wrapped wire). You can see the beginnings above... gluing the posts one at a time to the cardboard, which I had notched at each corner to hold the wire better. Even the tiniest glue blobs are large at this scale and the more surface they connect with the stronger the join will be. I think the posts are a hair over 1/8th inch tall... 'cause it is hard to measure this small!

 
Here you can see all four posts are glued on... 
and the bed sits fairly level too! 
One of the most challenging parts of working at this scale 
is holding onto the parts as you are working on them!

 
Then I added the head rail.
 It might have been easier if I had tried with cardboard... 
but either way cutting the size just right to fit between the bedposts
 and then to glue it in place between the posts at the right level....!!! 
Harder than it looks!
 But I got it done after several tries where
 the wire "pinged" off into somewheresville... 
never to be seen again! 
But so far so good!

 
Then it got the necessary black paint...

 
Believe me I had to search around a bit to find
 a piece of that green velveteen
 that I had used for the original bed...
(such sentimental attachment...!...)
 and it was a bit challenging to cut a piece
 only 1/8th inch square... but I managed it...

 
And glued it to the bedstead.... 
instant mattress and blanket!
 And Oh so Satisfying to see!
 Real velveteen on this tiny bed!
 (I apologize for the less than perfect photos... 
I was intent on making parts 
and barely remembered to take pictures, 
and it is so hard to make the camera focus on the right items!)

 
And here you can see it with the "pillows" too! 
(I cheated a bit... they are cardstock
 cut to about 1/16th inch long and glued in place.)
 
And then came the real challenge....
 Could I make a"Pagoda" top for this scale?? 
I cut some tiny triangles from paper with the 
base the same as the length of each side
 and the "triangle" taller than the width of the bed
 (and neglected to take any pictures)
 And then I glued each triangle along
 the side of the cardstock base (the same size as the bed)
 which was rather tricky! 
But they "smushed" together just perfectly,
 the glue on the base basically filled the middle 
of the Pagoda and held it all together!

 
Then I glued it to the bedframe! 
Oh my! That was harrowing! 
But it worked!

 
Maybe this is a better angle to see it from?

 
And then it needed to be painted black.... 

 
Isn't this the most adorable little bed??? 
We have to test it in the Nano house....

 
Where we run into the same problem I did with the Original bed... 
I will have to adjust the ceiling
 to accommodate the bed's height!
 A Dome anyone???
 
But this is not finished, Dear Readers!
 Remember those embroidered curtains I mentioned?

 
Well, you know I had to give them a try!
 This is the same silk I used on the original curtains, 
and no I am not going to sew them! 
But I will try to paint a design that resembles the originals....

 
 I wanted to take advantage of the "fringed" edge 
the same way I did with the originals... 
so I painted as small as I could.... 
as close to the fringe as I could... 

 
Which gives me enough to cut in two, 
one curtain for each side of course!

 
Like This! 
Oh Heavens! 
I think it is almost there!

 
Just a little bit of gold glitter detail is needed...! 
There at the base of the Pagoda Canopy... 
 will this do the job?

 
Like This? 
Is it really ready? 
Shall we give it the ultimate test....?

 
A comparison with the Original...? 
Can you see it in there... on the Pagoda Bed itself?

 
How about now? 
Can you see it now? 
Is it good enough?
Oh, my Word, 
I love this tiny bed so much!

 
And of course, we have to see it in The Nano House... 
so challenging to get the lighting and the angle right! 
But, yes, I might have to "dome" the ceiling just a tiny bit
 just as I had to for the Tree House Bedroom!
 
 But Oh Heavens, Dear Readers, 
Is that the Smallest 
Pagoda Bed 
Ever?!


Monday, November 12, 2018

Revisiting......


More Stems and Twigs.....

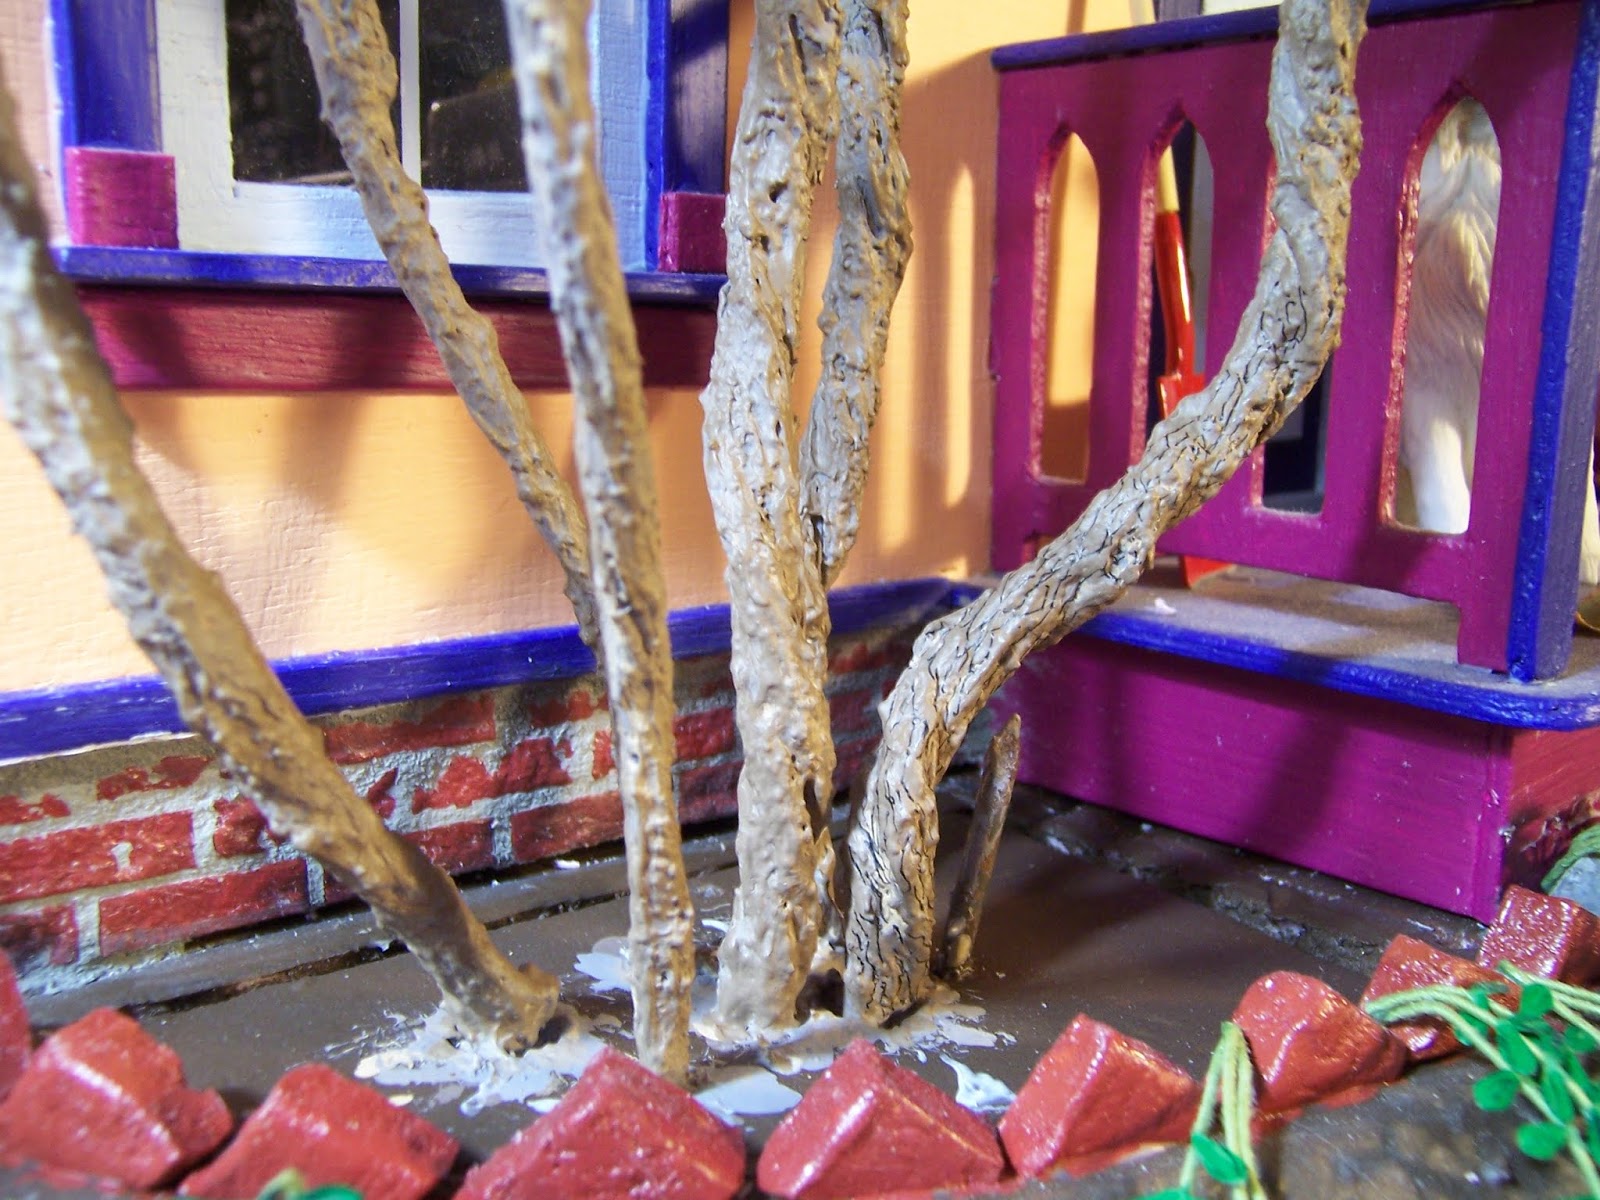
You will think I have done Nothing at all, Dear Readers, from looking at the pictures of the stems of the Lilac shrubs, but I assure you that I have spent the weekend adding layer upon layer of paint to those shrubs! The point of the four shrubs is to make them look like the same shrub.... in different seasons... so I needed to duplicate the same paint layers I had used on the first one! That one was somewhat experimental, but the truth is, each layer of paint that is added makes for a more realistic end result. This is because the bark on a shrub (or tree) is never really just one color. It is many many colors, seen in different light  and shadows and blending to form an "impression" of "bark color". Most people see this as brown... but upon close inspection it is usually a very grayish brown sometimes with a more tan hue and sometimes with a red or black hue.... which is challenging to duplicate! But I was repeating what I had already done on the first shrub... which was to start with a dark gray layer that would be visible in any "crevices" in the bark once lighter colors had been layered over it. Above you can see one of the shrubs part-way done.

The next layer went to the opposite extreme... 
almost the color of bare exposed wood... 
but it adds to the depth you see when other colors
 are added over it and not every bit is covered completely.

The third layer tries to close in on the "color"
 people think they are seeing when they look at bark...
 a drab brownish gray..... again leaving
 highlights of the previous layers visible in spots....

And the next layer is a darker more brown less gray layer....
really just brushing on highlights over the other layers,
 not trying to cover it completely at all.

Which I did for all the rest of the shrubs! 
Now at least they are all at the same layer of color depth!
 I am sure I will continue to add layers...
 I don't think it is completely right yet... 
but it is getting closer!
And at the same time I need to add the color to the rest of the twigs... 
which so far have only been painted on one of the shrubs! 
And in between all those layers of paint...
 
 
 I did complete blossom number Thirty-two!

And in the box with the ever growing
 group of double blossom stems!
(Remember there are already four blossoms attached to the shrub..!)
 
And because it seems so boring to just show layers of paint....
I will share with you Dear Readers, 
a rare peek into the Tree House....
because the sun came to play for a minute or two on Saturday morning...!
 (You have no idea how rare a thing this has been this year!)
 
 
Do you even remember the Tree House? 
Standing so patiently beside The Folly.... 
on the Other side from the lilac shrub and the Glass House.....
It is the home of the Rats... 
it is approximately one-quarter scale (1:48)

At the very bottom, nestled in the ground between the roots is the Kitchen....
(I have not built anything on this project since 2014....!
 But it is still not finished at all...)

The next floor up is the salon.....
Since the leaves are off the RL trees
 the sun is shining way into my workroom
for a few minutes early in the morning....

Sorry about the reflections....
 I needed to snap the pictures 
in a hurry before the sun ran away....

The next floor up is the Library.....
 where so many items have fallen on the floor....

Nobody has been in to tidy up in quite a while....

I do love this room....!

And the bedroom on the next floor.....
( Oh!.... There is somebody home! 
So sorry for intruding...! 
It is rather early to be visiting!)

And the floor above... the Bath Chamber.....

With the most beautiful Tub in the world....!
All these rooms are lit with LED's....
 and the entire Tree is just a Tree beside The Folly....
I have not had the Time or the Focus 
to work on the next rooms in this project...
 perhaps when I am done with the Lilac Shrubs, 
I will know better how to finish the Tree!

So I will keep working away at the Lilac Shrubs, Dear Readers, 
In the hopes that I will be mastering techniques
 that will be useful on so many other
of my unfinished projects!
Because Someday I will be 
Revisiting the Tree House... 
to make Twigs and Stems again!


Monday, February 22, 2016

Birds, Blossoms, Walls and Wires....!


Hardwick Hall Progress... And More!

Believe it or Not, Dear Readers, I added a few more birds to the murals on the Bedroom Wall in Hardwick Hall! And whether or not they can all co-exist in Harmony in the Real World, here on my Mini Paradise Walls, I wanted to include as many of my favorites as I could! So I added a pair of Tufted Tit-Mice, which you can see on the branches to the left, and I also added a pair of Common Yellow-throat Warblers to the tree on the right. Because I was home on vacation, I spent a snowy/icy/ windy/freezing day flitting from bird to bird in my own little Springtime! And because I had so much Time to pursue all those little Details on my List, I also began to run all the wires from the Bedroom and the Parlor through the kitchen and into the basement.

These are the wires for the two bedroom sconces, the bedroom fire, the front porch light, the downstairs hall light, the two parlor sconces and the parlor fire. They all needed to be lengthened in order to reach the plug unit which will be at the back of the house along the foundation. I carefully spliced longer wires, using shrink tubing at the joins. (I neglected to take pictures, of course!)

I used ordinary masking tape to "flatten" them against the wall, and to keep them separated from one another so they would not rub and cause short circuits. Because they will be covered by the Hearth wall, I am not concerned about the tape failing to hold over time. They will be held in place by the wall itself. (At least this is the theory!)

And here is the view of the underside of the house, 
where the wires come through the floor 
and pass out from the foundation at the back
(which is at the top in this picture!).
I tested every light before and during and after 
the procedure of splicing...
 just to be sure they still worked!

Parlor sconces and hearth fire and downstairs hallway.... check!

Front porch.... check!

Bedroom sconces and hearth fire.... check!
So far we are good to go!
And of course, there were still a few more Birds that got added.... 

There are a pair of Downy Woodpeckers, one on each tree (the female has no red spot on her head) and also a pair of Rufous Sided Towhees, scratching in the flowers on the ground. The female is more brown and is on the left, the male is black backed and is way at the right in the corner formed by the back wall extensions. I also added another flowering Quince shrub to that corner (still not finished in this picture!) My goal was to get this wall finished so it could be glued in place!


Then I remembered that there were two more lights 
that would need to be run down the kitchen wall...
One was the kitchen light itself.....
Here you can see that I have added a chain 
to support the light so the light is not hanging by the wire alone. 
I have snaked the wires through the links 
and added a jewelry finding as a ceiling plate.

The other light which will need to run down this wall is the upstairs hall ceiling fixture... which is attached to the underside of the third floor... so I have to get that floor glued in place before I can run the wires down... and before I can glue the third floor, I have to glue the outer side walls!
And the front hall upstairs will be forever viewed only through the adjacent doorways...

Here is the view looking down from the top before the third floor is attached....
The Moon Maidens are marching up the stairs from the front hall to the attic,
 each one representing a different phase of the moon.
There are thirteen of them in all.

And since I was finally done adding birds.... 
well, I could go on adding, but enough was enough!...
I had Finally reached that important step, Dear Readers, 
the one where I take my courage in my hands 
and GLUE the wall in place!!!

It was a tricky manoeuvre, Dear Readers, because the walls were a bit warped, and I still was not supposed to glue the top front sides together because the third floor needed to be tabbed into slots on all three sides before gluing could be done! Of course, I didn't take any pictures because it was late and dark.... but the next morning the light could shine into the bedroom with all the walls in place! (Although you can see from the gaps in this picture that I had not yet glued the third floor in place!)
I wanted to attach an outlet into the baseboard that runs along the outside wall before I put the ceiling on! The wire would run through the groove in the baseboard and out the back corner where it could run down the outside to the plug strip. This would be covered eventually by the corner trim boards.


Here the kitchen light is glued to the ceiling, 
but it's wires have not yet been spliced.

And then, because nothing else could be done 
until the third floor was attached....

You can see my inventive method of "clamping" the walls together while the glue dries...
Because I have no clamps big enough... and ALL the walls were quite warped and unwilling to just sit nicely in place until the glue dried! I used a toothpick to insert some glue into the cracks of the upper half of the front corners, added tape and braced the stick against a nearby doorjamb!
Then I went to bed! (It was late!)

And in the morning I went to see if all was well.....
So far so good!!!

But I still needed to attach the wires to the lights from the hall and kitchen....
and run them down through the basement....

Kitchen light.... check!

Upstairs Hall light.... (viewed through the bathroom door)... check!
And you can even see a few of the stars glowing!

Progress, Dear Readers, 
This is Progress!!!
 
But I promised you blossoms too, 
and so far they have been missing...
 Here you can see I found time to sew 
the backing on the needlepoint pillow 
and stuffed it with seed beads...

I am in love with these needlepoint kits!!!

I think it looks so comfortable on this settee!

And that is not all! 
Do any of you even Remember 
the embroidered curtains 
for the Thee House Pagoda Bed?


Well, I couldn't remember when I had last stitched on them,
 and couldn't find a good picture, 
and forgot to take one of the "before" 
when I started stitching again....
Only about half of the blossoms on the left hand curtain had been done.


They are each about two and a half inches long, 
the basting stitches outline the curtains edges.
They are getting very close to finished!
 
So There you can see, Dear Readers, 
between the birds and Blossoms and wires and walls,
I made Great Progress on Hardwick Hall!
And Beyond!