Showing posts with label Rhododendron Skeletons. Show all posts

Monday, February 10, 2025

Rhododendron Shrub # 3...


Green Leafy Shrub Take 2.... 

It Was just about a year ago, Dear Readers, that I was contemplating the feasibility and wisdom of launching the Rhododendron Shrubs in Three Seasons Project! I was making rough calculations about how long it took to make the blossom clusters and the leaves, too, and trying to calculate whether there was enough Time to complete the Summer Blooming Rhododendron by blossom season at the end of May. As you are probably aware, I figured it was a "go" if I got on it right away and did almost nothing else til the Blossoming Shrub was complete. And I did succeed! Along with constructing the basic shrub skeletons for the remaining two Seasonal versions. And you might even remember that I made a mistake when attaching the shrub skeletons to their bases.... accidentally putting #2 Skeleton on base #3, and #3 Skeleton on base #2... causing a bit of an identity crisis for these remaining shrubs! And you are probably aware that I sort of completed the Green Leafy Shrub.... (the all year 'round version....) at the end of July. But I wasn't happy with the density of the leaf placement and so I "converted" it to the Winter Snowy Shrub a few weeks ago. (You tell me which it is... shrub #2 or Shrub #3!) Which leaves me needing to re-make the Green Leafy version... hopefully with a better leaf density result! I know I showed you the container full of all the leaves I had made last Fall, knowing I was going to have to just keep producing leaves if I was ever going to get the final product made! Here it is again, in case you missed it!

 It is 50 batches of leaves... each batch having forty leaves, for a total of 2000 leaves!

 This is more than I used in either of the previous versions.

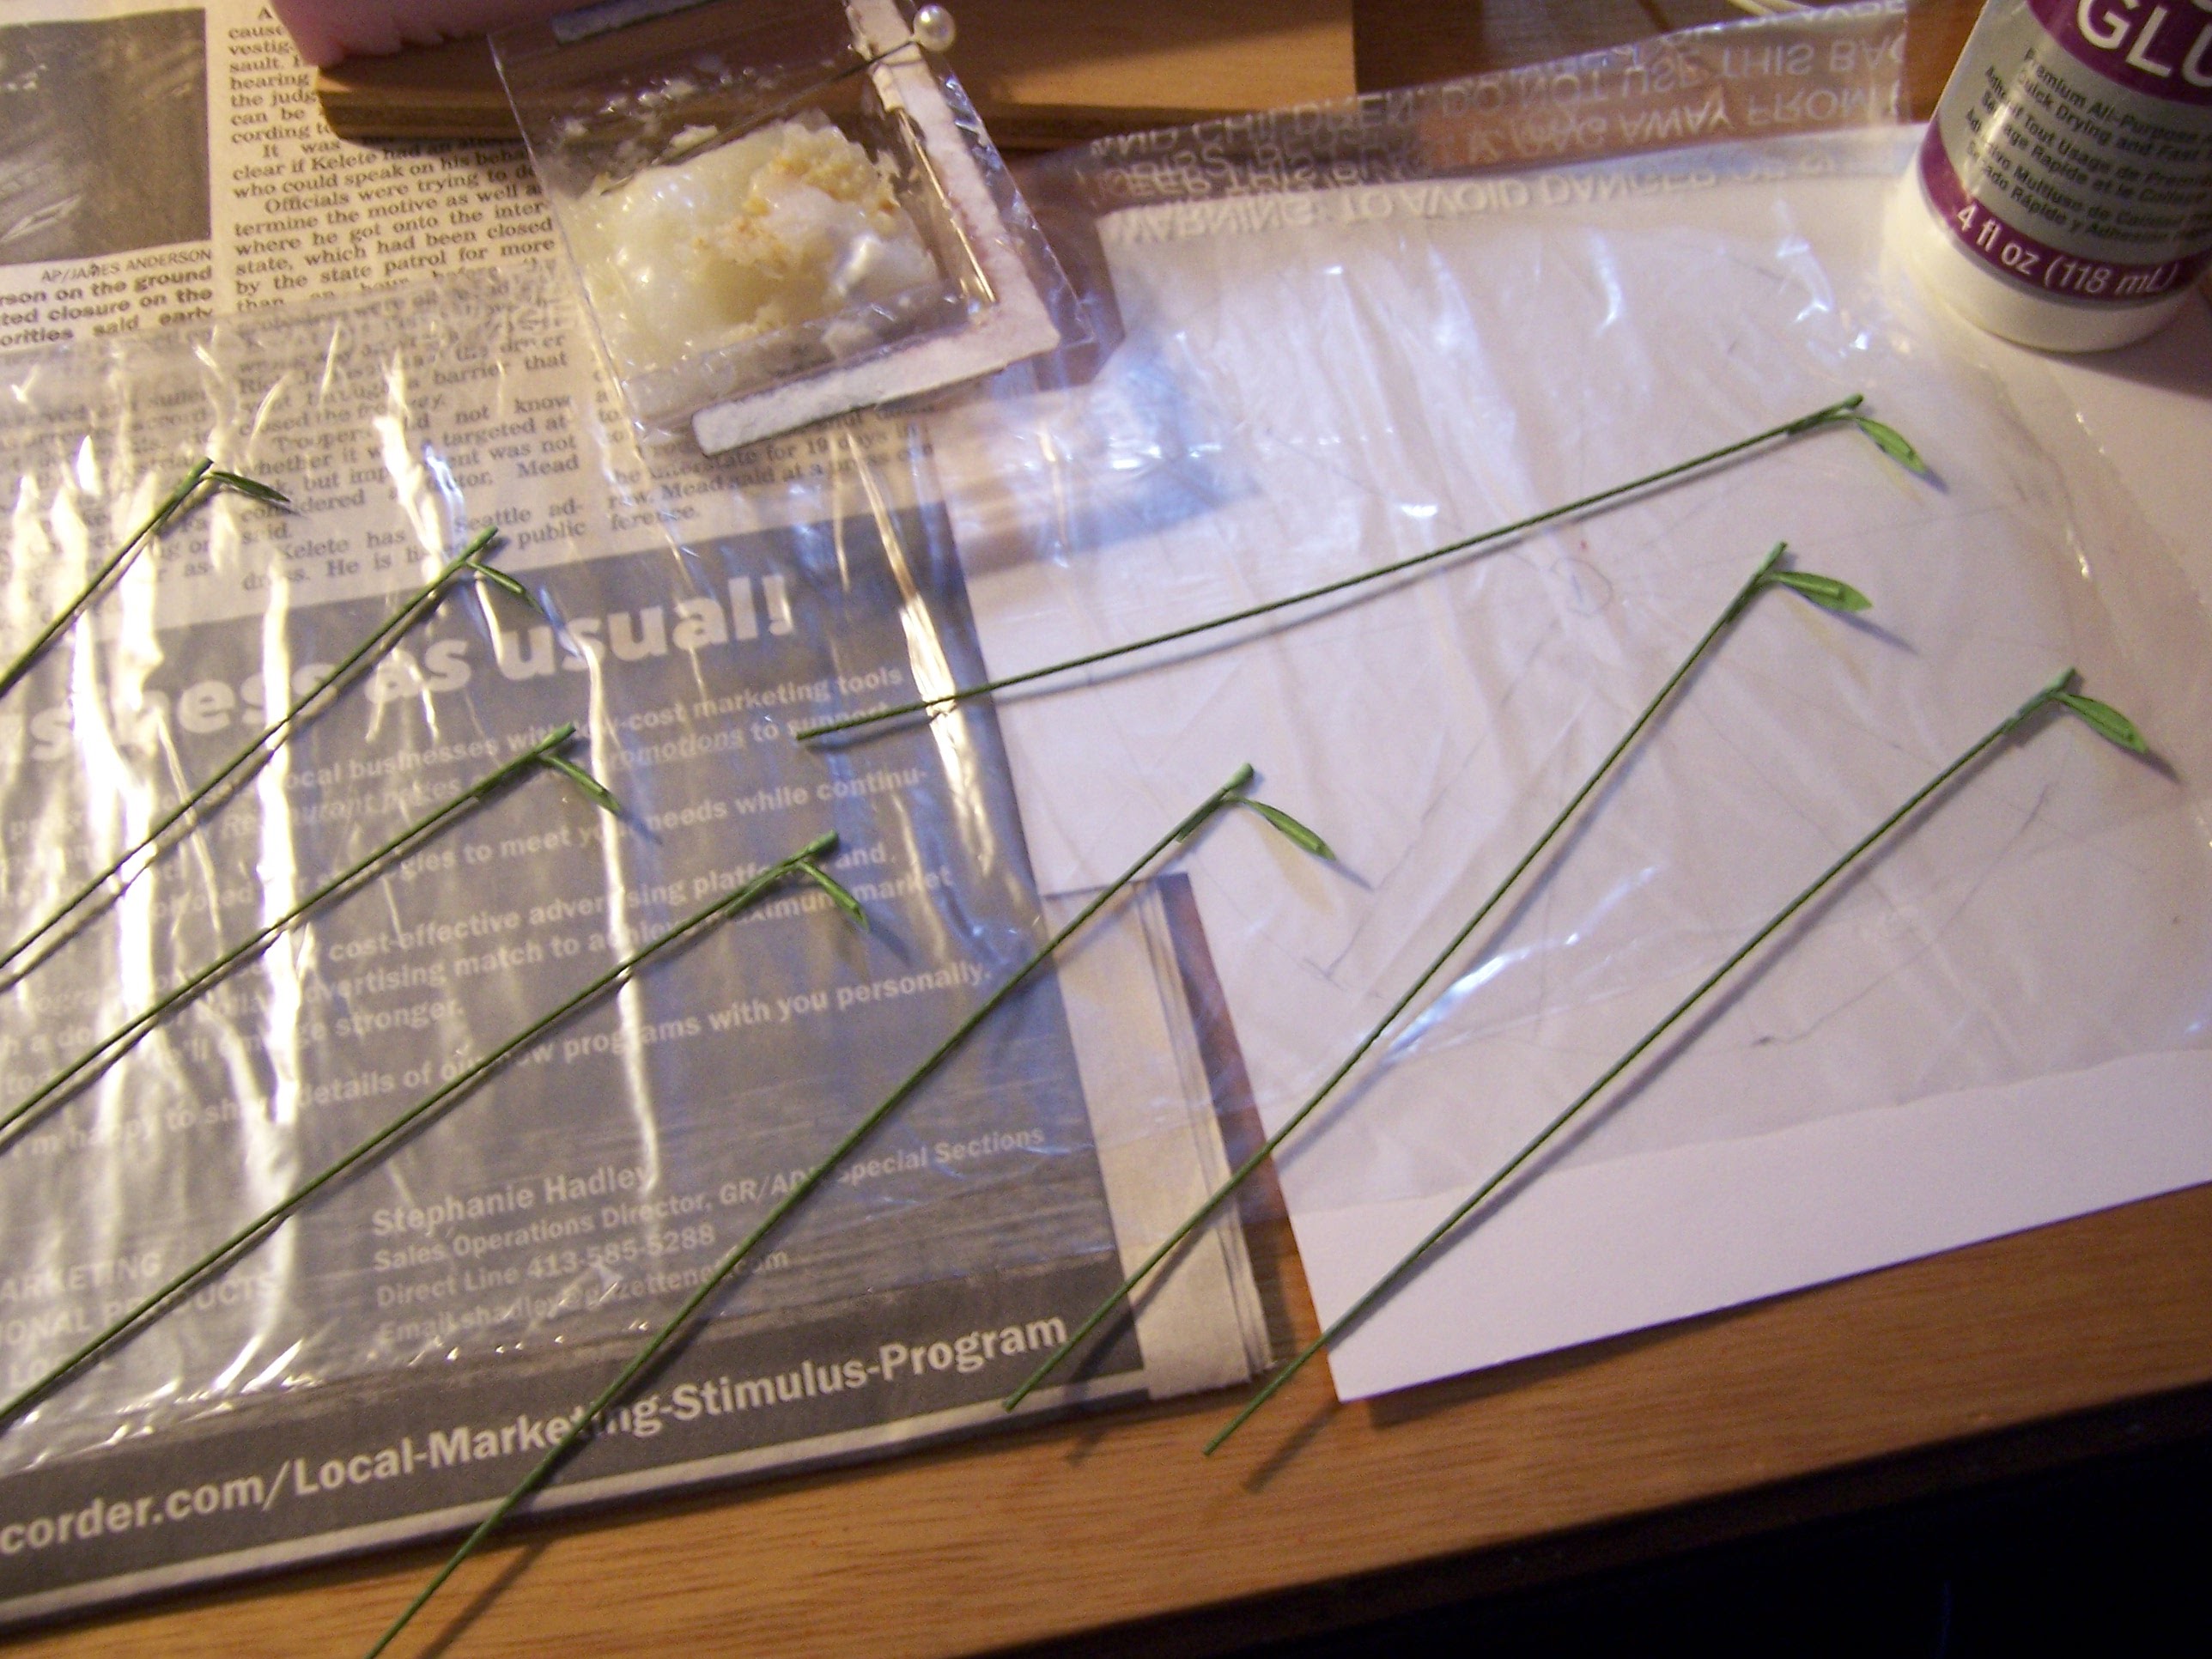
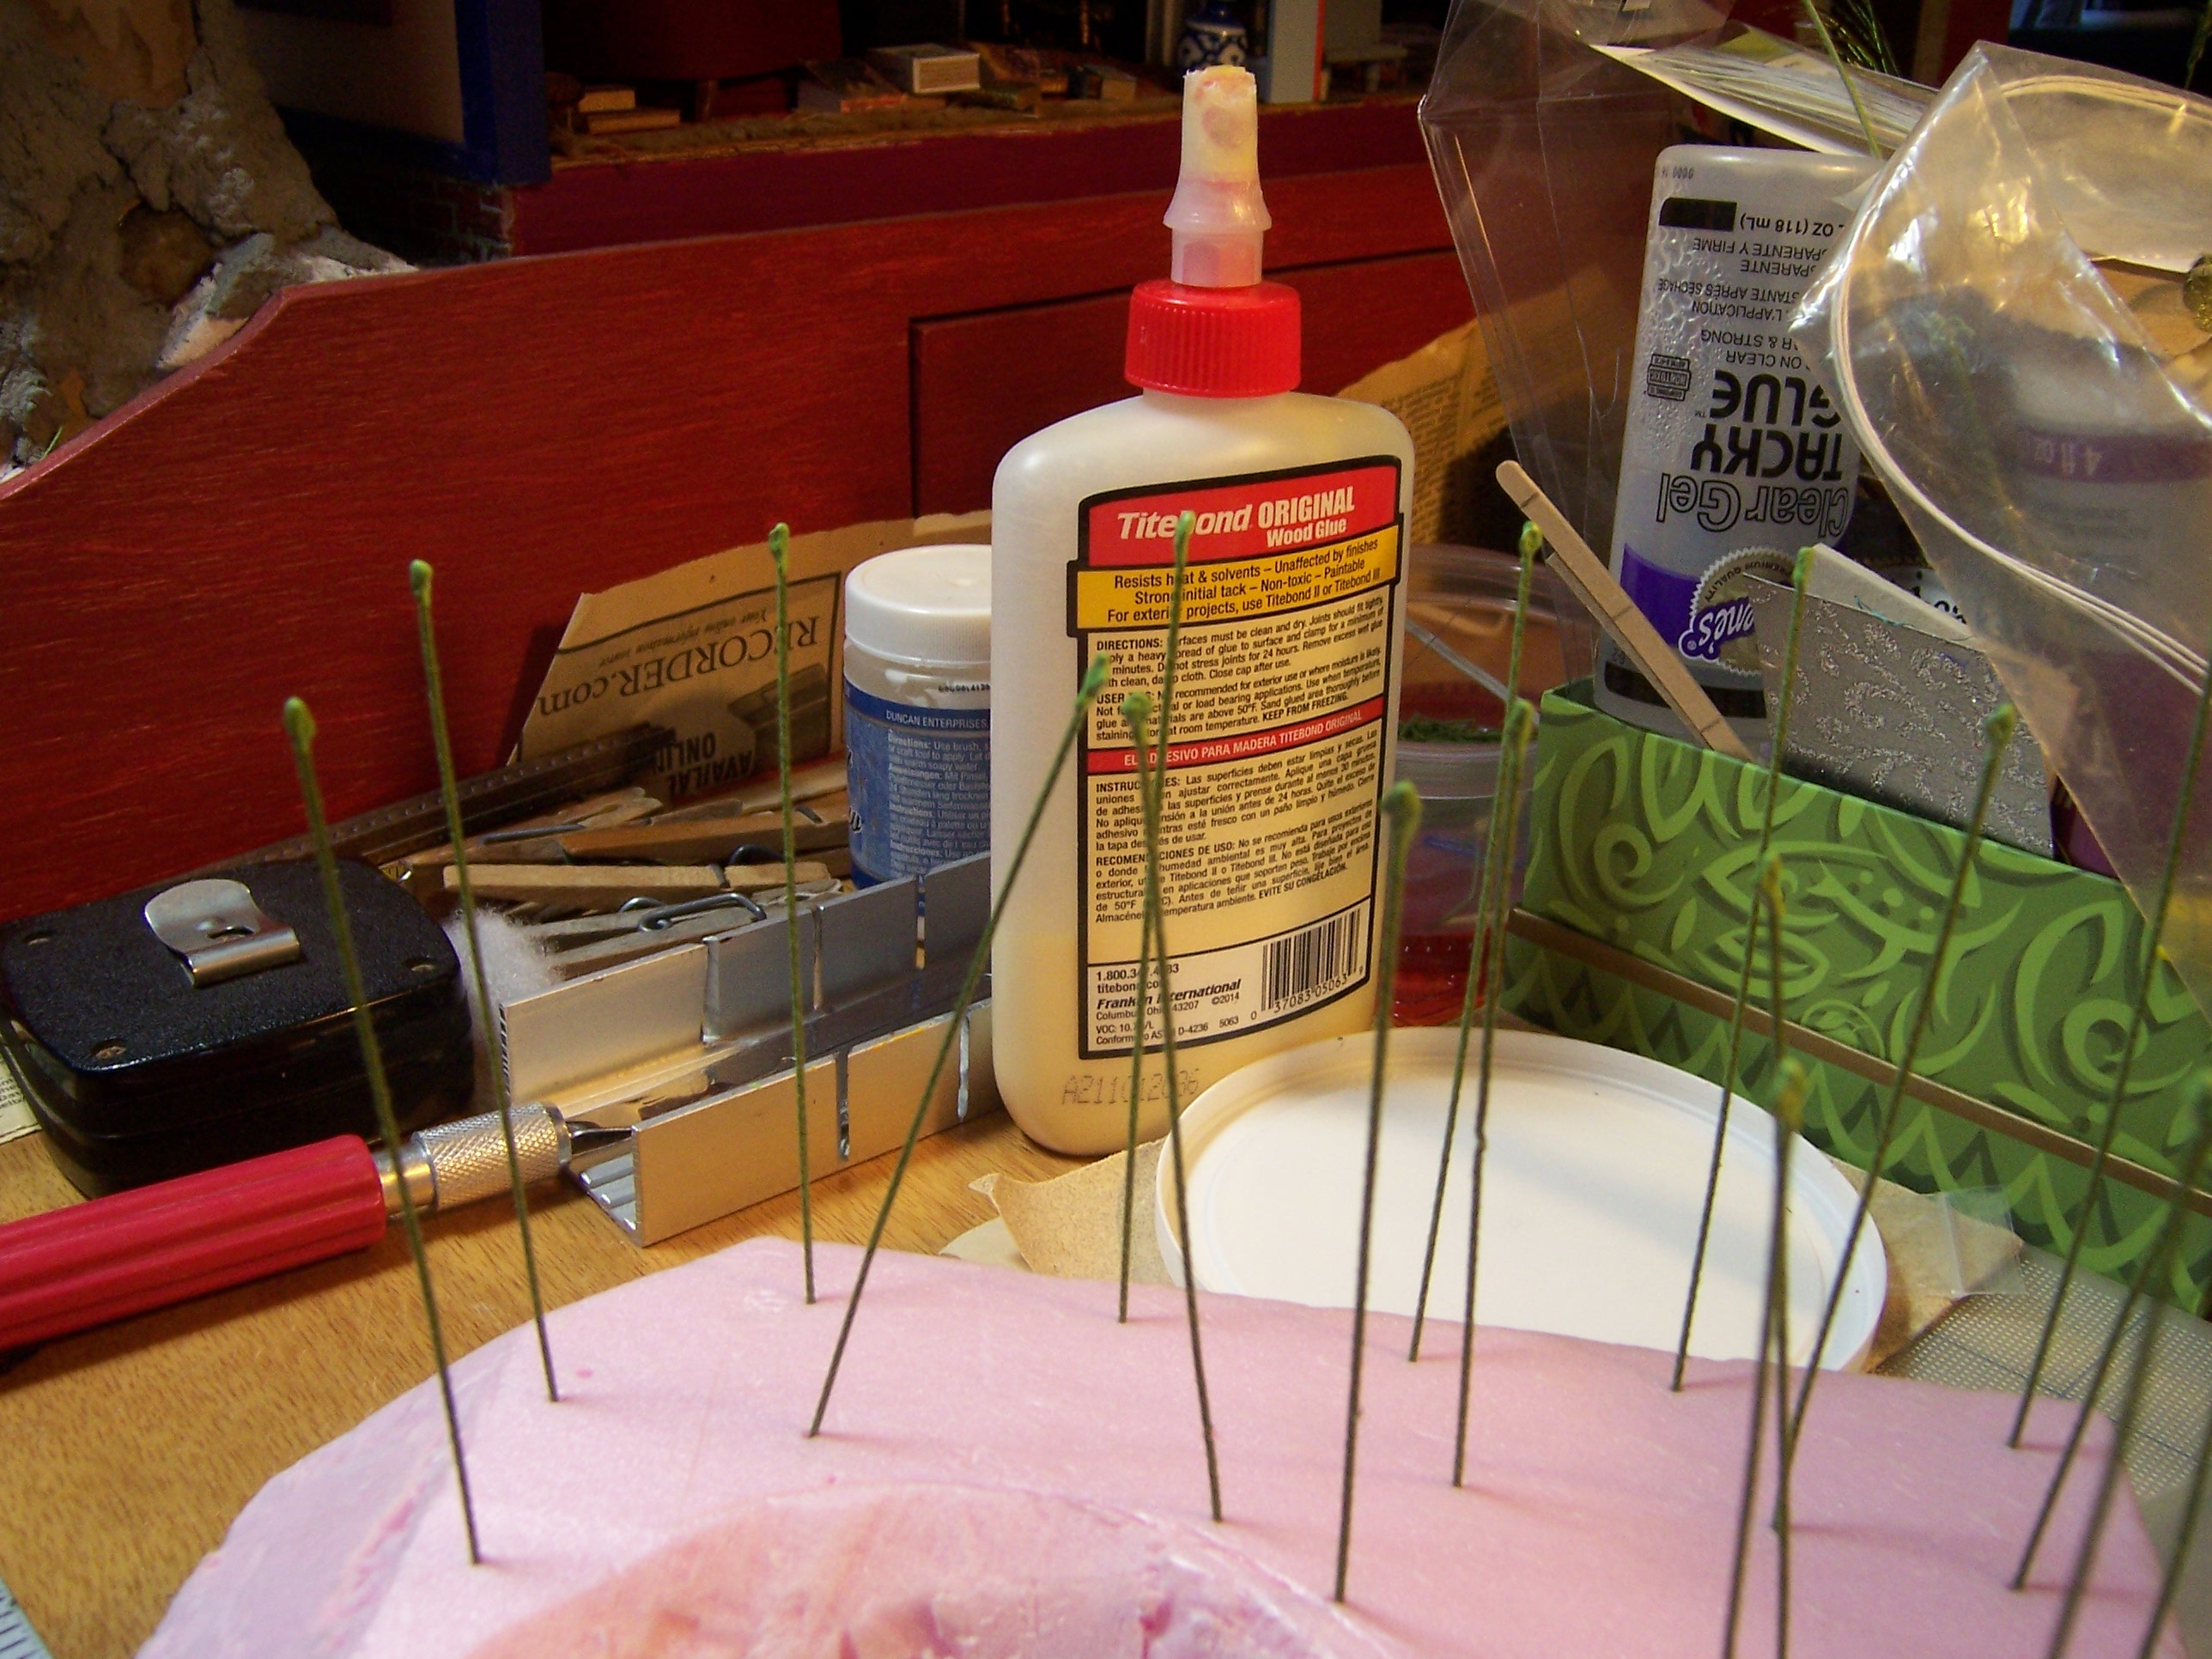
Here I am starting the process of making the stem tips (the buds) using the "glue trick".

Once the glue is dry the tips need to be painted a light green.
I know my mixture is a little less "yellow" than I think it should be... 
I am running low on the yellow paint and need to remix the batch.
 

Here I am starting to glue the leaves on a batch of stems. 
The single leaf doesn't want to stay put very well unless the stem is lying flat.
 
Here I am adding the second leaf. 
Once these are very securely dried...
 (don't rush this or they fall off!)
then the next two can be added
 to each stem at the same time.
At this point they need to be vertical while they dry.
 And I forgot to take pictures to show you...!
I also decided I needed to try to "map" the shrub skeleton
 to get a good count of the branches. 

I counted the different limbs and branches and
 came up with about 100 stem tips to which I will attach
 all the leaf clusters I will be assembling!
I still need to test my construction for these... 
because rather than glue each cluster to a branch one stem at a time...
 I plan to try to add a "grouping" of two or three leaf clusters
 that have already been "combined".
This is because I realized my real problem last year 
was that I forgot that the Rhododendron
 never drops all it's leaves at once!
 It keeps most of them for two years,
 and a few for three and maybe even one or two 
are four years back along those growing stems.
 They produce the denser leaf cover I am wanting! 
I need to make the grouped stems 
with the previous year's leaves still attached!
I know I have taken pictures to show you of my RL shrub... 
but I can't find them in my photos
 and it is too dark to go get new ones.... 
so you will just have to trust me on this! 
And of course, I haven't yet tested my construction methods.... 
but that is coming next!
So, Dear Readers,
 I am tip-toeing my way into the
 Rhododendron Shrub #3, 
also known as the Green Leafy Shrub.... 
take two!

Tuesday, March 26, 2024

Rhododendron Shrubs....


 Roots and Trunks.....

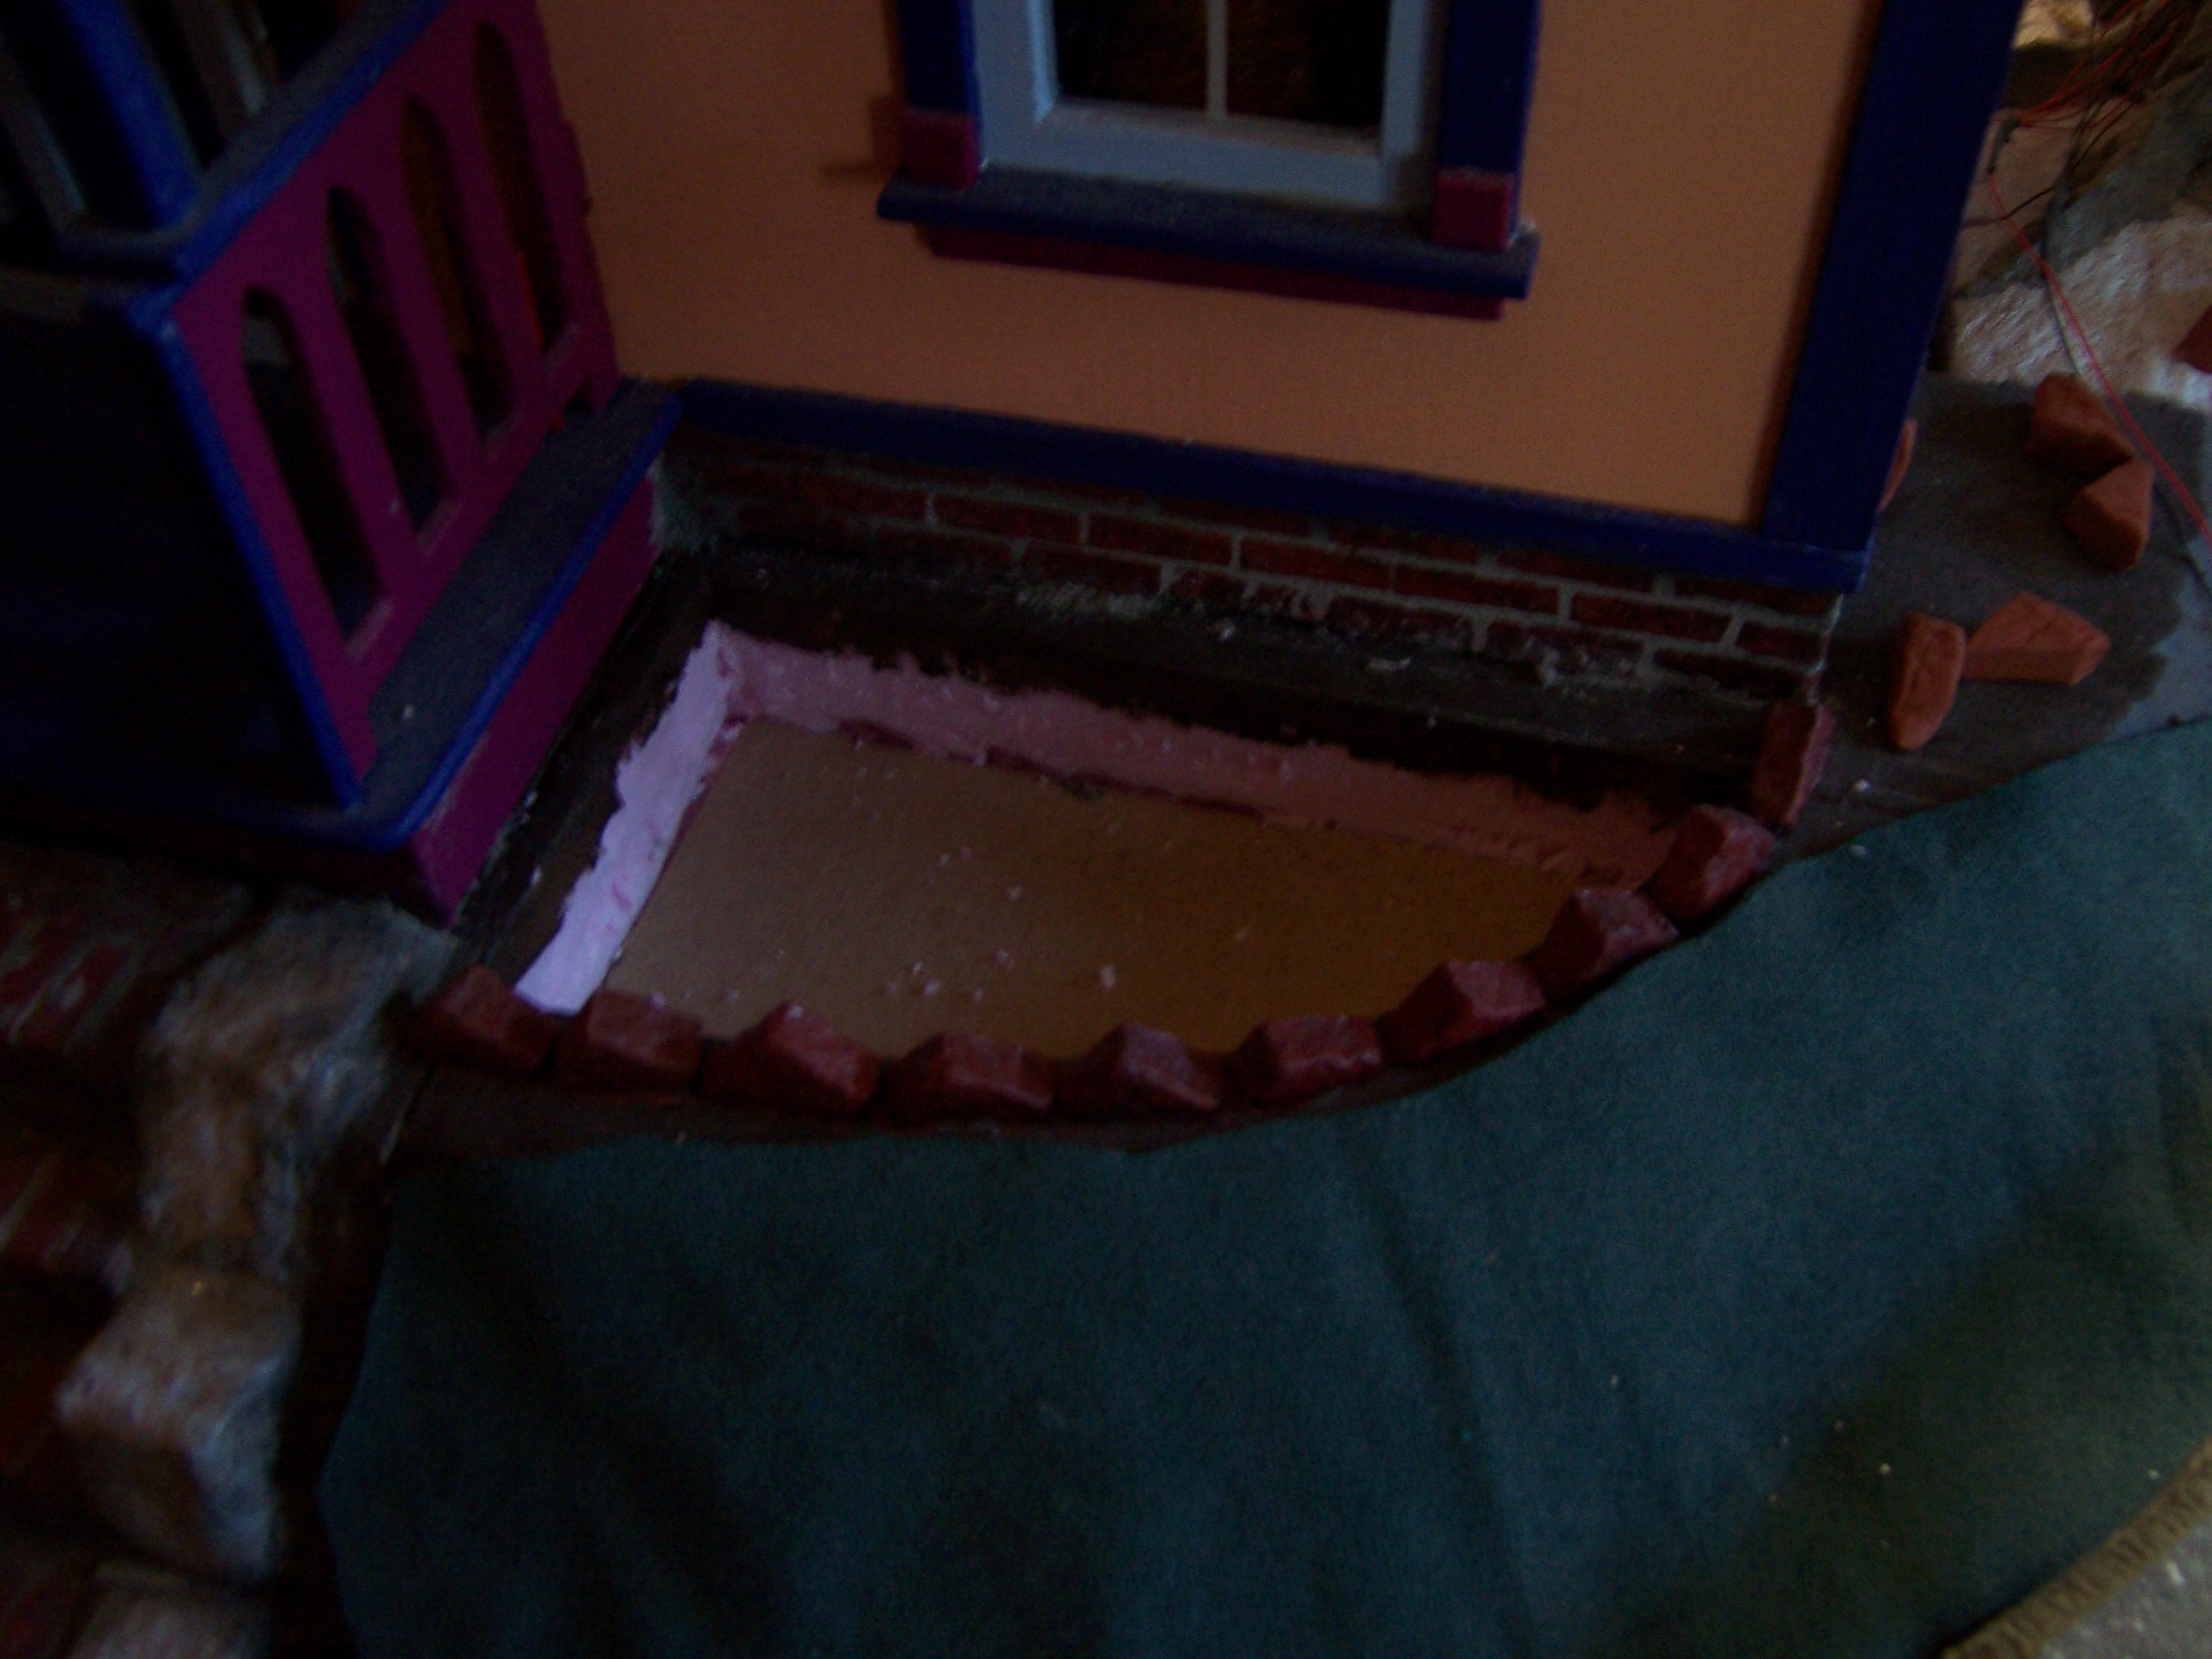
Well, Dear Readers, I apologize for the dark and gloomy picture of the Rhododendron Shrub Skeleton, the weather has been dark and gloomy again, and this is the only picture I have showing the "before" scene for the shrub roots! As you know, I am making three of these Shrub Skeletons, as identical as I can so that I can have "seasonally changeable" Rhododendrons in The Folly Garden. I was eager to get the skeletons moved on to the next stage of construction and didn't pay much attention to the photography as I went along. This is to show the Roots of the shrub... the main trunk is old and the roots are showing partly at the top of the soil. This is partly for stability (the branches spread quite far) and partly because my  RL Rhododendron shrub has a long root that snakes off to the side and sprouts a new trunk at the edge of the garden bed. I am copying this detail for The Folly Garden shrubs.

Here you can see I have removed the pod from the Garden... 
and it is really hard to see, but I traced the roots positions on the pod
 so I could know where to poke the holes for the roots to go into.
(That nail poking up through the pod is the temporary "handle"
 for lifting the pod in and out of the Garden spot.)


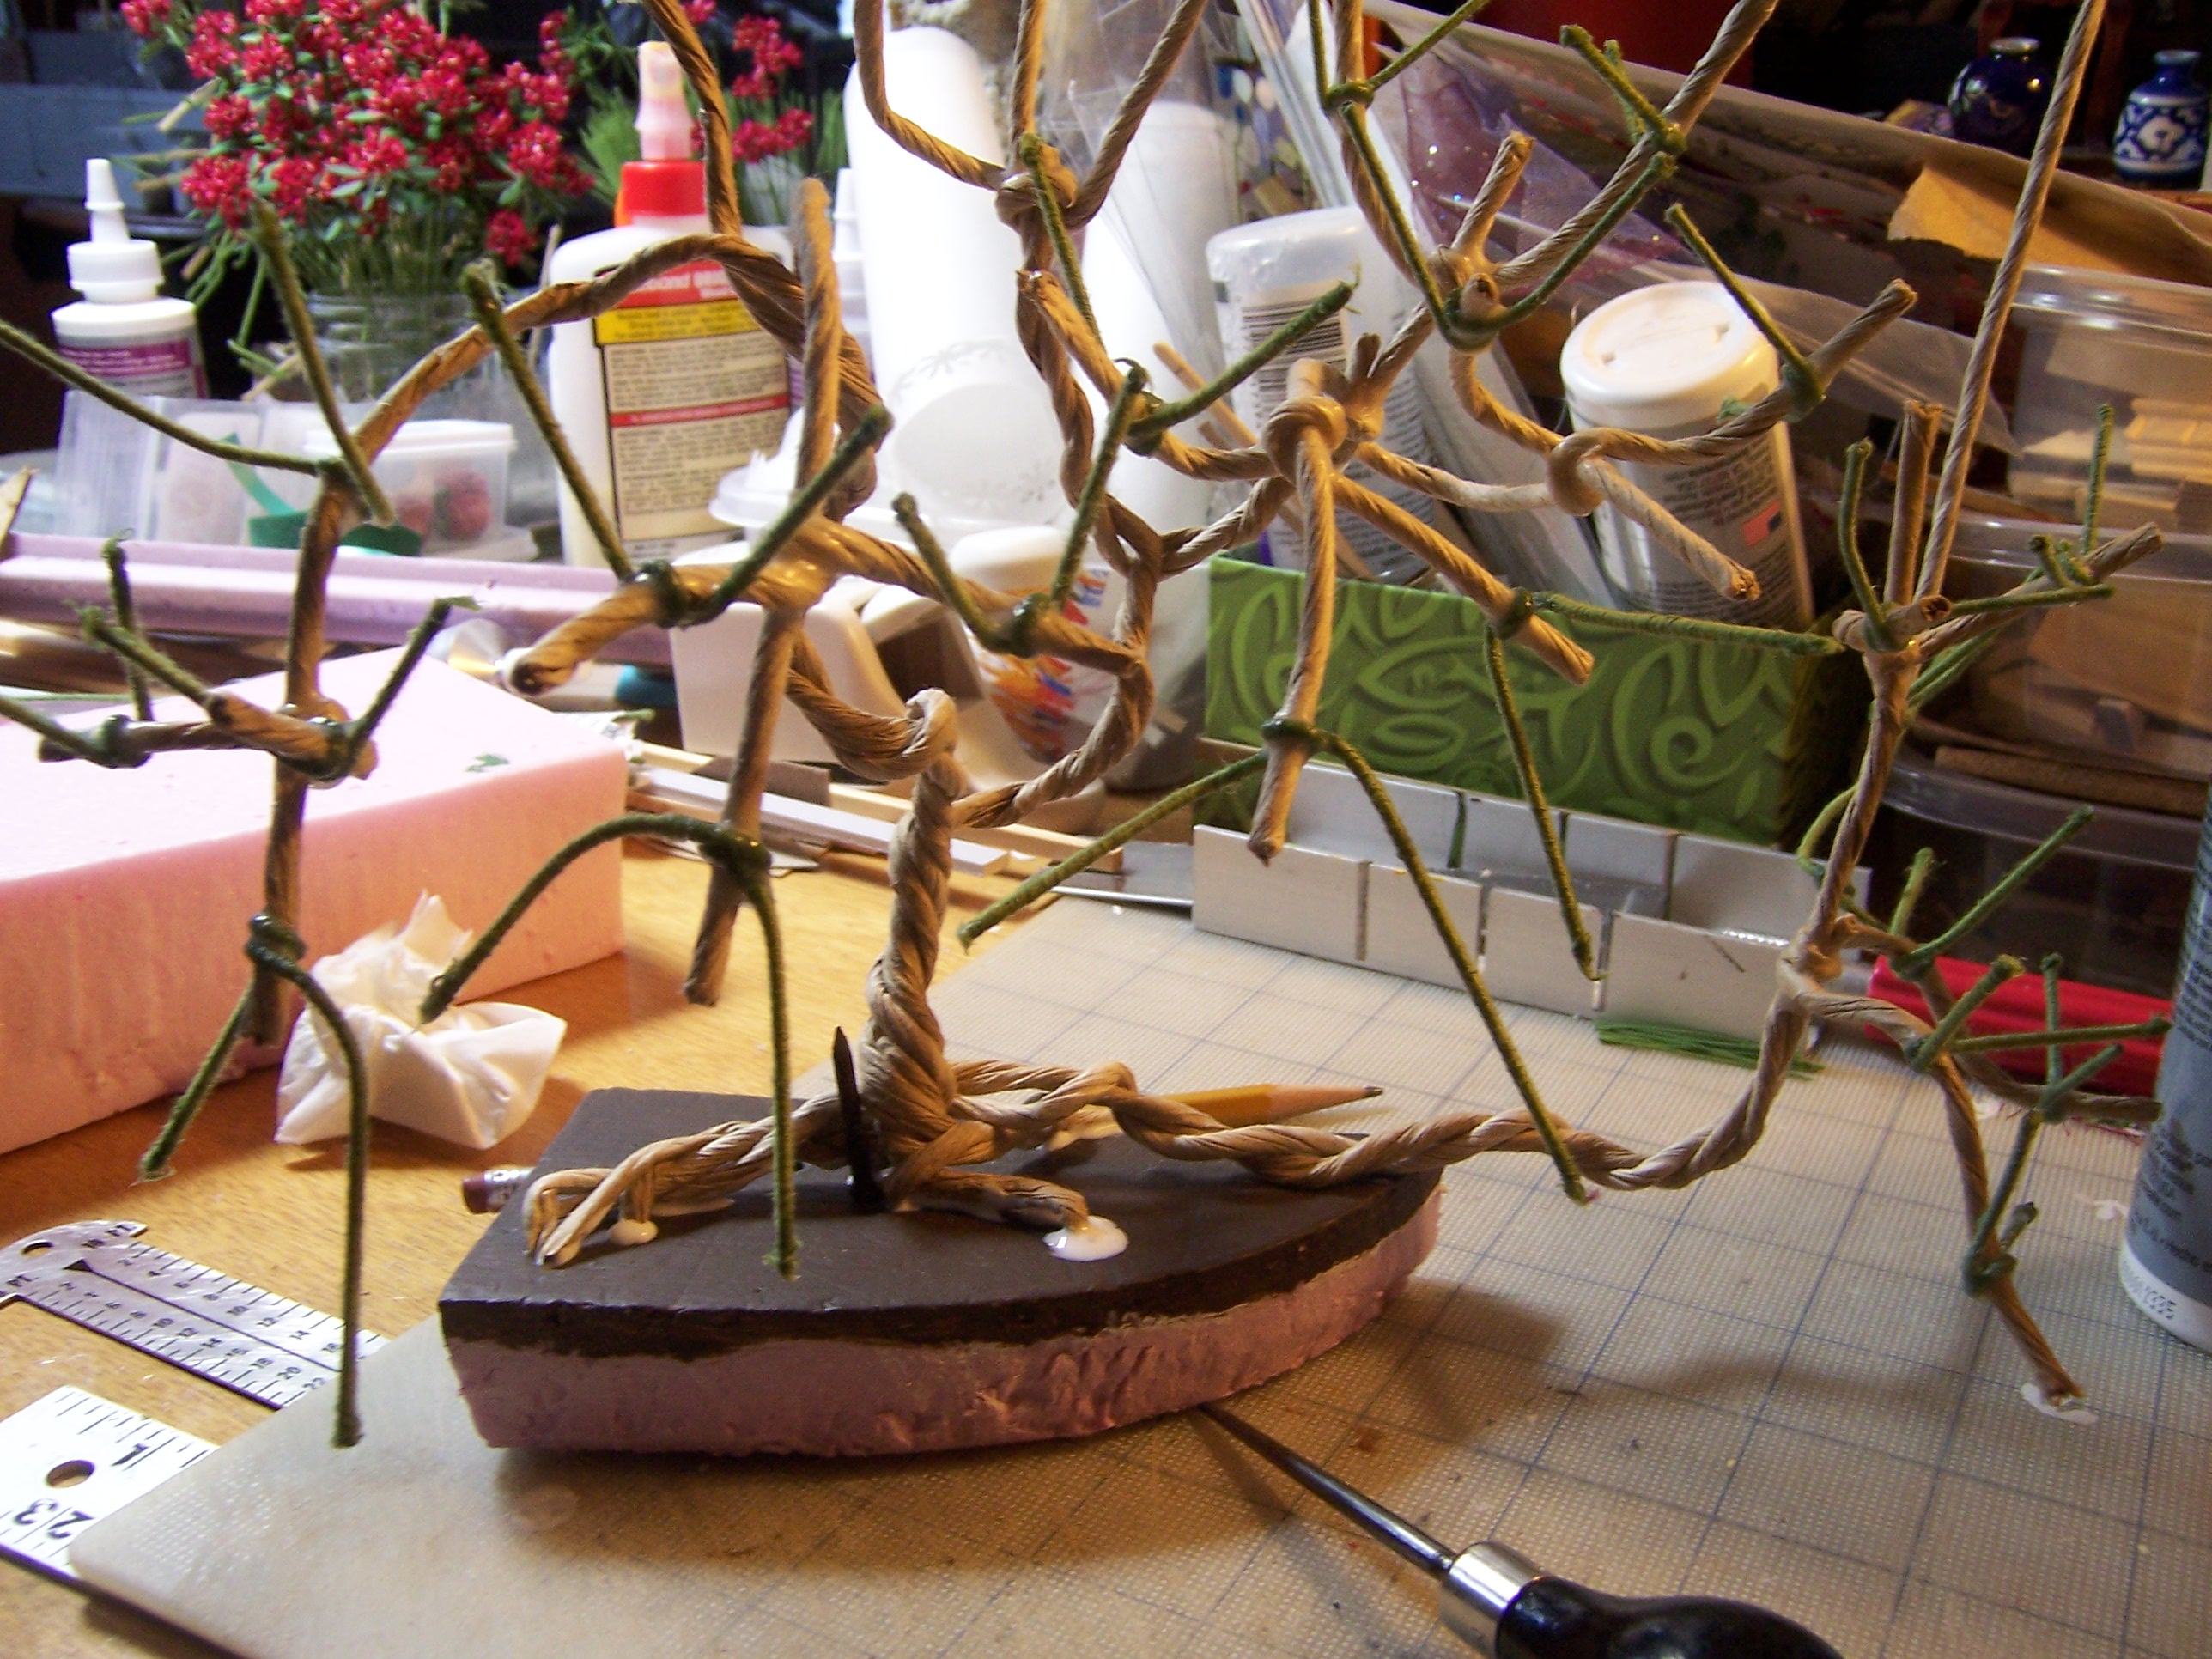
Here you can see I have bent the ends
 of the three major roots downward
 (this is the view from underneath)


And here you can see the holes I have poked into the foam ....


And here is Shrub#1 with the ends of the roots
 poked into the holes and glued in place!
This leaves a part of the roots "above ground",
 and the long side root in particular just runs along the surface.
I plan to build the "ground" up a bit to cover this part way.

And since Shrub#1 glued into the pod #1 with the greatest of ease,
 I went onward with Shrub#2...


Here the ends of the Roots are bent downward....


And the locations traced on the pod #2 and the holes poked...


And the roots glued into the holes of Pod#2!


Two pods done... only one to go...!
But imagine my Surprise, Dear Readers,
 when I grabbed Shrub#3 for Pod #3, 
only to discover that it would not fit right on the Pod!
What????
The position of the nail in the pods is not identical........ 
so as I have "shaped" these shrub skeletons,
 I have worked around the nail position to the best of my ability
 to keep the shrubs centrally positioned in the pod.
Shrub#3 was not fitting right ....
Then I checked to see if it WAS Shrub#3....
only to discover it was Shrub#2!!!....?
I had accidentally used Shrub#3 for the Pod#2
 (These pods are marked on the underside
 with bold magic marker to keep them sorted out....!)
I needed to move the nail to a different spot
 to fit the Shrub#2 onto the Pod#3...
Lest you worry... at This stage of the construction process,
 it doesn't matter if Shrub#2 or Shrub#3 
is the one on Pod#2 or Pod #3....
But the poor Shrubs might now have an Identity Crisis... 
One is Shrub#2-3... and the Other is Shrub#3-2 
and I am not sure which is which!
Shrub#1 is securely just #1 and will be the blossoming Shrub....
 the other two will have to slug it out between
 Winter with snowy Leaves
 or Year-round just plain green!
 But once I had adjusted the nail... 
things moved along and I got Shrub#2 attached to Pod#3...

Here they are all three lined up and letting the glue dry thoroughly.

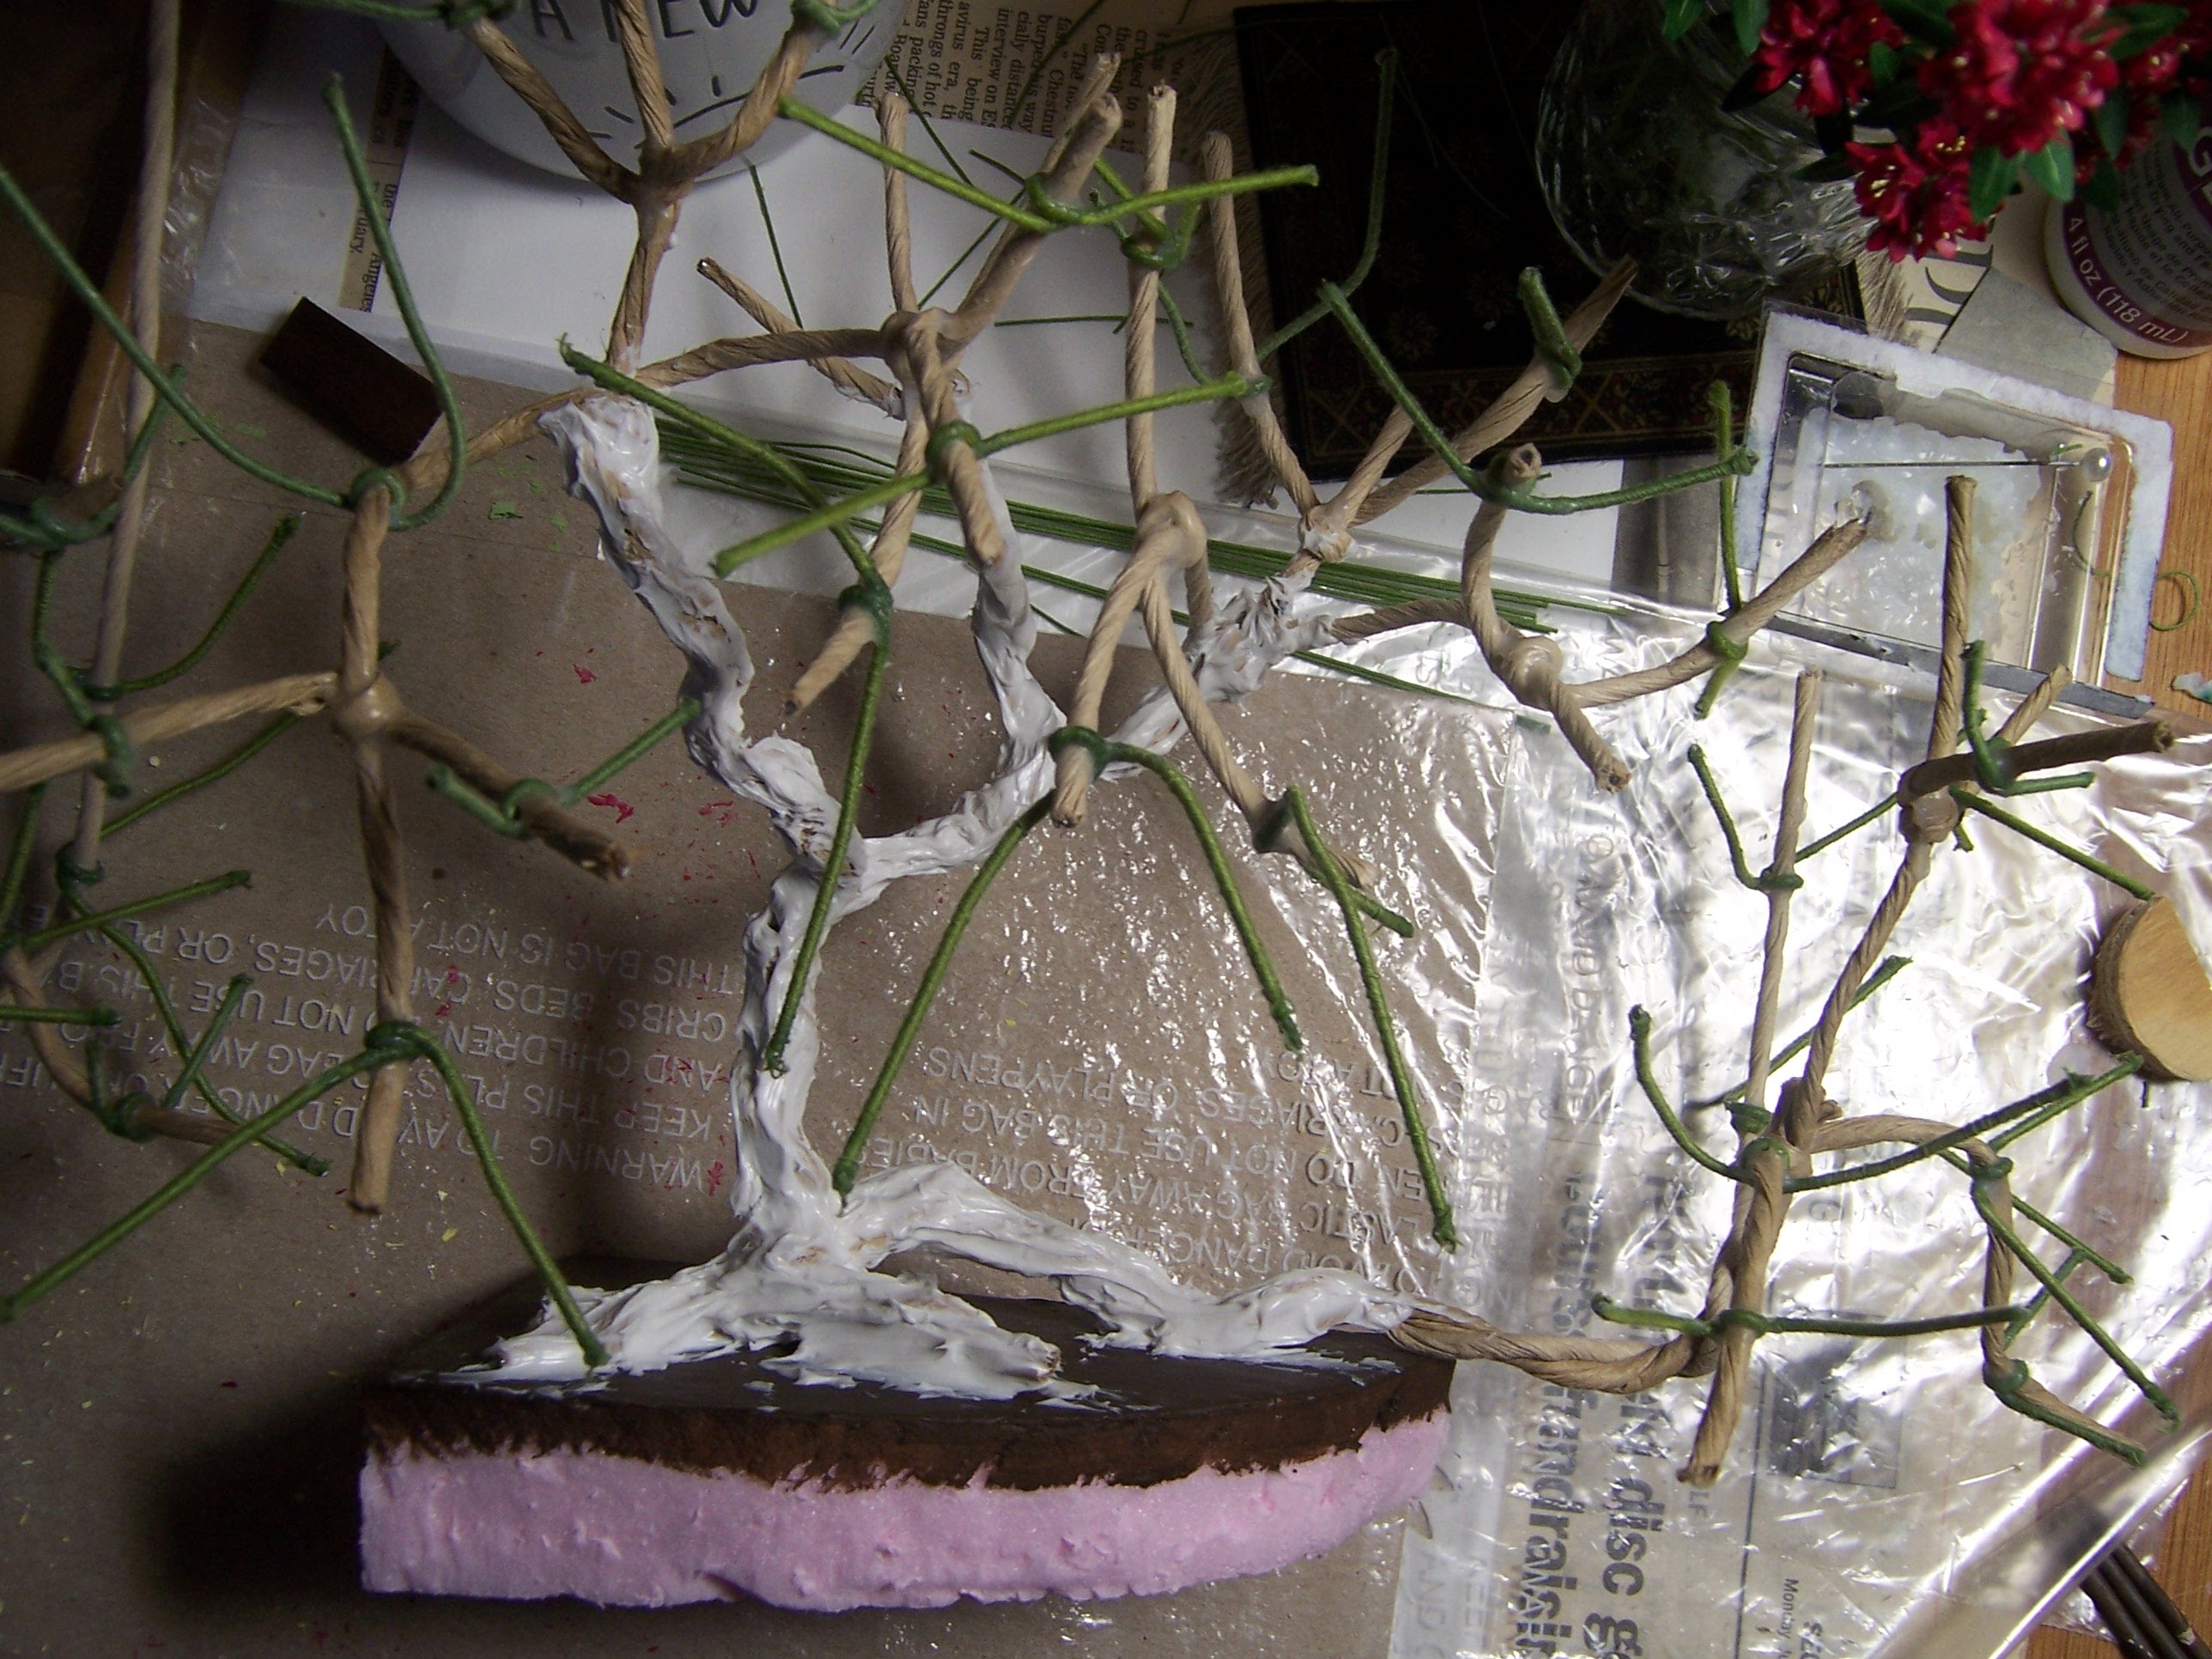
 The following day, I began to add the "Acrylic Modeling Paste" to the trunks and roots.

And to Shrub#2.... (or is it 2-3?)

And Shrub#3... (or #3-2)....
 

And Shrub#1 in the Folly Garden...
(Dark and gloomy again......)
 

Here you can see clearly just how "textured" 
this made the Roots and Trunk of the Shrub.
But Rhododendrons have quite smooth bark....
 they don't need a textured surface...
The modeling past was to help me smooth out
 all those bumps and twists and glued spots
 on the paper wire stems. 
It also gives added strength to the joined areas.
Fortunately it is made to be carved and sanded fairly easily...
 

This is what it looks like 
after I have begun the "carving and sanding"......
Hmmmm.... this is going to take a while!
It is challenging to get the exacto knife in among the branches....
 and the sandpaper is only a little easier to wield....
And I get to do this for all three shrubs!
 

Well, Dear Readers, the Rhododendron Shrubs
 are taking Shape; Roots, Trunks,
 Leaves and Blossoms...
Spring is Sprung in my Neck 'o the Woods
(Even though we got snow the other night....)
And I have almost 100 Blossom clusters done!


Wednesday, March 13, 2024

Marching Forward...


 Pruning The Shrubs....

While I am Madly constructing the Rhododendron blossoms, Dear Readers, the progress on the Shrub skeletons is much slower and more deliberate. But if I am to reach my desired goal of a blooming shrub by the end of May (only about ten weeks away!) then I need to be making good progress every weekend at least! So as I was attaching yet another round of branches to the Shrub#1 skeleton, I thought I had better make sure the shrub was not going to overwhelm the path to the garden bench by the little brook that runs along the side of The Folly Garden (or will when we get it built)! So I asked Joanna (who is a small adult only 5" tall) to come over and help me test the shrub by walking the short path. She was happy to oblige, and Will was also willing to help (he is a tall 6" adult size). He is warning Joanna to be careful on the very narrow little path....

Which takes off from the steep front steps to The Folly porch.
The path past the lilacs where Will is standing
 is a bit wider and more traveled,
 and the lilacs naturally arch above the heads of anyone who passes.
While the path past the Rhododendron
 has always been wilder and a bit neglected.


As you can see, it would be very easy
 for this shrub to overwhelm the path entirely!


It made clear to me the need to "prune" the shrub
 just a little bit where it stands by the porch!


As you can see, Will is a good bit taller than Joanna,
 and he needs to be able to navigate this path too!
After all, the bench overlooking the brook is in such a sweet spot!


I know it is hard to see the difference, Dear Readers,
 but here is the Shrub#1 with a whole batch
 of new little short branches!
I will continue to shape the branches
 as I begin to add the blossoms to them,
 but first they need to be painted... 
a whole other adventure!


And lest you think I have been slacking... 
here is Shrub#2 getting the same little short branches added and glued...


And Shrub#3....!


And if I stand back far enough you can see all three in a row!
And last week ended with a count of seventy blossoms clusters!
Wowee!
I am Marching Forward, Dear Readers,
Even if I did have to Prune the bushes back a little bit!


Tuesday, March 5, 2024

Stitches And Stems....


Sewing And Shaping....

I Reassessed the frame pieces in my pile of different sized pieces, Dear Readers, and came up with a larger frame that almost fits the entire William Morris carpet. It was enough larger that I could make considerable progress with the main design area. This will keep me going for a while! The carpet is a square one, so there is an area of border all around which will need to be scrolled a bit to stitch all of it. I will deal with that when I need to. The design is really coming along and is fun and easy to stitch. I just love to stitch these wool carpets! As for the other carpet I am working on, the Chinese Dragon Carpet, I have also made some good progress. 

Sorry the picture is a bit dark... 
(yes, it is dreary and gloomy here!)
But I was able to get the outline for the second dragon completed.
They are not identical and I wanted to make sure
 their heads feet and tails did not intrude too far on each other!
So far so good! 
But this scale of stitching requires good light to stitch...
 so I must work on it only on the sunny bright mornings!
 
And As for those Stems, Dear Readers,
I am slowly making progress on shaping the shrubs!
 

The next step was to shorten those long downward curved stems.
I used the cut ends to twist around the stem to make branched side stems.
Because this wire is very stiff, I needed to go slowly 
(to keep my arm from getting sore again!)
This shrub is Shrub#1, and you can see how it sits in the Folly Garden.


The next day I repeated those cuts on the other two shrubs.
And glued the branched stems and let them dry thoroughly.

And because branches Branch...(!) 
I then added more stems to each of the added branches...


Here is Shrub#1 again, having the stems added to some of those branches...
And because they are also very very stiff wire.... it was slow going.


This one is Shrub#3...
Once the glue is thoroughly dry
 the stems can be shaped to a more natural curve.


And Shrub#2 getting the same treatment!


And of course, Shrub#1 also getting the glue on those stems.
The wire is so stiff that I can only do a few at a time.

But I'm making progress!
And yes, Dear Readers,
 the Blossom Factory is keeping to the challenge!
I made 10 bunches last week, 
and am well launched on this week...
Stitches and Stems and Blossoms...
Oh My!


Tuesday, February 27, 2024

Shrub Construction....


 Continued...

I Hope you won't mind, Dear Readers, if this is a boring post about the Rhododendron Shrub construction... again! There is not a whole lot to show you because it is slow going on three different skeletons which are all supposed to look the same. That is the trick... it is nearly impossible to make them look exactly the same... so I have to constantly try to adjust a little one way or another. And as I mentioned on an earlier post, I have to make each step on all three of the shrub skeletons at the same time so I don't lose track of which branches I have done what to.... and even then I occasionally notice that I skipped a piece on one of them. The skeleton in the picture above is Shrub#2 (yes, I have numbered them to help me keep my sanity...!) which will eventually be the green leafy shrub for summer, fall and winter (when it is not snowing). You can see (if you enlarge the photos) I have added glue to the places where Green wire wraps around the brown paper stems! Alas, even with the dry winter air, I have to leave them alone for quite a while after making this step. The glue joins need to be very sturdy.

And this skeleton, is Shrub#3, 
getting the same glue treatment on its branches.
When it is finished it will be the leafy shrub in Winter
 with snow on its leaves,
 for those few times I need to set a
 "winter story" at The Folly!


And this one is Shrub#1, which is the "prototype"
 and will be the one with the blossoms when it is finished.


Here they are all together in a row...
 I know, you can't easily tell where one ends and the next begins...
But I have to have them all together while I am working on them!
(Sorry, my table is a mess... I was also sneaking in an extra small project
 sort of visible in the background.... more on that another time!)


And here you can see Shrub#1 in The Folly Garden where it will live,
 showing the added stems on the part that leans toward The Tree House...


Here you can see it a little closer,
 from an angle that shows more of The Tree House trunk...
 and shows how the Rhododendron Shrub will be a big part
 of what keeps the Tree House doorway concealed from passing humans!
(Ah, yes... when Will I get back to building The Tree House???)
The long downward branches will be trimmed and added to next.... 
as I figure out just which branch needs to go where!

And Meanwhile, Dear Readers, you can rest assured that
 the collection of "blossom clusters" is growing at a great rate!


I have added 18 clusters in the past two weeks,
 and am up to a total of Fifty clusters!
I have been diligently adding leaves
 to the clusters that didn't have them.... 
but am still behind on that task.
I have not yet gotten a good leaf making schedule
 worked into the blossom making one...
But it's only a matter of Time, Dear Readers,
As the Shrub Construction continues...
And Continues..... !


Tuesday, February 13, 2024

Rhododendron Shrub Structure....


The Skeleton...

I am working away, Dear Readers, on the Rhododendron Blossom making process and can report that I am making good progress. I have challenged myself to see if I can make two batches of florets per day, totaling ten batches per week (with the weekends for other project pieces). The truth of the matter is, it gets easier when you apply yourself consistently to a task! But I still need to be making progress on the leaves.... and the shrub structures themselves. In the above photo you can see the "skeleton" of the Rhododendron on the right side of The Folly porch, looking the same as it has since last summer. The main stem is a gnarled ancient "trunk" (made from the same heavy gauge paper covered florist wire that I used for the Lilacs)  with one long "side branch" that stretches along the ground to the right and then makes a secondary trunk nearer to The Tree House. Why did I make it this way? Well, partly because the landscape "asks" for it.... and partly because that is what the huge old RL Rhododendron by my house has done! 

I don't know if you have ever climbed "into" a big old bush, 
but I will show you what it looks like from the inside!
The ground is quite bare.... and here
 the root can be seen snaking across the ground to the left.
Sorry about the dark picture... it was dark in under those leaves.


Here is a side view of the main trunk...
 the branching started fairly low,
 but as the shrub aged, the taller branches 
began to bend downward....


So the area under the shrub is like a huge umbrella...
and the tops of the branches sweep down to the ground.


I surmise that over time, the weight of the winter snows
 must have caused some of this sag....
 but the branches became quite twisted and contorted!


You can see how knobby and twisted the structure actually is!


And those branches keep growing outward and downward.
I was rather surprised when I first realized this!
And that is what I am trying to duplicate
 in my shrub skeleton for The Folly Rhododendron.

But before we go there, Dear Readers,
 I wanted to remind you
 of the essential feature of these shrubs....
The Seasonal Landscape Pods...


Here you can see (sorry it is so dark!) 
The Folly Garden on the right side of the porch.


And here you can see that nail is so that
 I can lift the "Pod" out of the garden...


Leaving a "hole" that will accept interchangeable "pods".


And here are the three (nearly) identical pods
 which will hold the Rhododendron Shrubs in their seasonal variations.
I plan to make a blossoming shrub, 
a plain leafy shrub (for all the rest of the year)
 and a snowy winter shrub... for those special snowy occasions!

And for that I need three identical shrub "skeletons"!


Here are two of the three.... with the basic
 root structure and trunk structure begun.


Here is the basic "prototype" skeleton
 beginning to have the branches "shaped".
Because the shape gets complicated fast....
 I have to make the same step on each shrub in sequence,
so I can be sure they will look essentially the same.


And I have to constantly fit it to The Folly garden spot
 to be sure it doesn't bump the roof or not stand straight.


Here you can see it better with the flash on... 
I have begun to trim the tops of the long branches, 
and twist them into branches lower on the stem...


And then I add glue to the joined wires.....


Here are two of them with the stems being glued.
The wire is quite stiff and hard to bend.... so I take it slowly.


Here I am just starting to add the thinner "branches"... 
the green wire.... also really stiff and hard to bend!
This is going to take a while!


And here it is in The Folly Garden again.... 
with the flash...
There is still a long way to go, Dear Readers,
 but I think I am making progress 
with the Rhododendron Shrub Skeletons!