The Skeleton...
I am working away, Dear Readers, on the Rhododendron Blossom making process and can report that I am making good progress. I have challenged myself to see if I can make two batches of florets per day, totaling ten batches per week (with the weekends for other project pieces). The truth of the matter is, it gets easier when you apply yourself consistently to a task! But I still need to be making progress on the leaves.... and the shrub structures themselves. In the above photo you can see the "skeleton" of the Rhododendron on the right side of The Folly porch, looking the same as it has since last summer. The main stem is a gnarled ancient "trunk" (made from the same heavy gauge paper covered florist wire that I used for the Lilacs) with one long "side branch" that stretches along the ground to the right and then makes a secondary trunk nearer to The Tree House. Why did I make it this way? Well, partly because the landscape "asks" for it.... and partly because that is what the huge old RL Rhododendron by my house has done!

I don't know if you have ever climbed "into" a big old bush,
but I will show you what it looks like from the inside!
The ground is quite bare.... and here
the root can be seen snaking across the ground to the left.
Sorry about the dark picture... it was dark in under those leaves.
Here is a side view of the main trunk...
the branching started fairly low,
but as the shrub aged, the taller branches
began to bend downward....
So the area under the shrub is like a huge umbrella...
and the tops of the branches sweep down to the ground.
I surmise that over time, the weight of the winter snows
must have caused some of this sag....
but the branches became quite twisted and contorted!
You can see how knobby and twisted the structure actually is!
And those branches keep growing outward and downward.
I was rather surprised when I first realized this!
And that is what I am trying to duplicate
in my shrub skeleton for The Folly Rhododendron.
But before we go there, Dear Readers,
I wanted to remind you
of the essential feature of these shrubs....
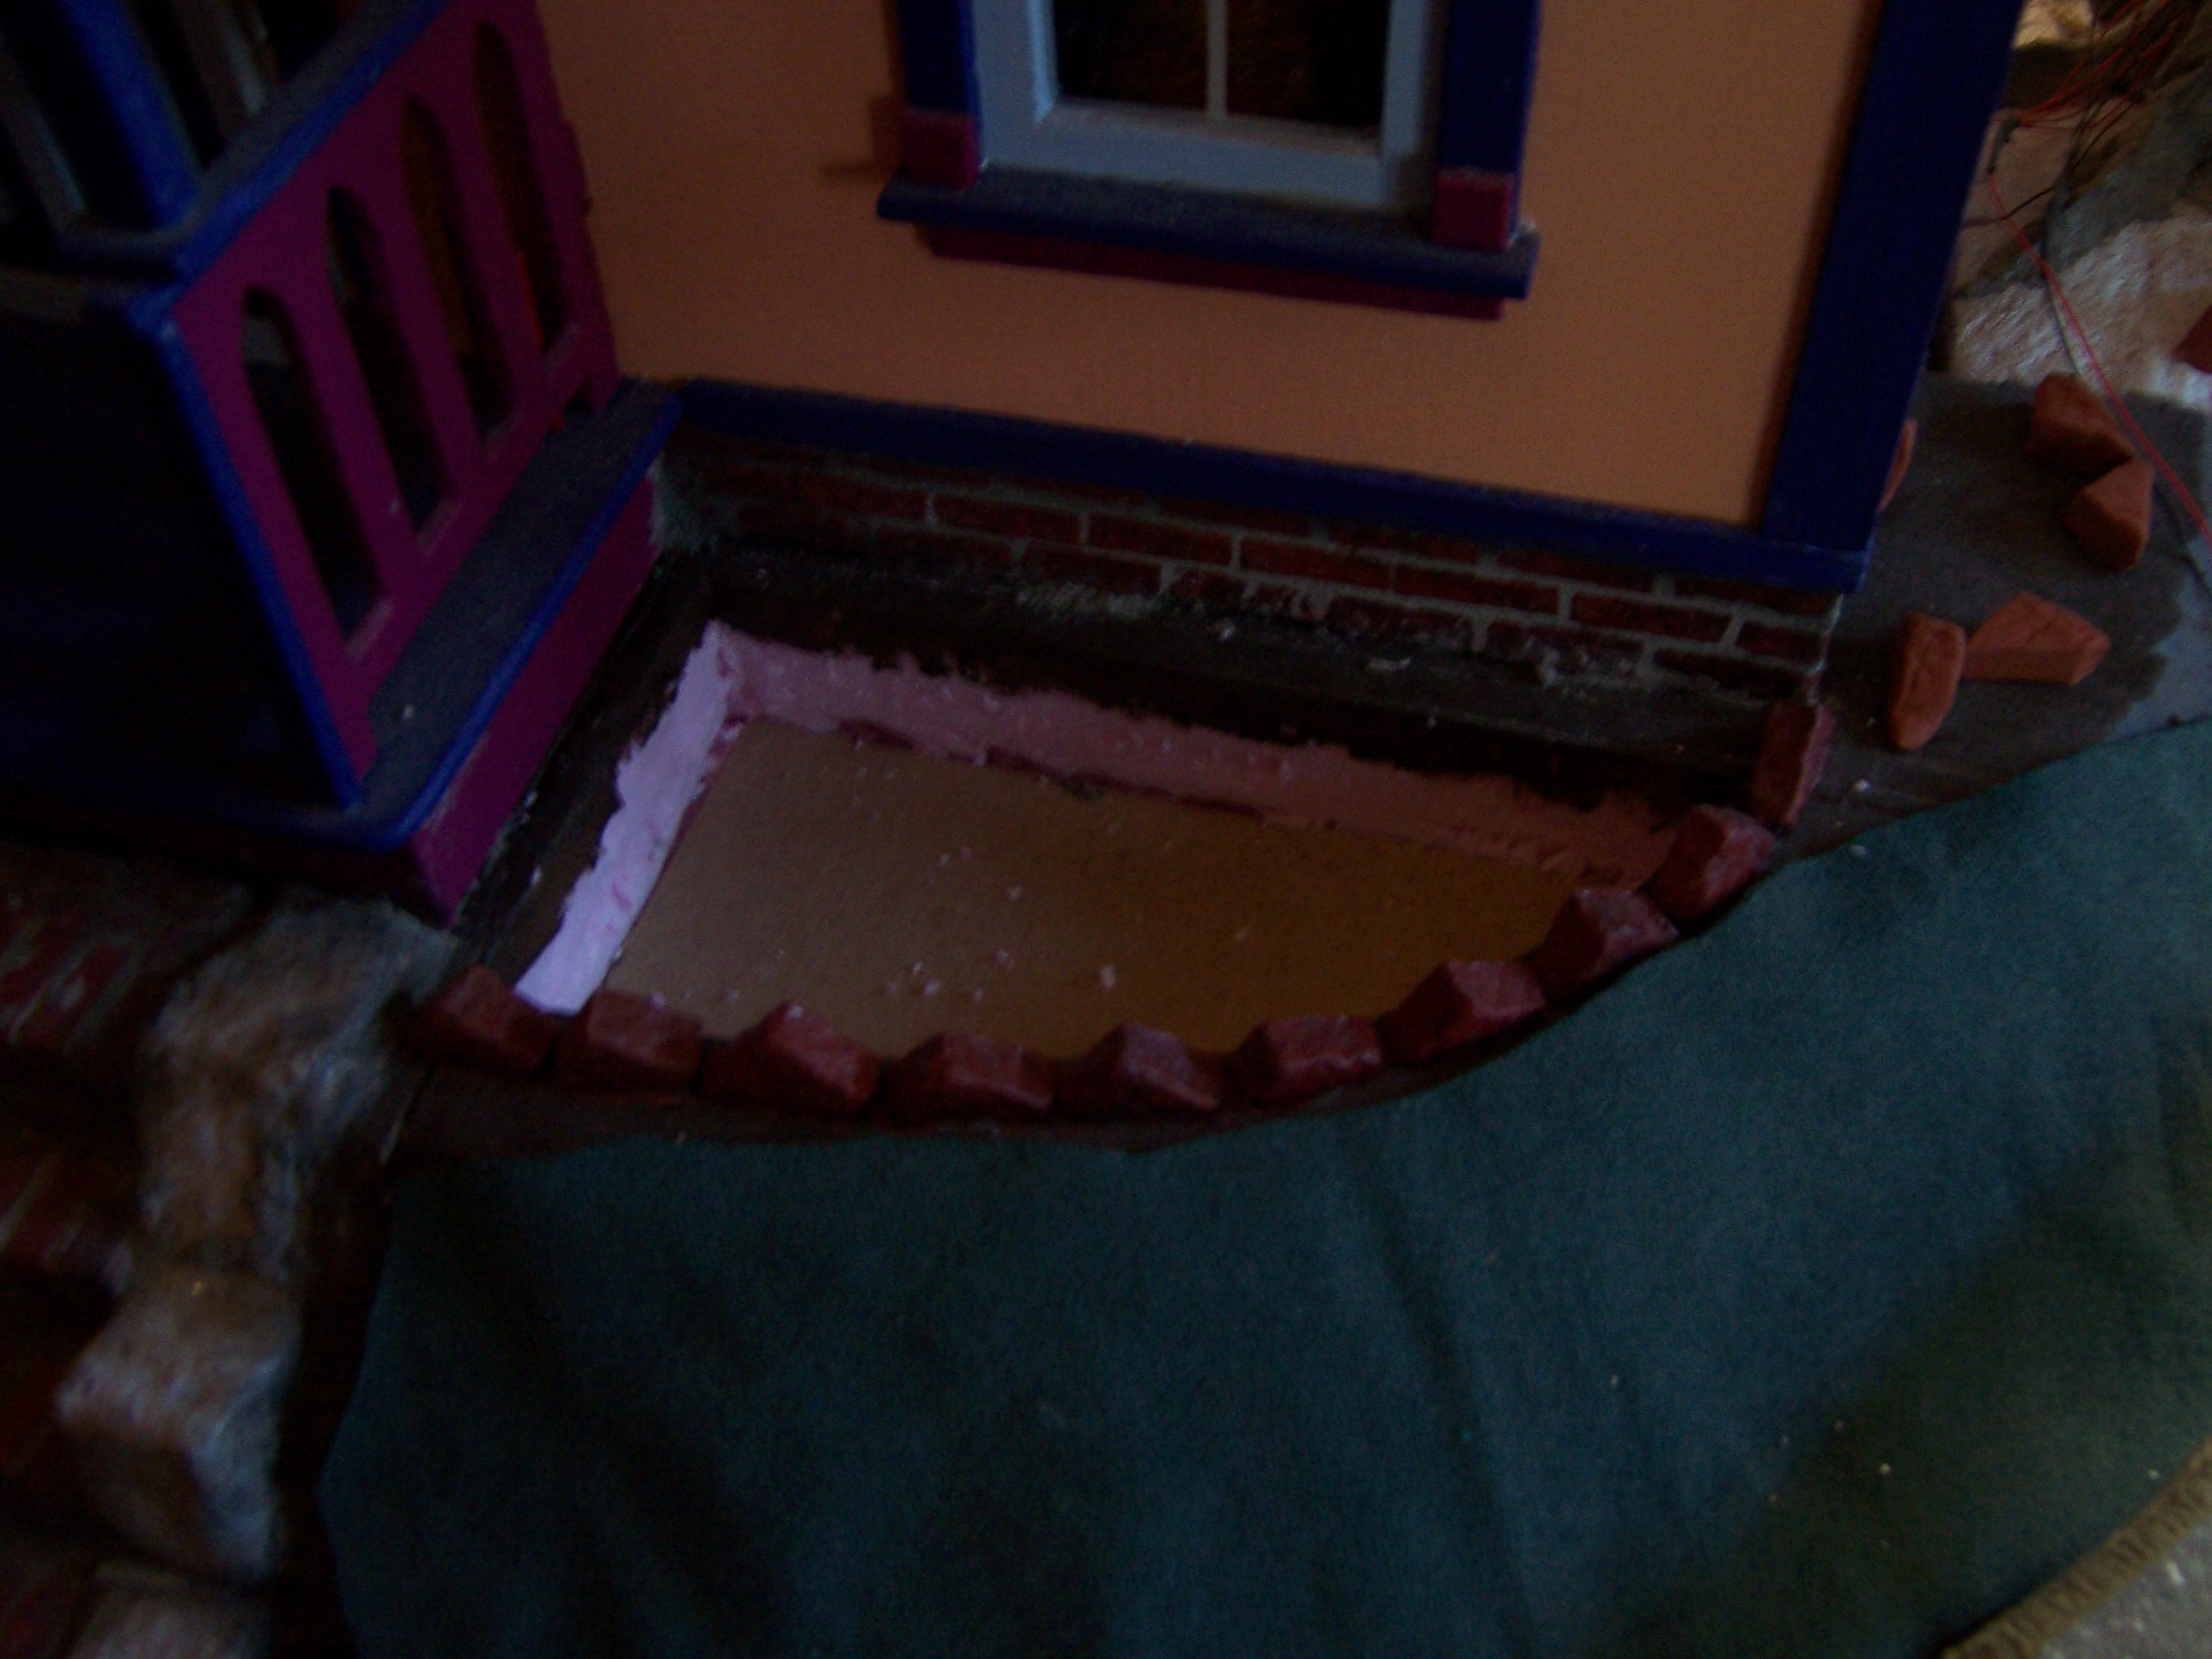
The Seasonal Landscape Pods...
Here you can see (sorry it is so dark!)
The Folly Garden on the right side of the porch.
And here you can see that nail is so that
I can lift the "Pod" out of the garden...
Leaving a "hole" that will accept interchangeable "pods".
And here are the three (nearly) identical pods
which will hold the Rhododendron Shrubs in their seasonal variations.
I plan to make a blossoming shrub,
a plain leafy shrub (for all the rest of the year)
and a snowy winter shrub... for those special snowy occasions!
And for that I need three identical shrub "skeletons"!
Here are two of the three.... with the basic
root structure and trunk structure begun.
Here is the basic "prototype" skeleton
beginning to have the branches "shaped".
Because the shape gets complicated fast....
I have to make the same step on each shrub in sequence,
so I can be sure they will look essentially the same.
And I have to constantly fit it to The Folly garden spot
to be sure it doesn't bump the roof or not stand straight.
Here you can see it better with the flash on...
I have begun to trim the tops of the long branches,
and twist them into branches lower on the stem...
And then I add glue to the joined wires.....
Here are two of them with the stems being glued.
The wire is quite stiff and hard to bend.... so I take it slowly.
Here I am just starting to add the thinner "branches"...
the green wire.... also really stiff and hard to bend!
This is going to take a while!
And here it is in The Folly Garden again....
with the flash...
There is still a long way to go, Dear Readers,
but I think I am making progress
with the Rhododendron Shrub Skeletons!


Estás progresando muy acertadamente! Tu estudio del arbusto de rododendro está dando sus frutos (aunque cueste doblar el alambre) y estoy emocionada esperando ver uno de ellos con sus flores y hojas!
ReplyDeleteBesos.
These Rhododendrons and the entire Folly garden is such a labor of love, Betsy! I enjoy seeing your process of discovering just the right material and method to get as realistic a blossom as possible. And to have an accurate shrub structure for every season! The meticulous way you are staying true to life is inspiring. It really is worth the effort when you love both gardening and minis so much! I am really excited anticipating the day when we'll get to see both the lilacs and rhodies in full bloom and basking in sunlight!
ReplyDeleteGood work Betsy! Having a solid plan to get these finished will help mentally as well as making actual progress. The shrubs will look great!
ReplyDeleteWow, how nice to see how you study the shrub to recreate it, I'm curious. And yes, I think mice are coming to live in my shoe( new one) lol
ReplyDeleteGreat work! Your shrub is perfect, very realistic.
ReplyDeleteI have to admit it... it was a big pleasure to have a lovely déja vu seeing the nail in the "landscape pods" again... ah, those sweet memories coming back from your lilac making days! ;O) And now 3 rhodies for all needed occasions... of course with equal structures, what else... But okay, we need to keep in mind that these rhododendrons stand in the direct neighborhood of the most impressive, beautiful and awesome lilac shrub(s) ever being built in miniature so the level was high right from the start... *wink*
ReplyDeleteI'm not sure if I've ever mentioned this before *grin* but your dedication to catch every detail in miniature and your struggling for the most possible realism always leaves me in awe. Btw it was very interesting to see your RL inspiration - this rhododendron is really remarkably huge... I've never seen one with such a structure and in this height so close and in detail so it's helpful to keep this in mind while you're working your way along to have a blooming rhododendron some day... and of course its two seasonal siblings. Awesome work, dear Betsy - I never get tired to enjoy your awful work.
Hugs
Birgit
¡Estupendo trabajo! Tiene una buena ramificación.
ReplyDelete