Showing posts with label Egg Carton Rocks. Show all posts

Tuesday, May 11, 2021

Scissors... Paper... Rock...


Where Do We Start....

With Kit bashing, Dear Readers, as I am sure you know, it is often difficult to know where to start! If you are like me, you have long ago left any instructions behind and must invent your own procedures for every step of the build. And as I am sure you have experienced, sometimes a small amount of work makes a big difference in the project, and conversely, sometimes a large amount of work seems to not make much progress at all. Now that I am working on the "upstairs room" of the Dollmaker's Studio, I am having to deal with the "junction" of all the kit pieces I started with.... which has required a lot of "bashing"! Above you can see that I finally added primer to the wall sections which were originally the "Sugarplum" kit by Greenleaf. If you are at all familiar with the kit, you will know that it is small (which is why I chose it) and very rudimentary (it doesn't even have a staircase in spite of two floors!) and the ceiling height is a barely passable 7 and 1/2 inches! (I have lived in old RL houses with about that much head clearance... so it is doable!) But I wanted extra ceiling height, so I added the ground floor "room-box" and made it extend up into the second floor by about 2 inches. Which causes a really awkward "join" between the stories part way up the wall! Now that I have primed the walls for the kit pieces, you can see where the join is in the above picture. 

 Add to that challenge, the "Dollmaker's Studio Vignette" kit by Sandra Morris which inspired this whole project, and my intention to blend it into the Sugarplum kit as an alcove at the back of the main room, positioned where a window was meant to be, and you will discover lots of places requiring adjustments! In pondering the "where to start" part of the equation, I decided that I needed to get the Vignette assembled and decorated as far as possible before I could actually move forward on the rest of the room. It would be way too difficult to access the alcove once it was attached at the back of the build. Above you can see the framework of the Vignette just tucked into the "enlarged" window opening of the Sugarplum kit. (Sorry, the pictures are a bit dark... it was a gloomy day...). The vignette is framed by a nice arch of "stone" which needed to be made a little bit more three dimensional to work in this build.

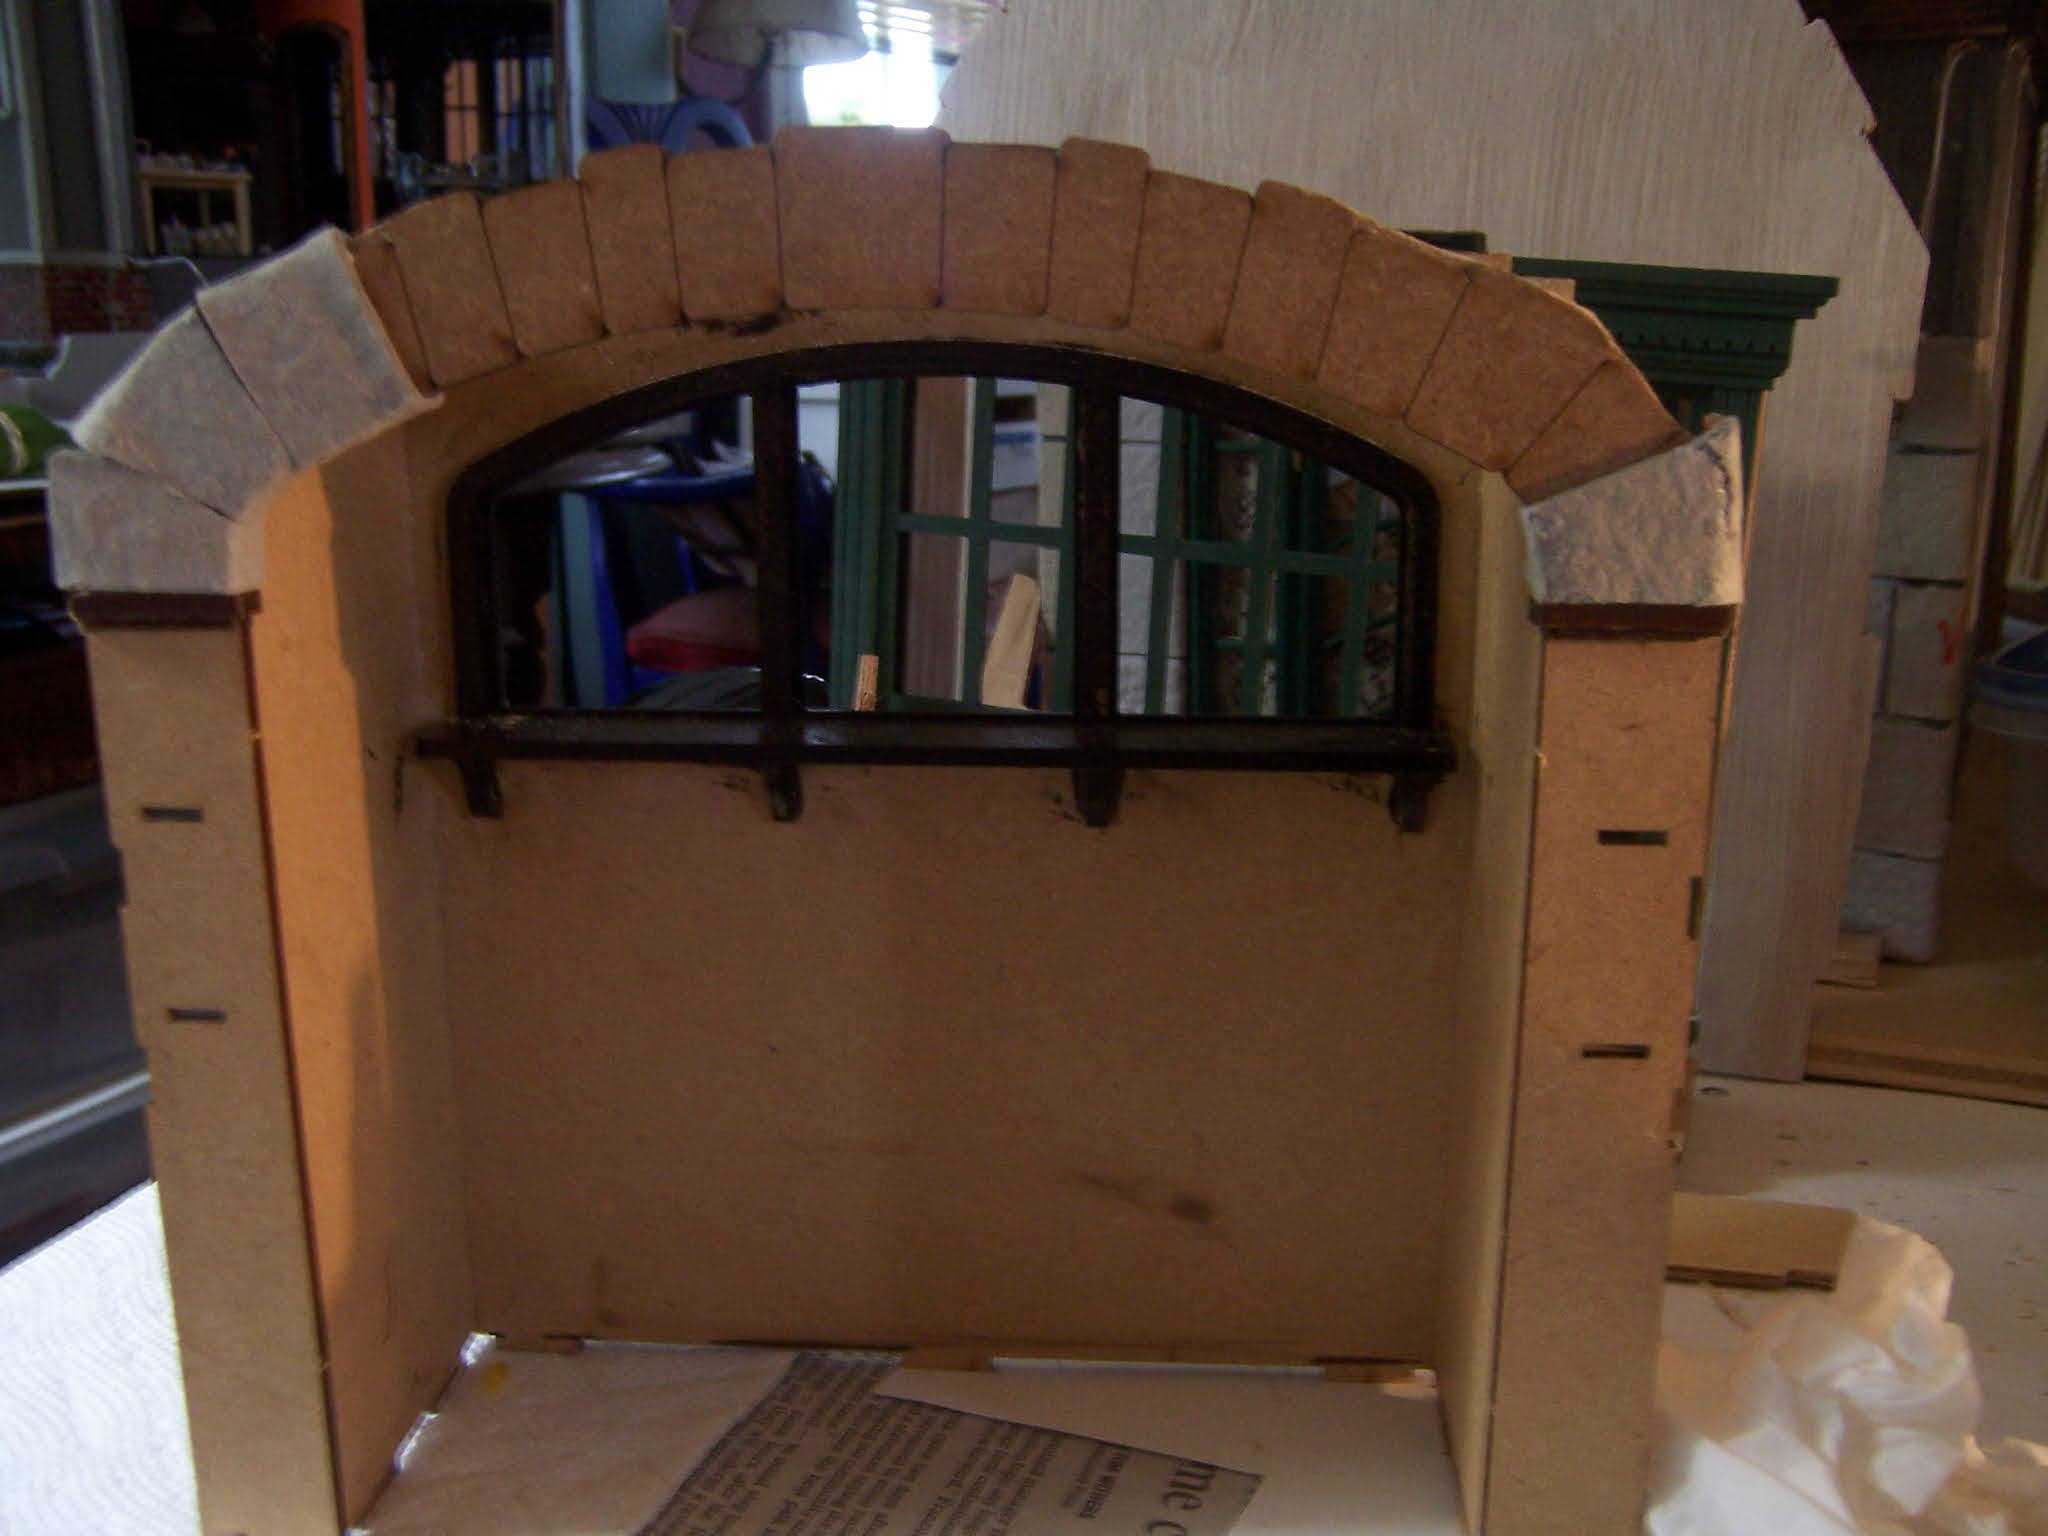
Here it is separate from the main room.
I needed to trim off the "corners" of the kit
 along the top of the rock arch.

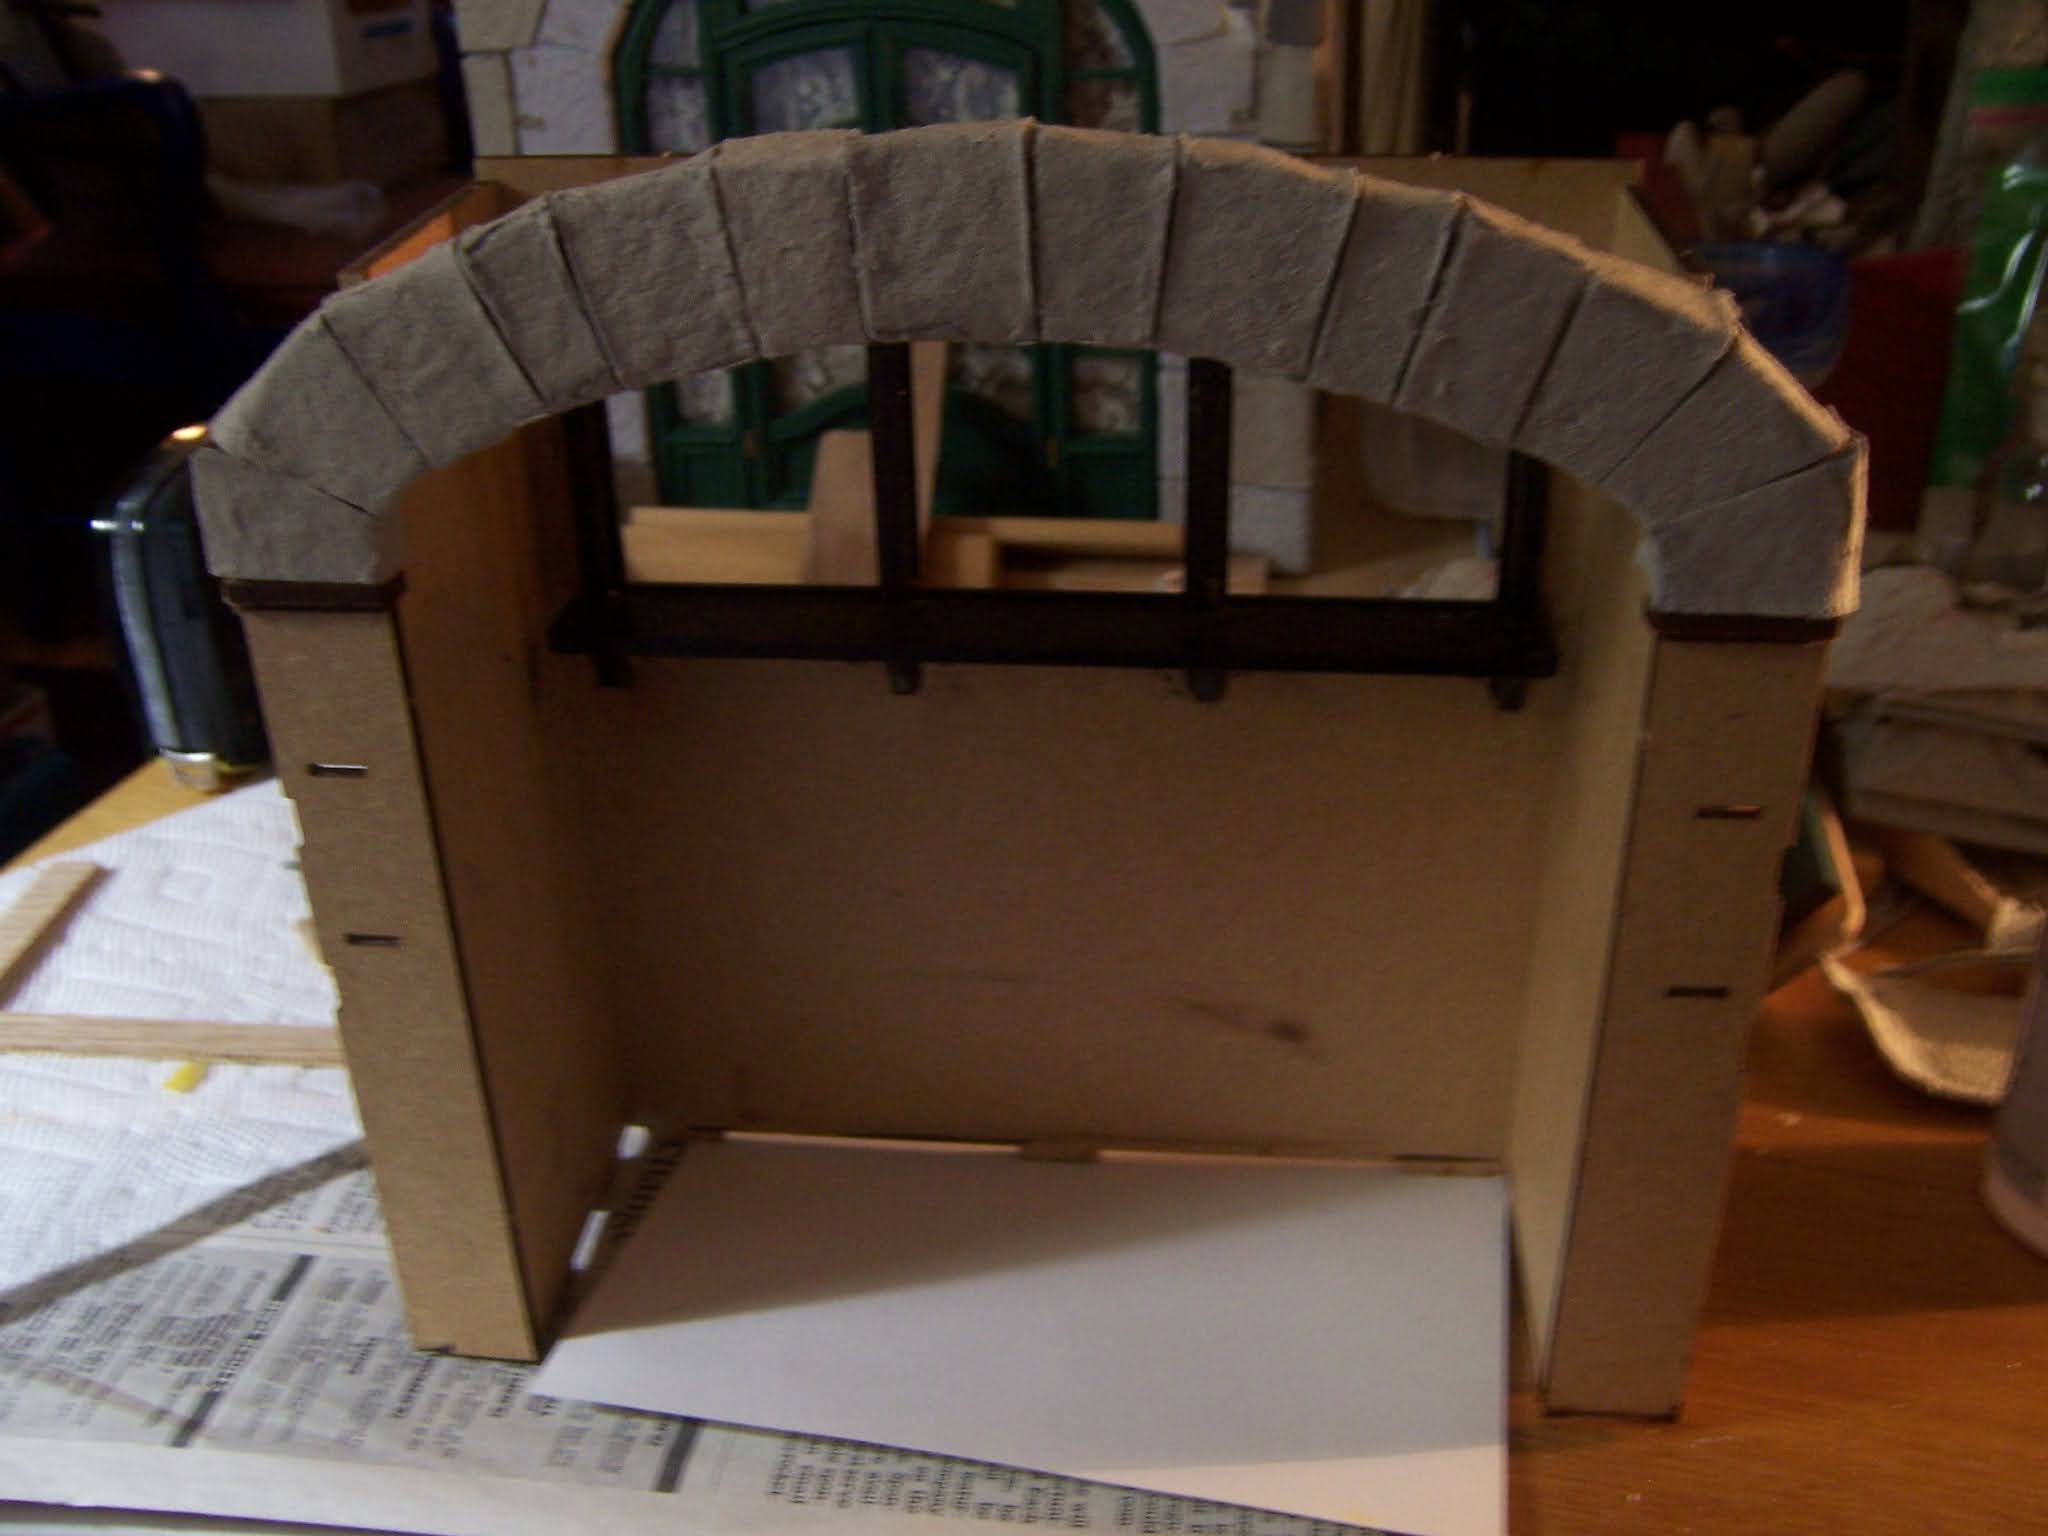
Here you can sort of see I have added a  cardboard strip
 along the back of the stone arch.
This will allow for the "stones" of the arch to have some depth,
 and to hopefully fill the gap between the arch and the wall in a realistic way.
Because the two do not meet on the same plane!
 

The rocks are good old egg-carton glued to the arch
 and wrapped around the frame.


It required lots of testing to see if the "rocks" 
were fitting the gap properly.


They have more "weight" than the simple shaped pieces of the vignette...
 but that is needed here!


Sorry about the dark.... it got late 
and I didn't get good pictures of the rocks before painting.


Here they have been given the basic coats of paint....
 primer then two different shades of gray.


Here the rocks have been outlined with a darker gray in the cracks.
And I am test fitting the wallpaper.
I got so involved in fitting the pieces, I forgot to take pictures.


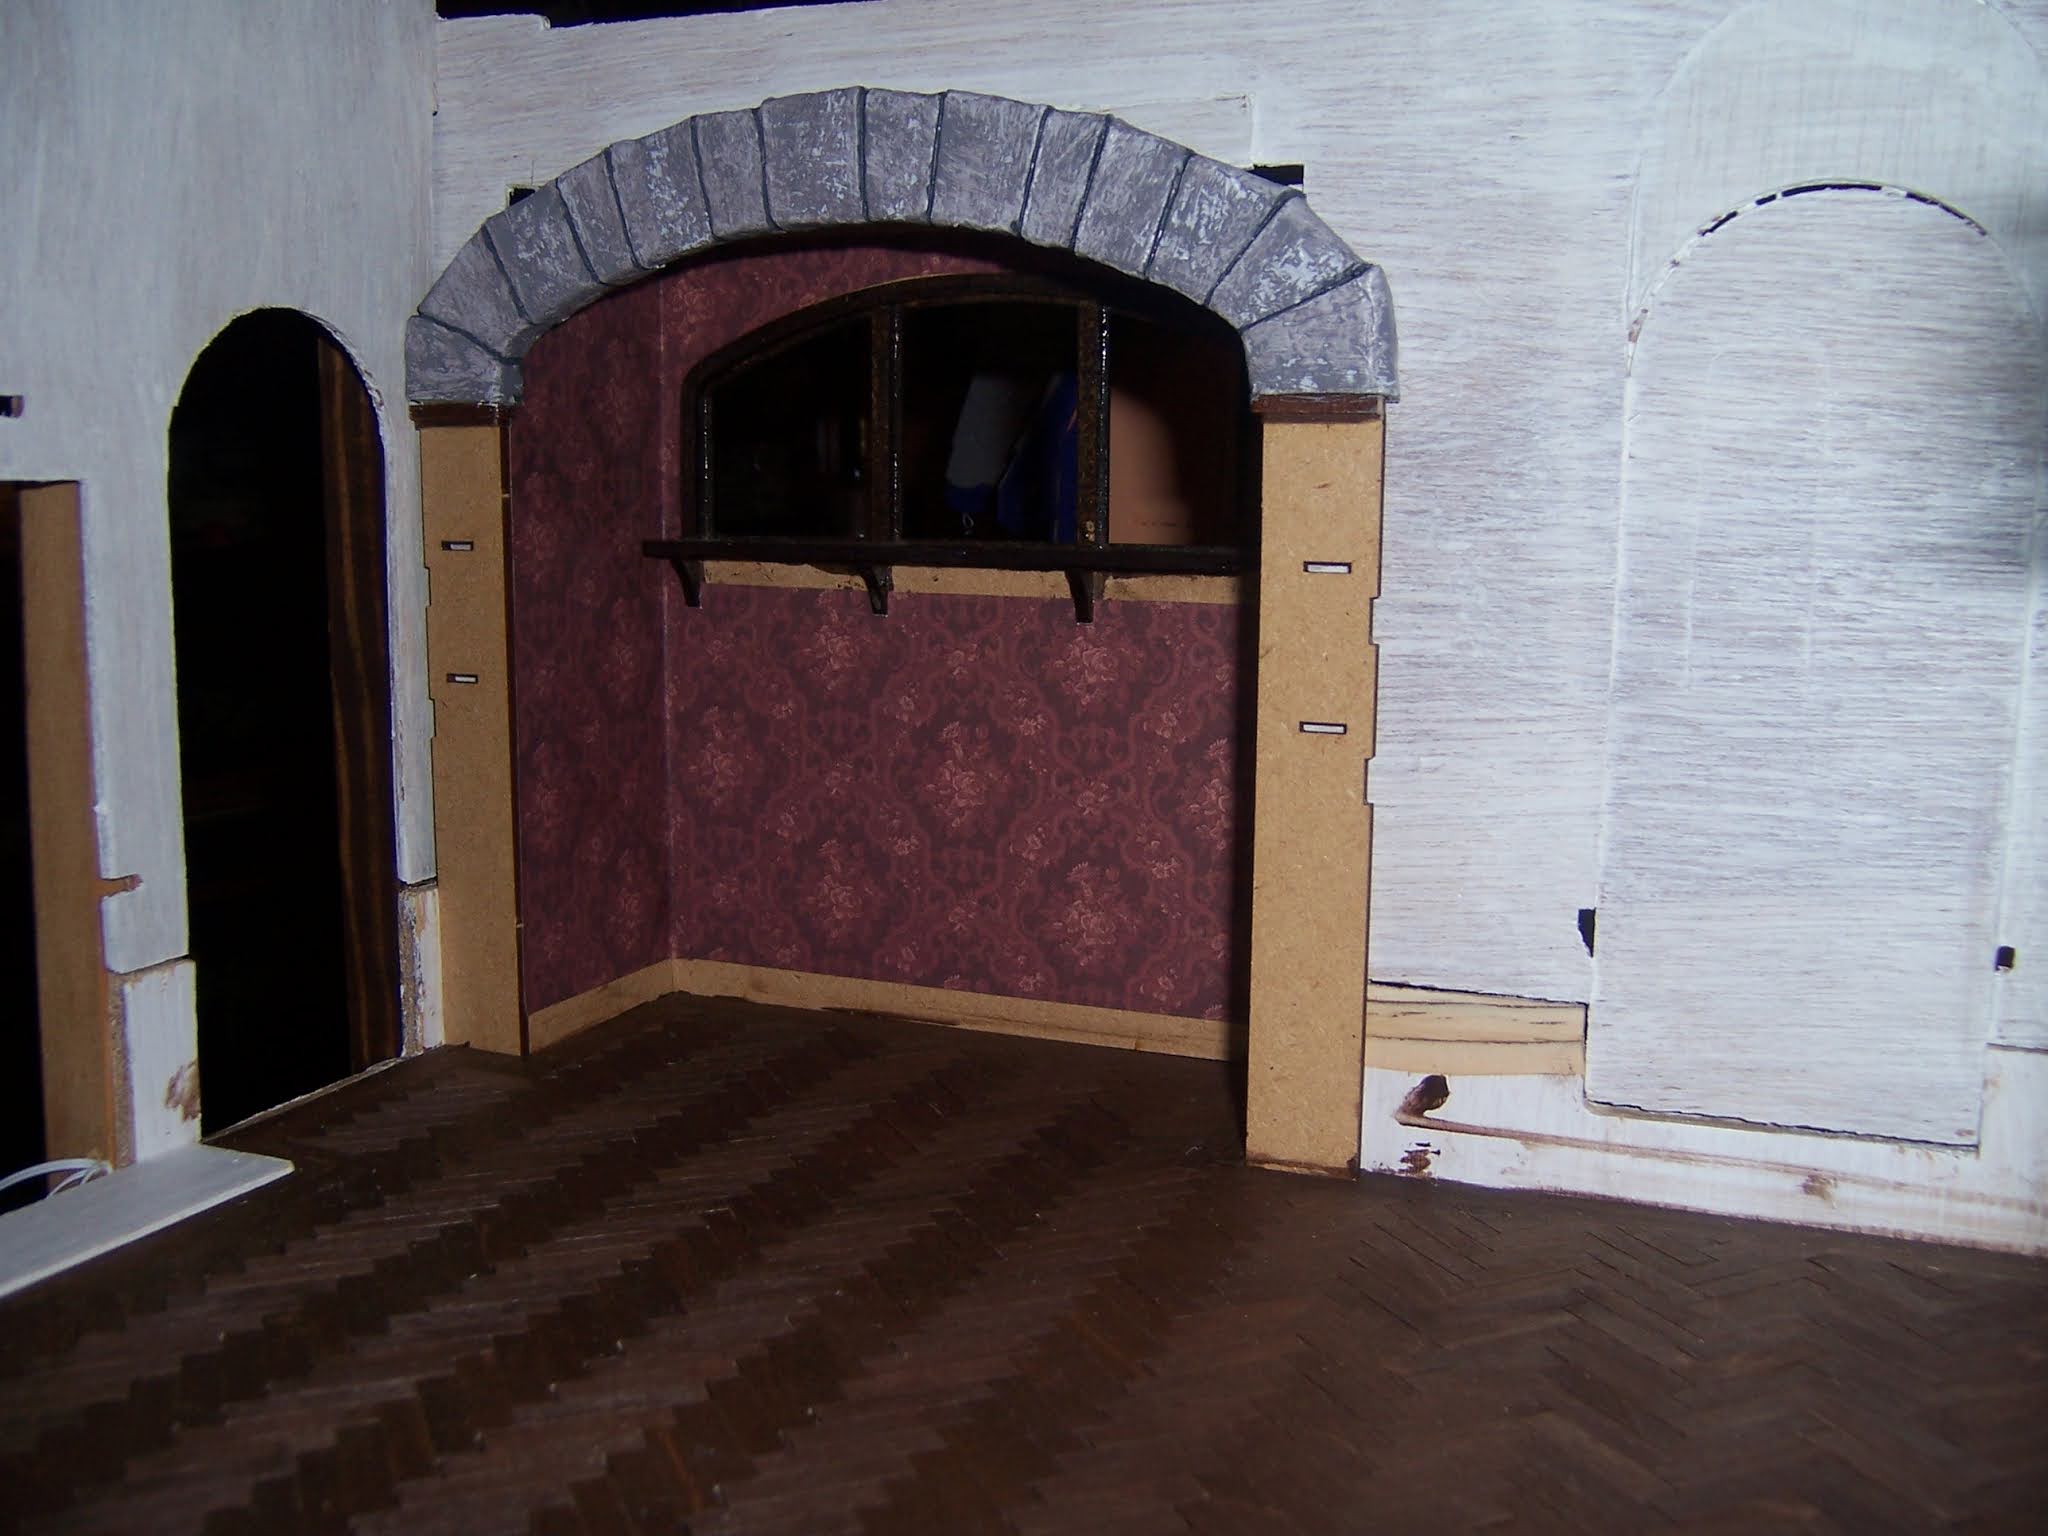
The wall paper is glued and the vignette tucked into the opening...
With the flash on is the only way to see anything back there!
(It is late and dark.....)


And another shot.... with the flash....
it starts to give a sense of the space.
The sides will have trim added below the arch...
and baseboard trim...
Once I get the alcove attached
 I will be able to work on the rest of the walls.

So you can see, Dear Readers,
 I did a lot of cutting and fitting paper
Hoping it turns into rocks.
And it doesn't look like much got done... 
but it is a start!

Monday, December 2, 2019

Decisions, Decisions.....


Kit Bashing Continued....

You Might recall, Dear Readers, that I was hesitating to add the stones to the exterior of the Dollmaker's Studio ground floor while I had not decided how to fix the warped floor. After much thought and second guessing my original plan, I decided that I did not want to raise the floor level by adding any thickness to it in the hopes that thickness would defeat the warp. I think that eventually I will be firmly attaching the building to a base and that will have to be the "warp reversing" moment. Until then I have too many other parts that still need to be wrangled, and I am choosing to ignore the floor. It is supposed to be an "Old" building, after all! With that non-decision made, I continued to add the "stones" around the opening for that lovely door. At least I was certain that I could do this without getting too far ahead of any of the other "corrections" I needed to make to the structure.

I added the keystones next so I could be sure
 they were mostly centered above the door...

I needed to pad the opening at the left shoulder.... 
my cutting for the opening was a little off...
and the stones need to be snug against the door frame.

I was trying to keep the stones roughly even in size...

I think they ended up okay.
And now the door looks like it was made for this opening
 instead of the other way around!
And because I had last week off from work, Dear Readers,
 I was able to take the time to fiddle 
with the frame work of this structure.

I apologize for the dark pictures... 
I was just testing ideas and not taking good pictures.
I wanted to see the "whole" structure
 so I added the kit roof panels.
You can see that the side walls of the upper floor are not straight...
 since the kit has been "expanded" the floor
 no longer holds the shape of the walls properly.
I was going to need to add a "framework"
 to tie the walls together sturdily.

Then I thought maybe I could reverse the end wall
 so the little porch balcony was on the opening wall side
 instead of on the back wall.... 
this would allow more solid wall space in the interior...
So I gave it a try....

It would also make the extension created by the "Vignette" kit
 look less cluttered and more like an old Tudor building...

This really is a small kit.... 
the ground floor with the warp ignored....

Upstairs room with the door closed in 
where the balcony would have been... 
now there can be a wall for shelves of some sort...
And the large window on the end wall 
temporarily placed using the kit pieces...

And the attic.... 
still in the very undesigned stage.....

The frame I will be using for the end wall window....
just propped in place for testing...

I might still keep the little dormer 
on this side and add a tiny window....
We shall see!
But meanwhile it became Obvious that
 I needed to extend the sturdy framework
 of the front opening wall....

Because the upper storeys would also need to have hinging doors to close...

There was only the small upper section of 
the plywood wall to attach the posts to.....
So I used extra screws.

And once the front posts were in place, 
I could properly measure for the crossbeam 
needed to join them at the ceiling height.

And I could see that I would also need to add
 another support post at the back corner where the 
Tower stairs would join the building...
 which also required correcting the 
warped corner of the plywood 
with More Screws!

Here you can see the two posts where the Tower will attach.
 The left hand door is the entrance to the tower stairs...

And the crossbeam that will brace the upper floor 
and the frame for the opening side doors...
Firmly screwed in place!
And after all that jostling and bumping....
I decided I better glue those stones onto the floor...

Before I lost track of how they fit...

See... I am ignoring the warped floor for now!

But here you can see the upper walls propped in place
 with the new sturdy posts... I just have to trim off all those tabs...
And I really wanted to get the rest of the front opening wall doors cut...
 I just forgot to take any pictures.

Here it is being tested for fit 
before drilling and screwing it in place...

Here the rough panels are attached. 
The little balcony will attach on the opening panel
 and the door will open inward....

Here the door has been added... 
the size of the balcony will need to be carefully fit
 within the opening part of the front wall.

That is as far as I got on the Dollmaker's Studio, Dear Readers...
Every step required three times of taking everything apart and thinking again...
but such is the Nature of Kit Bashing!
You get to take everything apart....
 and throw out the instructions....
But you need to be prepared
 to make lots and Lots of Decisions!

And in case you wanted to know... 
the day before Thanksgiving...
 all the leaves had fallen from the Lilac at The Folly...

And the low winter sun reached way into the room...
and then Last night it Snowed!

I could not resist having a little Snow Day....
But Alas... there was no sun to shine in....
I will be sure to let you know when it does...!


Monday, November 18, 2019

Warp Wrestling....


A Twisty Business.....

I Left you last week, Dear Readers, with the unfinished repairs to the base of the Dollmaker's Studio and the woeful discovery of my dead drill. You can imagine my happiness when I happened to mention the dead drill to a co-worker the next morning and she said "You can have the one Randy (our boss) gave me when I moved here. I'm not using it!" And she brought it to work the following day! So I was able to tackle the Warp Issues on the weekend without having to purchase a new drill! I wish I could say the rest of the repairs were that easy. The plywood I used is quite thin... only 1/4 inch thick, so any screws used need to be pre-drilled quite carefully right along the edge of the facing board. This is hard to do with a bent and twisted board! I decided to get the less warped side done first and screw it in place (not yet with glue so it was still removable) and then wrestle the warped side, one screw at a time until all of them were aligned correctly.

This is what the base looked like to begin with... 
the front panel not attached. 
(Sorry for the blurry photos....! My camera
 is getting old and the light is not the best...)

And because I did not remember to take photos
 of the Wrestling match in progress.... 
here you can see the front panel
 with screws on both ends... still not glued.
The next step was to add the cross-beams
 at the front and back which would tie
 the warped walls firmly together at the top.

Here you can see both of them added, 
making a sturdy framework at the top of the room.
This required screwing a longer screw through
 from the outside corners into the long beam. 
The front panel is still removable.....

Because it is easier to add the hinges to the doors
 while the whole panel is unattached...
(And the newly added cross beams are holding 
the warped wall in place... for the moment!)

And this time when I attach the panel, 
I added glue to the joined edges.

Here you can see a close-up of the more warped side.... 
wrestled into alignment as best I could!
And yes, there are a Mighty mess of screws involved!
These will be covered by the "stone" facade of the base.

But first I needed to add primer to the doors....
And even though the walls are straightened out... the floor is not!

Here you can see I am testing the upper floor added onto the base.
I have increased the ceiling height of the upstairs room
 by extending the walls of the base above the floor level...
The junction of the walls will require some finesse... 
still in the "development" stage!
But the floor does help hold the building "square".

Meanwhile, I have begun to make the egg carton "stones" for the floor....

I am not attaching them until I figure out
 what to do about the warp in the Floor!
Should I build a framework to go under the floor... 
thereby raising the whole structure?
 Or should I just screw the floor 
to the base board now.. and forever...?

I don't really want to do either!
I am reluctant to raise the floor... 
it is supposed to be stone on the ground....
 

And I don't want to attach the whole building 
firmly to the base at this early stage of the build....
Hmmmmm...... this will take some thinking....!


Even though, without thinking it through...
 I started to attach the "stones" 
on the outside of the wall by the door!
(Which will make the courses wrong
 if I add a framework under the floor...!)
Aiy-yi-yi!!!
I declare, Dear Readers,
This Warp-wrestling is a Twisty Business
That might just have me tied up in knots!